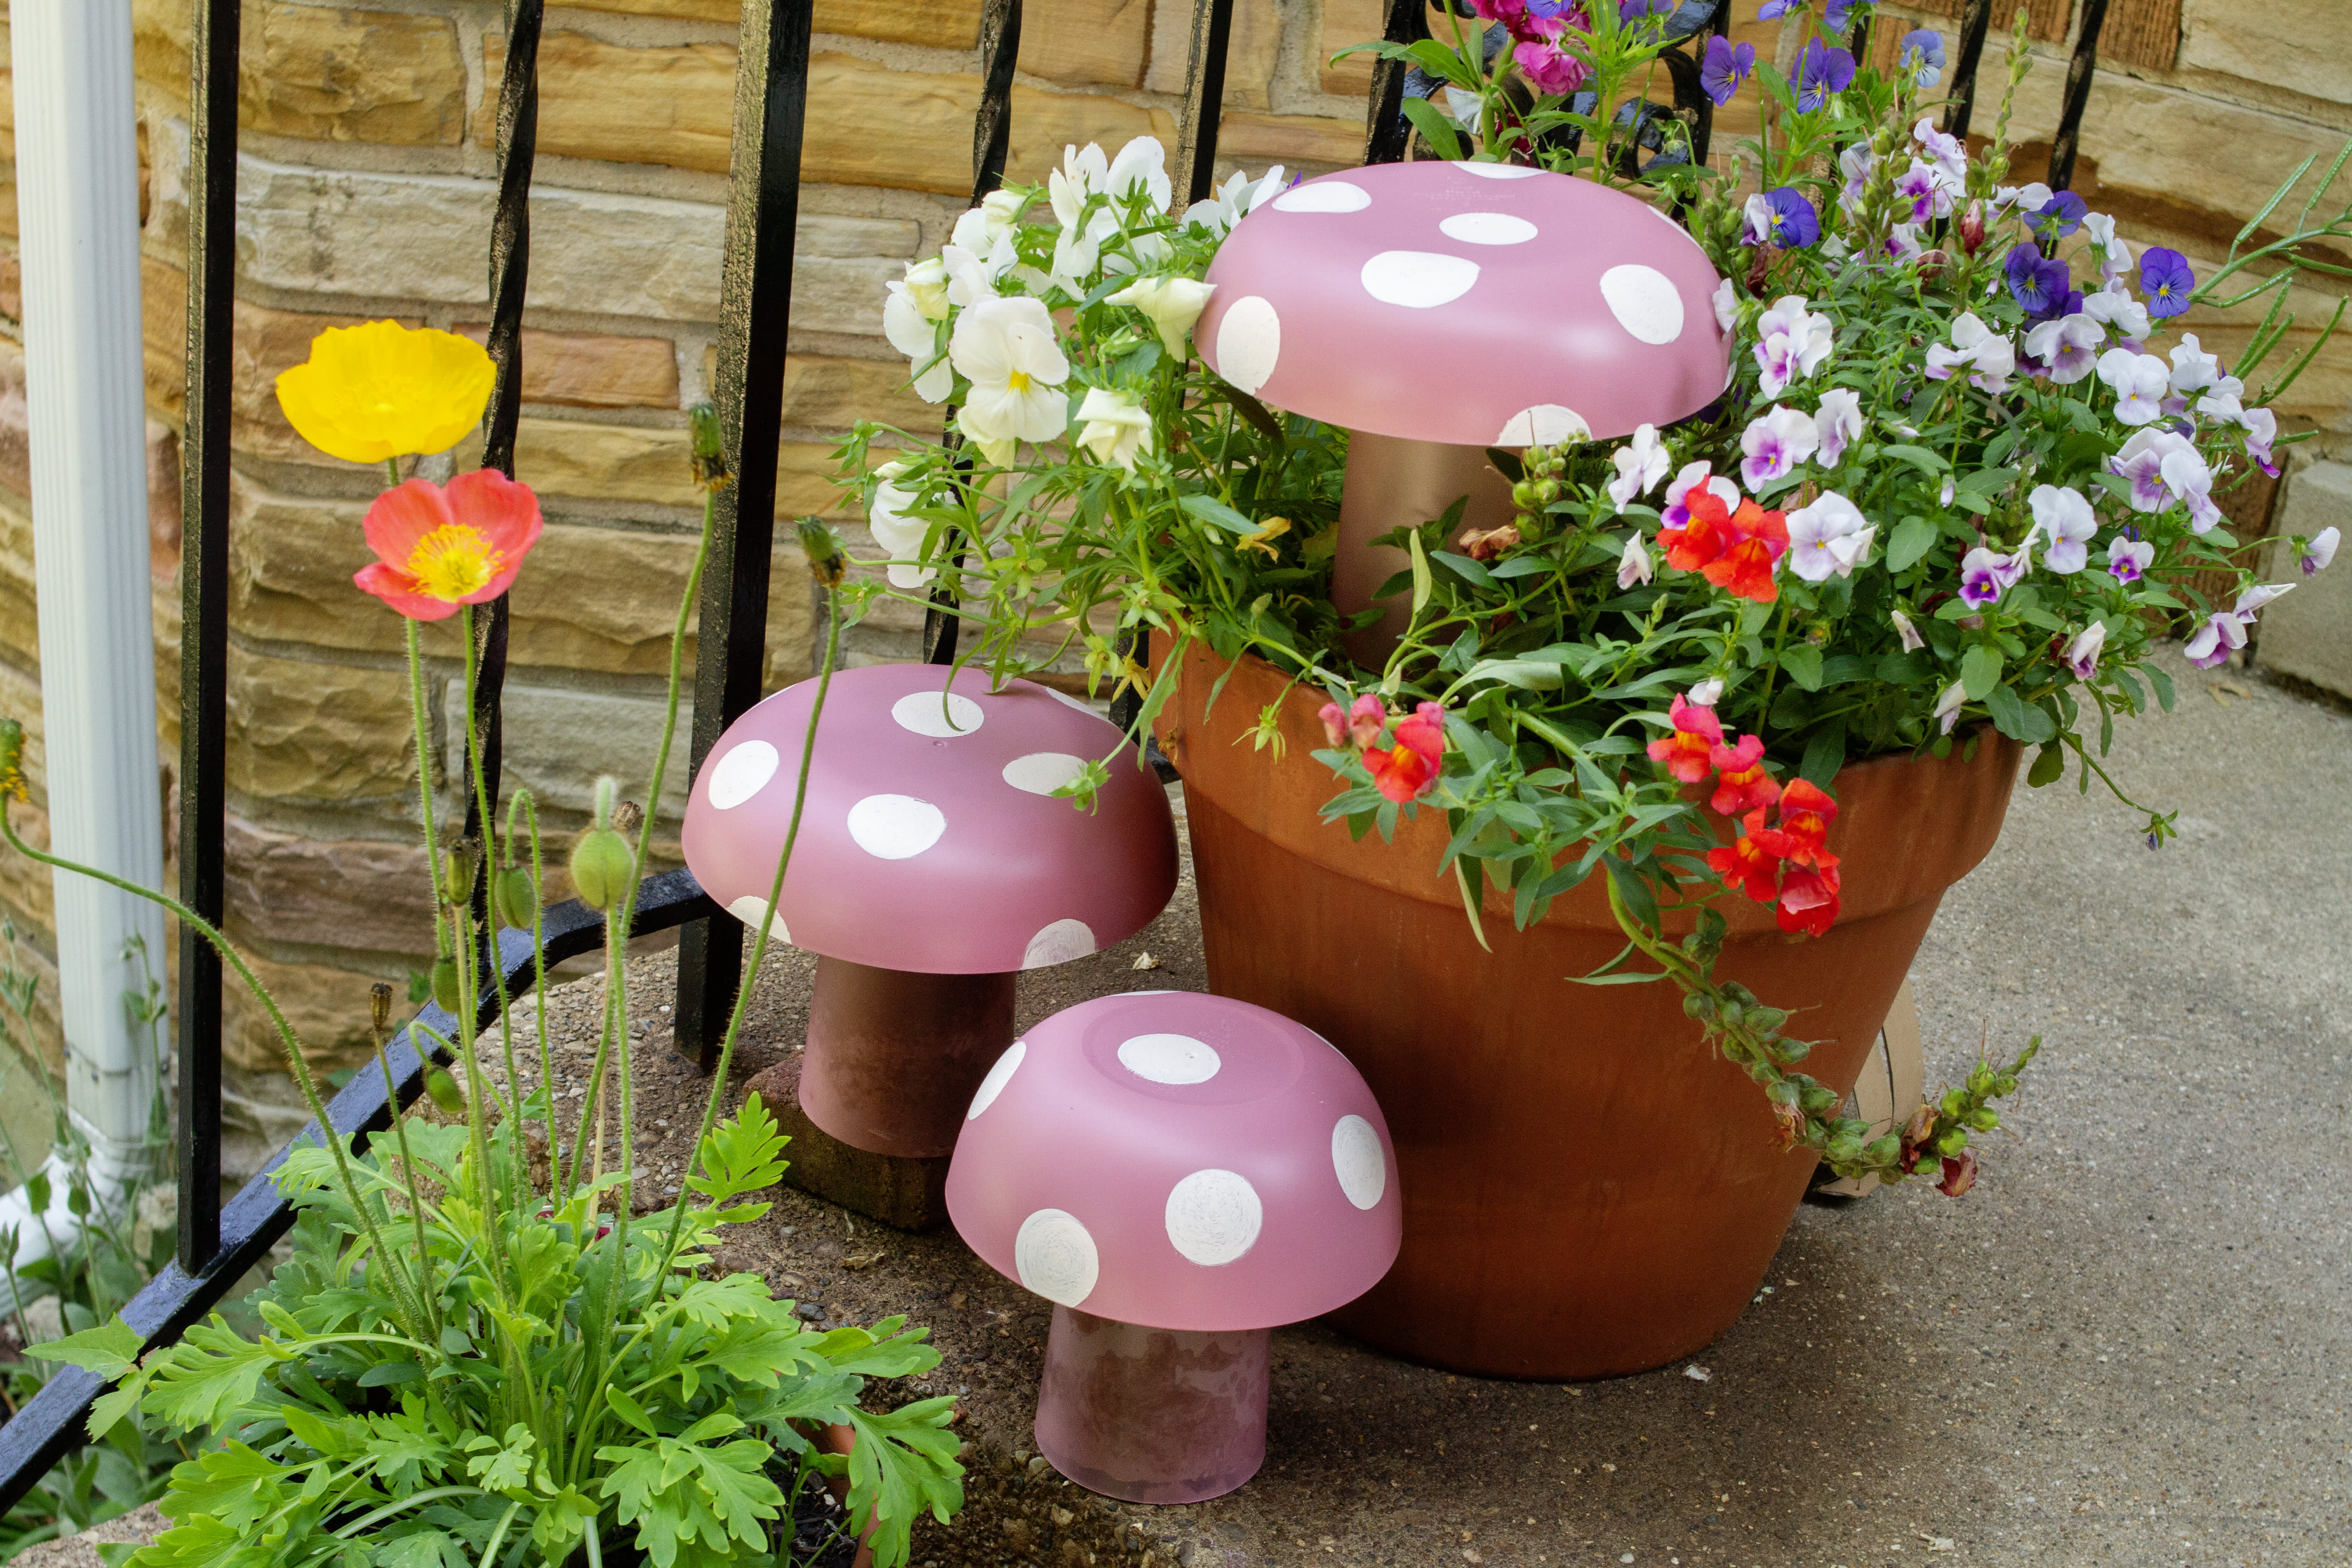
Are you looking to add a whimsical touch to your home decor? DIY mushroom decorations might be the perfect project for you! With their enchanting presence and playful nature, mushrooms have become popular in the world of craft and design. In this article, I’ll share my personal experiences, tips, and step-by-step guides to help you create beautiful mushroom decorations that will bring a bit of magic to your living space.
Why Choose DIY Mushroom Decorations?
Mushroom decor isn’t just a trend; it’s a celebration of nature that brings joy and creativity into our homes. Here are some reasons why you should consider diving into this DIY project:
- Creative Expression: Crafting allows you to express your unique style and personality.
- Eco-Friendly: Many DIY projects use recycled or natural materials, making them an environmentally friendly option.
- Cost-Effective: Creating your own decorations is often cheaper than buying store-bought items.
- Fun for All Ages: This activity can be enjoyed with family or friends, making it a great bonding experience.
What You’ll Need for Your DIY Mushroom Decorations
Before diving into the crafting process, gather your materials. Here’s a comprehensive list of what you might need:
Basic Materials
- Craft foam or felt
- Wooden dowels or sticks
- Paint (acrylic or spray paint)
- Hot glue gun and glue sticks
- Scissors
- Wire or floral tape (optional)
- Beads or buttons for decoration (optional)
Optional Tools
- Craft knife
- Paintbrushes
- Stencils (for detailed designs)
- Spray adhesive (for larger projects)
Step-by-Step Guide to Creating DIY Mushroom Decorations
Step 1: Choosing Your Mushroom Style
Before you start, decide what type of mushrooms you want to create. Here are a few popular styles:
- Classic red-and-white toadstools
- Rustic brown mushrooms
- Whimsical rainbow mushrooms
Step 2: Crafting the Mushroom Caps
There are various methods for creating mushroom caps depending on the materials you’ve chosen:
Using Craft Foam or Felt
– Cut out the cap shape you desire. A simple circle or an umbrella shape works well.
– Paint or decorate as desired.
Using Wood or Cardboard
– Trace the shape onto the material and cut it out with a craft knife.
– Sand the edges if necessary and paint the cap.
– You can even layer multiple pieces to create depth.
Step 3: Assembling the Mushrooms
Attach the mushroom cap to a wooden dowel or stick using hot glue. Make sure it’s secure. For an added touch, you can wrap floral tape around the stick to give it a more finished look.
Step 4: Adding Details
This is where your creativity can truly shine. Consider adding:
- Spots or stripes with a contrasting paint color
- Buttons or beads on the stem
- Glitter for a magical touch
Step 5: Final Assembly and Placement
Once your mushrooms are fully assembled and decorated, think about where you’d like to display them. They can look great on:
- Your garden or patio
- As centerpieces for tables
- In terrariums or plant pots
Different DIY Mushroom Decoration Ideas
Now that you have crafted basic mushroom decorations, here are some creative ideas to expand your DIY projects:
Mushroom Garden Stakes
Create cute mushroom garden stakes by following the same steps as above and inserting them into your garden beds or potted plants.
Mushroom Wall Art
Paint mushroom designs on canvases or wooden boards for a whimsical touch to your walls.
Mushroom Centerpieces
Arrange different sizes of mushroom decorations in a vase or bowl for a fun centerpiece.

Comparative Analysis of Mushroom Decoration Methods
| Method | Materials Needed | Time Required | Skill Level | Affordability |
|---|---|---|---|---|
| Craft Foam | Craft foam, scissors, glue | 1-2 hours | Beginner | Low |
| Wooden Dowels | Wood, craft knife, paint | 2-3 hours | Intermediate | Moderate |
| Cardboard | Cardboard, paint, glue | 1 hour | Beginner | Very Low |
Pros and Cons of DIY Mushroom Decorations
Pros
- Customization: You choose colors, sizes, and styles to match your decor.
- Creative Outlet: It’s a fun way to relax and express yourself.
- Quality Control: You control the materials, ensuring they are safe and durable.

Cons
- Time-Consuming: Crafting can take longer than expected, especially for beginners.
- Space: You may need a dedicated workspace for crafting.
- Initial Costs: While DIY can be cheaper, initial material costs can add up.
Frequently Asked Questions (FAQs)
Can I use natural mushrooms for decoration?
While it’s possible to use real mushrooms, they can decompose quickly and might not last as long as crafted ones. They are better suited for temporary displays.
What are the best paint colors for mushroom decorations?
Bright colors like red, yellow, and green are popular for whimsical styles, while browns and creams work well for a more rustic look.
How can I make my mushroom decorations weatherproof?
Apply a clear waterproof sealant or use outdoor-safe materials like treated wood and outdoor paint to ensure durability.

Conclusion
Creating DIY mushroom decorations is a delightful way to bring a touch of nature and whimsy into your home. With just a few materials and a bit of creativity, you can craft enchanting pieces that showcase your personal style. So gather your supplies and let your imagination run wild as you embark on this fun crafting journey. Happy crafting!