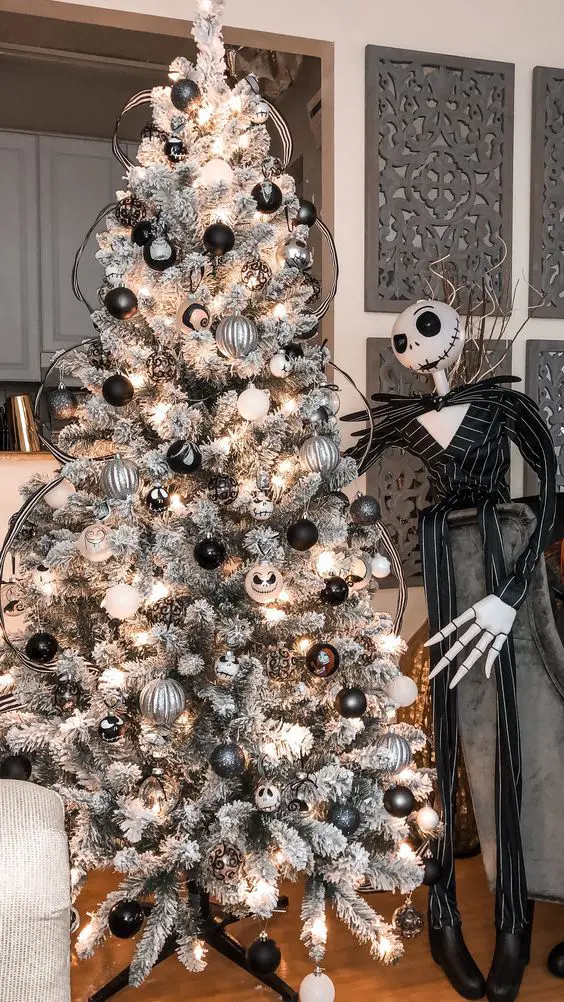
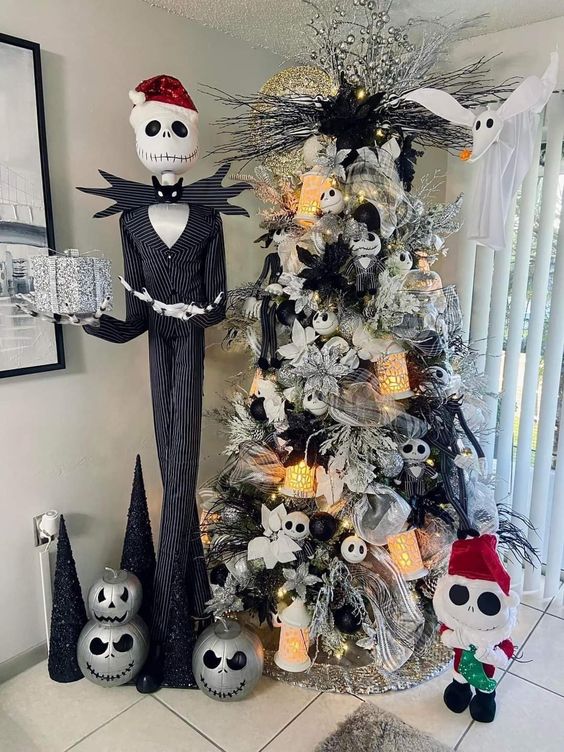
The holiday season is upon us, and what better way to celebrate than by embracing the enchanting world of The Nightmare Before Christmas? A blend of Halloween and Christmas themes, this iconic film inspires numerous creative decorations that can add a magical twist to your festivities. In this guide, we will explore various DIY Nightmare Before Christmas Christmas decorations that are fun and easy to make, allowing you to bring the charm of Halloween Town into your holiday celebrations.
Why Choose DIY Decorations?
Every year, I find myself scrolling through countless holiday decor options, but nothing compares to the joy of creating decorations that reflect my personality and spirit. DIY projects offer the following benefits:
- Personalization: Customize your decorations to fit your style.
- Cost-Effective: Save money while creating something unique.
- Creative Expression: Explore your artistic side and make something one-of-a-kind.
- Family Bonding: Get everyone involved for a fun family activity.
Essential Supplies for DIY Nightmare Before Christmas Decorations
Before diving into the projects, gather the following supplies:
- Paint (acrylic and spray)
- Cardboard or foam board
- Felt or fabric in various colors
- LED lights
- Hot glue gun and glue sticks
- Wire and wire cutters
- Scissors
- Black and white balloons
- Clear fishing line
Top DIY Projects Inspired By The Nightmare Before Christmas
1. Jack Skellington Ornaments
Nothing says “The Nightmare Before Christmas” like Jack Skellington. Making Jack Skellington ornaments can be a fun and simple project for all ages.
Materials Needed
- White and black paint
- Plastic or wooden ornaments
- Paintbrush
- Clear coat sealant (optional)
Instructions
- Start by painting the entire ornament white.
- Once dry, use a fine brush to paint Jack’s facial features—big eyes, a stitched mouth, and a mischievous grin.
- Seal with a clear coat if desired for durability.
Pros and Cons
| Pros | Cons |
|---|---|
| Simple and quick | May require touch-ups |
| Great for all ages | Limited to available ornament shapes |
2. Oogie Boogie Bunting
This festive bunting can be draped around your home for a spooky touch.

Materials Needed
- Green felt
- Black string or twine
- Scissors
- Hot glue gun
Instructions
- Cut out Oogie Boogie shapes from the green felt.
- Attach black string to each shape with the hot glue gun.
- Hang the bunting in doorways, on walls, or from the ceiling.

Pros and Cons
| Pros | Cons |
|---|---|
| Colorful and eye-catching | Can be time-consuming to cut out shapes |
| Reusable for future holidays | Requires some crafting skills |
3. Sally’s Flower Pots
Bring a bit of Sally’s spirit into your home with these whimsical flower pots.

Materials Needed
- Terracotta pots
- Acrylic paints (various colors)
- Paintbrush
- Potting soil and flowers
Instructions
- Paint terracotta pots in bright colors and add Sally’s patchwork design.
- Allow to dry completely.
- Fill with potting soil and plant your favorite flowers.

Pros and Cons
| Pros | Cons |
|---|---|
| Adds life to your decor | Needs maintenance and watering |
| Beautiful focal point for any space | Flowers may not last long |
4. Haunted House Centerpiece
This centerpiece will grab the attention of your guests and provide a perfect Halloween Town vibe.

Materials Needed
- Small cardboard boxes
- Black paint
- White glow-in-the-dark paint
- LED lights
- Fake spider webs (optional)
Instructions
- Paint the cardboard boxes black and allow to dry.
- Create windows and doors by cutting out shapes and painting them with white glow-in-the-dark paint.
- Set up a few LED lights inside the boxes for added ambiance.
- Place fake spider webs around the house for an extra spooky effect.

Pros and Cons
| Pros | Cons |
|---|---|
| Creates a stunning visual | May take time to assemble |
| Can be reused every year | Requires some crafting skill |
Setting the Scene: Additional Tips
Once you have completed your decorations, it’s time to set the scene!
Lighting
Use colored LED lights to enhance the mood. String lights in purple, orange, and green can create that perfect Halloween Town ambiance.

Soundtrack
No decorations are complete without a fitting soundtrack! Play the Nightmare Before Christmas soundtrack to set the tone for your festivities.
Creating a Theme
Consider selecting a specific scene from the movie and creating decorations to match. For example, you could have a “Christmas Town” section with bright colors and festive elements alongside a “Halloween Town” area with darker hues and spooky touches.
Conclusion: Your DIY Nightmare Before Christmas Journey
Creating DIY Nightmare Before Christmas decorations brings a unique blend of holiday cheer and spooky fun. These projects are not just decorations; they are opportunities to express your creativity and make memories with family and friends. So grab your materials, choose your favorite projects, and embark on this enchanting journey!
FAQs about DIY Nightmare Before Christmas Decorations
What materials do I need for DIY Nightmare Before Christmas decorations?
You’ll need basic craft supplies like paint, cardboard, glue, and fabric. More specific materials depend on the projects you choose.
Can kids participate in making these decorations?
Absolutely! Most of the projects can be adapted for children, making it a fun family activity.
Are these decorations safe for outdoor use?
Some decorations can be used outdoors, but make sure to use weatherproof materials and secure them properly to withstand the elements.
How can I store these decorations for next year?
Store your DIY decorations in airtight containers away from moisture and light to ensure they’re preserved for future use.
Where can I find inspiration for more DIY projects?
Explore Pinterest, craft blogs, and YouTube for a wealth of tutorials and ideas tailored to your interests and skill level.