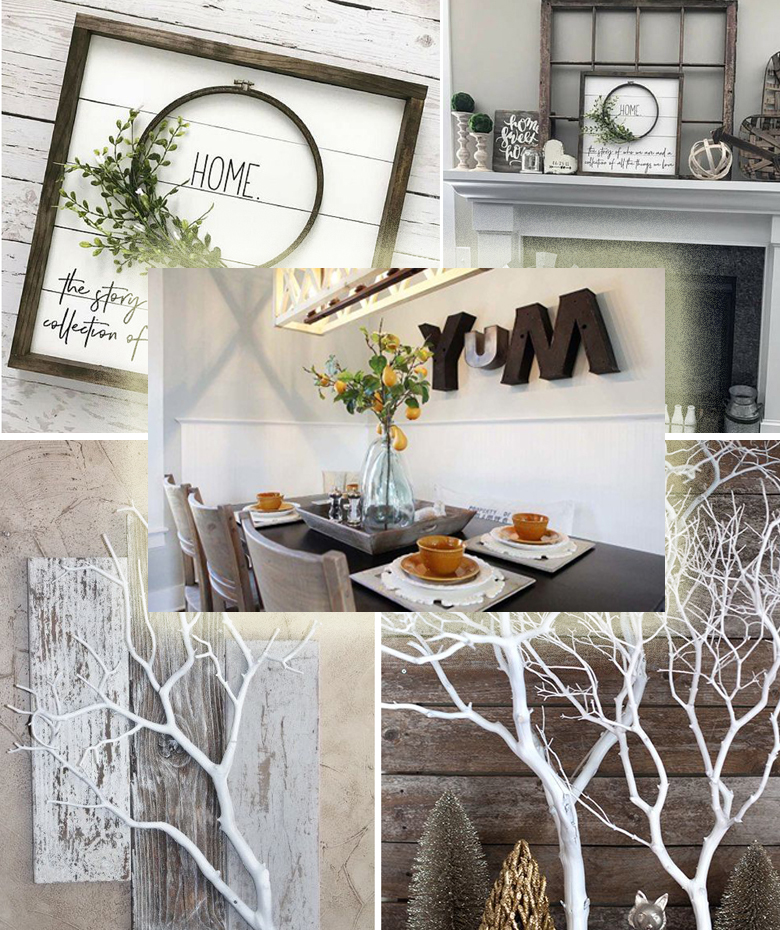
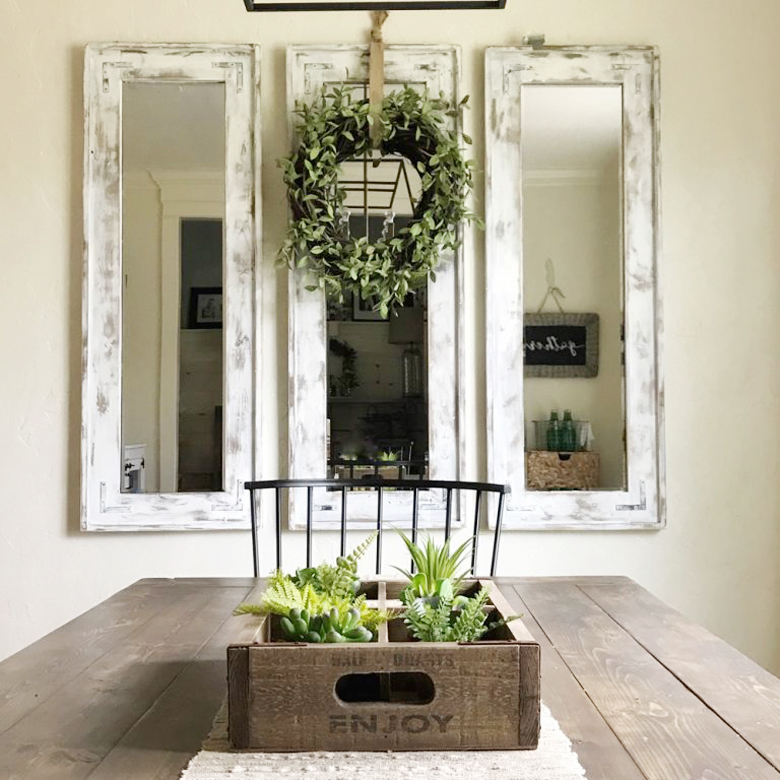
If you’re looking to add some warmth and character to your home, DIY rustic wall decor is the perfect solution. As someone who has transformed my own living space using rustic elements, I can assure you that it’s not only satisfying but also a fun way to express your creativity. In this comprehensive guide, we’ll explore various ideas, projects, and tips for creating gorgeous rustic wall decor that fits any room in your home.
Understanding Rustic Decor
Rustic decor is characterized by its natural, aged, and often handcrafted appearance. It emphasizes simplicity, earthy tones, and the use of raw materials. Popular elements include wood, metal, and textiles that reflect a cozy, inviting atmosphere.
The Appeal of Rustic Decor
- **Warmth:** Rustic decor brings a sense of warmth and comfort to your home.
- **Timelessness:** The rustic style is classic and can fit a range of settings, from modern to traditional.
- **Personalization:** DIY projects allow you to add personal touches that reflect your style and personality.
Essential Materials for DIY Rustic Wall Decor
Before diving into specific projects, let’s discuss the materials you may need to get started on your rustic wall decor journey.
1. Wood
Reclaimed wood is a popular choice for rustic projects. It’s sustainable and often comes with a unique history.
2. Metal Accents
Old metal signs or fixtures can be incorporated into your decor for an added industrial touch.
3. Fabric
Natural fibers like burlap, linen, or cotton work well for creating texture and warmth.
4. Paint and Stains
Weathered paints and stains can evoke an aged look, which is crucial for rustic decor.

Step-by-Step DIY Rustic Wall Decor Projects
Project 1: Rustic Wood Pallet Art
Creating wall art from wood pallets is one of the easiest and most impactful rustic decor projects you can tackle.
Materials Needed:
- Wood pallet
- Sandpaper
- Paint or wood stain
- Brushes or rags
- Hanging hardware

Instructions:
- Prepare the Pallet: Sand down any rough edges and clean it thoroughly.
- Stain or Paint: Apply your chosen stain or paint. Let it dry completely.
- Personalize: Add quotes, images, or designs using stencil and paint.
- Hang Your Artwork: Attach hanging hardware to the back and display it proudly on your wall.
Pros and Cons of Wood Pallet Art
| Pros | Cons |
|---|---|
| Cost-effective | May require extra maintenance |
| Customizable | Limited durability if not treated properly |
| Eco-friendly | Can be heavy depending on wood used |

Project 2: Vintage Frame Collage
Turn old frames into a stunning collage that tells a story about your family or travels.
Materials Needed:
- Old picture frames (various sizes)
- Paint or stain
- Canvas or board
- Photos, fabric or art pieces
- Glue or tape

Instructions:
- Choose Your Frames: Select a variety of old frames that you can repurpose.
- Revamp the Frames: Paint or stain the frames for a uniform look.
- Arrange Your Layout: Before gluing, lay out your design on a flat surface.
- Secure the Photos: Attach your chosen images or fabric to the back of the frames and hang your collage on the wall.
Pros and Cons of a Vintage Frame Collage
| Pros | Cons |
|---|---|
| Unique and personal | Can be time-consuming to arrange |
| Great conversation starter | Requires a variety of frames |
| Flexible design options | Frames may need frequent cleaning |

Project 3: Rustic Wreaths as Wall Decor
Wreaths are not only for doors! A rustic wreath can add a lovely touch to your wall space.
Materials Needed:
- Wire wreath frame
- Floral wire
- Greenery (eucalyptus, pine, etc.)
- Seasonal decor (berries, flowers, etc.)

Instructions:
- Start with a Base: Wrap your wire frame with greenery until fully covered.
- Secure with Floral Wire: Use floral wire to hold the arrangement in place.
- Add Accents: Incorporate seasonal accents to match the time of year.
- Hang Your Wreath: Find the perfect spot to display your masterpiece.
Pros and Cons of Rustic Wreaths
| Pros | Cons |
|---|---|
| Seasonally adaptable | Can fade or wilt over time |
| Quick and easy to make | May require frequent updates |
| Beautiful focal point | Limited to wall space available |
Tips for Enhancing Your Rustic Wall Decor
Once you’ve created your rustic wall decor, you may want to enhance it further. Here are some tips:
1. Mix and Match Materials
Don’t be afraid to combine wood, metal, and fabric in your decor. A mixture adds depth and intrigue.
2. Play with Texture
Incorporate various textures, such as rough wood with soft textiles, to create an engaging visual appeal.
3. Use Natural Elements
Incorporate dried flowers, branches, or greenery to bring the outdoors inside.
4. Lighting Matters
Consider how lighting affects your decor. Soft, warm lights can enhance the rustic feel.
Common FAQs About DIY Rustic Wall Decor
What are the best colors for rustic decor?
Earth tones like browns, greens, and muted reds work best for a rustic aesthetic. Think about incorporating white or cream for contrast.
Can I create rustic decor on a budget?
Yes! Many rustic projects utilize reclaimed materials or items you may already have at home, making it budget-friendly.
How do I maintain my rustic wall decor?
Regular dusting and occasional touch-ups with paint or stain will keep your decor looking its best.
What tools do I need for these DIY projects?
A basic toolkit with a hammer, nails, screws, a drill, glue, and sandpaper will cover most of your needs.
Can I customize my projects further?
Absolutely! Personalizing your projects with your favorite quotes, colors, or styles is what makes DIY decor truly unique.
Final Thoughts
Creating your own DIY rustic wall decor is not only a rewarding experience but also a beautiful way to express your personality and style. From rustic wood art to charming wreaths, the possibilities are endless. As you embark on your rustic decor journey, remember to enjoy the process, and let your creativity shine!