Winter is upon us, and what better way to embrace the season than with a charming DIY snowman door decoration? This friendly figure can bring a smile to everyone who passes by, and it’s a delightful project for crafters of all ages. In this article, I’ll share my personal experiences creating snowman decorations, provide you with step-by-step instructions, and offer tips to make your front door a winter wonderland. Let’s dive in!
Why Choose a DIY Snowman Door Decoration?
DIY decorations not only add a personal touch to your home, but they also give you the chance to engage in a creative project that can be fun for the whole family. Here are a few reasons why you should consider crafting a snowman door decoration this winter:
- Personalization: Create a decoration that reflects your personality or family style.
- Eco-Friendly: Use sustainable materials and reduce waste with DIY projects.
- Cost-Effective: Save money by creating a beautiful decoration yourself.
- Quality Time: Engage your loved ones in a fun and rewarding activity.
Essential Supplies for Your Snowman Door Decoration

Before we begin, let’s gather all the materials you’ll need to craft your snowman door decoration. Most of these items can be found at a local craft store or even in your garage!
Materials List
- White foam or poster board (for the snowman body)
- Colored paper or felt (for the scarf, eyes, and buttons)
- Black construction paper (for the hat)
- Glue or glue gun
- Scissors
- Wire or string (for hanging)
- Markers (for additional details)
- Optional: LED lights or glitter for added flair

Tools Needed
- Measuring tape
- Pencil
- Hot glue gun
- Craft knife (if necessary)
Step-by-Step Guide to Creating Your Snowman Door Decoration

Now that you have all the materials and tools ready, let’s get started on crafting the perfect snowman for your door!
Step 1: Create the Snowman Base
Begin by deciding the size of your snowman. You can create a classic three-tier snowman or a simpler two-tier version. For my snowman, I opted for the three-tier style.

- Cut the foam board: Measure and cut circles from the foam or poster board. Typical sizes for the snowman body are:
| Body Part | Diameter (inches) |
|---|---|
| Bottom | 20 |
| Middle | 14 |
| Head | 10 |

After cutting the circles, stack them from largest to smallest, gluing them together to form the snowman body.
Step 2: Add Facial Features and Accessories
Here comes the fun part! Decorate your snowman with friendly features:

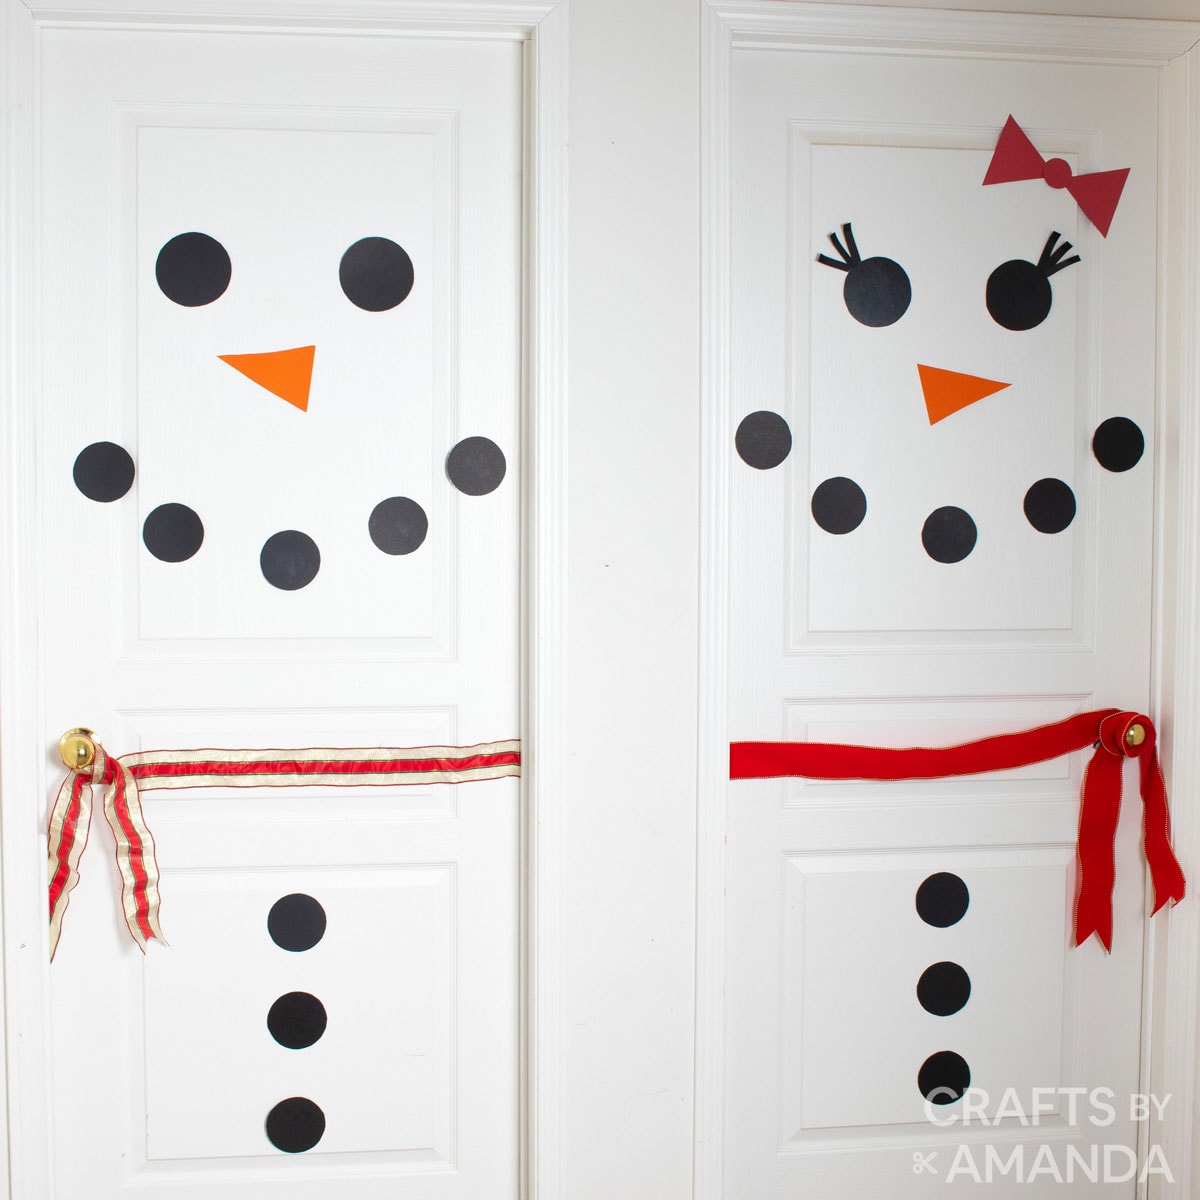
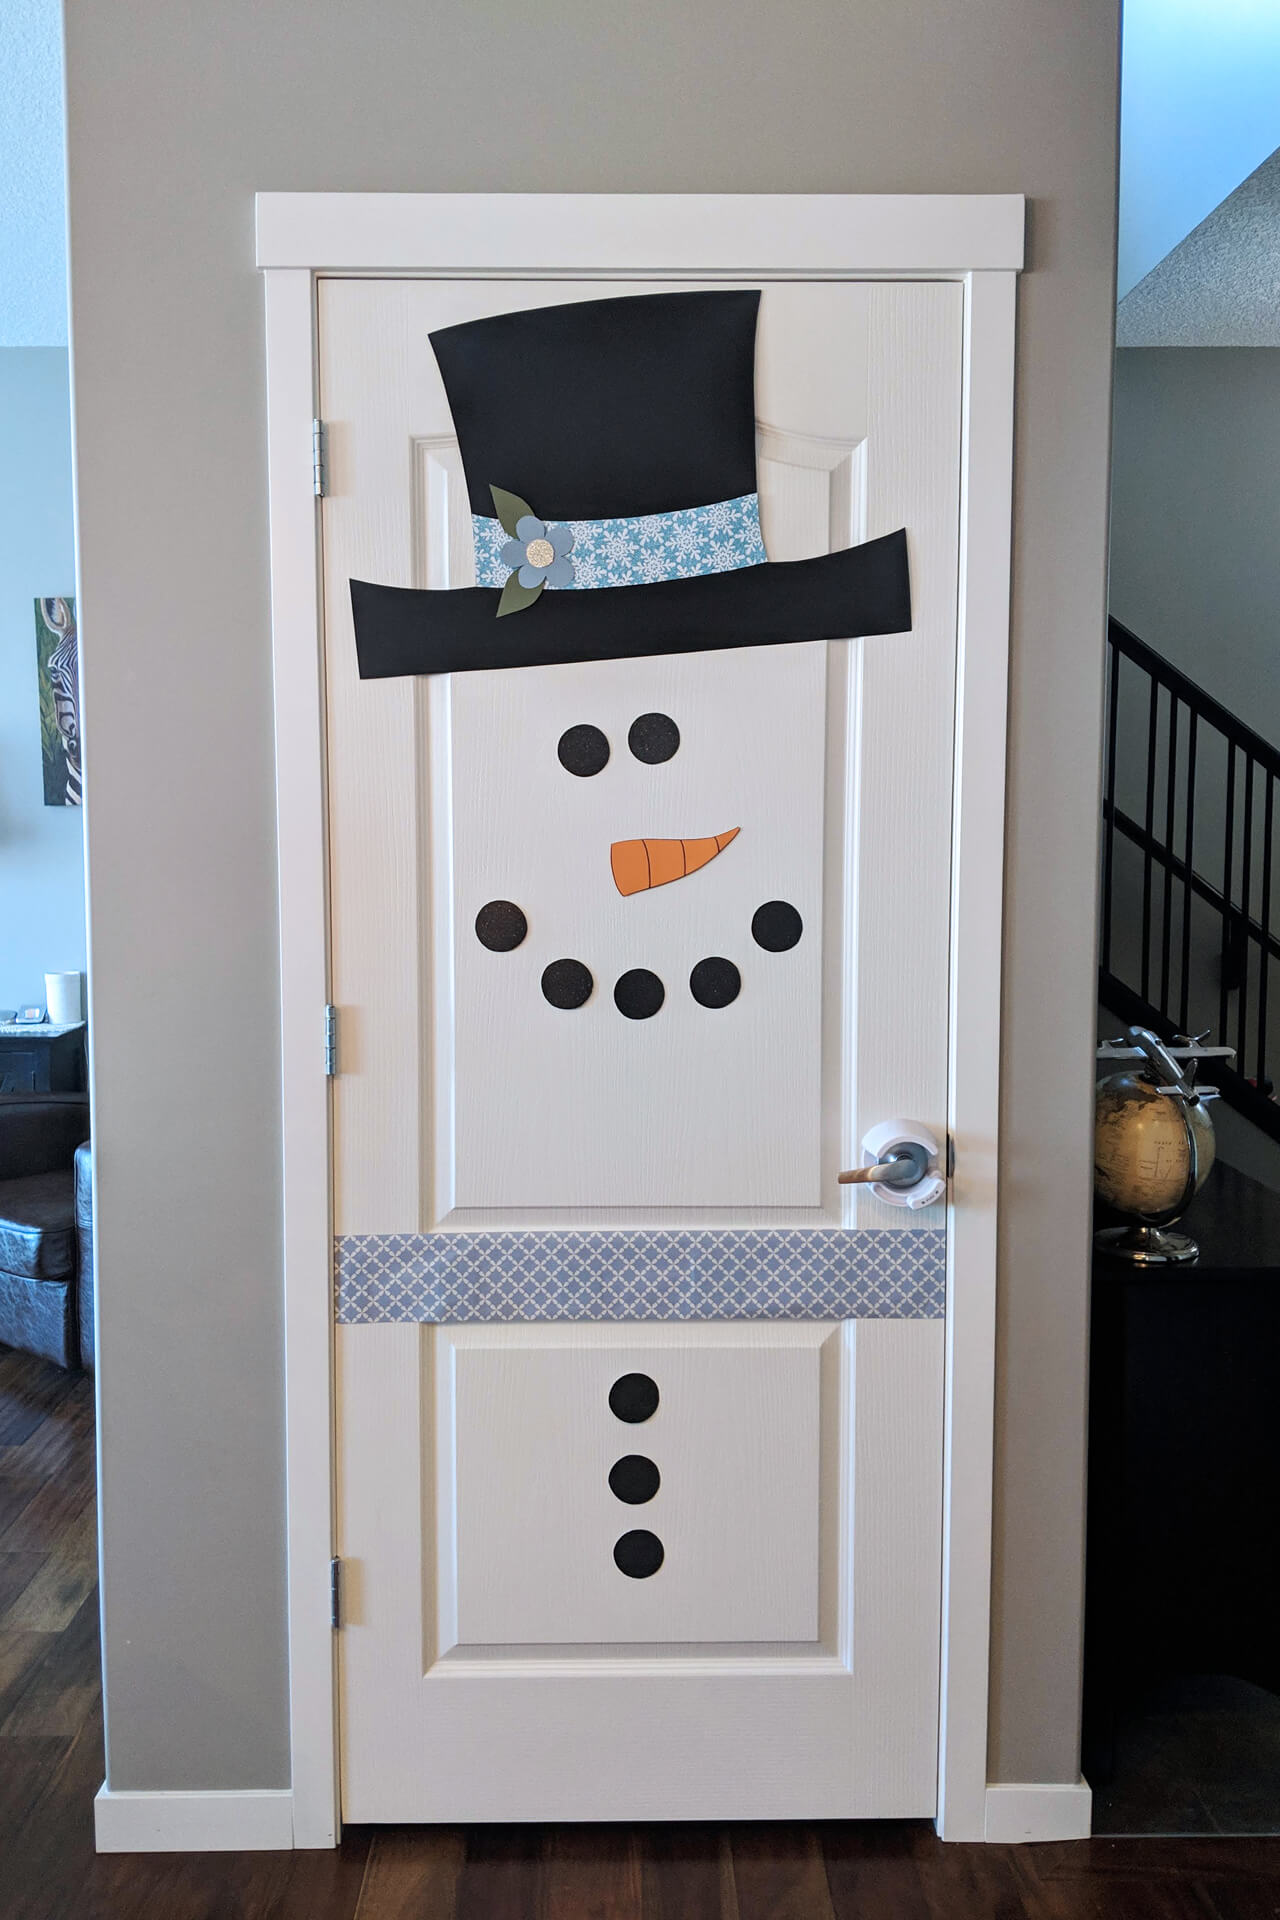
- Eyes: Use black buttons or cut-out paper circles.
- Carrot Nose: Cut a triangle from orange paper for the snowman’s nose.
- Scarf: Create a scarf from a strip of fabric or felt. I chose a vibrant red felt that really pops!
- Hat: To make a top hat, cut out a rectangle and a square from the black paper. Glue them together to form the hat shape.
Step 3: Secure the Decoration for Your Door
To ensure your snowman hangs securely on your door, make a loop with wire or string and attach it to the back of the snowman. This will allow you to easily hang him on a hook or doorknob.
Optional: Adding Lights for Extra Charm
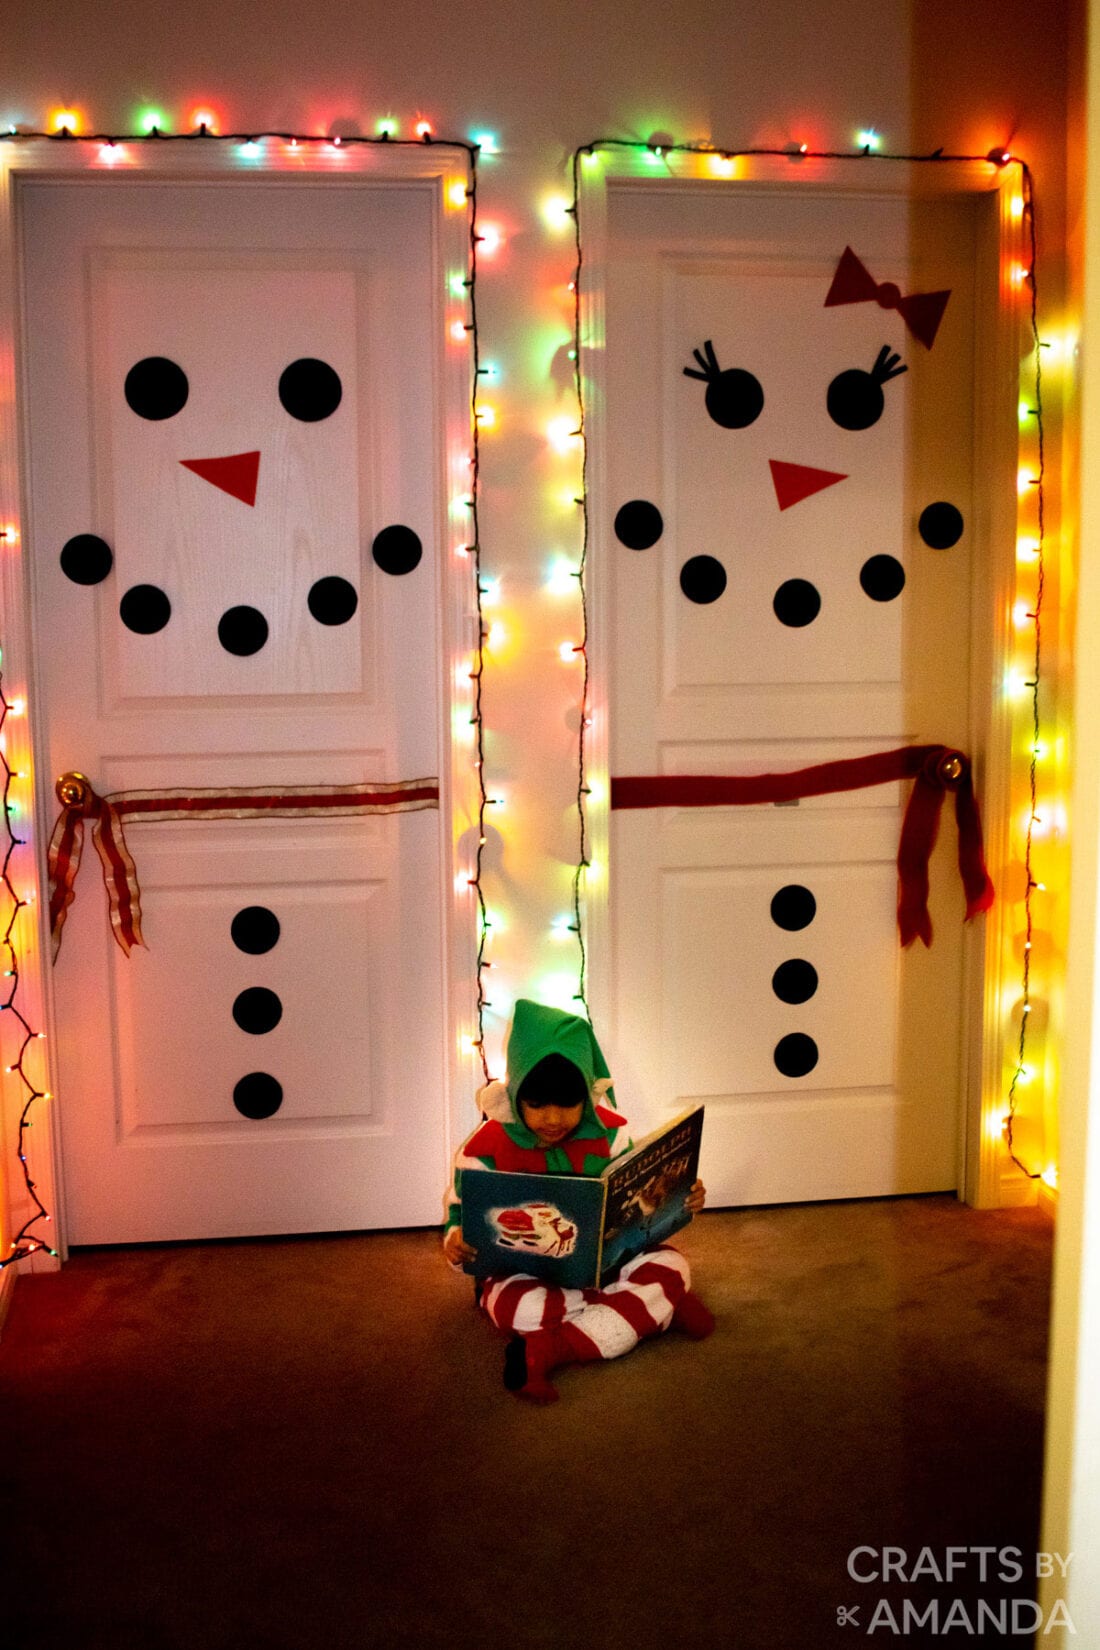
If you want to go the extra mile, consider adding some LED string lights around the edges of the snowman. It gives a warm, inviting glow during the evening, and guests will be delighted by the twinkling lights!
Personal Experience: My Snowman Creation Journey
When I first decided to create a DIY snowman door decoration, I was a little intimidated by the prospect. However, I soon realized how easy and enjoyable it was! I gathered my kids, and together we spent a wonderful afternoon crafting. The laughter we shared as we decorated the snowman was priceless, and seeing their creativity shine added to the joy of the process. Watching our snowy friend come to life was rewarding, and now he greets every guest with cheer!
Creative Variations of Snowman Door Decorations
Want to make your snowman stand out even more? Here are some creative variations you can consider:
1. Snowman Family
Instead of one snowman, create a whole family! Craft snowmen of different sizes and attach them together or display them in various heights.
2. Themed Accessories
Dress your snowman according to a theme. For instance, make a winter sports snowman with a tiny snowboard or skis!
3. Interactive Decor
Make your snowman interactive by adding removable accessories like hats or scarves that your kids can switch out.
Pros and Cons of DIY Snowman Decorations
| Pros | Cons |
|---|---|
| Creative outlet for personal expression | Time-consuming for meticulous crafters |
| Cost-effective compared to store-bought decor | Requires some crafting skills |
| Fun family bonding activity | May require purchasing additional materials |
FAQs About DIY Snowman Door Decorations
What materials are best for outdoor snowman decorations?
For outdoor snowman decorations, consider using weather-resistant materials such as wood, metal, or plastic. If using foam or paper, ensure they are treated with a weather-resistant spray.
How can I make my snowman door decoration last longer?
To ensure durability, consider sealing your decoration with a weather-resistant sealant. If using paper, lamination can also help protect against moisture.
Can I use recycled materials for my snowman decoration?
Absolutely! Old clothes, buttons, and cardboard can all be repurposed to create a unique snowman while also being environmentally friendly.
What are some alternative themes for winter door decorations?
Aside from snowmen, consider creating decorations featuring penguins, polar bears, or a winter woodland theme with trees and animals!
Conclusion: Spread Winter Joy with Your DIY Snowman Door Decoration
Creating a DIY snowman door decoration is not just about making your home look festive; it’s about the joy, creativity, and memories you’ll create along the way. Don’t hesitate to let your imagination run wild! Whether you go for a classic look or a unique twist, your snowman will undoubtedly bring winter cheer to everyone who sees it.
I would love to hear about your snowman decorating experiences! Share your creations or any tips you have in the comments below. Happy crafting!