When it comes to home decor, nothing quite compares to the warmth and charm of wood. As a DIY enthusiast, I’ve always found that adding wooden elements can transform a room’s ambiance in an instant. In this guide, I’ll share my personal experiences and some amazing projects that you can easily undertake to elevate your home’s decor using wood. Whether you’re looking to craft rustic, modern, or eclectic designs, you’ll find a plethora of ideas here. So, roll up your sleeves and let’s dive into the world of DIY wood decor!
Table of Contents
- Why Choose Wood for Wall Decor?
- Popular DIY Wood Wall Decor Projects
- Essential Tools and Materials
- Tips for Successful DIY Wood Projects
- Pros and Cons of Wood Decor
- Frequently Asked Questions
Why Choose Wood for Wall Decor?
Wood has a unique ability to bring nature inside our homes. Here are a few reasons why I believe wood is the best choice for wall decor:
- Natural Beauty: Wood has an organic look and feel that can complement various design styles.
- Versatility: It can be stained, painted, or left natural, offering endless customization options.
- Durability: Wood decor can last for years with proper care, making it a worthwhile investment.
- Eco-Friendly: When sourced responsibly, wood is a sustainable material that supports environmentally-friendly practices.
Popular DIY Wood Wall Decor Projects
Now that we know why wood is a fantastic choice, let’s explore some of my favorite DIY wood wall decor projects. Each one can be tailored to fit your personal style!
1. Wooden Signs
Creating wooden signs is a fun and straightforward DIY project. You can personalize them with quotes, family names, or even directional signs for your home.

Materials Needed:
- Wood board (choose any size)
- Sandpaper
- Paint or wood stain
- Paintbrushes
- Stencils or vinyl lettering
- Sealant (optional)
Steps to Create Wooden Signs:
- Start by sanding the wood board to smooth out any rough edges.
- Apply a base coat of paint or stain and let it dry completely.
- Position your stencil or lettering on the board and trace it with a pencil.
- Fill in the traced design with paint, ensuring to stay within the lines.
- Once dry, seal your sign to protect it from wear and tear.

2. Wooden Photo Frames
Showcase your cherished memories with beautiful wooden photo frames. This project lets you add a personal touch to your decor.
Materials Needed:
- Wooden dowels or thin boards
- Wood glue
- Clamps
- Paint or varnish (optional)
- Glass or acrylic sheet

Steps to Create Wooden Photo Frames:
- Cut your wood into four pieces: two for the width and two for the height of your frame.
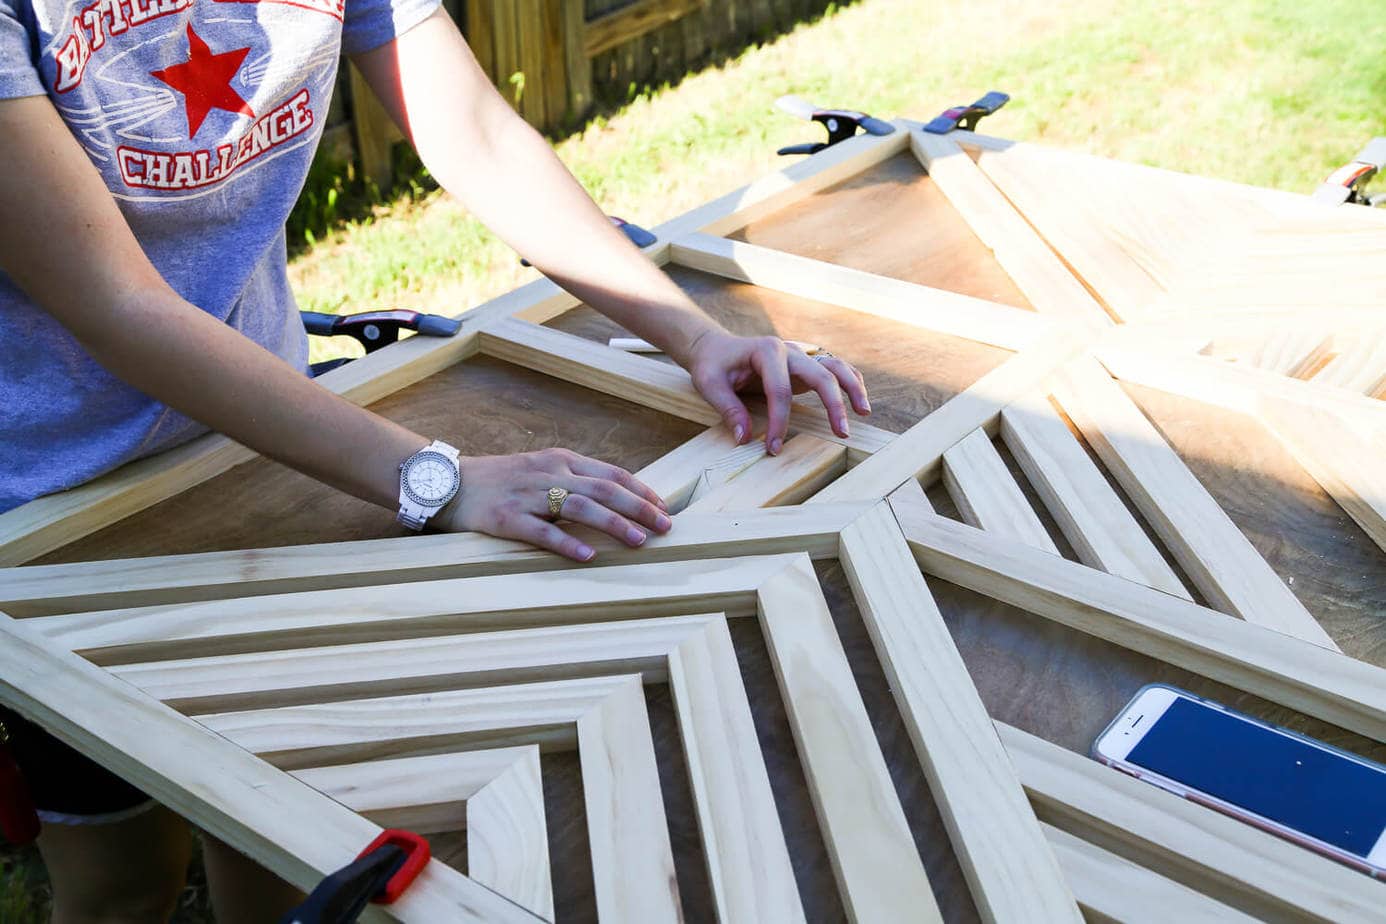
- Form a rectangle and glue the corners together. Use clamps to hold them in place.
- Once the glue is dry, paint or varnish your frame, if desired.
- Insert the glass or acrylic sheet and your photo before sealing the back.
3. Floating Wood Shelves
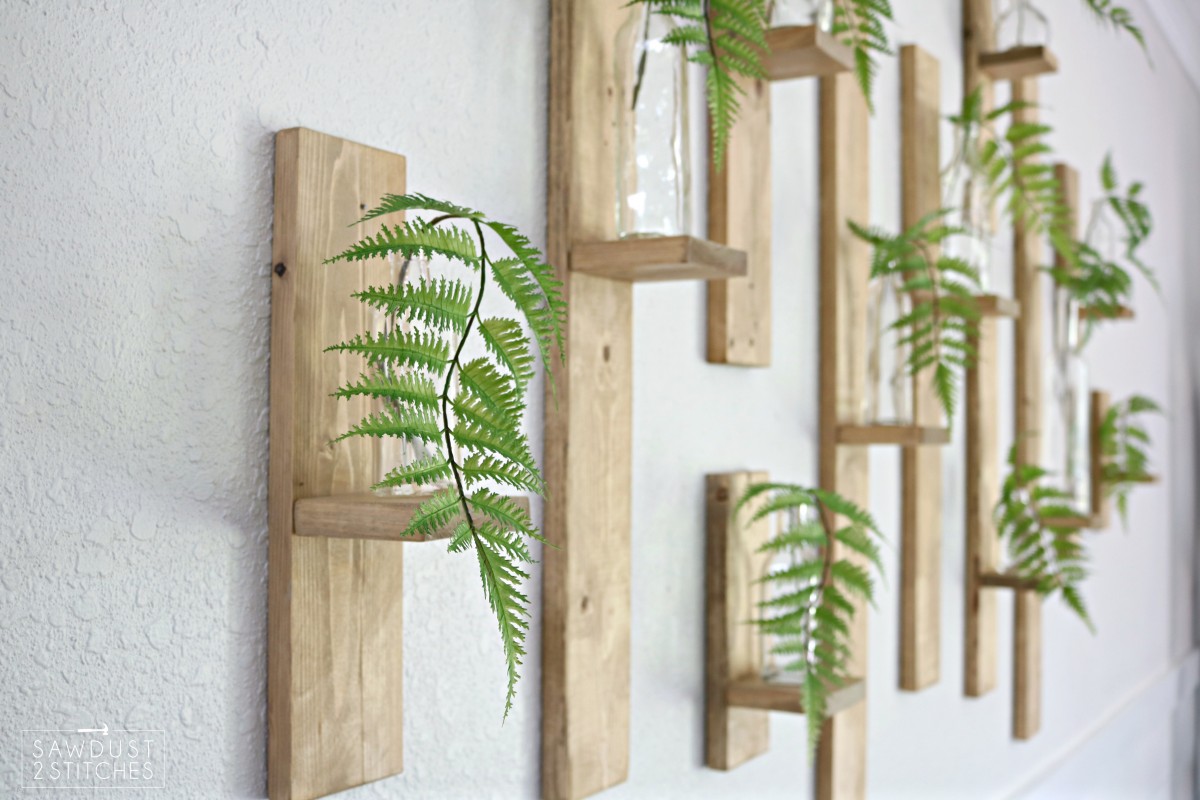
Floating shelves are both functional and decorative. They can be used to display books, plants, or other decorative items.

Materials Needed:
- Wood board (for shelves)
- Brackets or hardware for mounting
- Drill and screws
- Sandpaper
- Stain or paint (optional)
Steps to Create Floating Wood Shelves:
- Sand the wood board to ensure a smooth surface.
- If desired, stain or paint the board and allow it to dry.
- Decide on the placement of your shelves and mark the wall accordingly.
- Install the brackets and secure the shelves in place.

4. Wooden Wall Art
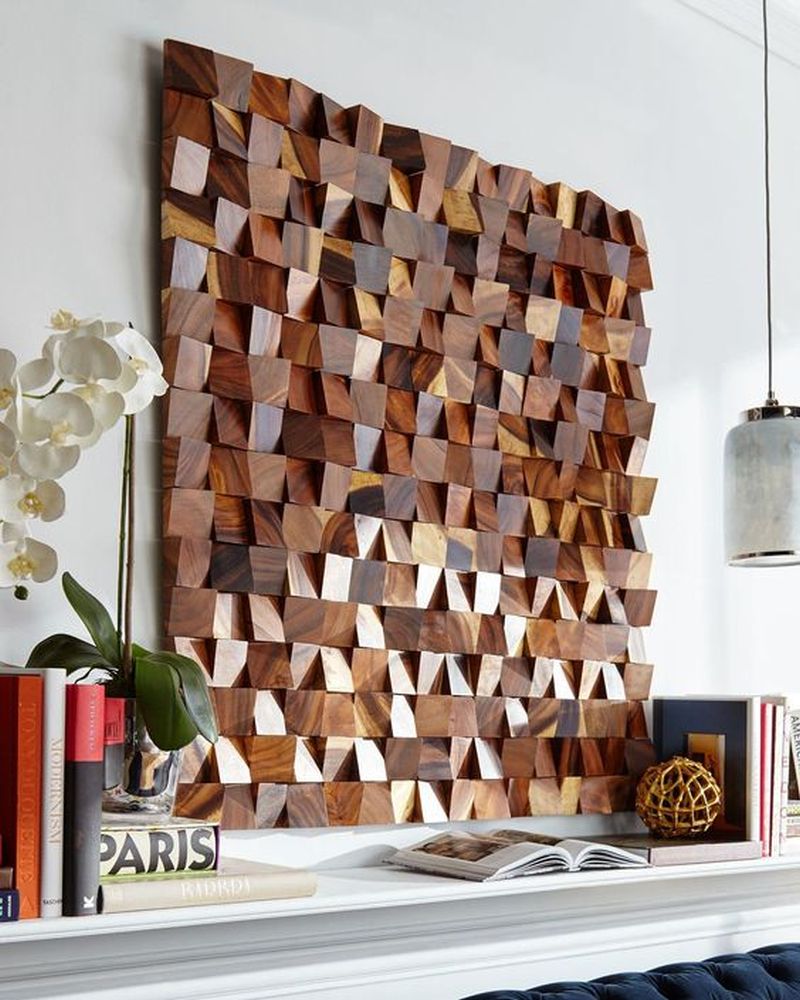
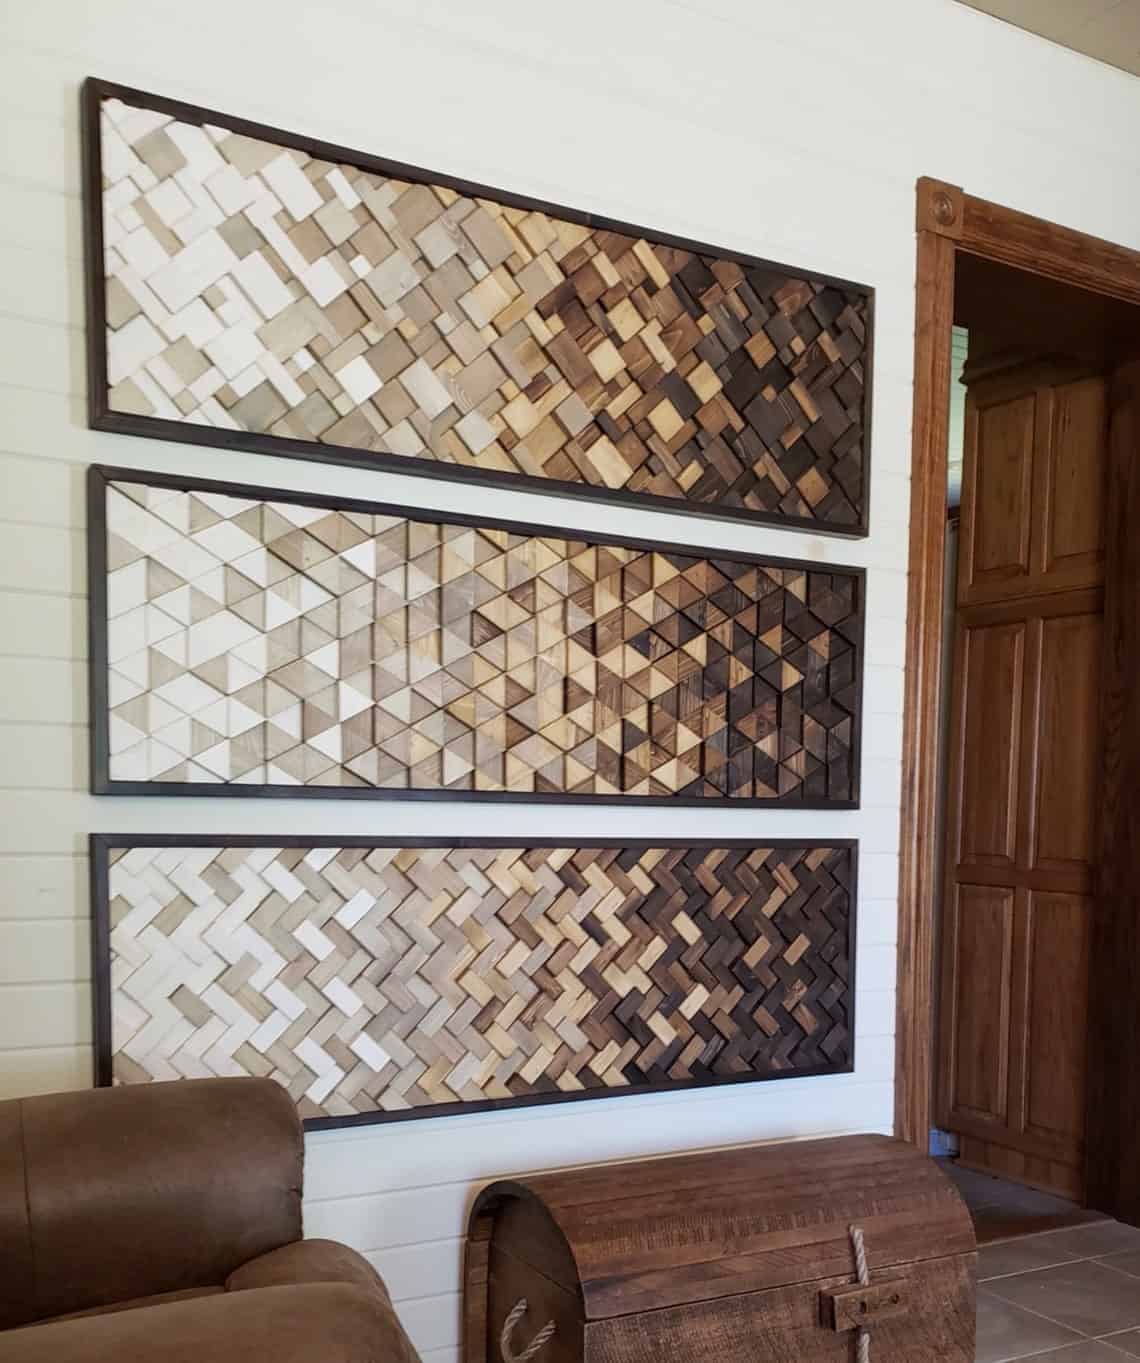
Creating wooden wall art can be a fulfilling way to express your creativity. You can use a combination of wood pieces to form unique designs.
Materials Needed:
- Various sizes of wood pieces
- Wood glue or nails
- Paint or wood burn tools
- Frame or backing (optional)

Steps to Create Wooden Wall Art:
- Plan your design and arrange the wood pieces on a flat surface.
- Once satisfied, glue or nail the pieces together.
- Optionally, paint or wood burn the pieces for added design elements.
- Mount your art piece on the wall using a frame or directly.
Essential Tools and Materials
Before you embark on your wood decor journey, it’s important to have the right tools and materials. Below is a comprehensive list:
Basic Tools:
- Measuring tape
- Saw (hand saw or circular saw)
- Drill
- Screwdriver
- Chisel
- Clamps
- Pencil for marking
Materials:
- Various types of wood (plywood, hardwood, reclaimed wood)
- Paint or wood stain
- Sealant or varnish
- Sandpaper of various grits
Tips for Successful DIY Wood Projects
As someone who has made my fair share of mistakes, I wanted to share some essential tips to help you avoid common pitfalls:
- Measure Twice, Cut Once: Always double-check your measurements to ensure accuracy.
- Safety First: Wear safety goggles and gloves when using power tools.
- Take Your Time: Rushing can lead to mistakes. Enjoy the process!
- Experiment: Don’t be afraid to try new designs or techniques; creativity thrives on experimentation.
Pros and Cons of Wood Decor
| Pros | Cons |
|---|---|
| Natural aesthetic that enhances any room | Can be expensive depending on the type of wood |
| Versatile in terms of style and function | Requires maintenance to prevent damage |
| Durable and long-lasting with proper care | Preparation and finishing can be time-consuming |
| Eco-friendly options are available | Some types of wood may not be sustainably sourced |
Frequently Asked Questions
What type of wood is best for wall decor?
The best types of wood for wall decor depend on your project, but popular options include pine, oak, and cedar for their durability and aesthetic appeal.
How can I make my DIY wood decor last longer?
To extend the life of your wood decor, apply a protective sealant and keep it in a climate-controlled environment to prevent warping or cracking.
Can I use reclaimed wood for DIY projects?
Absolutely! Reclaimed wood adds character and is an eco-friendly option. Just ensure it’s safe and treated to avoid pests.
What tools do I need for simple wood projects?
For basic projects, you will need a measuring tape, saw, drill, and sandpaper. As you progress, you can invest in more specialized tools.
In conclusion, DIY wall decor with wood is a rewarding and creative endeavor. I hope this guide serves you well as you embark on your own projects. Remember, the beauty of DIY is in making it your own, so let your personality shine through your creations. Happy crafting!