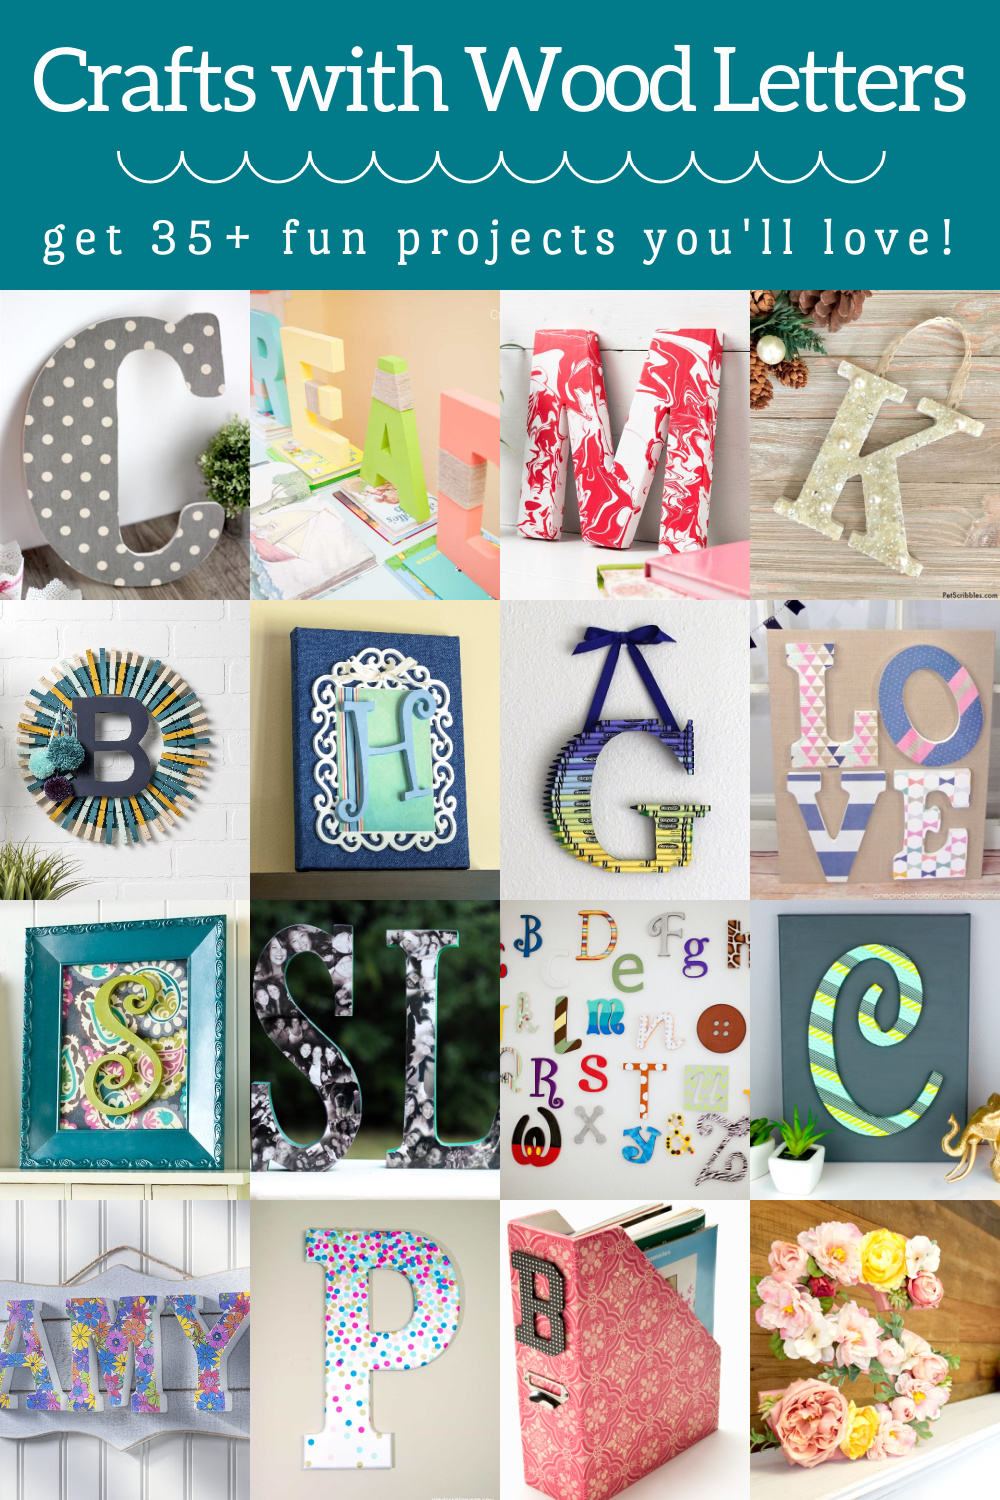
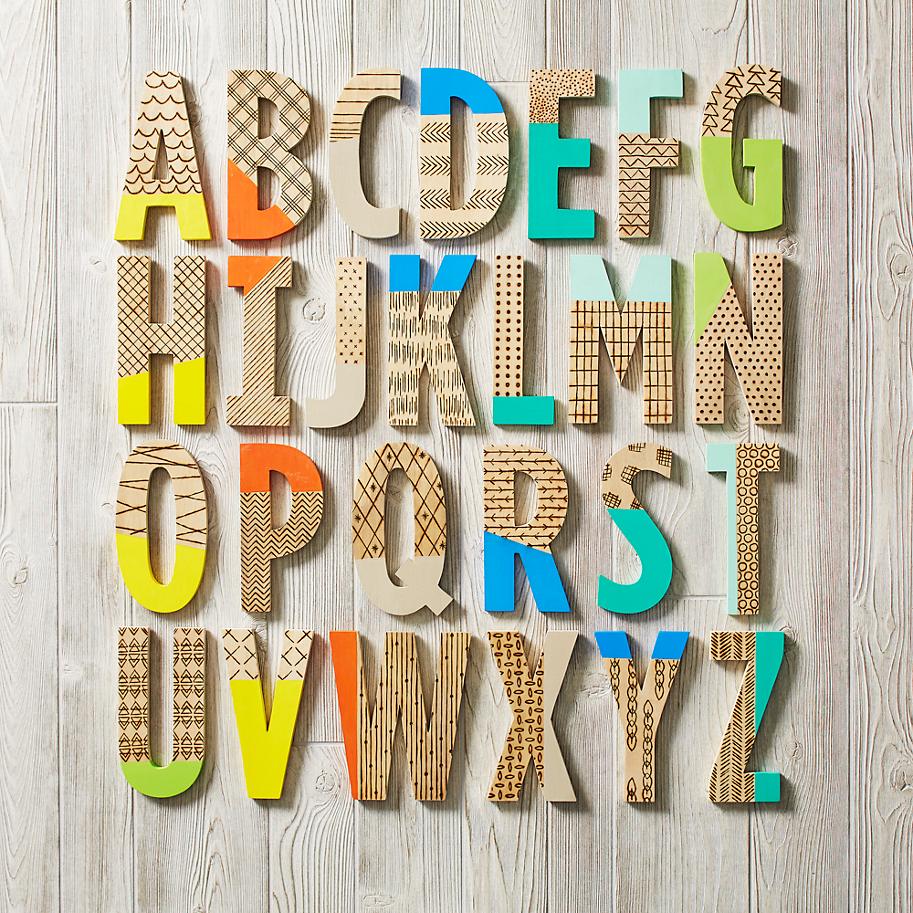
Welcome to the world of DIY wood letter decor! As someone who has spent countless weekends creating charming wooden accents, I’m excited to share the creative process, tips, and tricks that can transform your living space with personalized craftsmanship.
What is DIY Wood Letter Decor?
DIY wood letter decor involves crafting decorative letters from wood for personal or home decor purposes. These letters can represent initials, words, or phrases that hold special meaning.
With the right materials and tools, you can create stunning pieces that add a personal touch to your home or make thoughtful gifts for loved ones.
Benefits of DIY Wood Letter Decor
- Customizable: Choose your colors, sizes, and styles to match your decor.
- Affordable: Creating your decor can be more budget-friendly than store-bought options.
- Personal Touch: Create something meaningful that reflects your personality or your family’s story.
- Gift Potential: Handmade gifts are often more cherished than commercial products.
Materials Needed for DIY Wood Letter Decor
Before diving into the crafting process, let’s gather our materials. Here’s a handy list:
- Wood: Choose from plywood, MDF, or reclaimed wood.
- Paint or Stain: Pick colors that complement your space.
- Brushes or Sponges: For applying paint or stain.
- Sandpaper: To smooth edges and surfaces.
- Wood Glue: For assembling multi-layered letters.
- Craft Knife or Jigsaw: For cutting the wood into desired shapes.
- Sealant: To protect your finished product.
Choosing the Right Wood for Your Decor
Types of Wood
Different types of wood can yield different aesthetics and durability:
| Type of Wood | Pros | Cons |
|---|---|---|
| Plywood | Affordable, easy to work with | May warp if not sealed properly |
| MDF | Very smooth surface, good for painting | Not very durable outdoors |
| Reclaimed Wood | Unique look, eco-friendly | Can be more expensive, may require extra prep |
How to Make DIY Wood Letter Decor
Step-by-Step Guide
- Design Your Letters: Sketch your design on paper.
- Cut the Wood: Use a jigsaw or craft knife to cut out the letters from your wood piece.
- Sand the Edges: Smooth any rough edges with sandpaper.
- Paint or Stain: Apply your chosen color, allowing it to dry completely.
- Seal Your Letters: Once dry, coat with a sealant to protect them.
- Display Your Art: Set them on a shelf, hang on a wall, or give as a gift!

Tips for Success
Here are some tips that I found helpful during my own projects:
- Use a sharp blade for clean cuts.
- Plan your layout before cutting to ensure you maximize your wood usage.
- Let paint and sealant dry completely to prevent smudges.
- Experiment with layering different sizes for visual interest.
Creative Ideas for Wood Letter Decor
Personalizing Your Decor
Personalization is key in DIY decor. Here are some ideas to inspire you:
- Initials: Create a collection of your family’s initials.
- Inspirational Quotes: Choose quotes that resonate with you.
- Seasonal Decor: Switch out letters or words based on the season.
- Children’s Names: Decorate their rooms with their names in fun fonts.

Common Mistakes to Avoid
Learn from My Experience
As with any DIY project, there are pitfalls to avoid. Here’s what I learned:
- Skipping Sanding: Don’t skip this step; it makes a huge difference in finishing.
- Using Wet Paint: Always wait for layers to dry completely before adding more.
- Weak Adhesive: Ensure your glue is strong; wood can be heavy!
Displaying Your DIY Wood Letter Decor
Creative Display Ideas
Once your wood letters are complete, displaying them can be just as fun. Here are some display ideas:
- Wall Art: Hang letters on your wall for a stunning visual.
- Shelf Décor: Lean letters against the wall on shelves.
- Table Centerpieces: Use them as part of your dining or coffee table decor.
- Seasonal Displays: Change up your letters for seasonal decor.

Pros and Cons of DIY Wood Letter Decor
Weighing Your Options
Before you start, let’s evaluate some pros and cons:
| Pros | Cons |
|---|---|
| Unique and personalized | Time-consuming |
| Cost-effective | Requires tools and skills |
| Creative expression | Potential for mistakes |
FAQs About DIY Wood Letter Decor
What type of wood is best for beginners?
Plywood is often recommended for beginners due to its affordability and ease of work.

How can I make my wood letter decor weather-resistant?
Using outdoor sealants and treated wood can help make your decor weather-resistant.
Can I use a laser cutter for my project?
Absolutely! A laser cutter can provide precise cuts, making it easier to create intricate designs.

What are some good paint options for wood decor?
Acrylic paints and chalk paints are great options as they adhere well and come in a variety of colors.
Is DIY wood letter decor suitable for outdoor use?
Yes, but make sure to use weatherproof materials and sealants to ensure durability.
