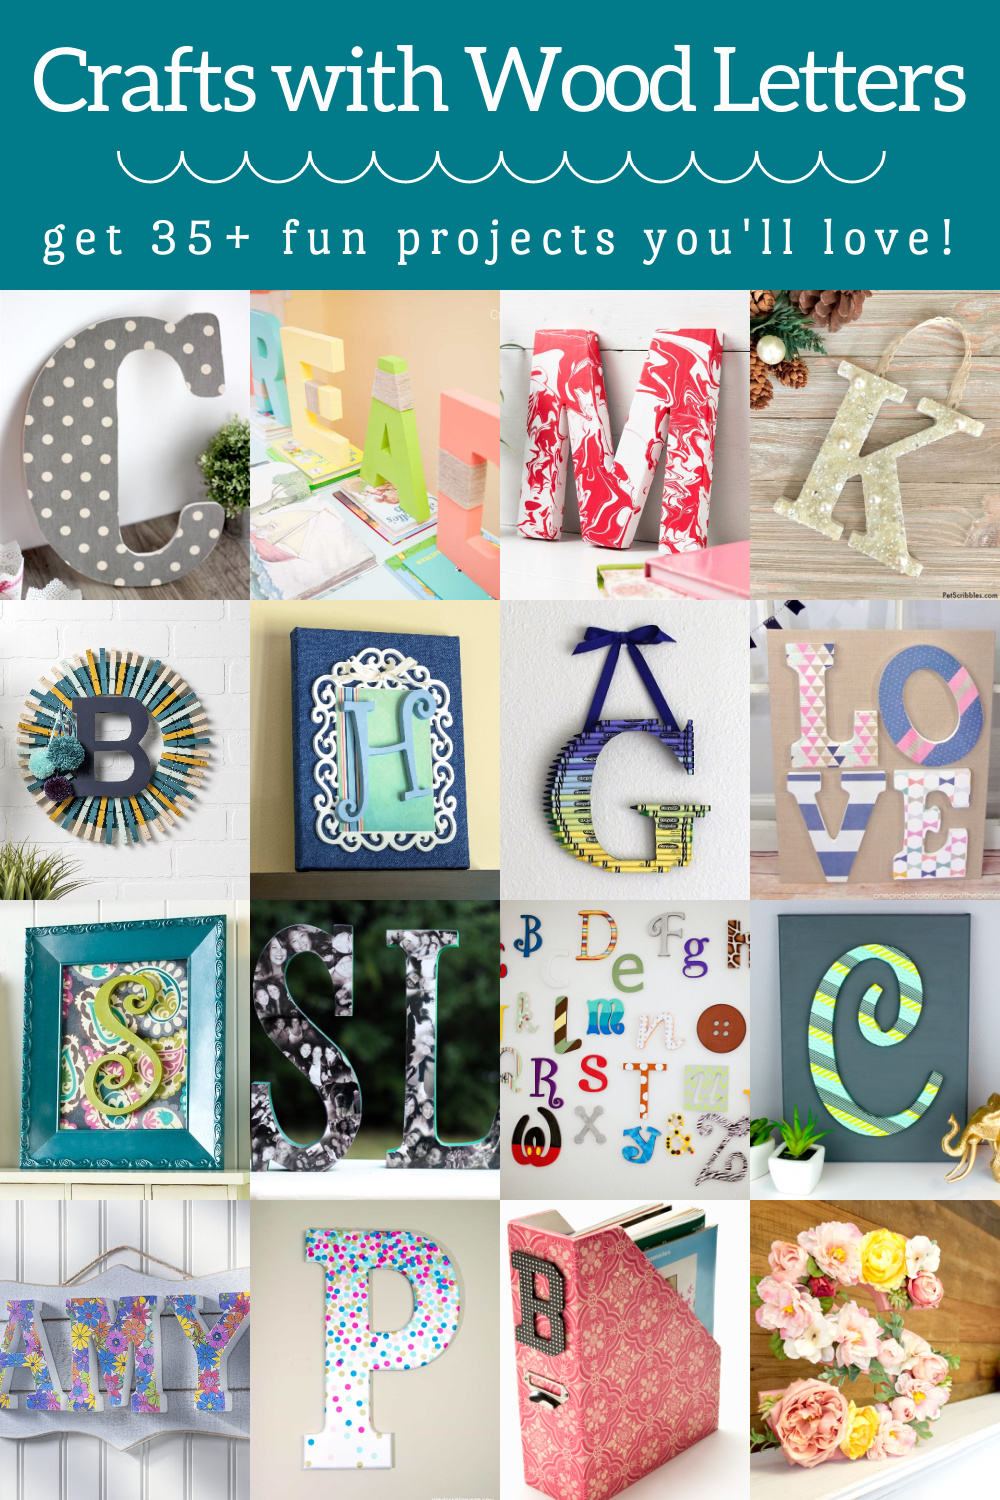
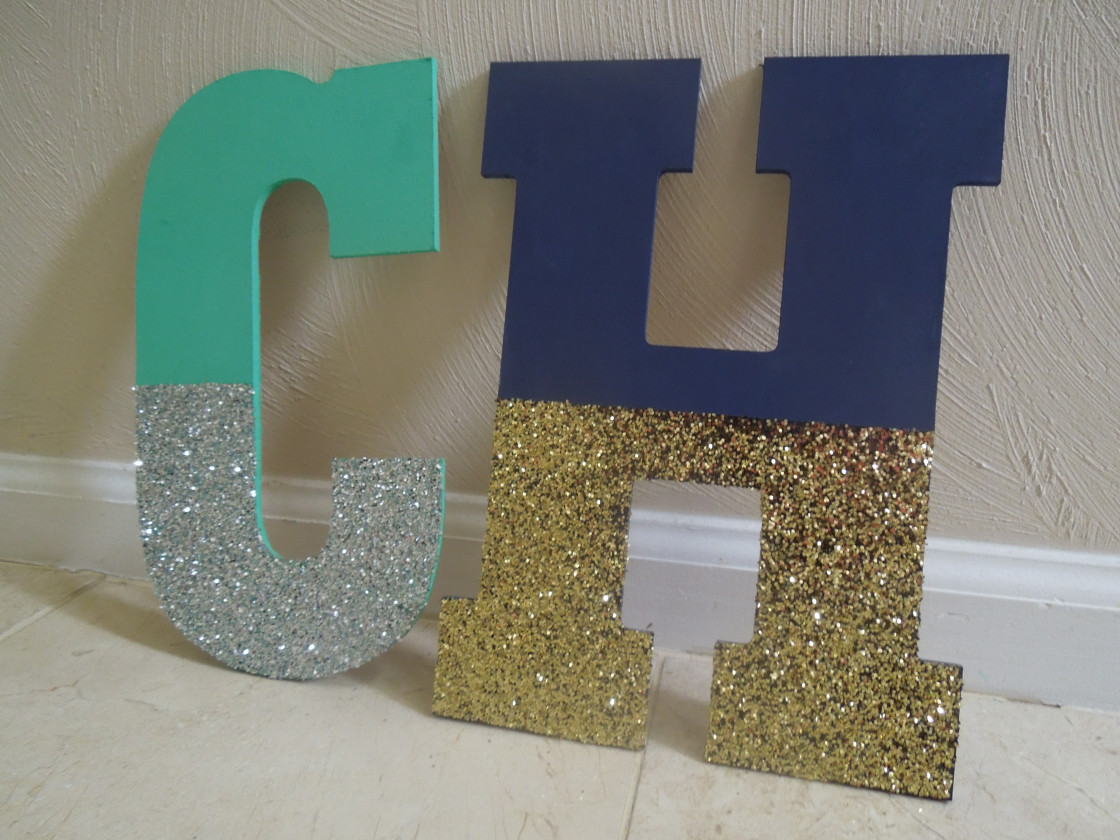
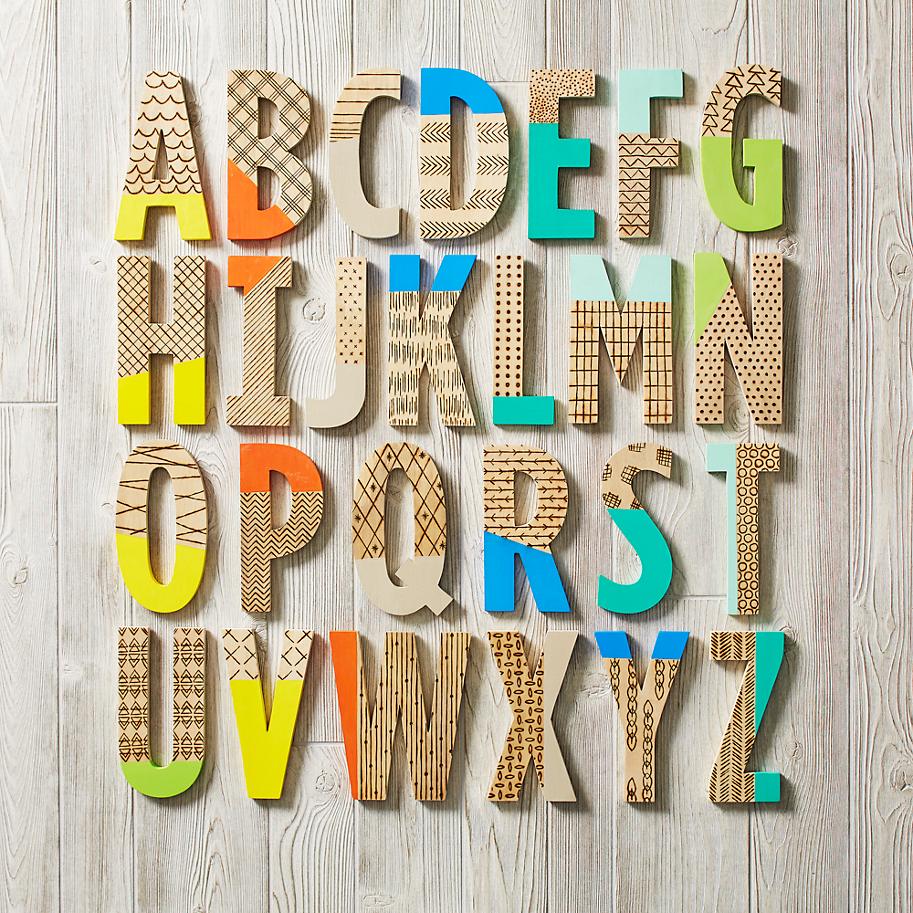
Are you looking to add a touch of personality to your space? DIY wooden letter decor is the perfect solution! Not only does it reflect your style, but it’s also a fun and rewarding project. In this comprehensive guide, I’ll walk you through everything you need to know about creating wooden letters that will enhance your home decor.
What is DIY Wooden Letter Decor?
DIY wooden letter decor involves crafting personalized letters from wood, which can be used as standalone pieces or incorporated into various decor elements. Whether you want to spell out your name, a favorite quote, or initials, the possibilities are endless. This creative endeavor not only allows you to express your individuality but also gives you the satisfaction of making something unique.
The Appeal of DIY Wooden Letter Decor
Wooden letter decor has gained popularity in recent years due to its versatility and charm. Here are some reasons why you might want to consider this DIY project:
- Personalization: You can customize the size, color, and design.
- Aesthetic Appeal: Wooden letters add warmth and character to any room.
- Affordability: Creating your decor can be more cost-effective than buying pre-made items.
- Fun Factor: It’s a creative project that can be enjoyed alone or with friends and family.

Getting Started with DIY Wooden Letter Decor
Materials and Tools You’ll Need

Before diving into your project, it’s essential to gather the right materials and tools. Here’s a list to get you started:
- Wood (Plywood, MDF, or solid wood)
- Letter templates or a stencil
- Pencil and ruler
- Saw (jigsaw or band saw)
- Sander (or sanding block)
- Paint or stain
- Brushes or rags for application
- Wood glue
- Drill and screws (if mounting)

Choosing the Right Wood
When selecting wood for your letters, consider the following options:

| Type of Wood | Pros | Cons |
|---|---|---|
| Plywood | Inexpensive, lightweight | Can splinter, less durable |
| MDF | Easy to cut, smooth surface | Not water-resistant, heavy |
| Solid Wood | Durable, adds natural beauty | More expensive, heavier |
Step-by-Step Guide to Creating Wooden Letters

1. Design Your Letters
The first step in your DIY project is to design your letters. You can use various methods to create your letter templates:
- Freehand Drawing: If you’re confident in your drawing skills, sketch your letters directly onto the wood.
- Printable Templates: Search online for printable letter templates that you can resize to fit your project.
- Stencils: Purchase or create stencils to ensure uniformity in your letters.

2. Cut Out the Letters
Once you have your design ready, it’s time to cut out the letters. Here’s how:
- Secure the wood to prevent movement.
- Outline your letters with a pencil.
- Using a jigsaw or band saw, carefully cut along the lines.
3. Sanding for Smooth Edges
After cutting, the edges of your letters may be rough. Use a sander or sanding block to smooth out the edges. This step is crucial for achieving a polished look and preventing splinters.
4. Painting or Staining
Now comes the fun part—adding color! Here are some tips:
- Choosing Paint: Acrylic paints are easy to work with and come in various colors.
- Staining for Natural Look: If you prefer a more rustic appearance, opt for wood stains to enhance the wood grain.
Application Techniques
You can apply paint or stain using a brush or cloth. Ensure even coverage and allow adequate drying time. You might want to apply multiple coats for depth of color.
5. Finishing Touches
Once your letters are painted, consider adding embellishments such as:
- Glitter for a festive touch
- Decals or stickers for added personalization
- Sealing spray to protect your letters from scratches and fading
6. Mounting Your Letters
Decide how you want to display your wooden letters. Here are a few ideas:
- Wall Hanging: Use screws or adhesive strips to mount letters on the wall.
- Tabletop Display: Place your letters on shelves or tables for a casual look.
- Outdoor Decor: Consider weatherproofing your letters for outdoor use.
Creative Ideas for Your Wooden Letter Decor
Personalized Name Signs
Create a stunning name sign for your child’s room or your entryway. Use different colors and embellishments to match your decor theme.
Inspirational Quotes
Craft wooden letters to spell out your favorite quotes. This can serve as a daily reminder of positivity and inspiration.
Seasonal Decorations
Switch up your wooden letter decor throughout the year by incorporating seasonal themes and colors.
Pros and Cons of DIY Wooden Letter Decor
Pros
- Creative expression: Personalize your home with your unique style.
- Satisfaction of making: Enjoy the process and take pride in your creation.
- Cost-effective: Save money by making your decor instead of buying it.
Cons
- Time investment: DIY projects can take longer than expected.
- Space considerations: Ensure you have enough workspace to complete your project.
- Skill level: May require some woodworking skills, which can be intimidating for beginners.
FAQs About DIY Wooden Letter Decor
What type of wood is best for DIY wooden letters?
The best type of wood depends on your project’s requirements. Plywood is budget-friendly, while solid wood provides durability and a premium look.
How do I hang wooden letters on the wall?
You can use adhesive strips, nails, or a picture hanging kit to securely attach wooden letters to the wall.
Can I use wooden letters outdoors?
Yes, but ensure you use weather-resistant materials and finishes to prevent damage from the elements.
How do I personalize my wooden letter decor?
You can personalize your letters by choosing specific colors, adding embellishments, or incorporating meaningful quotes.
Conclusion
Creating DIY wooden letter decor is a fantastic way to express your creativity while enhancing your home decor. Whether you opt for a simple word or an elaborate design, the choices are limitless. So, gather your materials, unleash your creativity, and enjoy the process of crafting something uniquely yours.
Ready to get started? Grab your tools and let’s turn those ideas into beautiful wooden letters!