When it comes to home decor, the details matter. One little detail that can make a big difference is decorative corner moulding wood. Not only does it enhance the aesthetic appeal of a room, but it also adds depth and character to your interiors. As someone who has dabbled in home improvement projects, I’ve discovered that moulding can transform a mundane space into something truly extraordinary.
What is Decorative Corner Moulding Wood?
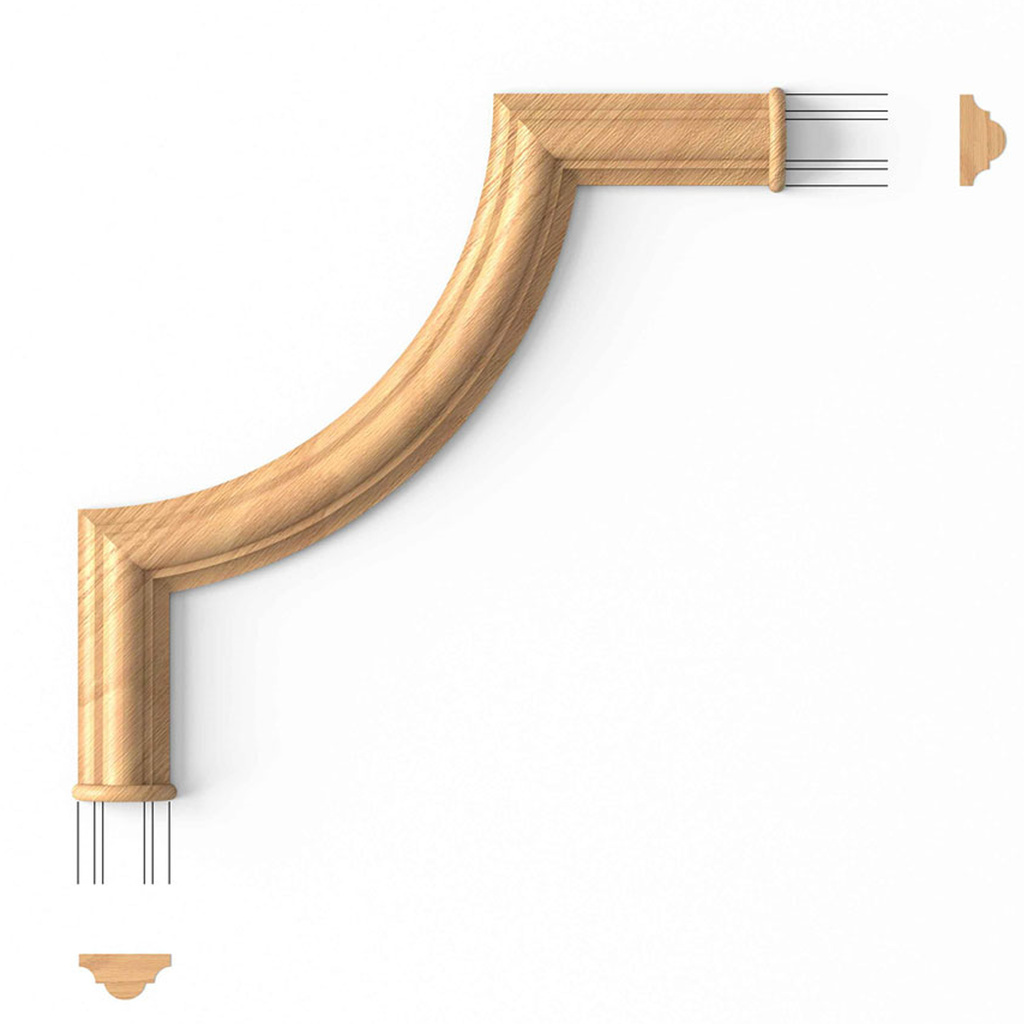
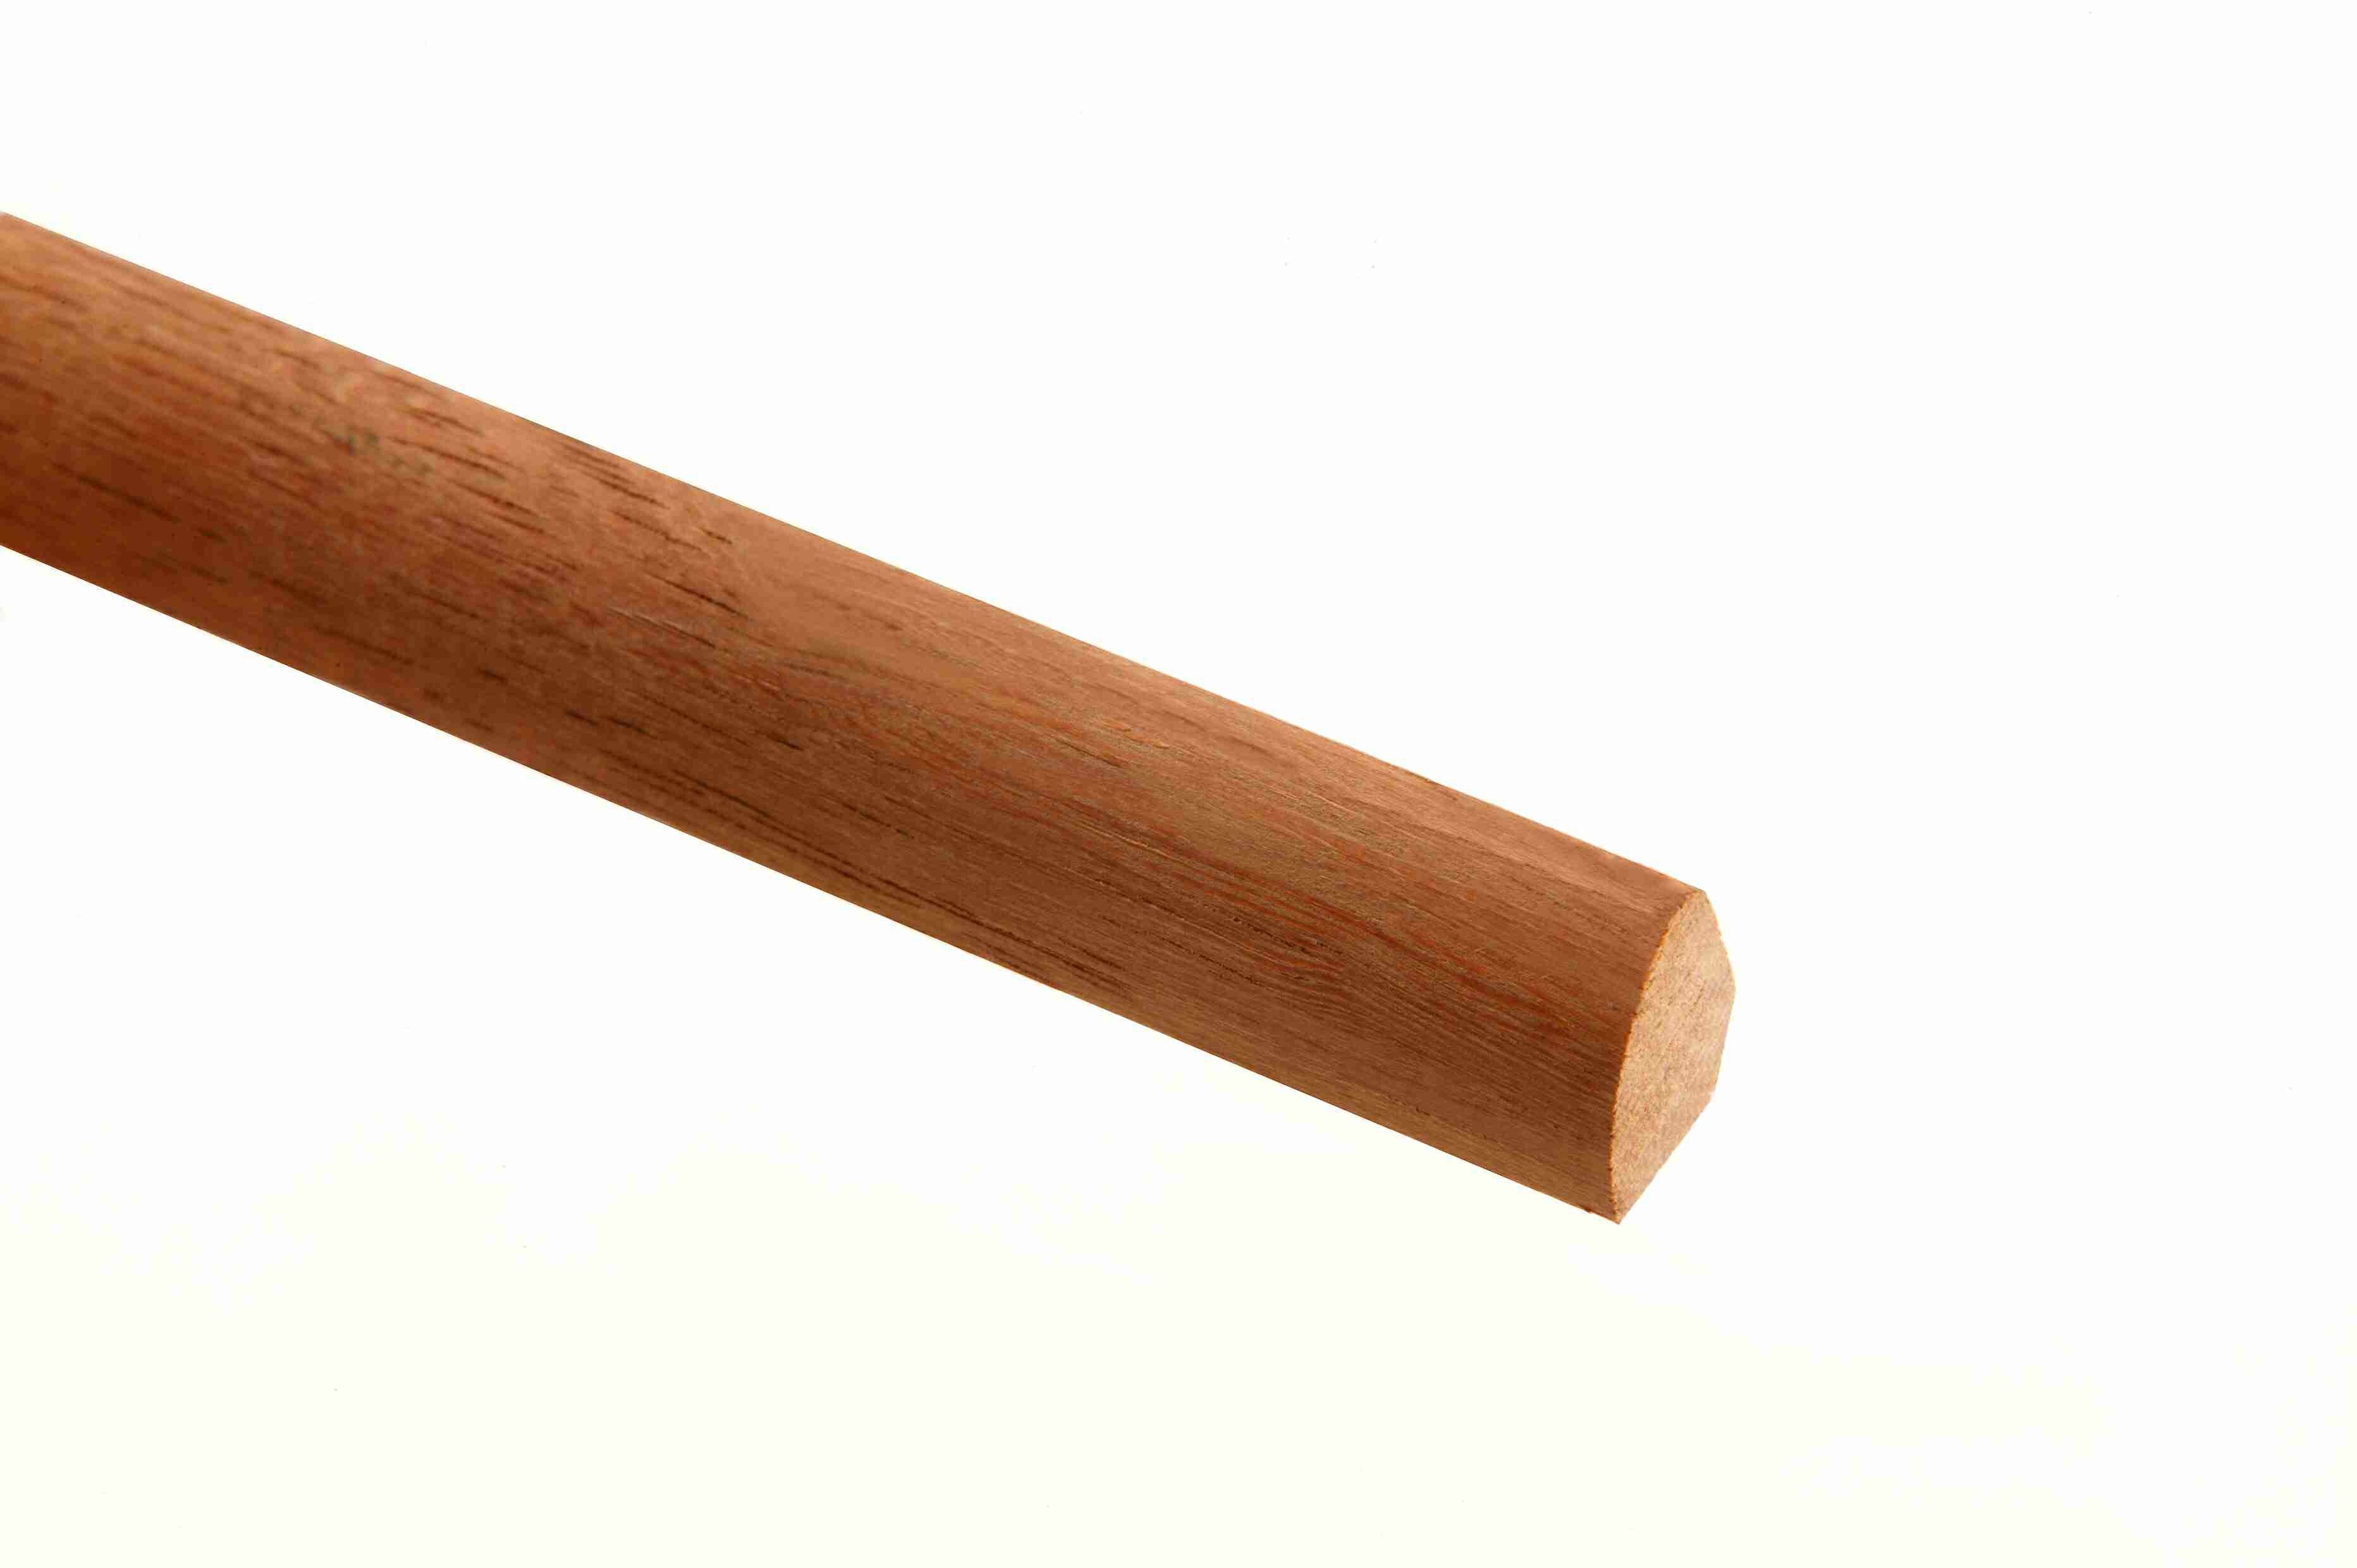
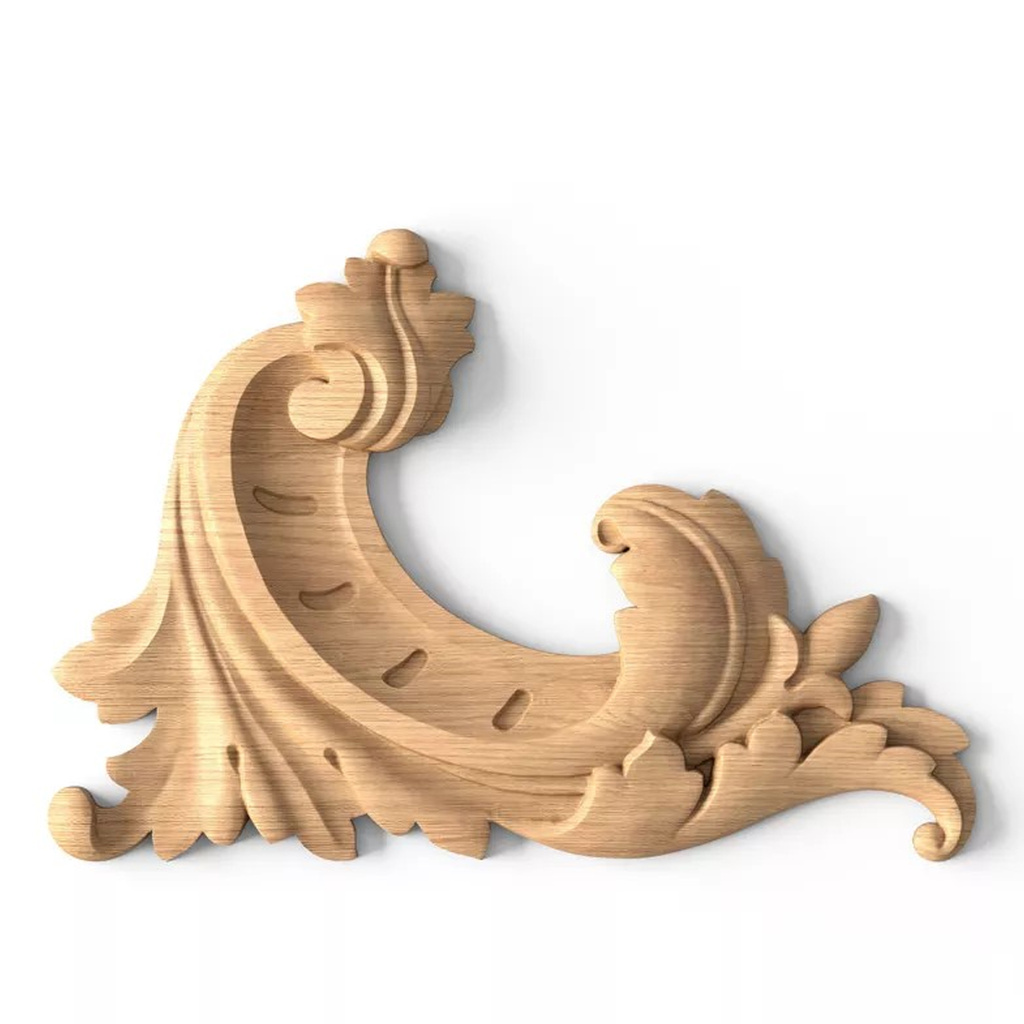
Decorative corner moulding, often referred to as trim or casing, is a type of woodwork that is used to transition between two surfaces or to add flair to corners in your home. Commonly installed at the junction of walls and ceilings, or around windows and doors, it serves both functional and decorative purposes.
The Aesthetic Appeal of Moulding
Decorative corner moulding can help achieve various design styles, from classic to modern. It can add historical significance to older homes or a sleek finish to contemporary designs. The choice of moulding can either complement or contrast with the existing decor, creating a harmonious look throughout the space.
Types of Decorative Corner Moulding Wood
Before diving into the process of installation, it’s essential to understand the different types of moulding available in the market.
1. Crown Moulding
Crown moulding is a type of decorative trim that is applied at the junction between the wall and ceiling. It usually features elegant curves and can add a touch of sophistication to any room.

2. Casing Moulding
Casing moulding surrounds doors and windows, providing a stylish frame. It can be simple or ornate, depending on your preferences.
3. Baseboard Moulding
Baseboards are installed at the bottom of the walls, helping to protect them from damage and adding an extra layer of design.

4. Corner Blocks
Corner blocks are decorative pieces that are used at the corners of casings. They can simplify installation and add visual interest.
5. Chair Rail Moulding
This type of moulding is installed horizontally around the room, generally at the height of a chair. It serves to protect the walls from damage and can also create an elegant transition between paint colors or wallpaper patterns.

| Type of Moulding | Primary Purpose | Common Materials | Design Style |
|---|---|---|---|
| Crown Moulding | Decorative transition between wall and ceiling | Pine, MDF, PVC | Classic, Traditional, Modern |
| Casing Moulding | Frames for doors and windows | Hardwood, MDF | All styles |
| Baseboard Moulding | Protects and decorates wall junctions | Pine, Oak, MDF | All styles |
| Corner Blocks | Visual interest at corners | MDF, Pine | Traditional, Transitional |
| Chair Rail Moulding | Protects walls and delineates spaces | Pine, Oak, MDF | Classic, Traditional |
Benefits of Using Decorative Corner Moulding Wood
Incorporating decorative corner moulding into your home brings numerous advantages:

1. Enhanced Aesthetic Appeal
Moulding adds an artistic touch to any room, creating a refined look that may elevate the overall design.
2. Increased Property Value
A well-designed interior often translates to higher property value, and decorative moulding can be a significant contributor.

3. Conceals Imperfections
Moulding can effectively hide imperfections at the junction of walls and ceilings or around doors and windows, giving a clean finish.
4. Versatility
There’s a wide variety of styles, materials, and designs, allowing for personalization to fit any home decor theme.

5. Simple Installation
Many types of moulding can be installed easily, even by those with minimal DIY experience.
Personal Experience: My Moulding Journey
When I first decided to install decorative corner moulding in my living room, I was overwhelmed by the choices available. After conducting some research and visiting local home improvement stores, I settled on a simple yet elegant crown moulding that complemented my existing decor. The installation was surprisingly easy, thanks to the instructions I found online. The end result was a transformation that made my living room feel more complete and inviting.

How to Install Decorative Corner Moulding Wood
Ready to install your own decorative corner moulding? Follow these steps to ensure a seamless application:
Materials Needed
- Decorative corner moulding
- Miter saw
- Nail gun or hammer and finishing nails
- Wood glue (optional)
- Caulk
- Paint or stain (if desired)
- Measuring tape
- Level
Step-by-Step Installation Process
1. Measure Your Space
Use a measuring tape to determine the lengths needed for your moulding. Keep in mind that you will need to account for mitered corners when making your cuts.
2. Cut the Moulding
Using a miter saw, cut the moulding at a 45-degree angle for corners. This ensures that the pieces fit snugly together.
3. Fit the Moulding
Before securing the moulding, dry-fit the pieces to ensure they align correctly. Make any necessary adjustments.
4. Secure the Moulding
Once you’re satisfied with the fit, use a nail gun or hammer to secure the moulding in place. Be sure to drive nails into the studs for better hold.
5. Fill Gaps and Imperfections
Use caulk to fill any gaps between the moulding and walls or ceilings. This creates a seamless appearance.
6. Finish the Moulding
If desired, paint or stain the moulding to match your decor. Allow it to dry before enjoying your handiwork!
Cost Considerations
The cost of decorative corner moulding can vary widely based on material, style, and installation method. Here’s a quick breakdown:
| Material | Cost per Linear Foot | Average Installation Cost |
|---|---|---|
| Pine | $1 – $3 | $1 – $3 per foot |
| MDF | $0.50 – $2 | $1 – $2 per foot |
| Hardwood | $2 – $6 | $2 – $4 per foot |
| PVC | $1 – $4 | $1 – $3 per foot |
Pros and Cons of Decorative Corner Moulding Wood
Pros
- Enhances interior aesthetics
- Conceals imperfections
- Increases property value
- Variety in styles
- Simple DIY installation
Cons
- Can be expensive depending on material
- Requires precision in installation
- Possible maintenance if painted or stained
- Not suitable for all design styles
FAQs About Decorative Corner Moulding Wood
1. What types of wood are commonly used for decorative moulding?
Common types include pine, MDF (medium-density fiberboard), oak, and PVC. Each has its pros and cons depending on your budget and design preferences.
2. Can I paint or stain moulding after installation?
Yes, painting or staining your moulding can enhance its appearance and better match your decor. Just make sure the surface is clean and primed if necessary.
3. Is it hard to install corner moulding myself?
With the right tools and some patience, DIY installation can be a manageable task for a beginner. Following step-by-step instructions can help ensure success.
4. How do I maintain decorative corner moulding?
Dusting your moulding regularly and checking for any chips or damage can help maintain its appearance. Touch-ups can be done with paint or caulk as needed.
5. What styles of moulding are best for modern homes?
For modern homes, consider sleek, simple designs, such as flat or square profiles in neutral colors. Minimalist styles can provide elegant contrast without overwhelming the space.
Conclusion: Transform Your Space with Decorative Corner Moulding Wood
Decorative corner moulding wood is an excellent way to elevate your home’s decor while also adding value and functionality. By choosing the right type, understanding the benefits, and following a straightforward installation process, you can transform any space into a work of art. Whether you are a seasoned DIY enthusiast or a novice, decorative corner moulding can be the little detail that makes a big difference.
So, are you ready to embark on your moulding journey? Let the transformation begin!