Decorative corner molding may seem like a small detail in a room’s design, but it can make a significant impact on the overall aesthetic. In my personal experience, corner molding not only enhances the visual appeal of a room but also adds character and elegance. Let’s dive deep into everything you need to know about decorative corner molding, from materials and styles to installation tips and maintenance.
What is Decorative Corner Molding?
Decorative corner molding, also known as corner trim, is an architectural feature that is applied at the junction of walls or where two surfaces meet. It serves both functional and aesthetic purposes:
- Aesthetic Enhancement: Adds elegance and style to any room.
- Protection: Helps to shield walls from damage and wear.
- Transition: Smooths the transition between different surfaces.
Types of Decorative Corner Molding
Understanding the various types of corner molding available can help you choose the best fit for your home. Here are some popular styles:
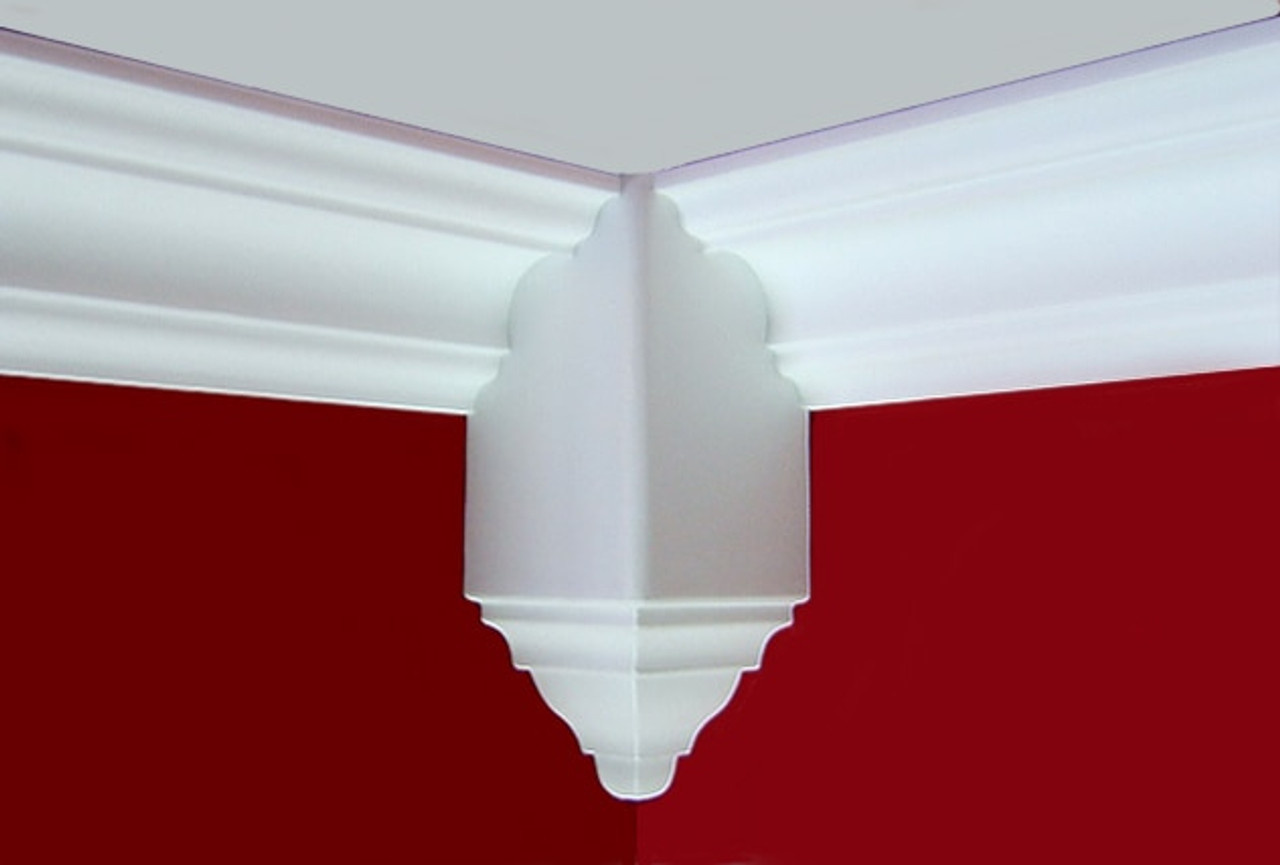
1. Crown Molding
Crown molding is installed at the junction of walls and ceilings. It typically features intricate designs and profiles, which can dramatically change the ambiance of a room.
2. Base Molding
Base molding is found at the bottom of walls, covering the joint between the wall and the floor. It provides a finished look and protects against scuffs and marks.
3. Chair Rail Molding
Chair rail molding is installed horizontally around the room, usually about one-third of the way up the wall. It was originally designed to protect walls from chair damage but is now primarily decorative.
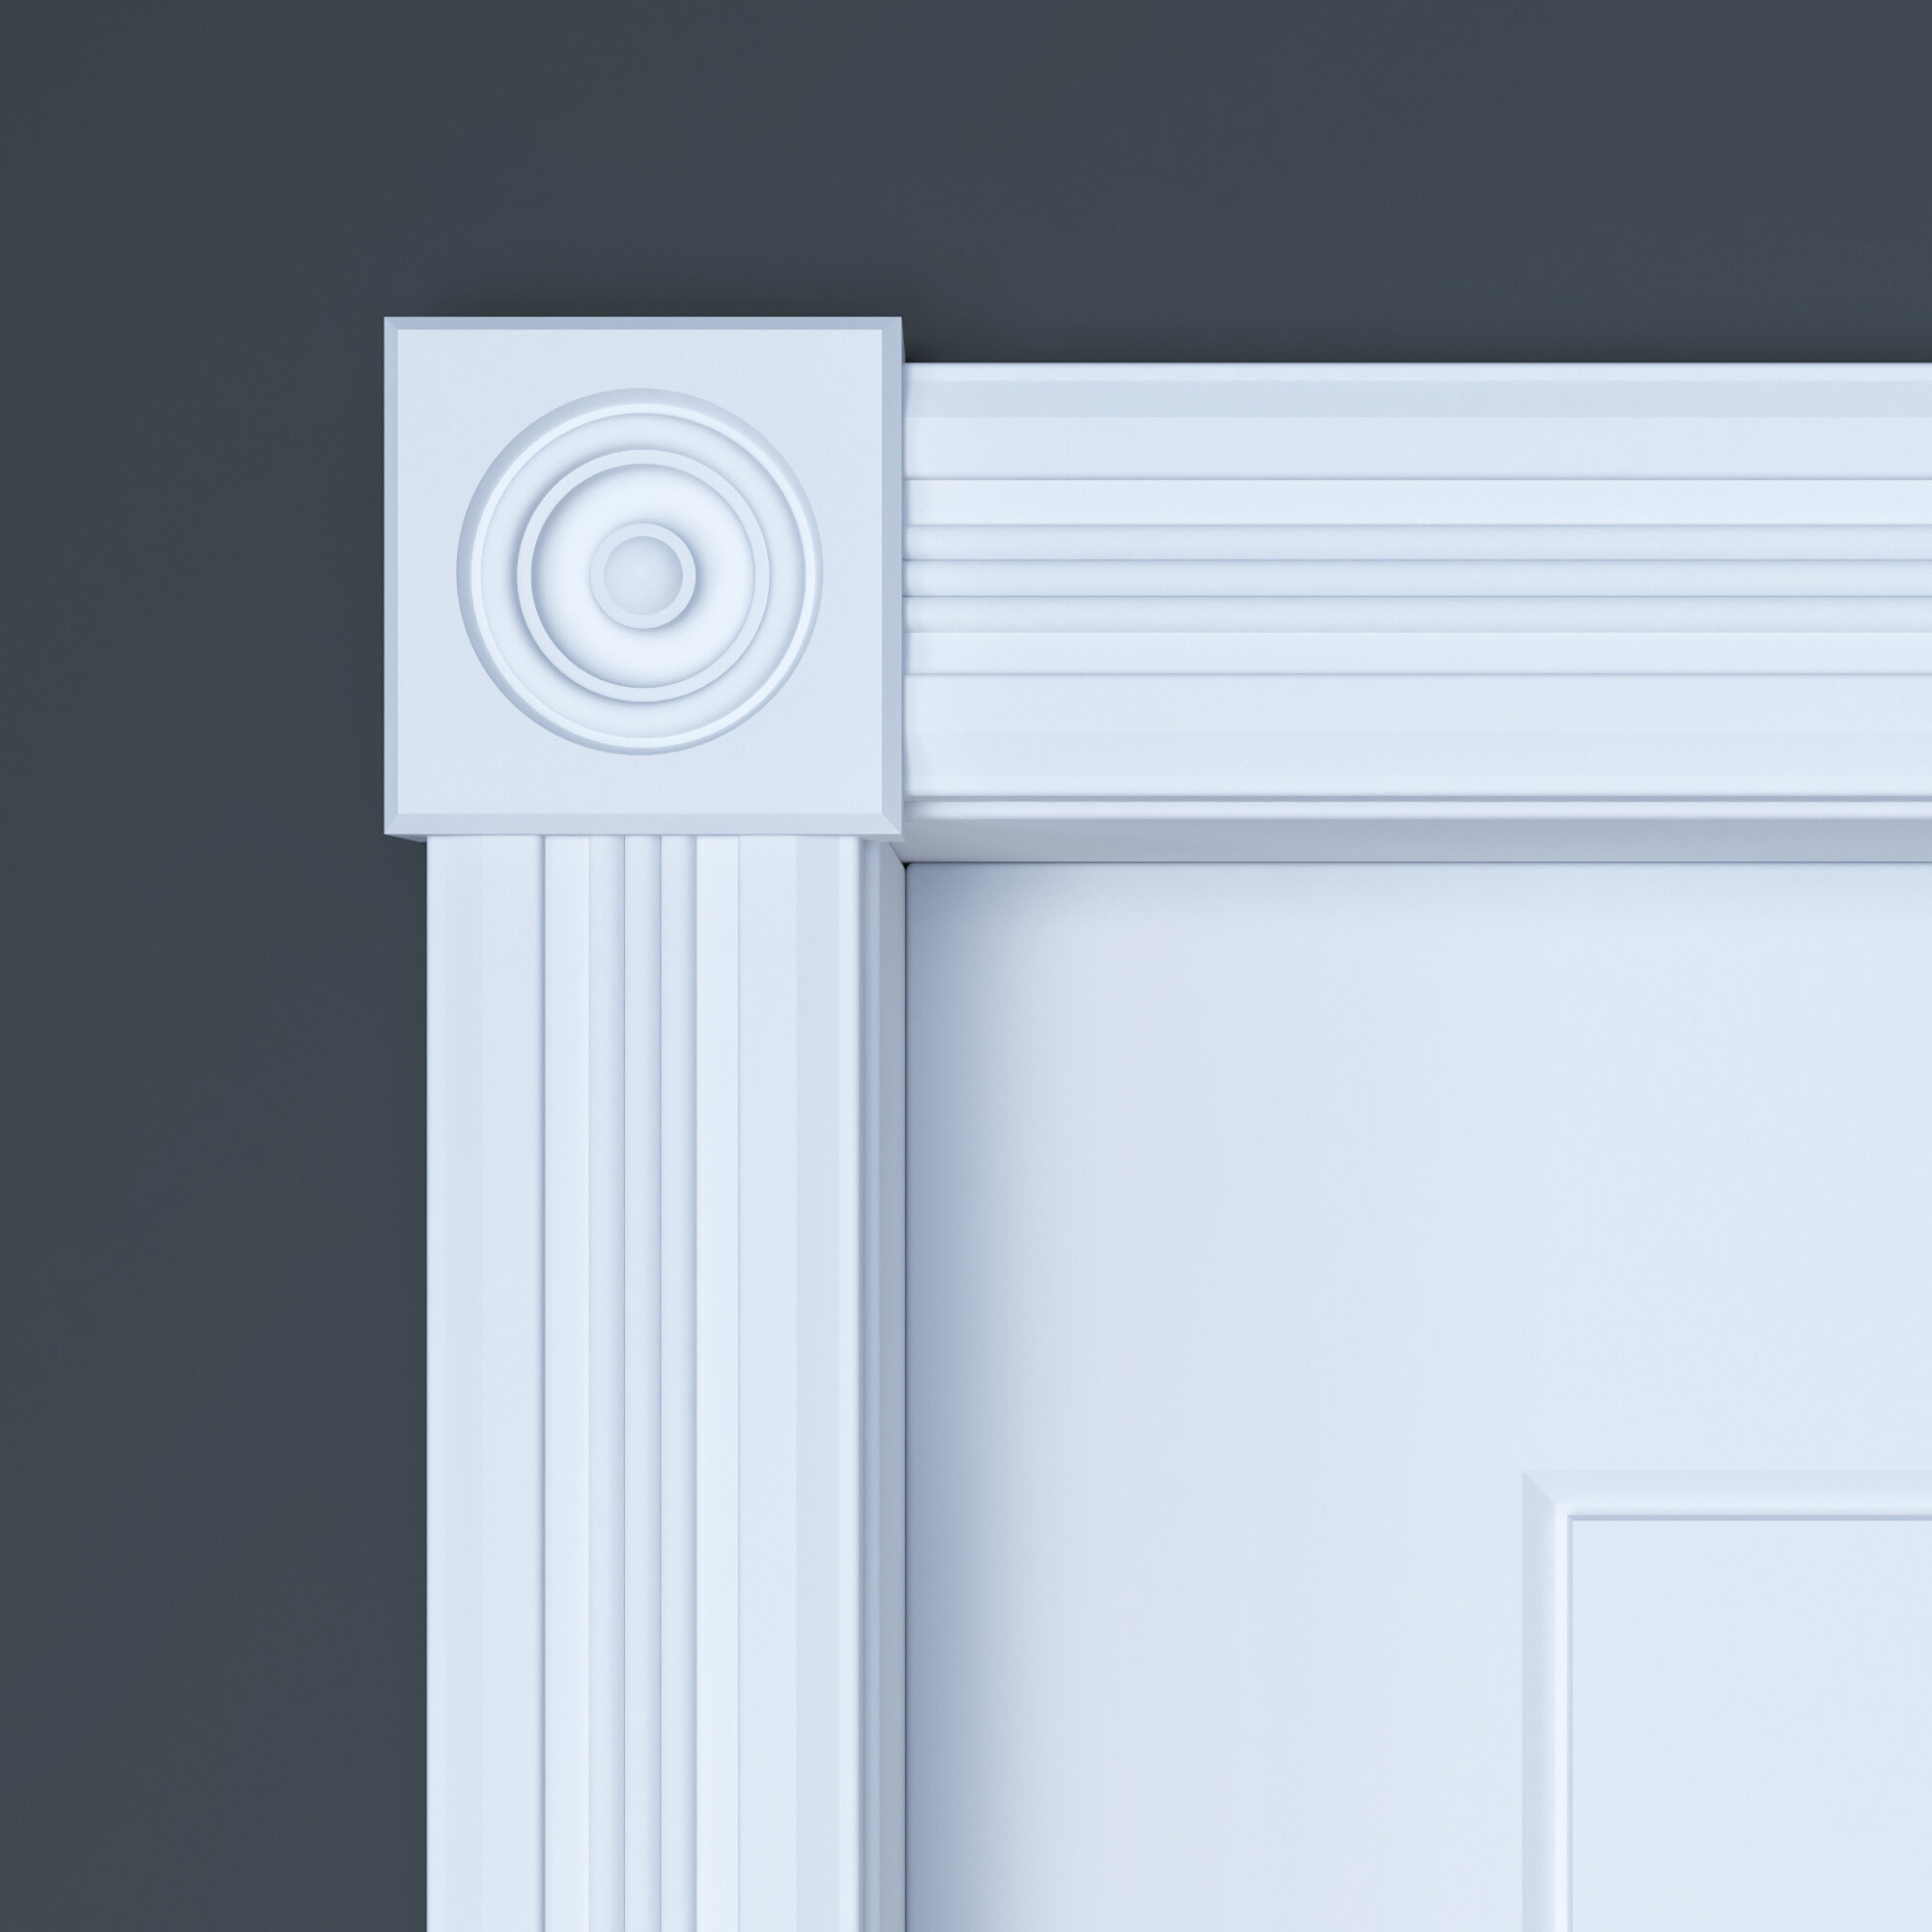
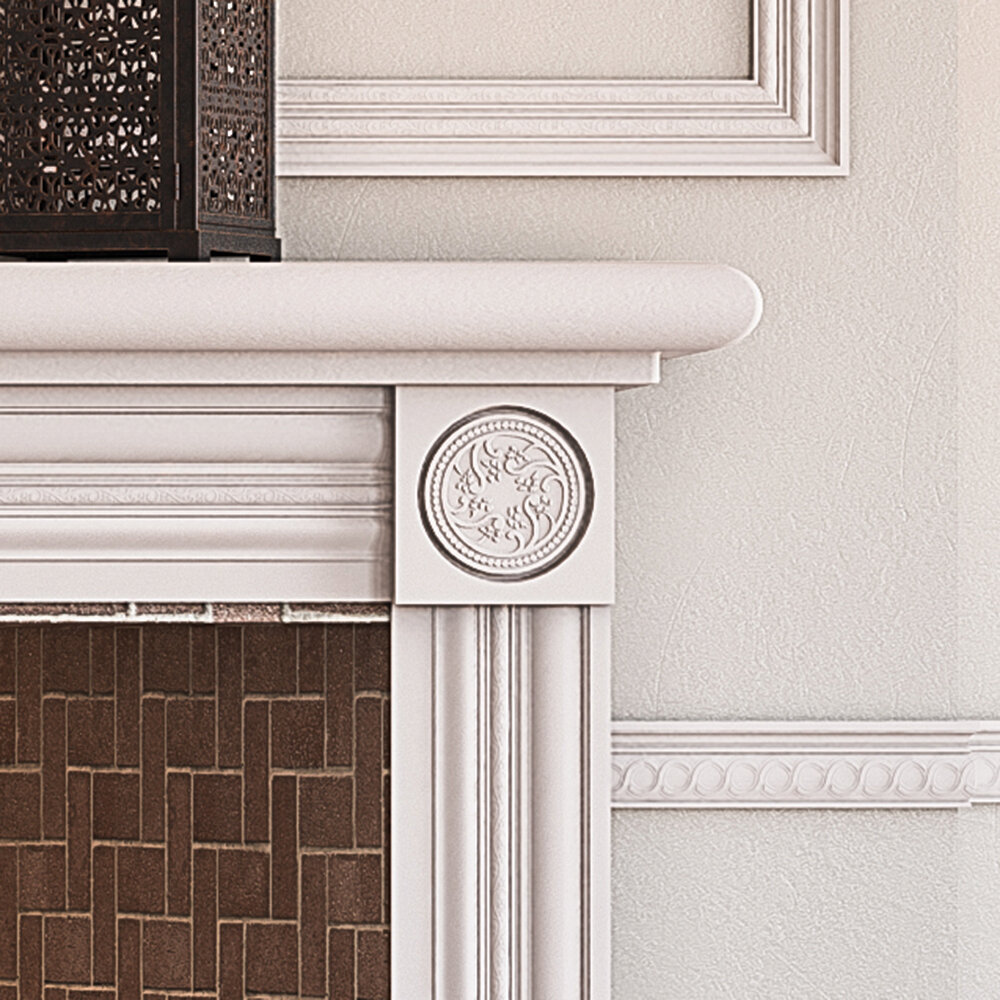
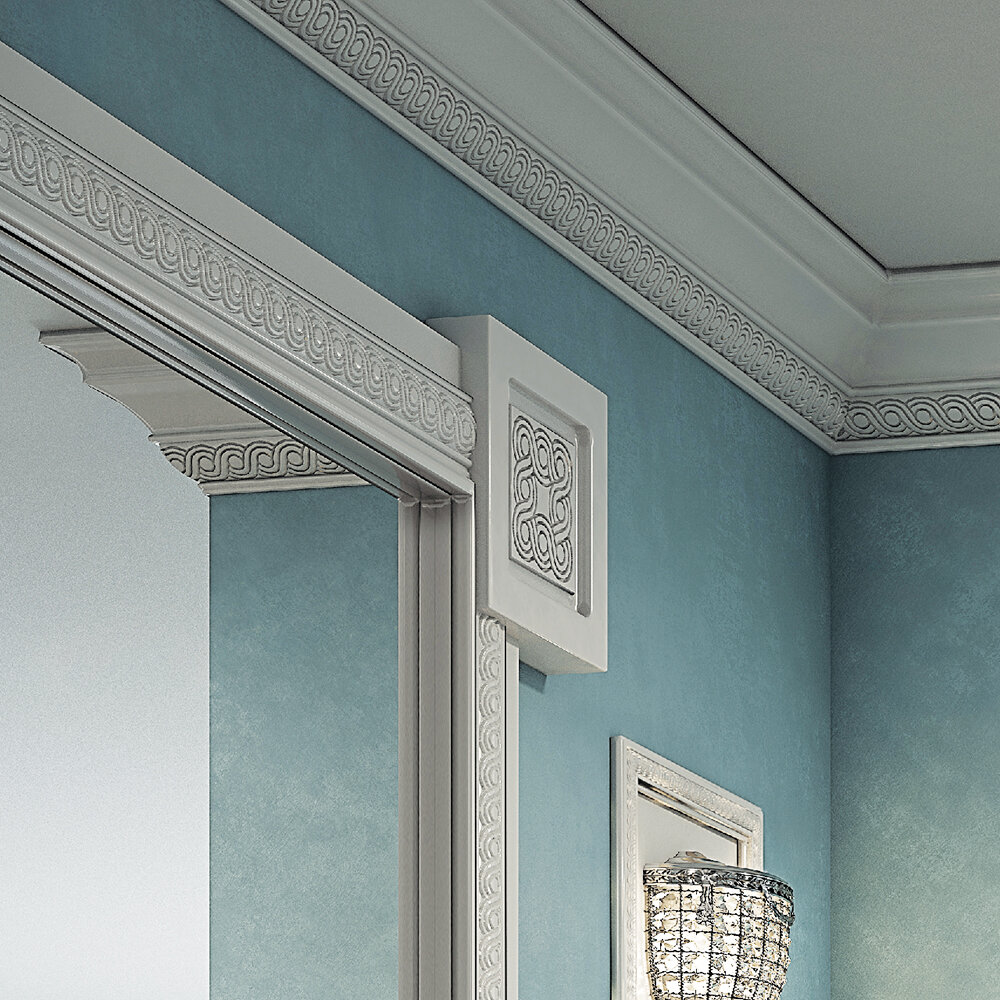
4. Corner Blocks
Corner blocks simplify the installation of crown molding. They allow for easier miters and add a decorative touch at the corners.
5. Picture Rail Molding
Picture rail molding is used to hang pictures without nails. It adds a classic touch to any room and can be painted or stained to match your decor.

Materials Used in Decorative Corner Molding
Different materials can be used for corner molding, each offering unique benefits:
Wood
Wood is the most traditional and versatile option, available in various types and finishes. It’s durable but can be susceptible to warping and moisture damage.
Polyurethane
Polyurethane molding is lightweight, moisture-resistant, and easy to install. It’s often more affordable than wood, making it a popular choice for homeowners.
MDF (Medium Density Fiberboard)
MDF is a cost-effective alternative to solid wood. It’s smooth and easy to paint but isn’t as durable as wood.
Polystyrene
Polystyrene is an inexpensive option that is lightweight and easy to work with. However, it may not provide the same high-end appearance as wood or polyurethane.
Flexible Molding
Perfect for curved walls, flexible molding can adapt to various shapes, offering unique design possibilities.
Choosing the Right Decorative Corner Molding for Your Home
When selecting decorative corner molding, consider these factors:
- Style: Match the molding with the overall style of your home.
- Size: Choose a size that complements your room proportions.
- Material: Weigh the pros and cons of each material based on your needs.
- Budget: Determine your budget before making a choice.
Installation Tips for Decorative Corner Molding
Installing corner molding can seem daunting, but with the right tools and techniques, you can achieve a professional look.

Tools Needed
- Miter saw
- Measuring tape
- Level
- Caulk and caulking gun
- Finishing nails
- Wood glue (if necessary)
Step-by-Step Installation Process
- Measure: Carefully measure the length of each wall where the molding will be installed.
- Cut: Use a miter saw to cut the molding at a 45-degree angle for corners.
- Dry Fit: Before securing, dry fit the pieces to ensure a proper fit.
- Secure: Use finishing nails to attach the molding to the wall, ensuring it’s level.
- Fill Gaps: Use caulk to fill any gaps between the molding and the wall.
- Finish: Paint or stain the molding to match your desired aesthetic.

Maintenance of Decorative Corner Molding
To keep your decorative corner molding looking its best, regular maintenance is key:
Cleaning
Regularly dust the molding to prevent the build-up of dirt and grime. Use a soft cloth or a microfiber duster.
Touch-ups
Keep paint or stain handy for any touch-ups needed due to wear and tear.
Inspection
Periodically inspect the molding for any signs of damage, such as cracks or separation from the wall. Address any issues promptly to extend the life of your molding.
Comparing Decorative Corner Molding Options
| Type | Material | Cost | Durability | Appearance |
|---|---|---|---|---|
| Crown Molding | Wood/Polyurethane/MDF | $$$ | High | Elegant |
| Base Molding | Wood/MDF | $$ | Medium | Classic |
| Chair Rail Molding | Wood/Polyurethane | $$$ | High | Stylish |
| Corner Blocks | Wood/MDF | $ | Medium | Decorative |
| Picture Rail Molding | Wood/Polyurethane | $$$ | High | Historic |
Pros and Cons of Decorative Corner Molding
Pros
- Enhances the visual appeal of any room.
- Adds value to your home.
- Protects walls from damage.
- Available in diverse styles and materials to suit any decor.
Cons
- Can be costly, especially with high-end materials.
- Installation can be challenging for beginners.
- Requires maintenance to keep it looking its best.
FAQs About Decorative Corner Molding
1. What is the best material for decorative corner molding?
The best material depends on your budget and aesthetic preferences. Wood offers a classic look and durability, while polyurethane is lightweight and moisture-resistant.
2. How do I install decorative corner molding?
Measure your walls, cut molding at 45-degree angles for corners, secure with nails, and finish with paint or stain.
3. Can I install corner molding myself?
Yes! With the right tools and a bit of patience, DIY installation is feasible. Follow the steps carefully to achieve a professional finish.
4. How can I remove decorative corner molding?
Use a pry bar or putty knife to gently remove the molding, taking care not to damage the walls. If the molding is painted, you may need to score around it first.
5. How often should I maintain my corner molding?
Regular dusting is recommended, with touch-ups as needed to keep the molding looking fresh and clean.
Conclusion
Decorative corner molding is a fantastic way to enhance the aesthetics of your home while providing protection and adding character. By understanding the various types, materials, and installation techniques, you can choose and maintain the perfect molding that brings your vision to life. Whether you opt for the classic elegance of wood or the practicality of polyurethane, the right corner molding can transform your space and elevate your design.
Are you ready to elevate your home decor with decorative corner molding? Share your experiences and tips in the comments below!