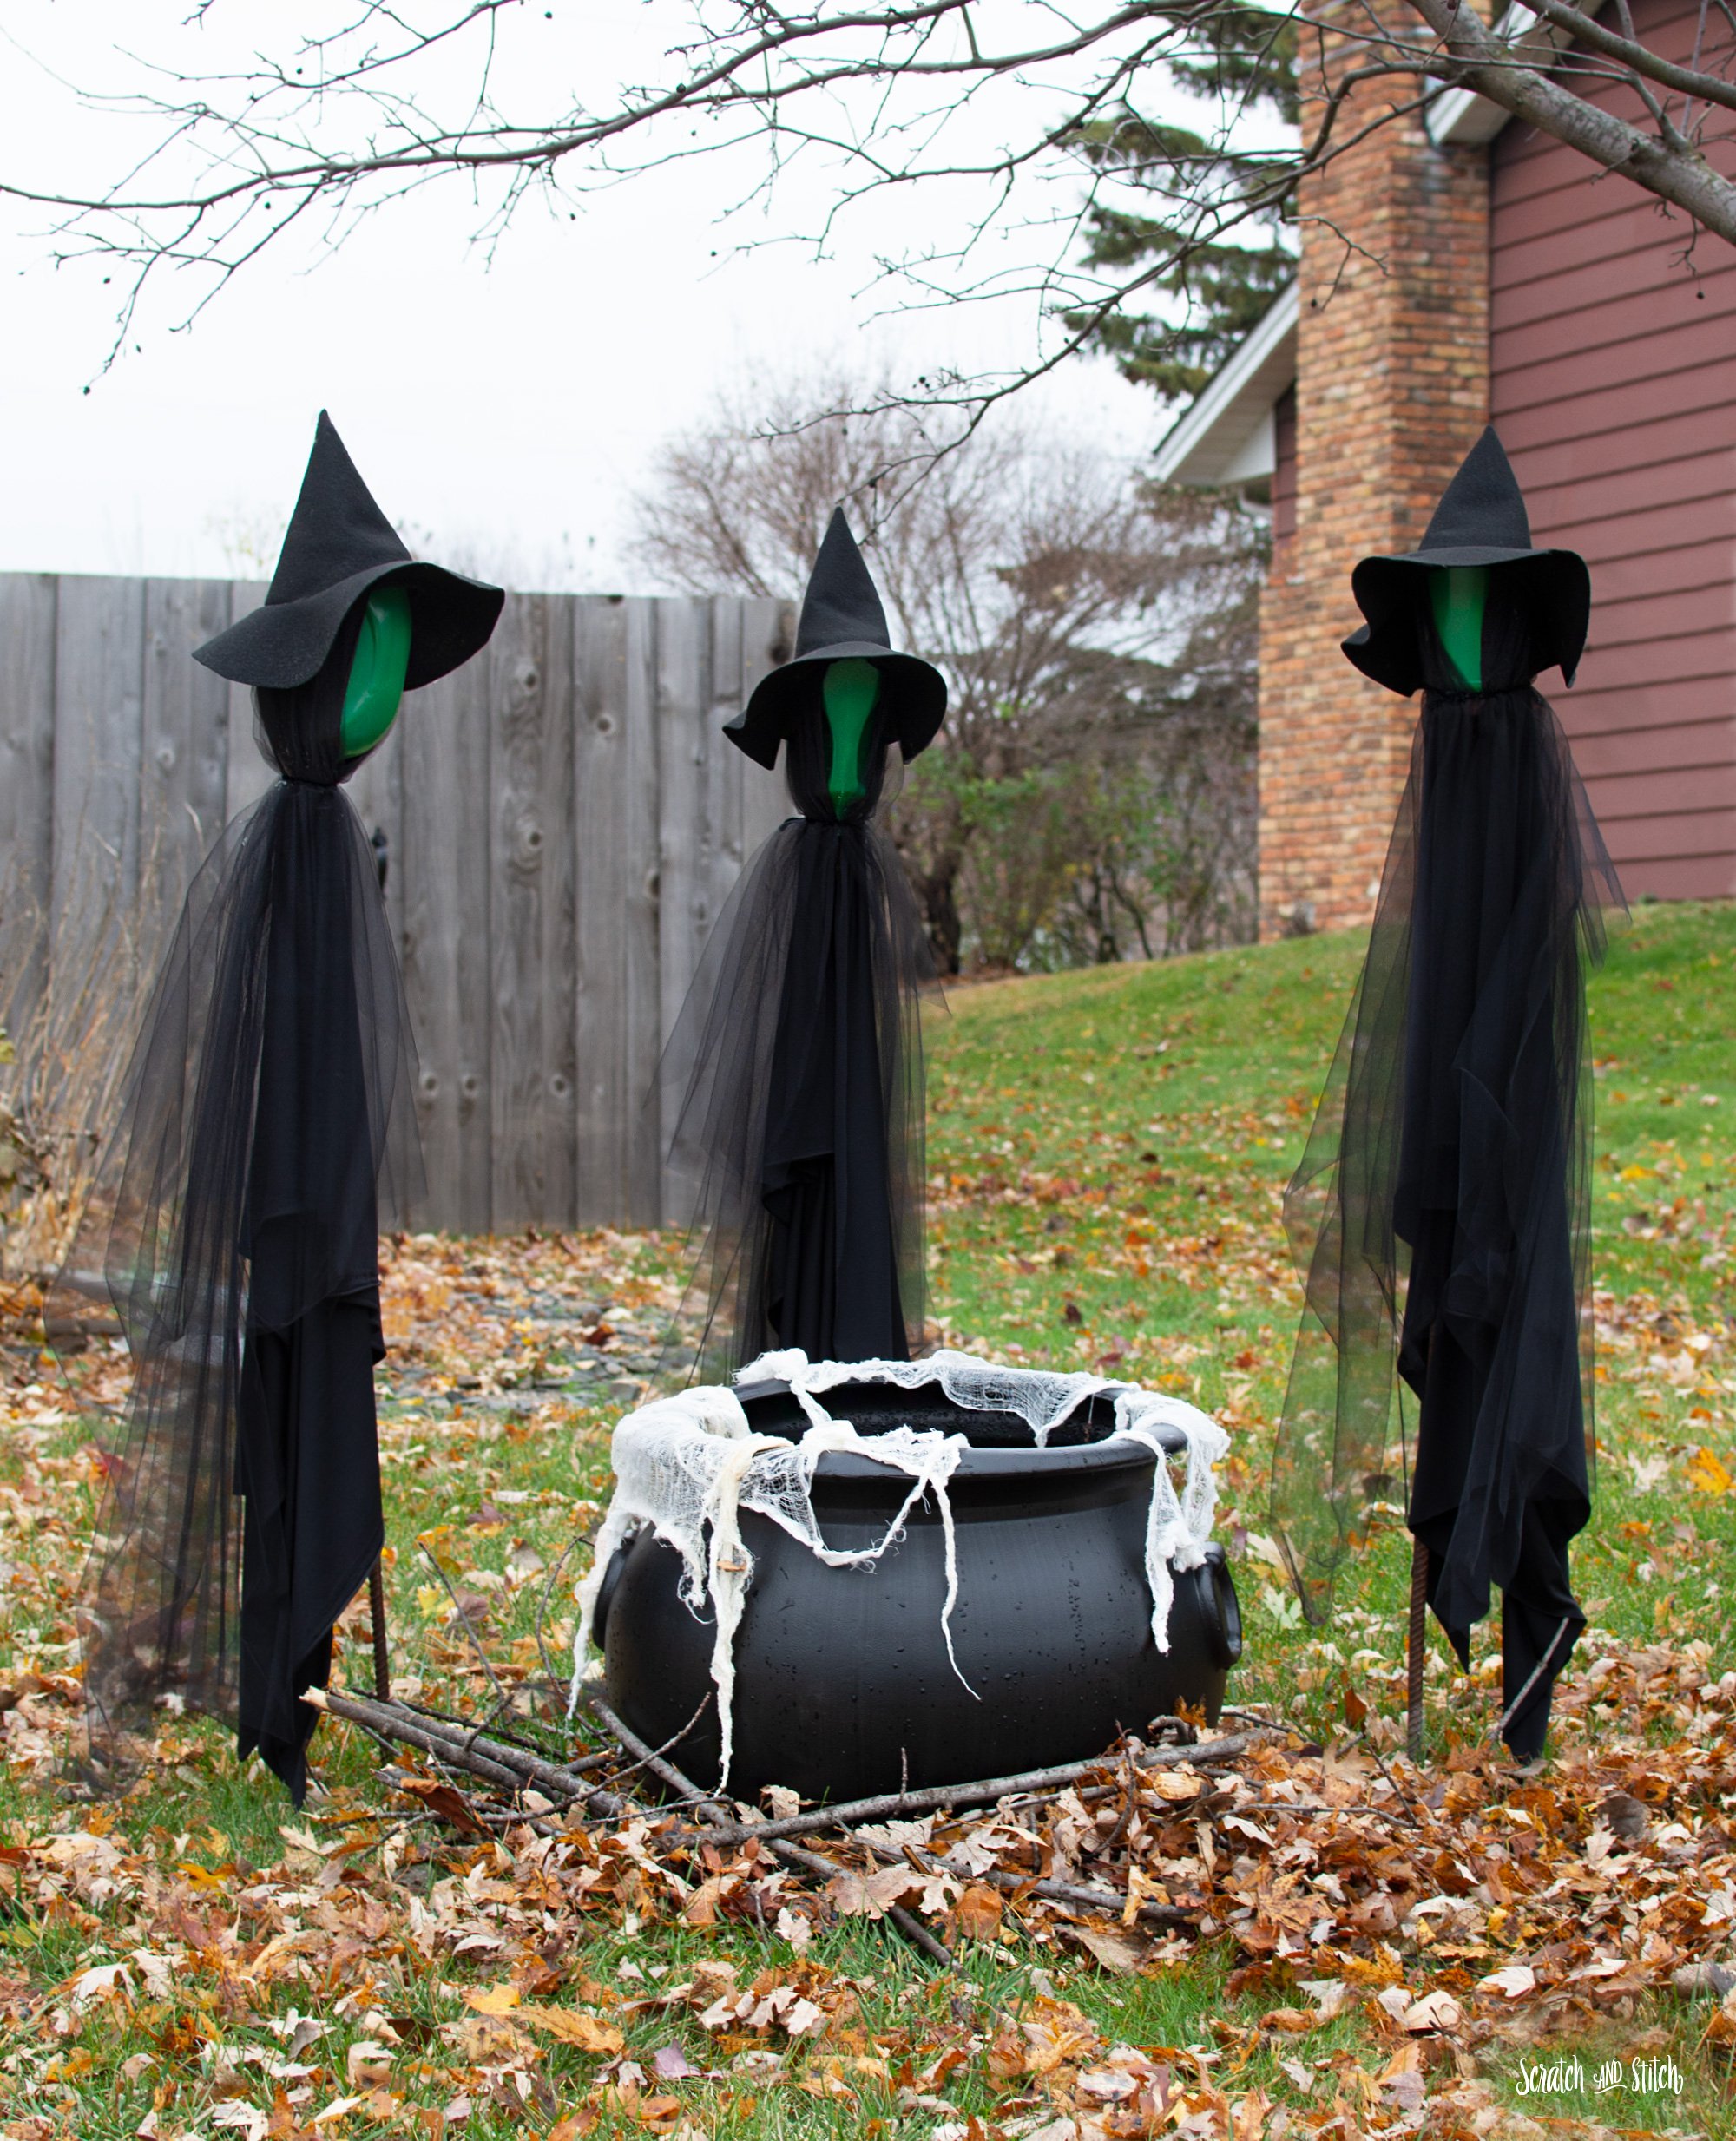
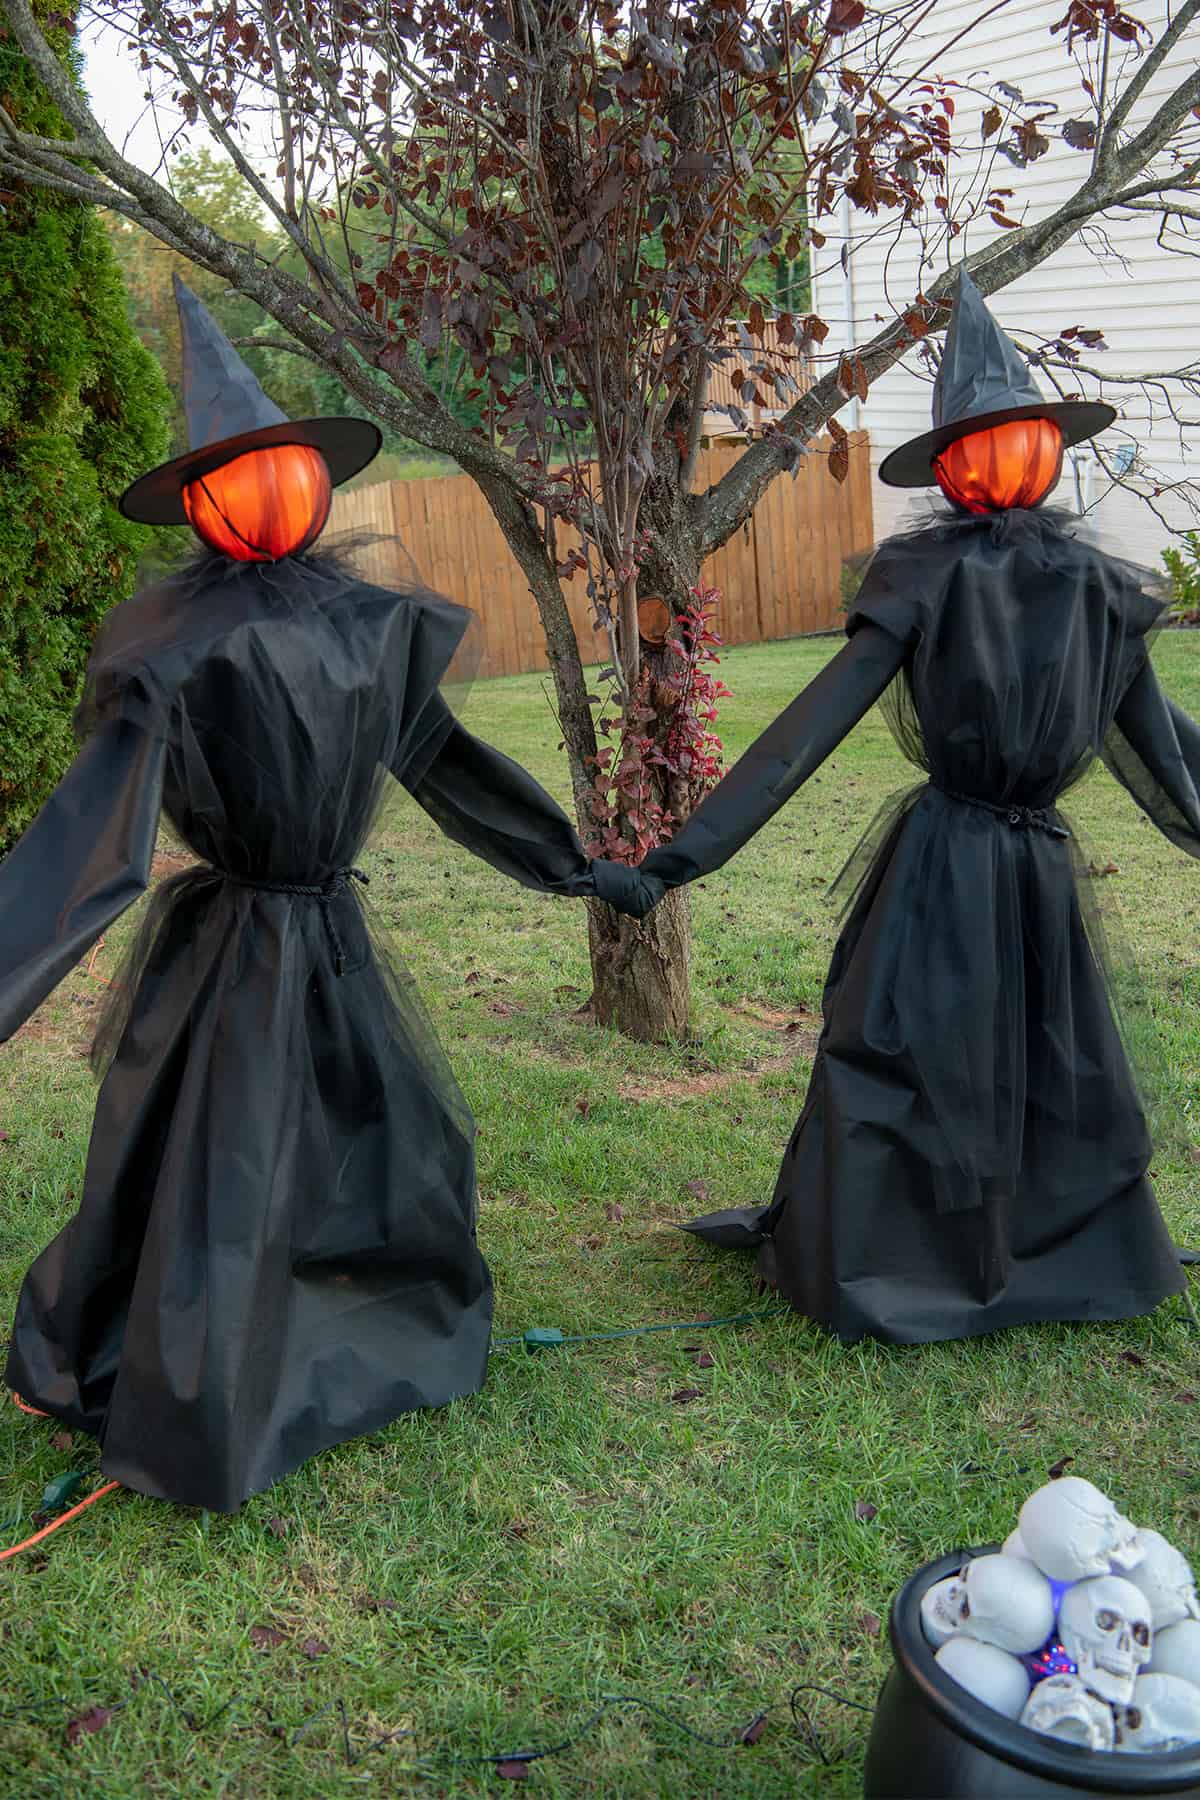
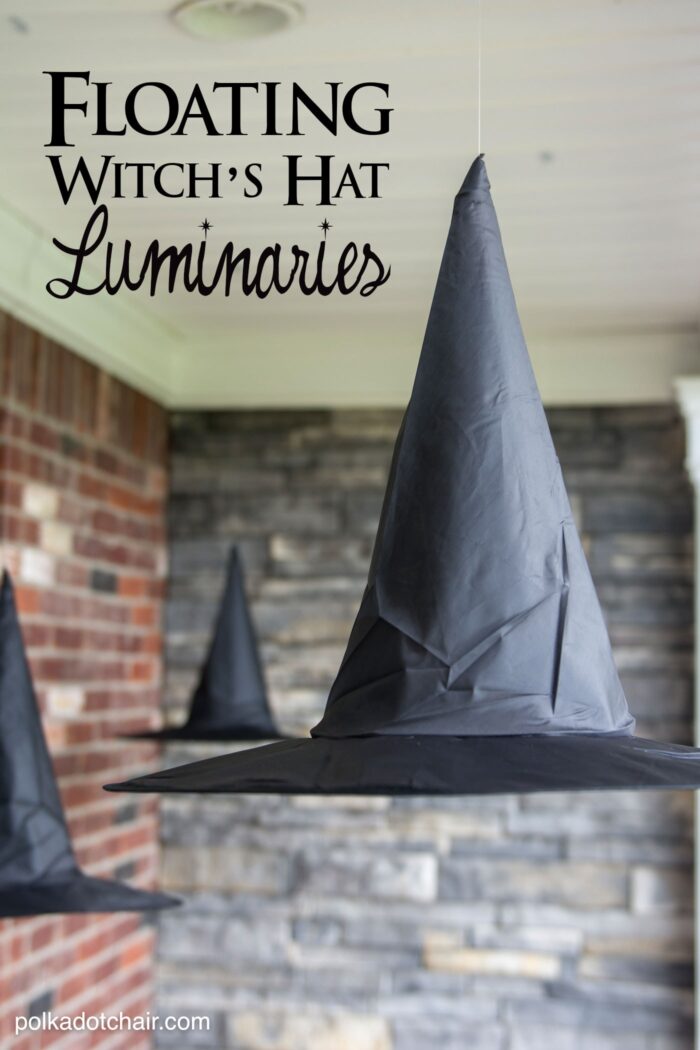
As the leaves turn to shades of orange and the air gets a bit crisper, it’s time to embrace the spirit of the season! Halloween can be magical, and what better way to celebrate than by crafting your very own DIY witch decorations? Having spent countless nights sipping pumpkin spice lattes while crafting, I’m excited to share my tips, tricks, and personal experiences to inspire your creations. From spooky to chic, let’s make your space enchantingly festive!
Why Choose DIY Witch Decorations?
DIY decorations not only save you money but also add a personal touch to your home. Here’s why I believe crafting your own witch-themed decor is the way to go:
- Creativity: You can express yourself and your style.
- Customization: Tailor the decorations to fit your home’s theme.
- Fun Activity: It’s a great way to bond with family or friends.
- Sustainability: Reuse materials you already have!
Essential Materials for Your Witchy Crafts

Before diving into the enchanting world of DIY witch decorations, let’s gather our materials. Here’s a list to get you started:
- Black and purple craft paper
- Hot glue gun and glue sticks
- Scissors
- Witch hats (store-bought or handmade)
- String lights
- Glass jars for potion-making displays
- Spray paint (black, orange, and purple)
- Stickers and embellishments

Step-by-Step Guide to DIY Witch Decorations
1. DIY Witch Hat Wreath

Transform a plain wreath into an enchanting witch hat wreath that will be the centerpiece of your front door.
Materials Needed:
- Wreath base (grapevine or foam)
- Small witch hats
- Black ribbon
- Fake spider webs and spiders
- Black flowers or leaves

Instructions:
- Wrap black ribbon around the wreath base.
- Attach small witch hats at different angles using hot glue.
- Add black flowers and fake spider webs for an extra spooky touch.
- Hang your wreath on your front door and enjoy!
2. Potion Jars

These jars can bring a magical touch to your decor. Use them to display your “potions”!
Materials Needed:
- Empty glass jars
- Food coloring
- Labels (or stickers)
- String lights (optional)

Instructions:
- Fill jars with water and add food coloring to create various potion colors.
- Label each jar with a spooky name (e.g., “Witch’s Brew”, “Eye of Newt”).
- For an enchanting effect, place string lights in or around the jars.
3. Spooky Silhouettes

Bring your windows to life with spooky silhouettes that will give your house a haunting vibe.
Materials Needed:
- Black craft paper
- Scissors
- Tape or adhesive putty
Instructions:
- Cut out shapes such as bats, witches, and cauldrons from black craft paper.
- Attach the silhouettes to your windows using tape or putty.
- Illuminate from behind with lights to create a creepy glow.
Comparison of DIY Witch Decoration Ideas
To better decide which decorations to prioritize, here’s a comparison of the above ideas:
| Decoration | Time Required | Cost | Skill Level | Fun Factor |
|---|---|---|---|---|
| Witch Hat Wreath | 2 hours | Moderate | Medium | ★★★★☆ |
| Potion Jars | 45 minutes | Low | Easy | ★★★★★ |
| Spooky Silhouettes | 30 minutes | Low | Easy | ★★★★☆ |
Pros and Cons of DIY Witch Decorations
Pros
- Cost-effective
- Unique and personalized
- Great for family bonding
- Eco-friendly options available
Cons
- Time-consuming
- Requires crafting skills
- Potential for mess
- May require purchasing materials
Tips for Creating the Perfect Witchy Atmosphere
To enhance your DIY decorations, consider these tips:
- Lighting: Use string lights or candles to create a magical ambiance.
- Color Scheme: Stick to classic Halloween colors: black, orange, and purple.
- Sound Effects: Play spooky music or sound effects to set the mood.
- Layering: Mix different types of decorations (like hanging and table decor) for depth.
FAQs About DIY Witch Decorations
What are some easy DIY witch decorations for kids?
Simple crafts like decorating paper witch hats, making spooky ghosts with old sheets, and creating potion bottles can be fun and engaging for kids!
How can I make my witch decorations last beyond Halloween?
Opt for decorations that can be themed for other celebrations, like using your potion jars for fall decor or creating a witch-themed party for other occasions.
What’s the best way to store my DIY decorations?
Use clear bins with labels to keep everything organized. Wrap fragile items in bubble wrap for protection and store in a cool, dry place.
Are there any safety tips for using candles and lights in my decor?
Always supervise lit candles and use LED lights to reduce fire hazards. Avoid placing decorations too close to heat sources.
Conclusion
Creating DIY witch decorations is not just about the final product; it’s about the joy of crafting and the memories made along the way. Whether you’re hosting a Halloween party or simply want to enjoy some spooky spirit at home, these decorations will certainly charm your guests and bring excitement to your space. So grab your materials and let your creativity fly!