Welcome to the beautiful world of decorative wood trim and moulding! Whether you’re aiming to add charm to a space, create a more finished look, or simply elevate your home’s aesthetic, understanding wood trim and moulding is essential. In this article, we’ll dive deep into the various aspects of decorative wood trim and moulding, sharing insights, tips, and personal experiences to help you make informed decisions for your next home improvement project.
What is Decorative Wood Trim and Moulding?
Decorative wood trim and moulding are architectural elements that cover the seams between different materials, add detail to a home’s interior, and enhance its overall style. These features come in various styles and can be made from different types of wood or even engineered materials.
- Trim: Typically refers to the board that outlines the floor, ceiling, and doors.
- Moulding: More decorative, it can include baseboards, crown, chair rails, and more.
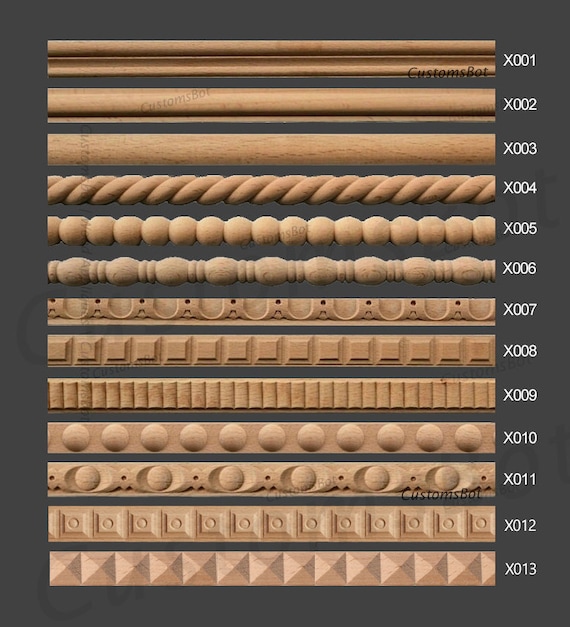
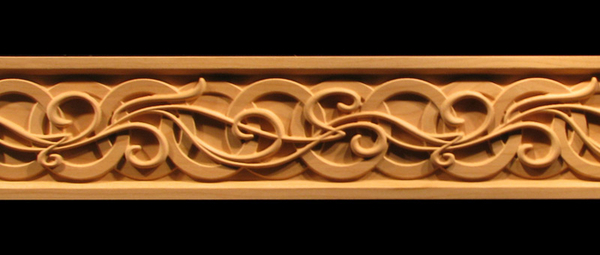
Types of Decorative Wood Trim and Moulding
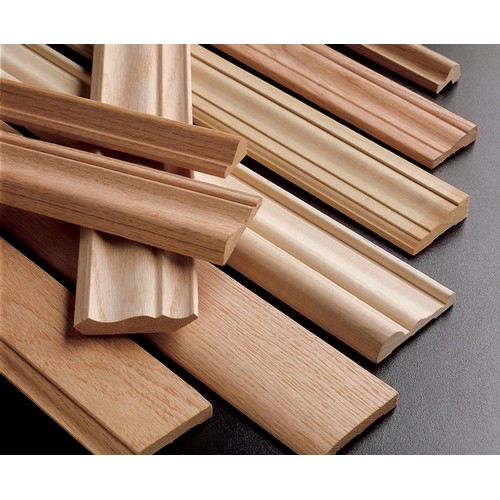
When it comes to decorative wood trim and moulding, there are several types to consider, each adding its own flair and uniqueness to a space. Here’s a breakdown:
1. Crown Moulding
Crown moulding is used at the junction of the walls and ceiling. It adds elegance and height, making a room feel more grand.

Pros:
- Creates a finished look.
- Can increase the value of your home.
Cons:
- Can be expensive depending on the style.
- Requires precise installation.
2. Baseboards
Baseboards cover the joint between the wall and the floor, helping to protect the walls from scuffing and damage.
Pros:
- Protects walls from furniture and foot traffic.
- Available in various styles to match your décor.

Cons:
- Can be prone to wear and tear.
- Must be installed with care to ensure a seamless look.
3. Chair Rails
Chair rails are typically placed around the height of a chair back to protect walls. They also serve as a visual break in the wall space.

Pros:
- Provides an opportunity for color contrast.
- Acts as a protective barrier.
Cons:
- May be unnecessary in smaller rooms.
- Requires accurate measurements for installation.
4. Picture Rails
Similar to chair rails, picture rails are installed higher on the wall and are used to hang artwork without damaging the wall.
Pros:
- Ideal for displaying art without nails.
- Adds character to a room.
Cons:
- Can take up wall space.
- Requires additional hooks for hanging pictures.
Materials Used for Decorative Trim and Moulding
Decorative wood trim and moulding can be crafted from various materials. Here’s a comparison table of the most common options:
| Material | Description | Pros | Cons |
|---|---|---|---|
| Solid Wood | Natural wood grain and feels substantial. | Durability, looks beautiful, can be painted or stained. | Expensive, may warp, requires maintenance. |
| MDF (Medium Density Fiberboard) | Engineered wood product, smooth and easy to paint. | Affordable, no knots or imperfections, easy to work with. | Not as durable as solid wood, can sag over time. |
| PVC | Plastic material resembling wood grain. | Water-resistant, easy to clean, lightweight. | Less authentic look, may not feel as upscale. |
| Composite | Made from wood fibers and resin, eco-friendly. | Resistant to moisture, stable, and versatile. | Can be more expensive than MDF, surface may chip. |
Benefits of Decorative Wood Trim and Moulding
Integrating decorative wood trim and moulding into your home can provide several benefits:
1. Aesthetic Appeal
Trim and moulding can elevate the visual interest of a room, making it feel more luxurious and thoughtfully designed.
2. Increased Home Value
Quality moulding can enhance a home’s resale value, making it more appealing to potential buyers.
3. Protection
Trim serves functional purposes, such as covering gaps and protecting walls from damage.
4. Personalization
With various styles and materials available, you can find options that reflect your personal taste and home style.
Installation Tips for Decorative Trim and Moulding
Installing trim and moulding can transform your space, but it’s important to approach it correctly. Here’s a guide based on my personal experience and lessons learned.
Materials Needed:
- Measuring Tape
- Chop Saw or Miter Saw
- Pneumatic Nailer or Hammer and Nails
- Wood Glue
- Caulk
- Paint or Stain (if desired)
1. Measure Twice, Cut Once
Always take precise measurements. Miscalculating can lead to wasted materials and frustration during installation.
2. Choose the Right Style
Consider the existing decor of your home when selecting trim and moulding. Choose styles that complement your space.
3. Prepare the Surface
Ensure the walls are clean and any old paint or wallpaper is removed. This provides a better surface for adhesion.
4. Use Quality Tools
Invest in quality tools to make the job easier and improve your results. A good miter saw, for example, can make all the difference.
5. Secure Properly
When applying trim and moulding, use enough nails or adhesive. The last thing you want is for your beautiful trim to come loose.
Common Mistakes to Avoid
Even with the best intentions, mistakes can happen. Here are some common pitfalls to watch out for:
1. Skipping Preparation
Don’t overlook the importance of preparing your walls and measuring accurately.
2. Choosing the Wrong Size
Using overly large or small trim can throw off the proportion of your space.
3. Ignoring Style Compatibility
Be sure the trim style matches the overall theme of your home.
4. Rushing the Installation
Take your time with installation. Rushing can lead to mistakes you’ll have to fix later.
Maintenance of Decorative Wood Trim and Moulding
Once your decorative wood trim and moulding are installed, proper maintenance will keep them looking their best. Here are some tips:
1. Regular Dusting
Keep your trim dust-free by regularly wiping it down with a damp cloth. This will prevent buildup and help maintain its finish.
2. Touch-Up Paint
If your trim is painted, be prepared to do touch-ups over time. This will keep it looking fresh and vibrant.
3. Inspect for Damage
Regularly check for any signs of wear, such as scuffed edges or peeling paint, and address them promptly.
Conclusion: Elevate Your Home with Decorative Trim and Moulding
Decorative wood trim and moulding are not just finishing touches; they are essential elements that can transform the feel of your home. From crown moulding to baseboards, the options are vast and the benefits are numerous. By choosing the right style and materials, and following proper installation and maintenance practices, you can enhance your space and enjoy it for years to come.
FAQs about Decorative Wood Trim and Moulding
1. What types of moulding can I use in my home?
You can use various types of moulding such as crown, baseboards, chair rails, and more, based on your needs and preferences.
2. How much does decorative moulding typically cost?
The cost varies greatly depending on the material and complexity but expect to spend between $1 to $10 per linear foot for materials.
3. Can I install decorative wood trim myself?
Yes, with the right tools and guidance, many homeowners can successfully install trim and moulding on their own.
4. How do I maintain my wood trim and moulding?
Regular dusting, touch-up painting, and inspecting for damage will keep your trim looking great.
5. How can I make my wood trim look modern?
Consider opting for simpler styles, using a fresh coat of paint, or mixing materials like wood and metal for a contemporary look.