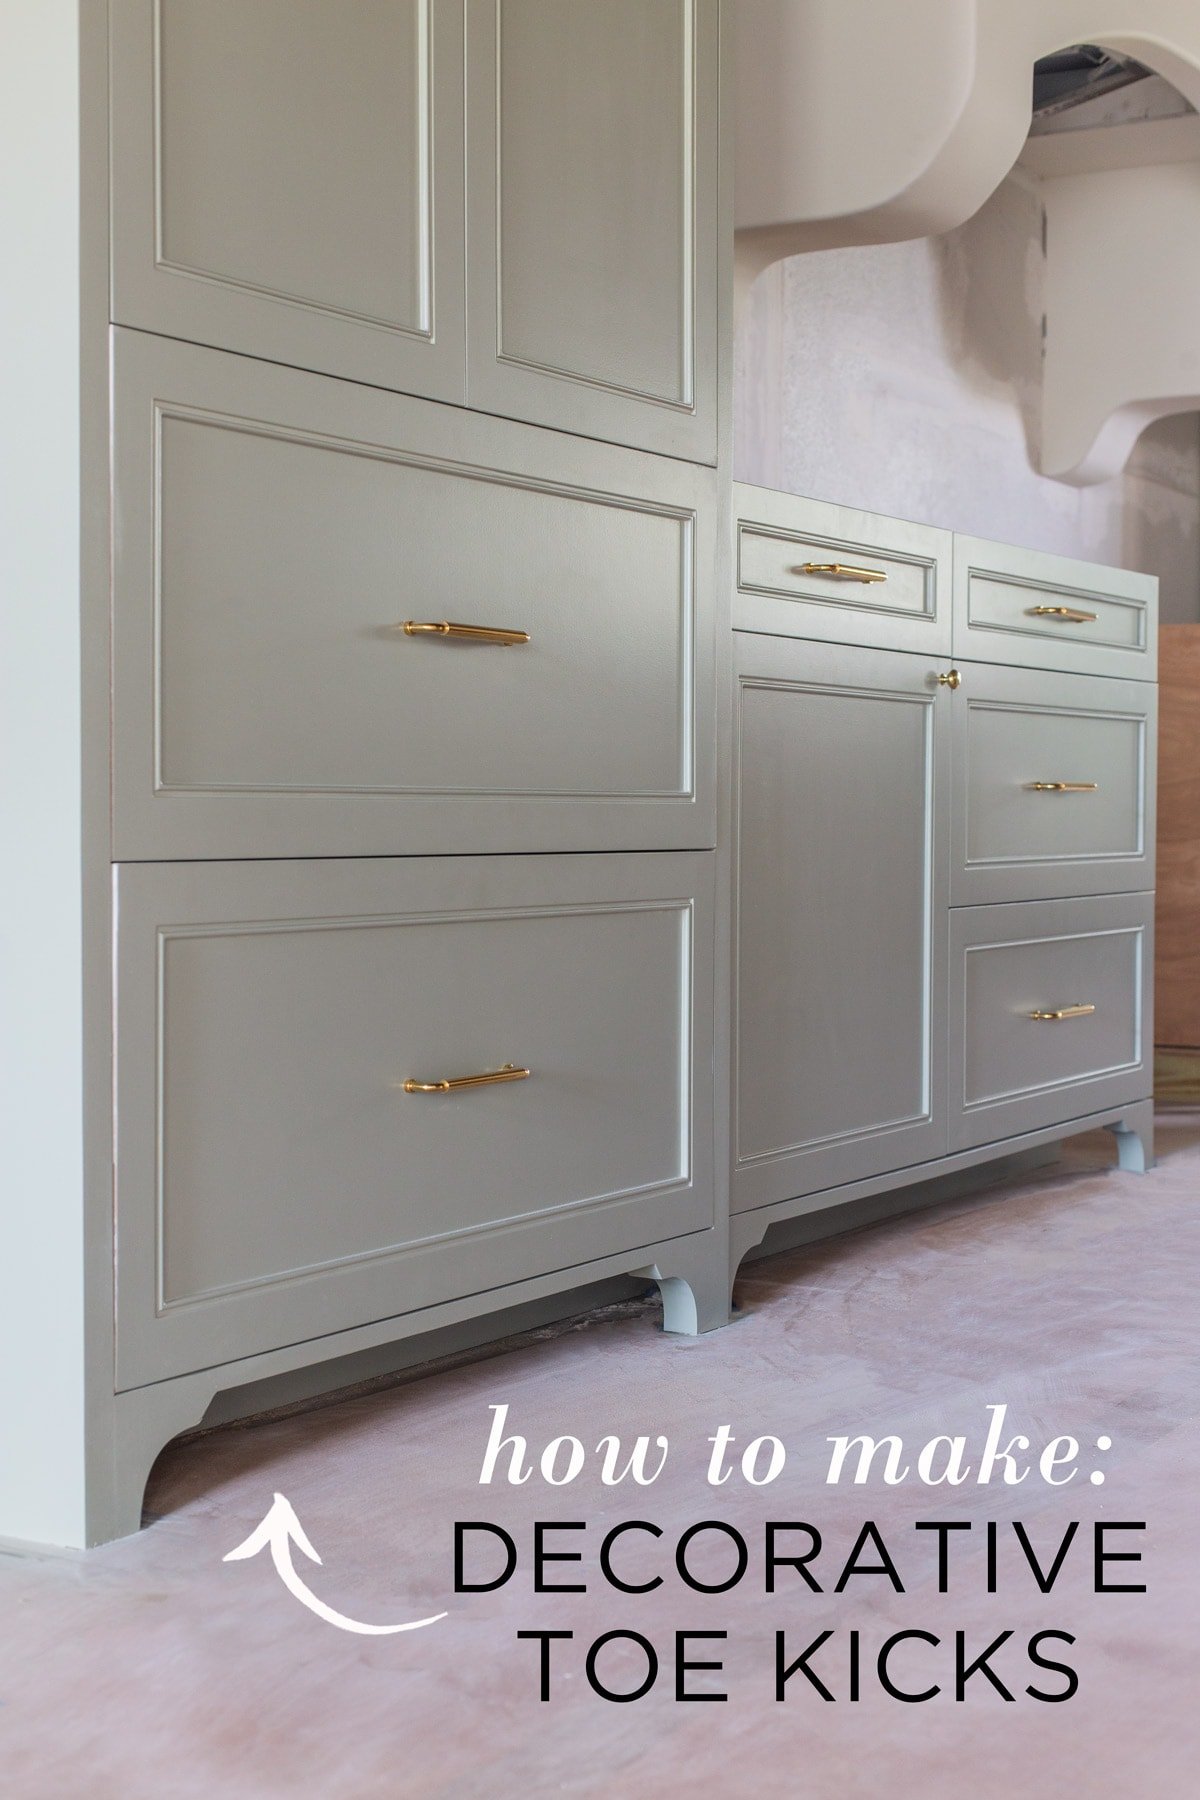
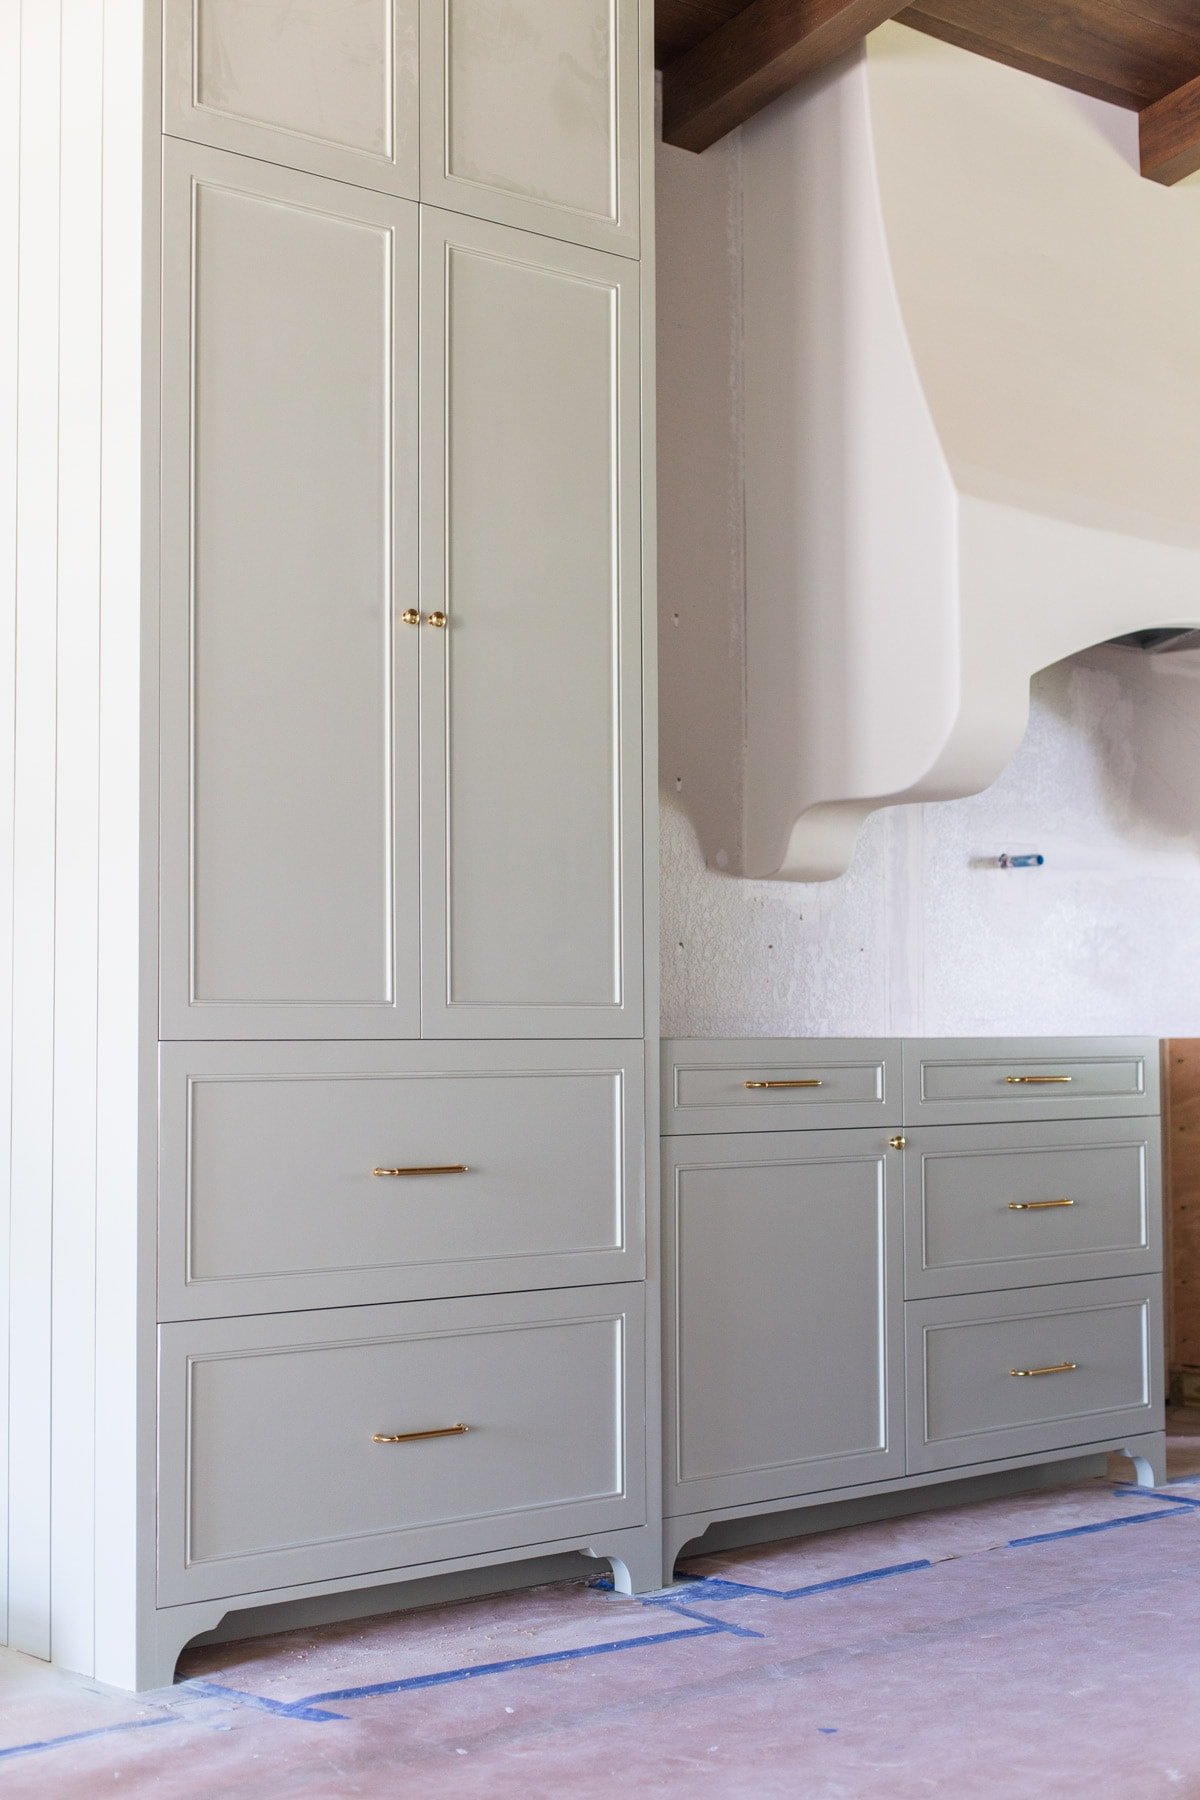
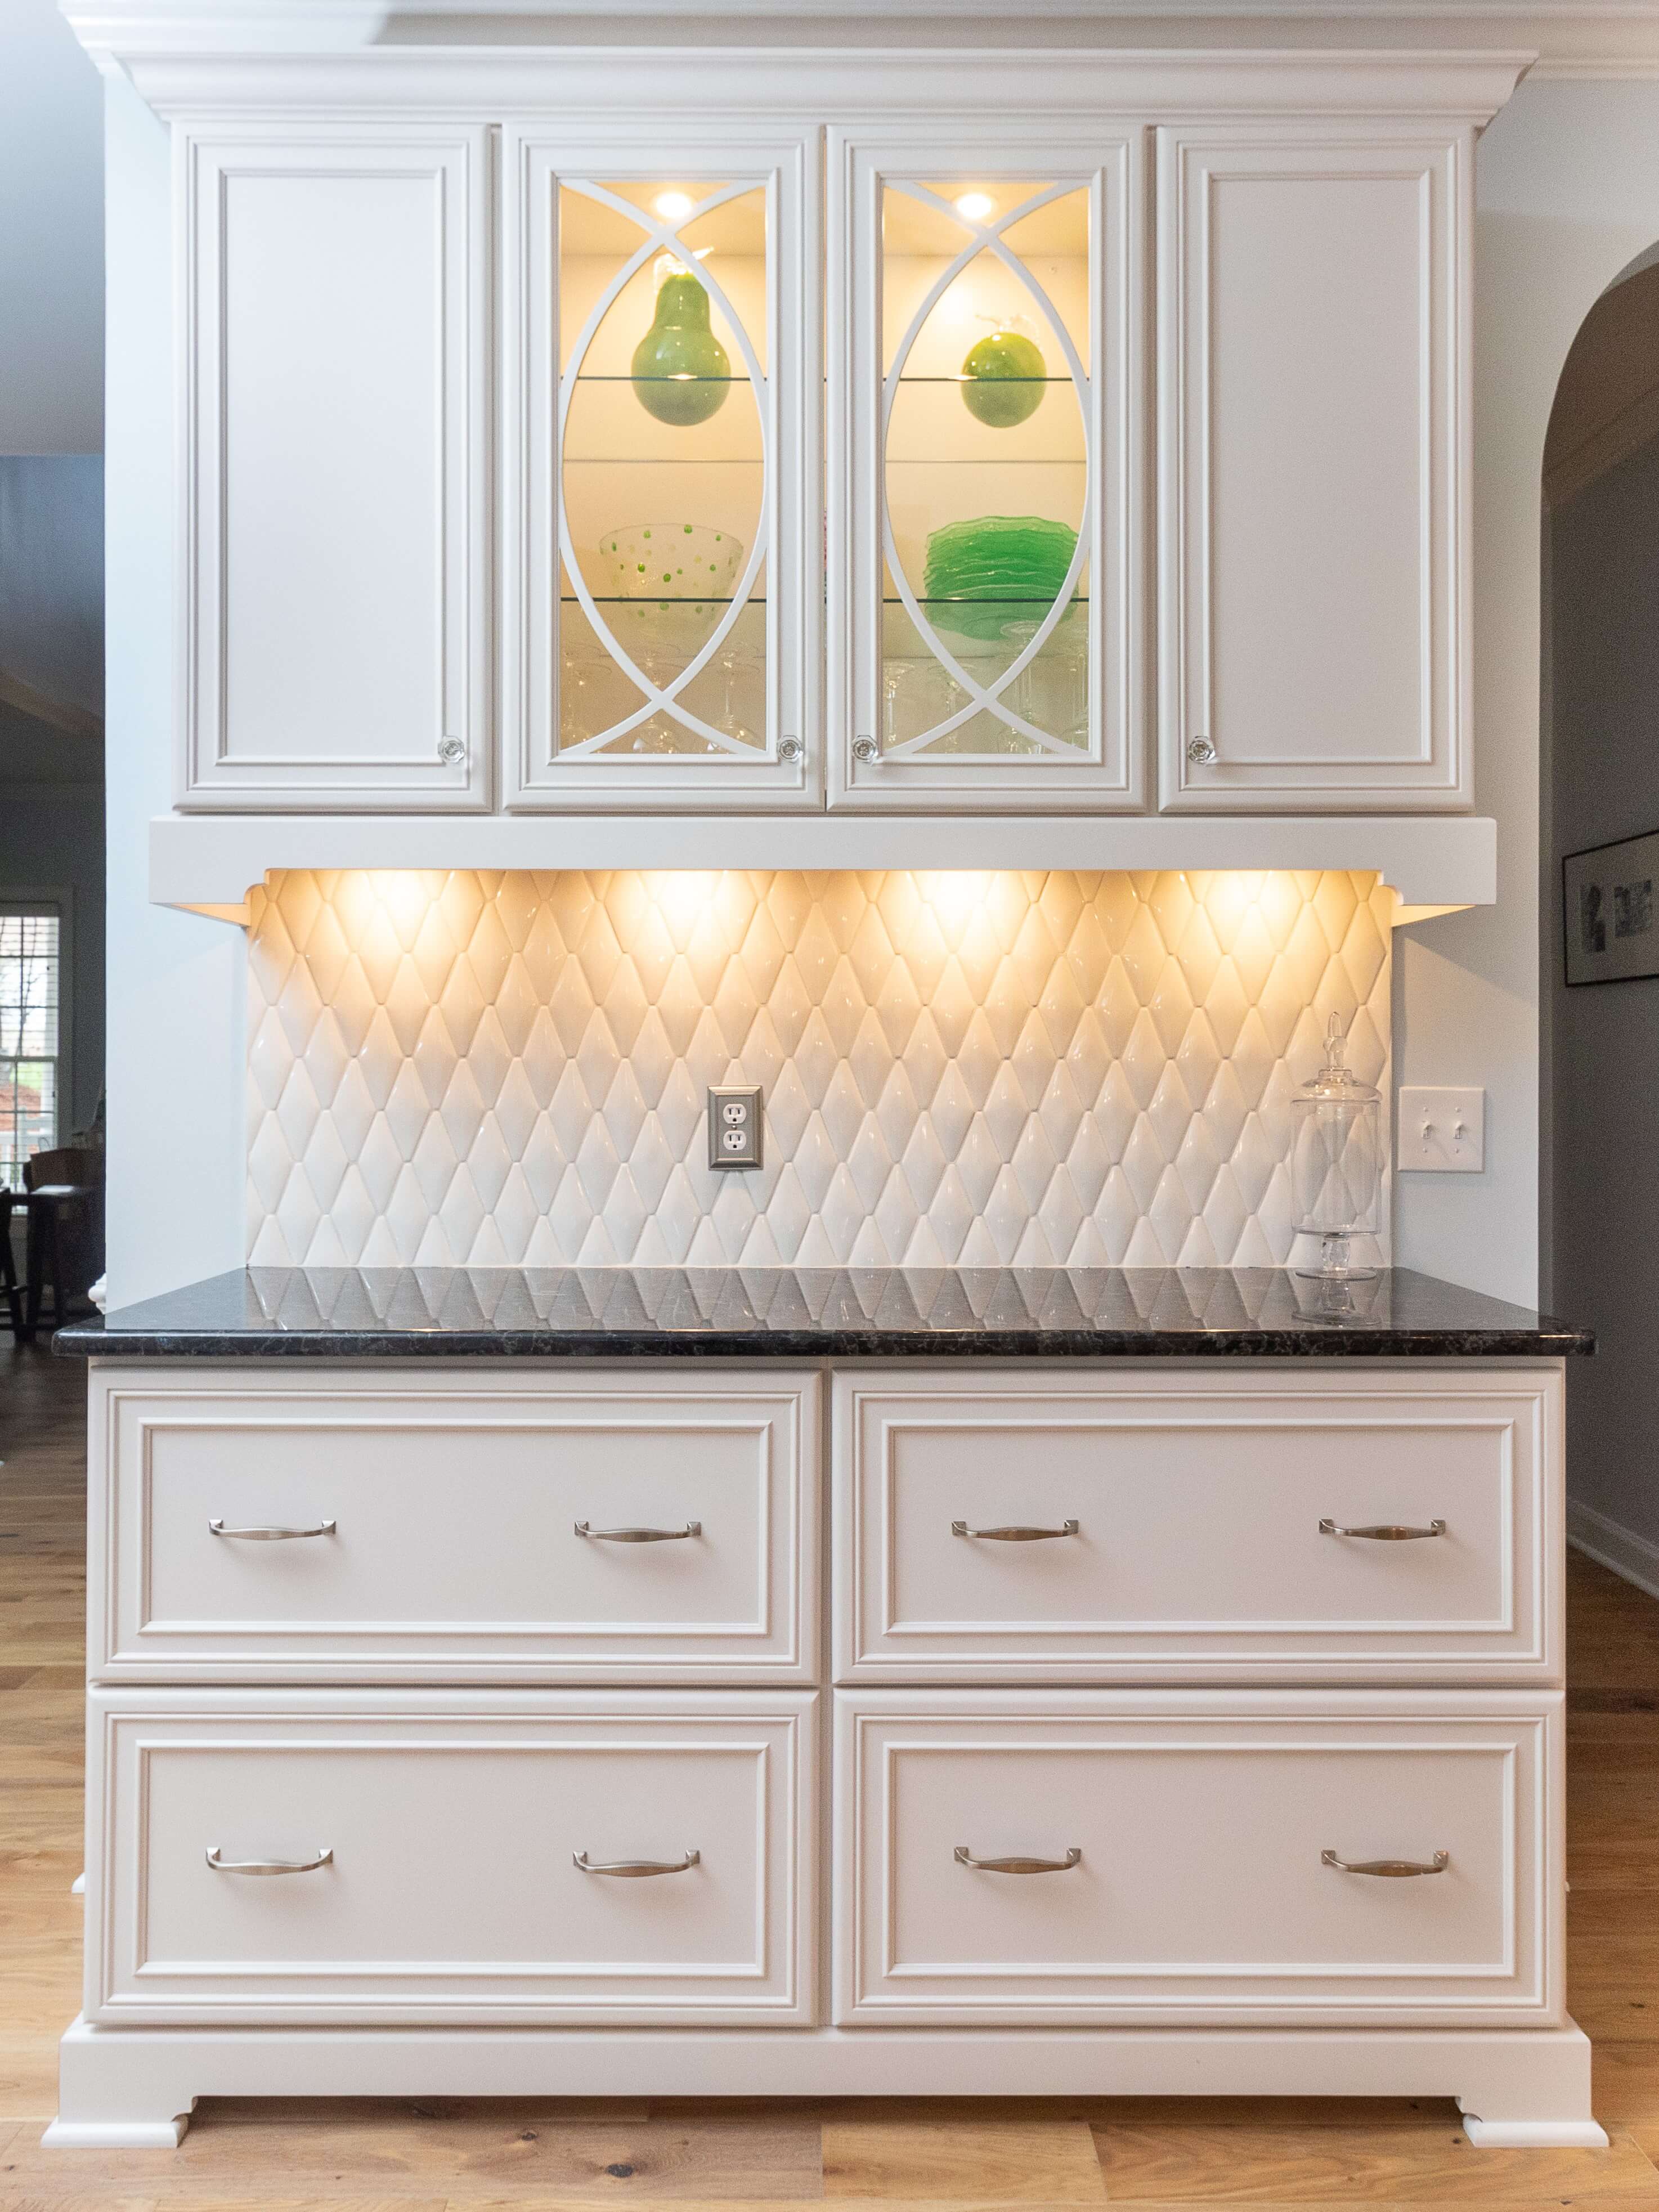
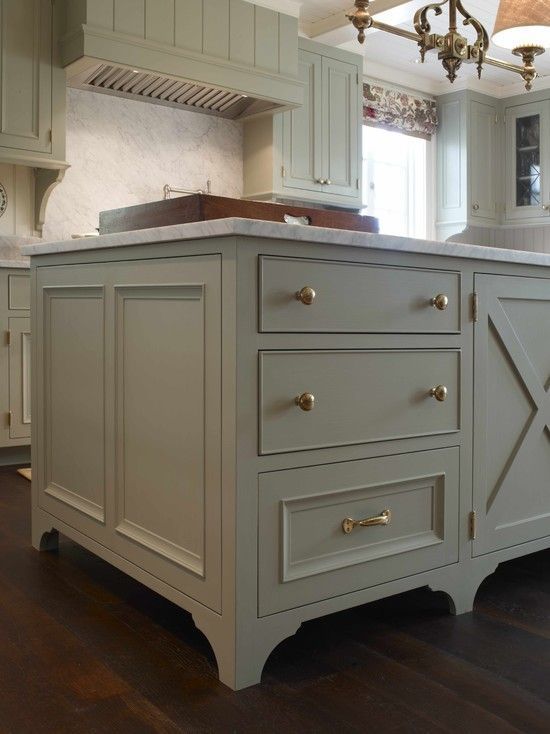
When it comes to kitchen design, every detail counts, and one often overlooked component is the toe kick. Decorative toe kicks can transform your kitchen cabinets from ordinary to extraordinary. In this comprehensive guide, I’ll walk you through everything there is to know about decorative toe kicks—styles, materials, installation tips, and maintenance—drawing from personal experiences along the way.
What is a Toe Kick?
A toe kick is the recessed space between the bottom of kitchen cabinets and the floor. It serves a practical purpose by providing foot clearance when you’re standing close to the cabinets. But toe kicks also offer an opportunity to enhance the aesthetic appeal of your kitchen.
Why Choose Decorative Toe Kicks?
Decorative toe kicks add a finishing touch to your cabinetry that can enhance your kitchen’s overall design. They come in various styles and materials, allowing you to express your personal taste.
Benefits of Decorative Toe Kicks
- Enhances the visual appeal of cabinetry
- Hides electrical and plumbing elements
- Provides a cohesive look to your kitchen design
- Available in various customization options
Types of Decorative Toe Kicks
Understanding the different types of decorative toe kicks can help you choose the right one for your kitchen. Here are some popular options:
1. Traditional Wood Toe Kicks
Wood toe kicks are classic and can be stained or painted to match your cabinets. They offer warmth and character to any kitchen. In my own home, I opted for a rich walnut finish that beautifully complements my oak cabinetry.

2. Tile Toe Kicks
Tile toe kicks are an excellent choice for modern kitchens. They can be made from ceramic, porcelain, or even glass tiles, providing a sleek and contemporary look.
3. Metal Toe Kicks
Metal toe kicks, often made from stainless steel or aluminum, lend a modern edge to kitchen designs. They are durable and easy to clean, making them a practical option.

4. Custom Molding Toe Kicks
Using custom molding can result in unique shapes and designs that perfectly align with your kitchen’s architecture. This option gives you the flexibility to create a truly one-of-a-kind look.
Comparison of Toe Kick Materials
| Material | Pros | Cons |
|---|---|---|
| Wood | Warmth, customization, classic | Sensitive to moisture, can scratch |
| Tile | Durable, easy to clean, modern | Can crack, colder feel |
| Metal | Durable, sleek appearance | Can dent, limited colors |
| Molding | Unique design, high customization | More expensive, can be complex to install |

Choosing the Right Decorative Toe Kick for Your Kitchen
Picking the right toe kick doesn’t just depend on aesthetics; it should also integrate well with your style and functionality needs.
Consider Your Kitchen Style
Whether your kitchen is modern, traditional, or transitional, there’s a toe kick style to match. Assess your cabinetry before making a selection.

Material Compatibility
Choose a material that complements the rest of your kitchen. For example, if you have sleek stainless appliances, a metal toe kick might be the way to go.
Height and Depth
The standard height of a toe kick is usually around 3.5 inches, with varying depths. Ensure you select one that fits well with your cabinet configuration and floor type.

Installing Decorative Toe Kicks
Installation can be straightforward if you have the right tools and guidance. Based on my personal experience, here’s how I installed mine:
Tools Needed
- Measuring tape
- Level
- Cutting tool (depending on the material)
- Adhesive or nails
- Paint or stain (if necessary)

Step-by-Step Installation Guide
- Measure the Area: Take accurate measurements of the area where the toe kick will be installed.
- Cut the Toe Kick: Use a cutting tool suitable for your chosen material.
- Prepare for Installation: Ensure the surface is clean and dry.
- Attach the Toe Kick: Use adhesive or nails to secure the toe kick in place.
- Finishing Touches: If necessary, apply paint or stain and let it dry completely.
Maintaining Decorative Toe Kicks
Maintenance varies by material but is generally manageable. Here’s how to keep them looking pristine:
Wood Toe Kicks
Regular dusting and occasional polishing will help maintain their shine. Avoid excessive moisture to prevent warping.
Tile Toe Kicks
Cleaning with a mild detergent and a soft cloth is usually sufficient. Grout lines may need resealing every few years.
Metal Toe Kicks
Wipe down with a damp cloth and avoid abrasive cleaners to prevent scratching.
Molding Toe Kicks
Dust regularly and touch up paint as needed to keep them looking fresh.
Common FAQs About Decorative Toe Kicks
1. Can decorative toe kicks be added to existing cabinets?
Yes, you can add decorative toe kicks to existing cabinetry. Ensure you measure carefully for a precise fit.
2. How do I ensure my toe kicks will match my cabinets?
Bring a sample of your cabinet color when shopping for toe kick materials to ensure a cohesive match.
3. Are decorative toe kicks expensive?
The cost varies widely based on materials and complexity. Wood and metal tend to be more budget-friendly, while custom molding can be pricier.
4. Can I install toe kicks myself, or should I hire a professional?
If you’re handy, you can install them yourself. However, if you’re unsure, hiring a professional might save you time and guarantee a quality finish.
5. What are the latest trends in decorative toe kicks?
Current trends include mixed materials and integrated LED lighting for a modern touch. Custom designs are also gaining popularity.
Conclusion
Decorative toe kicks are a subtle yet impactful way to enhance the beauty of your kitchen cabinets. With a variety of materials, styles, and customization options, you’re sure to find the perfect toe kick that suits your design aesthetic and functional needs. As you consider this addition to your kitchen, remember that every detail, including the toe kick, contributes to the overall harmony of your space.