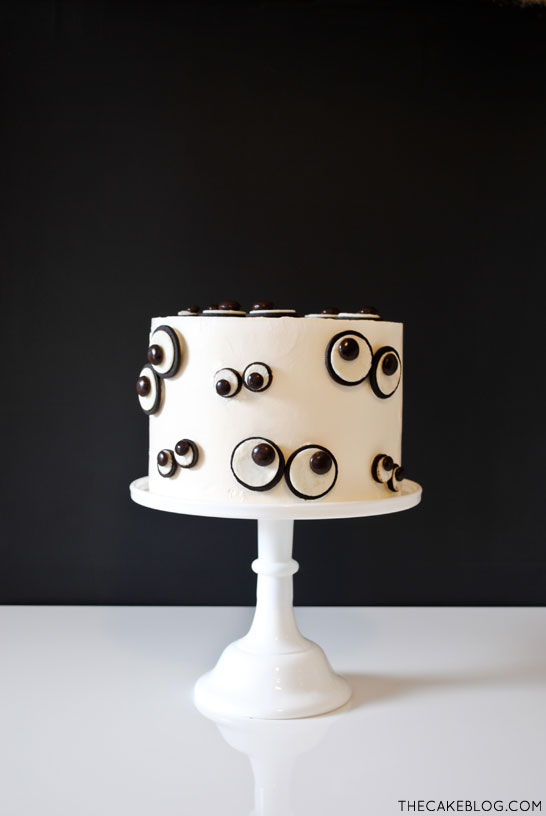
Welcome to the whimsical world of eyeball cake decorations! Whether you’re throwing a Halloween party, celebrating a birthday, or simply indulging in creative baking, these eye-popping designs are sure to turn heads. In this comprehensive guide, I’ll share my personal experiences, tips, and tricks to create the ultimate spooky treats. So, roll up your sleeves, and let’s get baking!
What are Eyeball Cake Decorations?
Eyeball cake decorations are unique and thematic embellishments that can transform any cake into a festive centerpiece. Often designed to look like human or monster eyeballs, they can be crafted from various materials such as fondant, chocolate, or even candy. They add a fun and often eerie touch to desserts, making them ideal for Halloween parties or themed events.
Why Choose Eyeball Cake Decorations?
Eyeball decorations can add a playful yet spooky element to your cakes. Here are a few reasons why you might want to consider them:
- Versatility: Perfect for various occasions from Halloween to horror-themed birthdays.
- Creative Expression: They allow bakers to express their artistic skills.
- Fun Factor: Great conversation starters at any gathering.
Essential Ingredients for Eyeball Cake Decorations
1. Fondant
Fondant is the most popular choice for creating eyeball designs due to its smooth texture and versatility. You can mold it into any shape and color you like.
2. Chocolate
Chocolate can be melted and molded into spherical shapes, perfect for crafting eyeballs that not only look realistic but taste fantastic!
3. Royal Icing
This icing can be used for fine detailing and features, perfect for adding those creepy little veins to your eyeballs.
Creating Eyeball Cake Decorations: A Step-by-Step Guide
Step 1: Prepare Your Cake
Start with baking your cake according to your favorite recipe. A rich chocolate or vanilla cake works perfectly as a base.
Step 2: Craft the Eyeballs
Molding with Fondant
Take small portions of fondant and roll them into balls. For the “eye,” create a white base, then add colored centers using food coloring.
Melting Chocolate Method
Melt your chocolate and pour it into spherical molds. Allow them to cool and harden before removing them from the molds. Decorate using edible paints or colored icing.
Step 3: Assemble Your Cake
Once your cake is cool, frost it with your favorite icing. Place the eyeballs strategically for the best visual effect.

Step 4: Add Finishing Touches
Consider adding additional decorations like edible glitter or fake spider webs to enhance the spookiness of your cake.
Comparison of Eyeball Decoration Methods
| Method | Pros | Cons |
|---|---|---|
| Fondant | Versatile and easy to shape | Can dry out if not handled properly |
| Chocolate | Delicious and visually appealing | Requires careful tempering |
| Royal Icing | Great for detailed designs | Can be too sweet for some |

Personal Experience: My Eyeball Cake Adventure
Let me share a little story. A few Halloweens ago, I decided to take my baking skills to the next level by crafting an eyeball cake for a themed party. I opted for the fondant method, using vibrant colors to make my eyeballs pop. While the process took some time and patience, the joy on my friends’ faces when they saw the cake was worth every second!
Frequently Asked Questions (FAQs)
What are the best colors to use for eyeball decorations?
Bright colors like red, green, and blue are popular choices as they mimic the look of actual eyes while adding a fun touch.

How far in advance can I make eyeball decorations?
Fondant decorations can be made several days in advance and stored in an airtight container to maintain freshness.
Can I use other shapes for eyeball decorations?
Absolutely! You can get creative and use different shapes and sizes to add variety to your cake.

Are eyeball cake decorations kid-friendly?
Yes, they can be made using non-toxic and edible ingredients, making them safe for kids to enjoy. Just ensure that any decorations you use are suitable for your audience!