If you’re diving into a tiling project, you’ve probably stumbled upon the term “thinset.” As a seasoned DIY enthusiast, I can tell you that choosing the right thinset is just as critical as selecting the tiles themselves. When it comes to Floor and Decor thinset, there are several options, and knowing which one to pick can make all the difference in your project’s success. Let’s explore everything you need to know about thinset, especially what Floor and Decor has to offer!
What is Thinset?
Thinset is a type of mortar used to adhere tiles to substrate materials. It is typically composed of cement, fine sand, and a water-retaining agent. Unlike traditional thick mortar beds, thinset is applied in a much thinner layer, making it ideal for most modern tile installations.
Why is Thinset Important?
The right thinset is crucial for the longevity and durability of tile installations. Using a quality thinset ensures that your tiles remain firmly attached to the substrate, preventing cracking, warping, or lifting over time. Additionally, it can influence the ease of installation and the final appearance of your tile surface.
Types of Thinset from Floor and Decor
Floor and Decor offers several types of thinset. Here’s a breakdown to help you choose the right one for your specific needs.
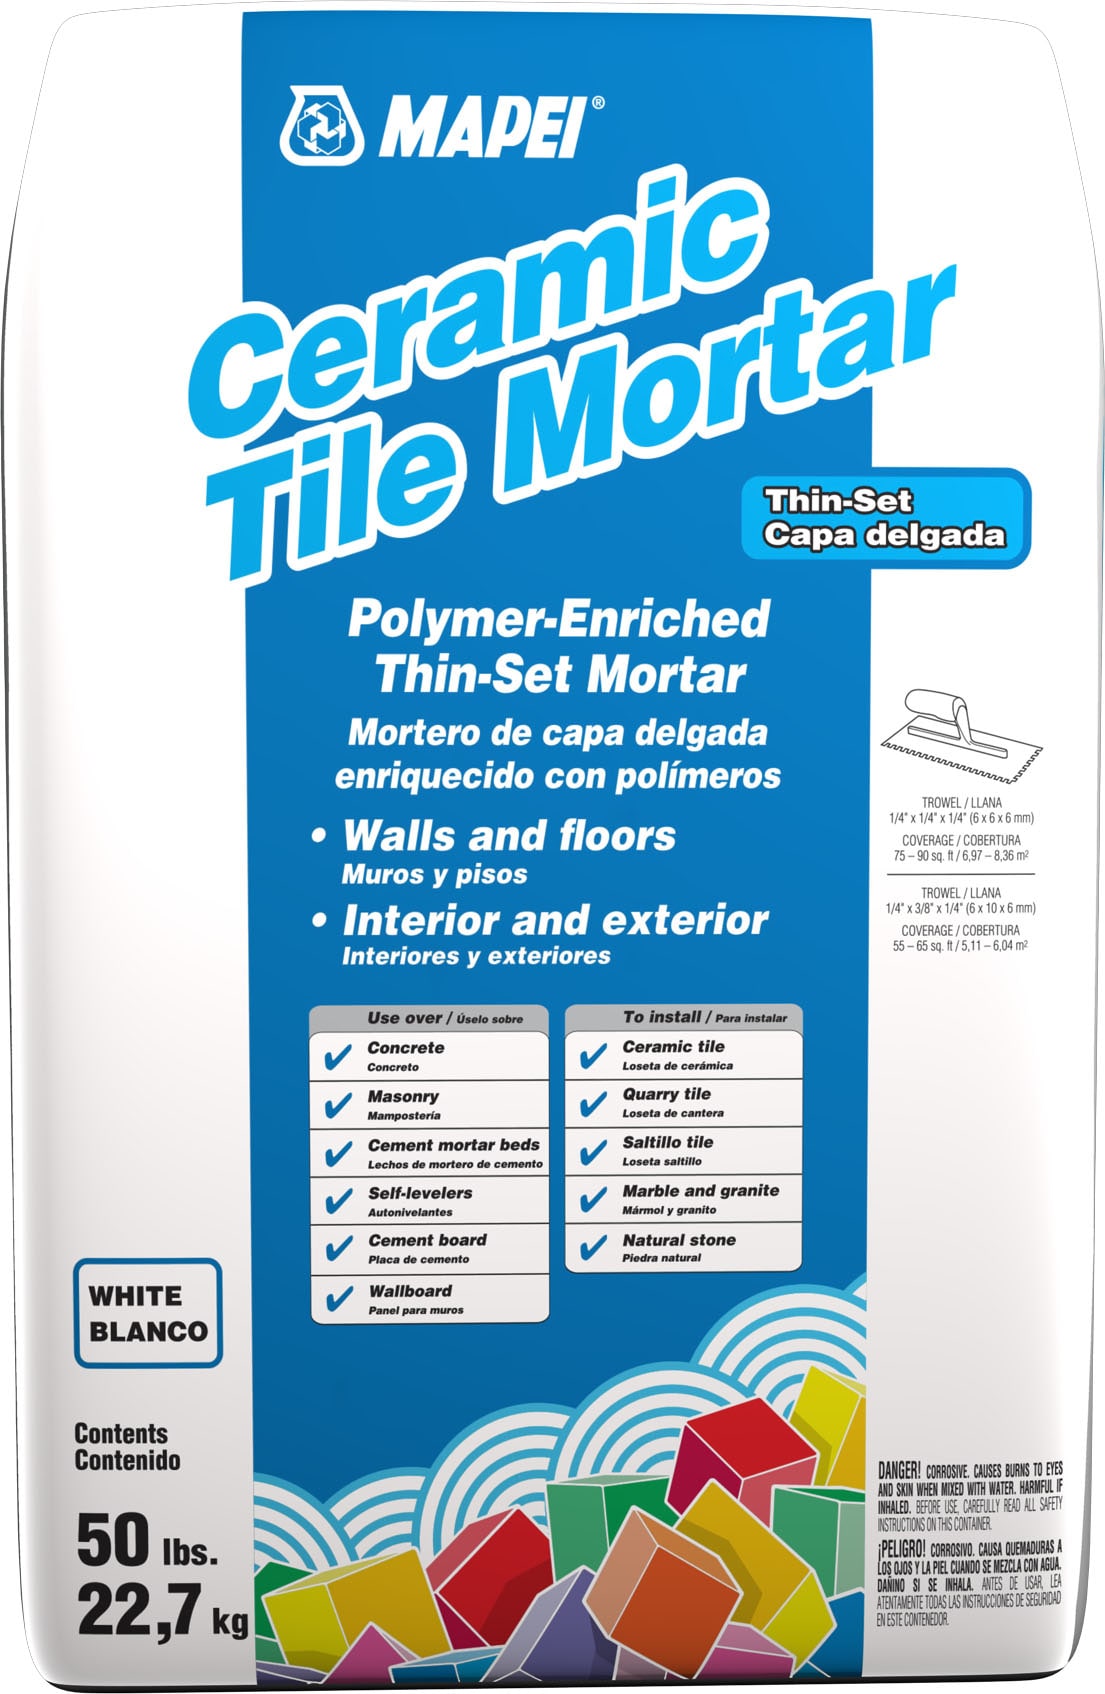
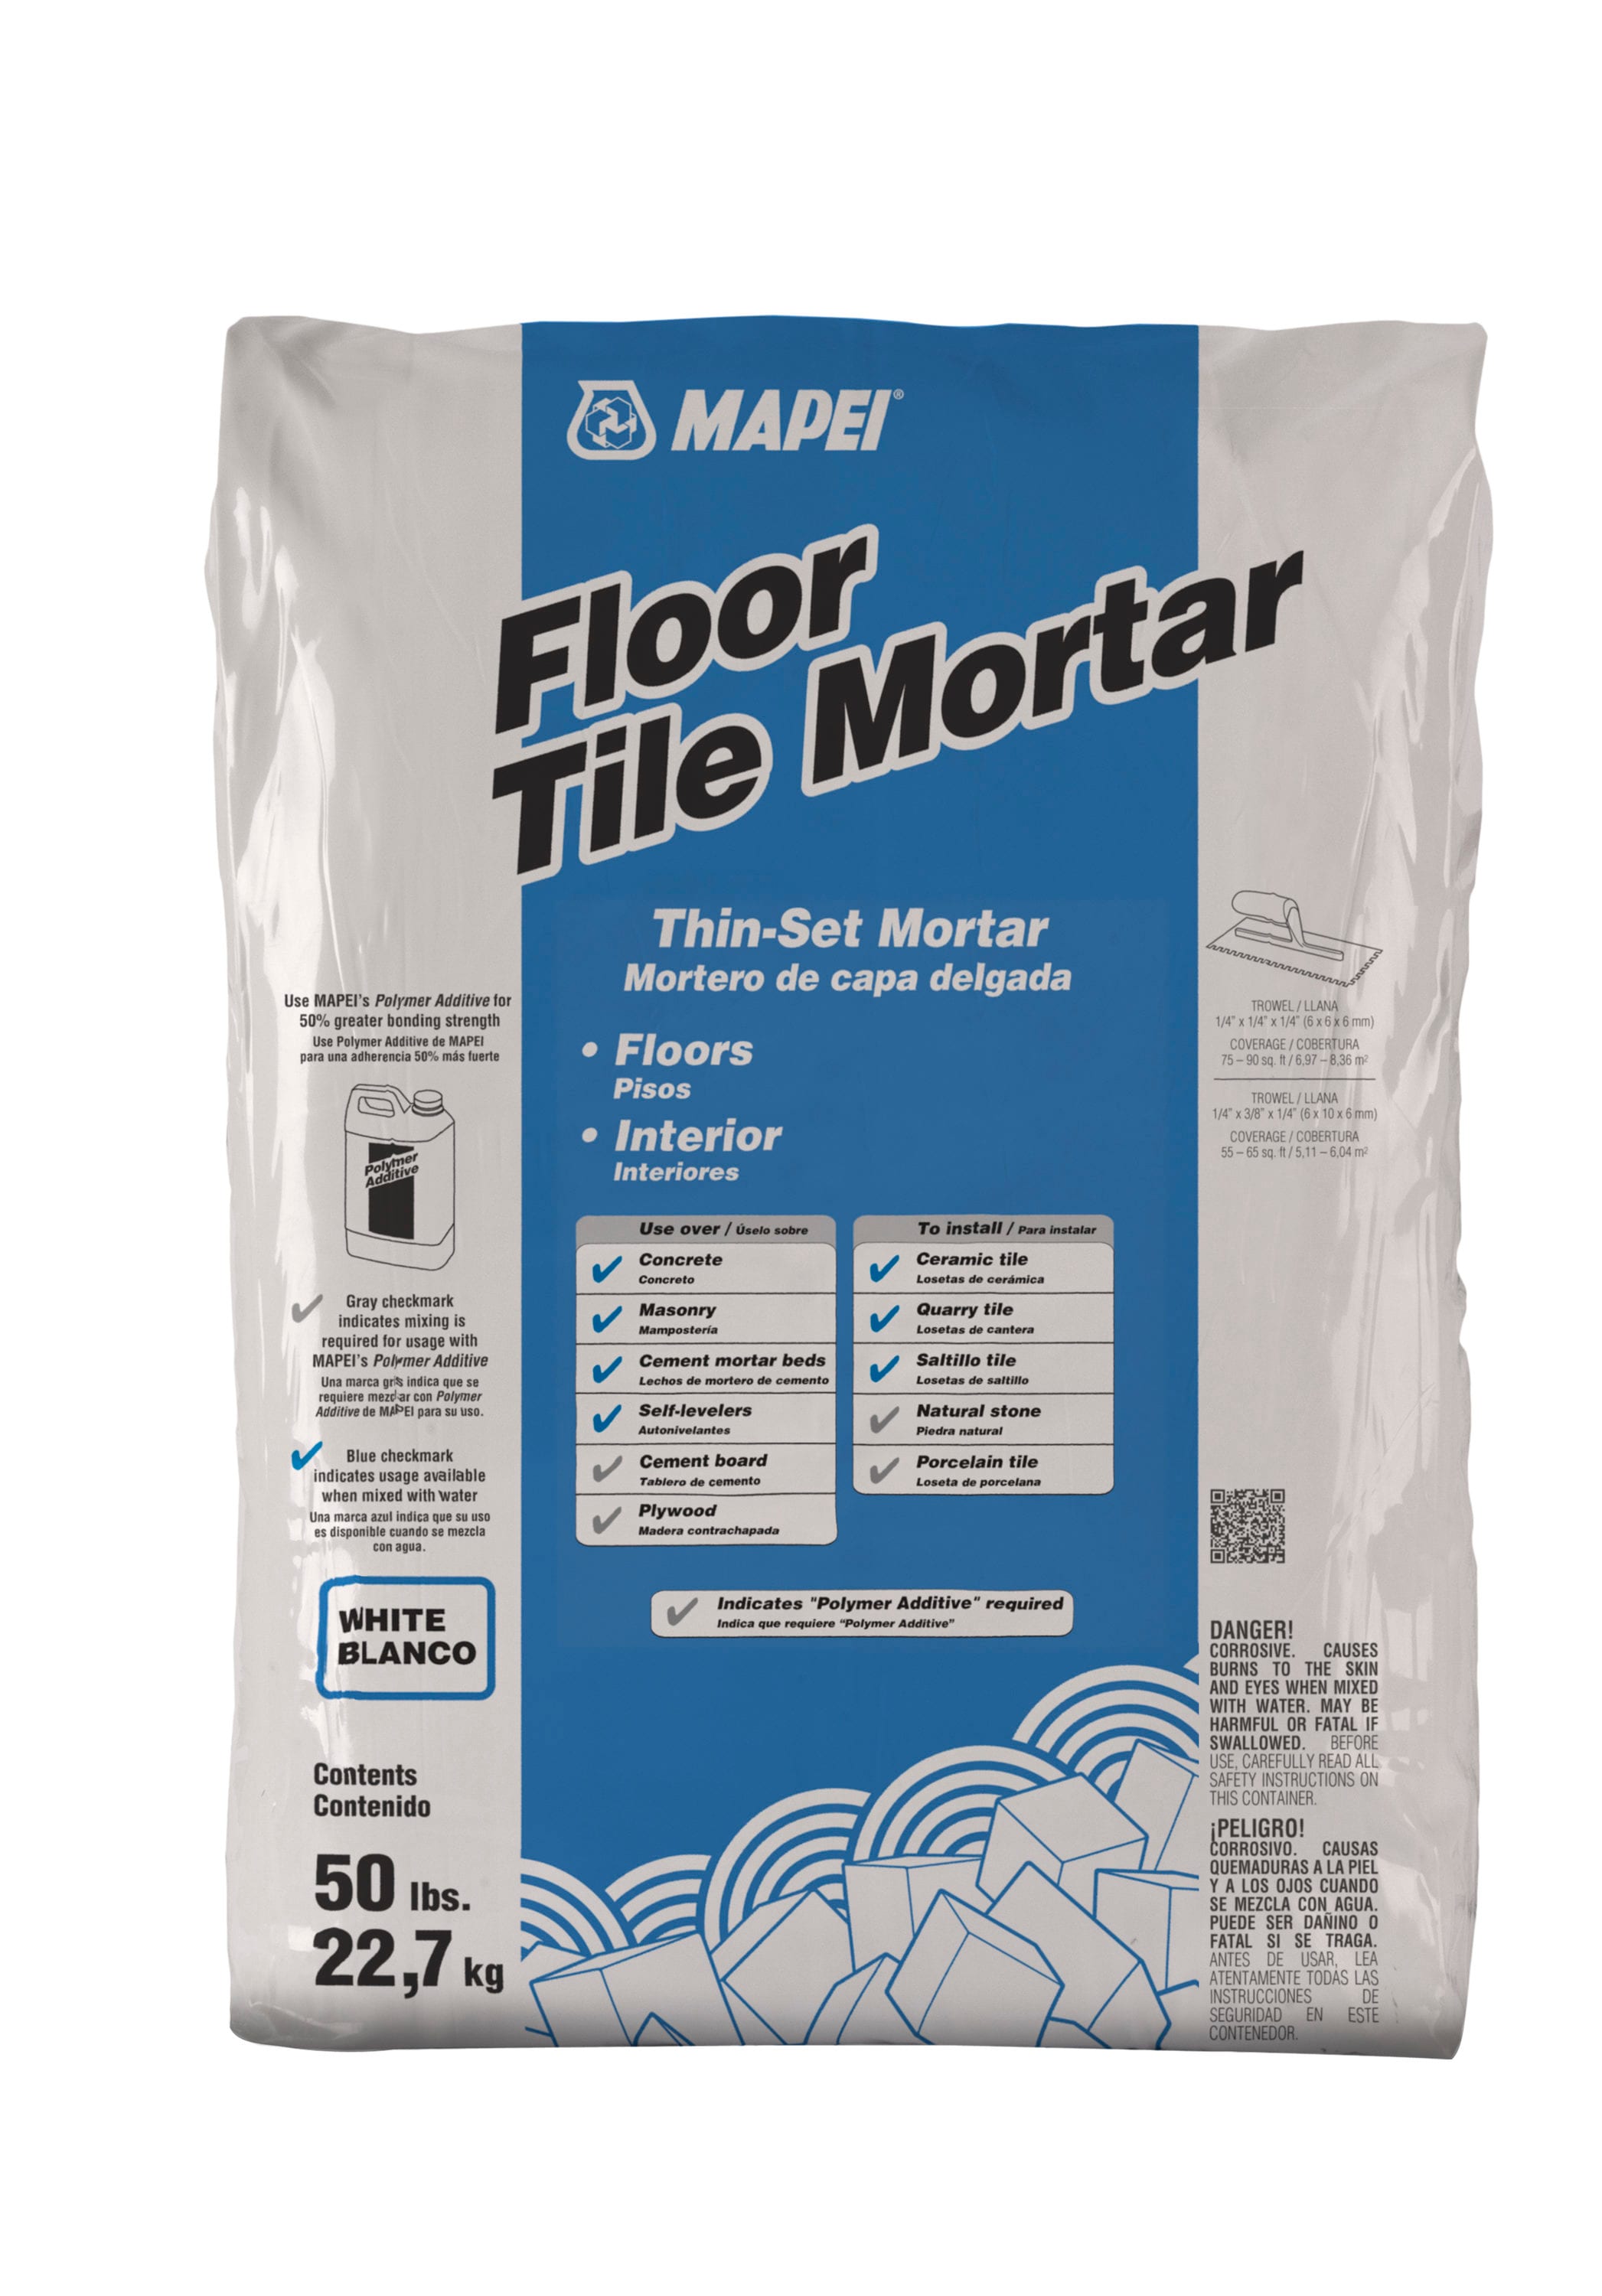
1. Standard Thinset Mortar
This is the most common type of thinset and is suitable for general tile applications. It’s ideal for indoor installations on cement backer board or drywall surfaces.

Pros:
- Easy to spread and work with.
- Cost-effective for most projects.
- Great for ceramic and porcelain tiles.
Cons:
- Not suitable for wet areas without special additives.
2. Modified Thinset Mortar
Modified thinset has added polymers that enhance its adhesion properties. This type is ideal for more demanding applications, such as floors or areas prone to moisture.
Pros:
- Stronger bond and flexibility.
- Suitable for a variety of surfaces, including wet environments.
Cons:
- Typically more expensive than standard thinset.
3. Quick-Set Thinset
This thinset is designed for fast installation, allowing you to set tiles and grout them quickly. It’s especially useful for time-sensitive projects.
Pros:
- Rapid setting time.
- Great for professional installers on a tight schedule.
Cons:
- Requires fast working speed from the installer.
Choosing the Right Thinset
Now that we’ve covered the different types of thinset, how do you choose the right one? Here are some factors to consider:

1. Tile Material
Consider the type of tile you’re using. Porcelain tiles, for instance, typically require a modified thinset to achieve the best bond.
2. Location of Installation
Different areas have different requirements. For wet areas such as showers or pool surrounds, choose a modified or cement-based thinset specifically designed for moisture resistance.
3. Working Time
If you’re less experienced in tiling, you might want to opt for a standard thinset that gives you more time to adjust tiles before it sets.
4. Surface Preparations
The preparation of your substrate will also dictate the choice of thinset. Ensure compatibility between the substrate and chosen thinset.

Application Tips for Floor and Decor Thinset
Using thinset can be straightforward if you follow these guidelines:
1. Proper Mixing
Follow the manufacturer’s instructions for mixing the thinset. Using the right water-to-thinset ratio will ensure you achieve the desired consistency and adhesion.

2. Trowel Selection
Select the right notch size for your trowel based on your tile size. Larger tiles generally require a larger notch to hold them securely.
3. Working in Sections
It’s best to work in manageable sections to prevent the thinset from drying out before you can set the tiles.
4. Checking for Level
Ensure your tiles are level as you work. This can save time and headaches later on when it comes to grouting.
Common Problems and Solutions
Even with the best intentions, you might face some hiccups. Here are common problems and potential solutions:
1. Tiles Coming Loose
If tiles start coming loose after installation, it may be due to the wrong thinset choice or improper mixing. Ensure the right thinset is chosen according to the tile’s material and setting instructions.
2. Uneven Surfaces
If your tiles appear uneven after installation, it could be due to improper trowel technique or substrate issues. Always check for level before the thinset dries.
3. Cracking in Grout
If you notice cracking in the grout, it could be a sign of movement beneath the tiles. Ensure proper substrate preparation and consider using a flexible grout in high-traffic areas.
Comparison Table of Floor and Decor Thinset Options
| Thinset Type | Ideal For | Setting Time | Moisture Resistance | Price Range |
|---|---|---|---|---|
| Standard Thinset | General indoor use | 30-60 minutes | No | $10-$20 per bag |
| Modified Thinset | Wet areas / Porcelain tiles | 30-60 minutes | Yes | $15-$25 per bag |
| Quick-Set Thinset | Fast projects | 15-30 minutes | Yes | $20-$30 per bag |
Personal Experience with Floor and Decor Thinset
Having completed several DIY projects using Floor and Decor thinset, I’ve found that their modified thinset provides an excellent balance of workability and adhesion. During my last bathroom remodel, the choice of thinset was pivotal in achieving a flawless tile layout. I opted for the modified thinset, which allowed me enough working time to adjust tiles as needed. The end result was not only aesthetically pleasing but also built to last.
FAQs about Floor and Decor Thinset
1. Can I use thinset on plywood?
It is not recommended to use thinset directly on plywood. Plywood should always be properly prepared with cement backer board or an appropriate underlayment.
2. How thick should thinset be applied?
A traditional thinset application should be anywhere from 1/8 inch to 1/4 inch thick, depending on the type of tiles being installed and the trowel used.
3. How long does thinset take to set?
Setting time can vary, but generally, thinset can take anywhere from 30 minutes to several hours to set, depending on environmental conditions and type used.
4. Should I seal my thinset?
Generally, thinset does not require sealing. However, if it’s in a wet area, ensure that the grout used is sealed appropriately after it has cured.
5. What is the shelf life of thinset?
Most thinsets have a shelf life of about 12 months when stored in a cool, dry place, but always check the manufacturer’s guidelines for specific recommendations.
Conclusion
Choosing the right thinset from Floor and Decor can elevate your tiling project from good to great. By understanding the types available and their specific properties, you can make an informed choice that aligns with your project needs. Remember, a successful installation starts with quality materials and the right application techniques!