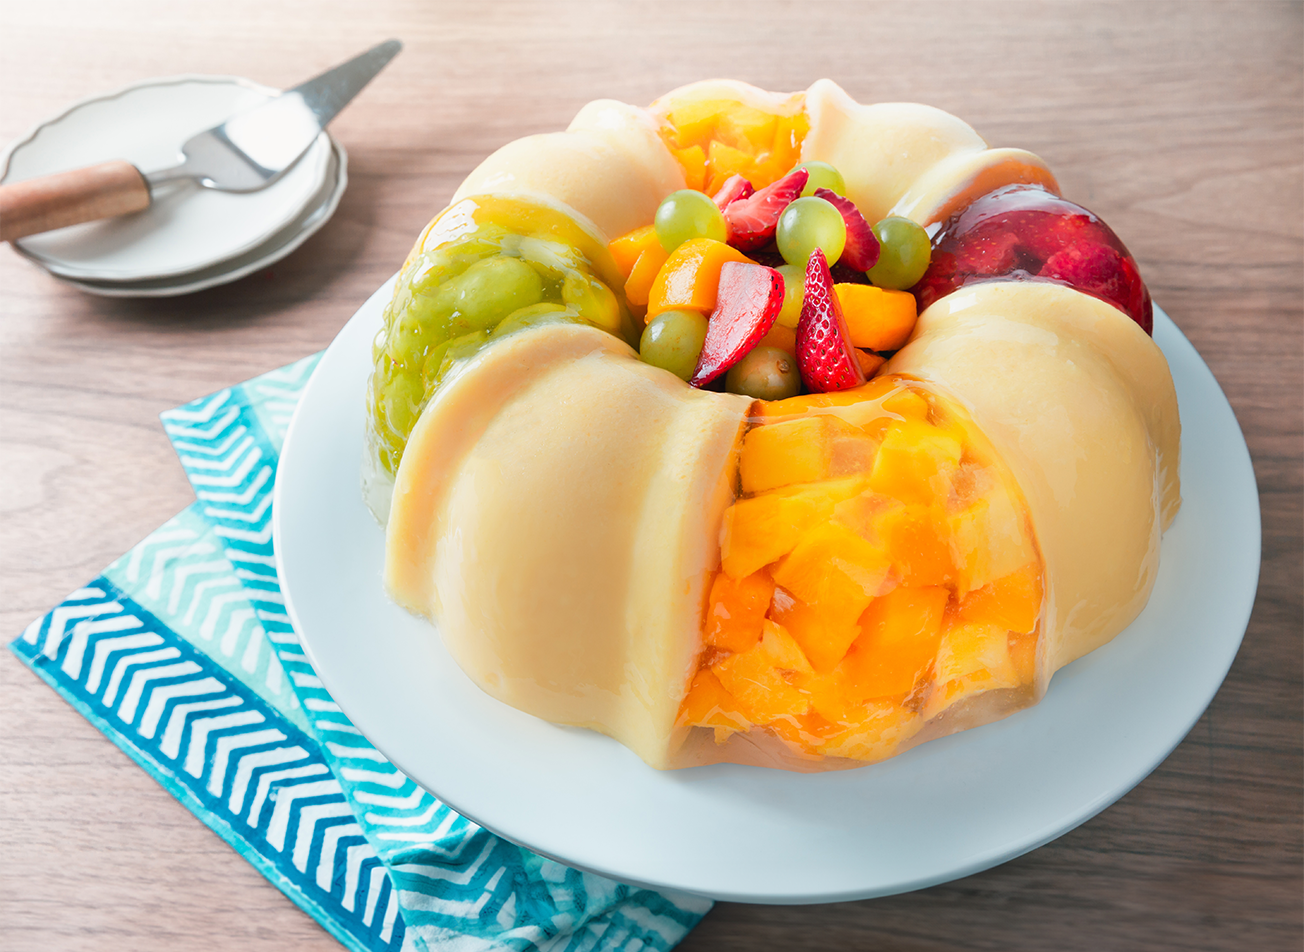
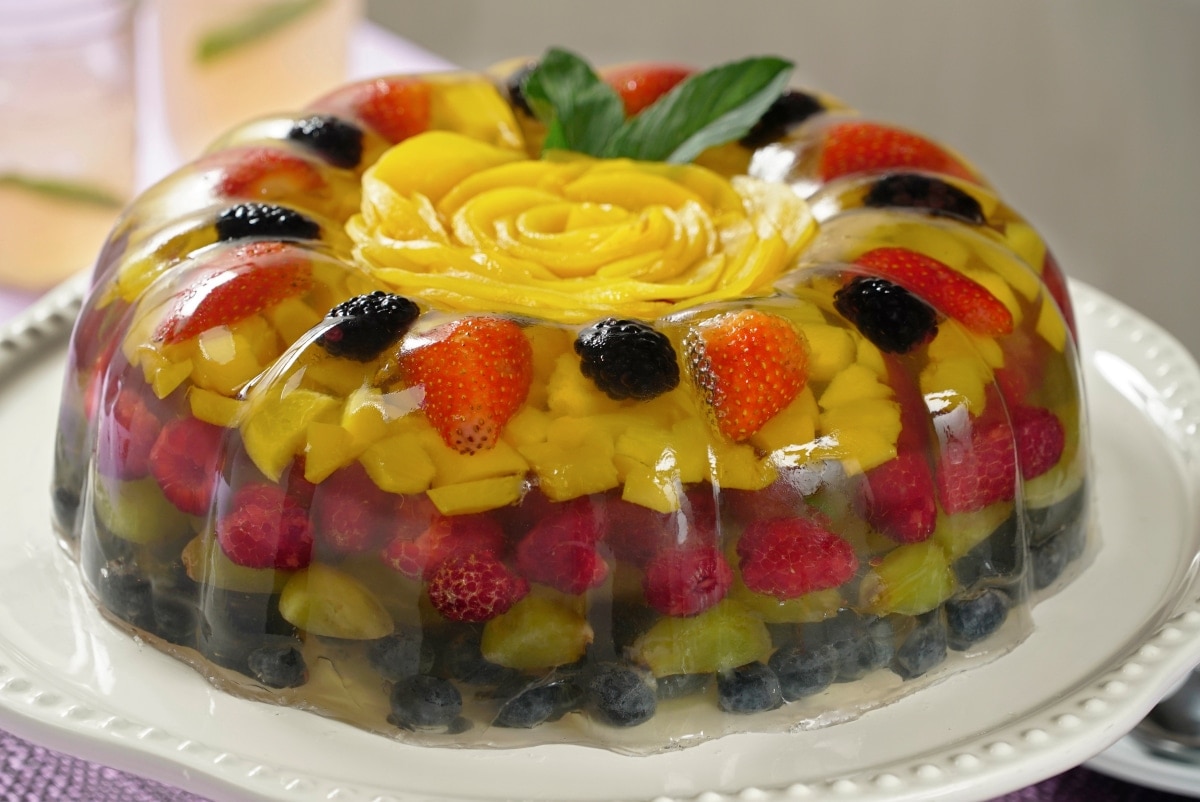
Gelatinas decoradas con fruta, or fruit-decorated gelatins, are not just desserts; they’re edible art! As a passionate home cook and dessert enthusiast, I’ve spent hours perfecting my skills in creating beautiful, colorful, and delicious gelatin desserts. In this article, I’ll take you through everything you need to know about making these delightful treats, from the basics to intricate designs. Let’s dive in!
What are Gelatinas Decoradas con Fruta?
Gelatinas decoradas con fruta are gelatin desserts that incorporate fresh fruits, creating visually stunning presentations. They are popular in many cultures, especially in Latin America, where they are often served at celebrations, parties, and family gatherings. The vibrant colors of the fruit combined with the translucent gel create a feast for the eyes and the palate.
History of Gelatina
Gelatin itself has a fascinating history that dates back centuries. It was originally made from boiling animal bones and skin. Over time, the process evolved, and now we have easy access to gelatin powder and sheets to create our desserts. The addition of fruits into gelatinas decoradas is what transforms this simple dessert into an art form.

Key Ingredients for Gelatinas Decoradas
Essential Ingredients
- Gelatin: Choose from powdered or leaf gelatin.
- Fruit Juice: Fresh or store-bought; consider flavors like orange, mango, or berry.
- Fresh Fruits: Options include strawberries, kiwi, blueberries, and oranges.
- Sweeteners: Sugar or honey, depending on your taste preferences.
- Water: For dissolving gelatin and mixing.

Optional Add-Ins
- Condensed milk for a creamy texture.
- Food coloring for enhanced aesthetics.
- Flavored extracts like vanilla or coconut.
Basic Recipe for Gelatinas Decoradas con Fruta

Ingredients
- 1 packet of gelatin (7g)
- 1 cup fruit juice (of your choice)
- 2 tablespoons sugar (adjust to taste)
- 1 cup assorted fresh fruits (cut into small pieces)
- 1 cup water
Instructions
- In a bowl, combine the gelatin and water. Let it sit for about 5-10 minutes until soft.
- In a saucepan, heat the fruit juice with sugar until dissolved, then remove from heat.
- Stir in the softened gelatin until completely dissolved.
- Pour half of the mixture into a mold and refrigerate until slightly set, about 30 minutes.
- Once set, add the fresh fruits on top of the semi-solid gelatin.
- Pour the remaining gelatin mixture over the fruits and refrigerate until fully set, 4-6 hours or overnight.
- Unmold the gelatina and serve chilled!

Tips for Perfect Gelatinas Decoradas
Choosing the Right Fruits
When selecting fruits, consider their color and texture. Choose vibrant, firm fruits that won’t break down in the gelatin. Here’s a quick reference table:

| Fruit | Texture | Color | Best Uses |
|---|---|---|---|
| Strawberries | Firm | Red | Layering |
| Kiwi | Slightly soft | Green | Visual contrast |
| Berries | Firm | Various | Garnishing |
| Orange Segments | Juicy | Orange | Flavor enhancement |
Layering Techniques
Creating layers of different colors can make your gelatina more eye-catching. For best results, allow each layer to set partially before adding the next. This will create defined layers and enhance the aesthetic appeal.

Storing Gelatinas Decoradas
Store your gelatin in the refrigerator. It can last up to a week, though it’s best enjoyed fresh. Keep it covered to prevent it from drying out or absorbing odors.
Exploring Creative Designs
Incorporating Edible Flowers
To elevate your gelatinas decoradas, consider using edible flowers. They add an elegant touch and can be included within the layers or as a garnish. Some beautiful options include:
- Pansies
- Nasturtiums
- Violas
Personal Experience with Unique Flavors
One of my favorite experiences was experimenting with tropical flavors. Creating a coconut-pineapple gelatina with chunks of fresh mango was heavenly! The tropical fruits complemented each other beautifully, making for a refreshing summer dessert. Don’t shy away from trying different fruit combinations.
Common Mistakes to Avoid
Overheating Gelatin
Be careful not to overheat your gelatin mixture! This can cause it to lose its setting properties. Heat just enough to dissolve the gelatin completely.
Using Sugary Fruits
While sugary fruits like bananas can be delicious, they can also break down and make your gelatin mushy. Opt for firmer fruits that hold their shape.
Pros and Cons of Gelatinas Decoradas
Pros
- Visually stunning – a treat for the eyes!
- Versatile – endless flavor and design possibilities.
- Can be made in advance, saving time for events.
Cons
- Can require some practice to master layering techniques.
- Overheating can ruin the texture of the gelatin.
- Fruits can sometimes cause inconsistencies in setting.
FAQs About Gelatinas Decoradas con Fruta
Can I use artificial fruit flavors?
Yes, you can! However, using fresh fruit and juices enhances the flavor and nutritional value of your gelatinas.
How do I prevent fruit from sinking to the bottom?
To prevent fruits from sinking, let the first layer of gelatin set slightly before adding the fruits. This way, they will be suspended in the gel rather than settling at the bottom.
Can I make these without gelatin?
You can use agar-agar, a plant-based alternative to gelatin. The process remains largely the same, but adjustments in measurements are required.
How long do gelatinas decoradas last in the fridge?
They typically last about 5-7 days in the refrigerator when stored properly in an airtight container.
Conclusion
Creating gelatinas decoradas con fruta is a fun and rewarding endeavor that can impress family and friends. With the right ingredients and a bit of creativity, you can turn simple gelatin into a stunning dessert that celebrates flavor and aesthetics.
Remember, practice makes perfect. Don’t hesitate to experiment with flavors, techniques, and designs. Before you know it, you’ll be the talk of the town with your beautiful fruit-decorated gelatins!