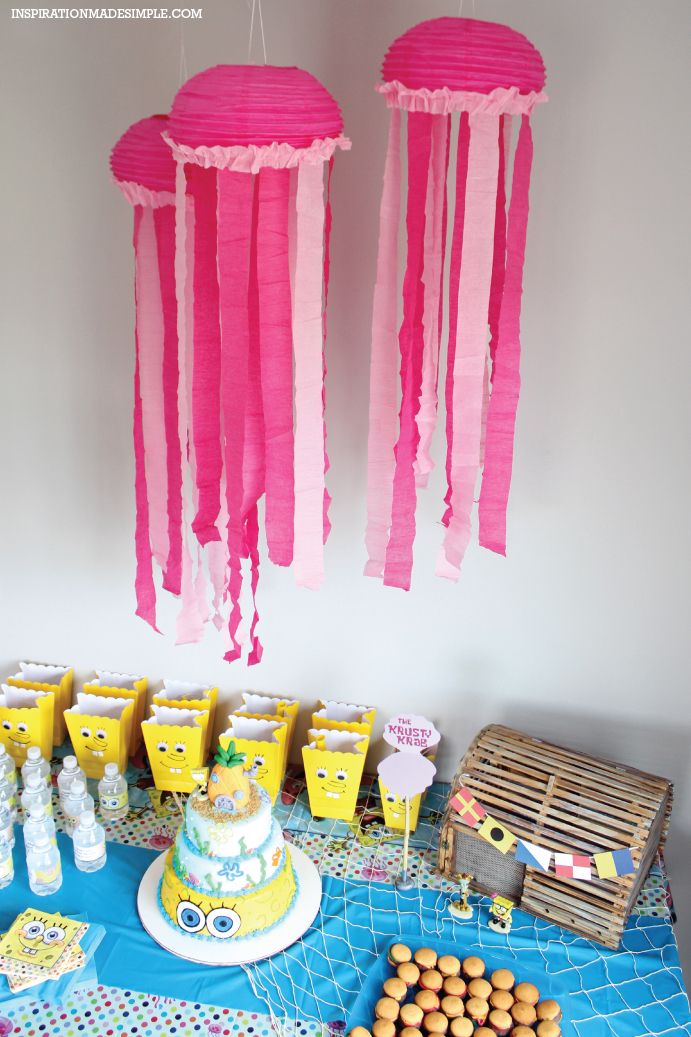
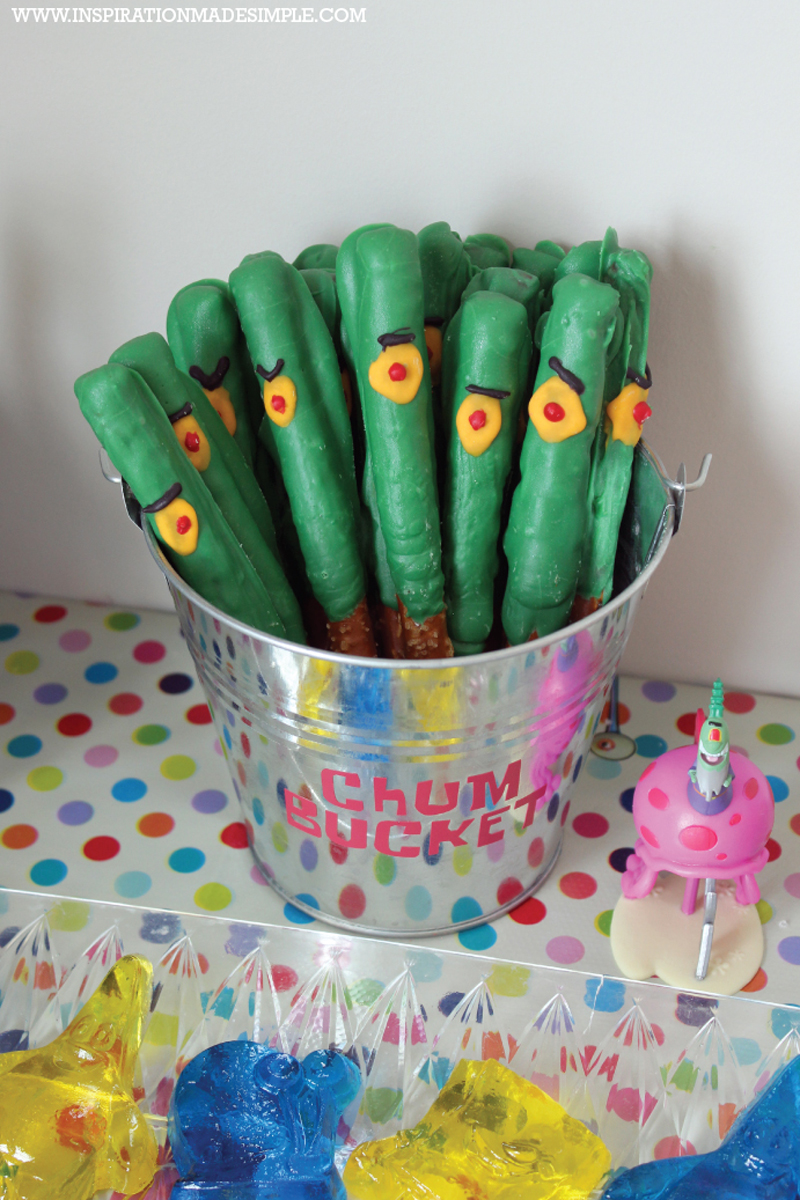
Are you a fan of SpongeBob SquarePants? If so, you’re about to dive into a sea of creativity! Whether you’re planning a birthday party, a themed event, or simply want to add a touch of Bikini Bottom to your home, DIY SpongeBob decorations are a fantastic way to express your love for this iconic character. Drawing from personal experiences and extensive research, this guide will walk you through a variety of fun, easy, and budget-friendly DIY decorating ideas. Ready to get started? Let’s jump in!
Why Choose DIY SpongeBob Decorations?
Choosing DIY decorations has numerous advantages. Here are a few reasons to consider:
- Budget-Friendly: DIY projects often cost much less than store-bought decorations.
- Personal Touch: Creating your decorations allows you to customize them to your preferences.
- Impressive Skills: Engaging in DIY projects can improve your crafting skills and give you confidence.
- Fun Activity: DIY projects can be a fun activity to share with friends or family.
Essential Materials for DIY SpongeBob Decorations
Before diving into specific decoration ideas, gather the following materials that will be essential for your SpongeBob-themed crafts:
- Yellow foam or felt
- Scissors
- Glue gun and glue sticks
- Paints (yellow, blue, white, red, etc.)
- Markers
- Popsicle sticks
- Paper plates
- Craft paper
- String or ribbon
- Balloon pump and balloons
Top 10 DIY SpongeBob Decoration Ideas
1. SpongeBob Character Cutouts
Character cutouts are a great addition to any SpongeBob-themed event. Here’s how to make them:
Materials Needed:
- Yellow foam or cardstock
- Markers for detailing
- Scissors
Instructions:
- Draw SpongeBob’s shape on the foam/cardstock.
- Cut out the shape carefully.
- Use markers to add details like his eyes, mouth, and clothes.
- Attach them to sticks for easy positioning around the venue.
Pro Tip: Make several different characters like Patrick, Squidward, and Mr. Krabs to create a lively scene!
2. SpongeBob Themed Centerpieces
Add flair to your tables with fun centerpieces:
Materials Needed:
- Clear mason jars
- Sand (yellow or blue colored)
- Small toys or cutouts of SpongeBob characters
Instructions:
- Fill each mason jar halfway with colored sand.
- Add the toys or character cutouts on top of the sand.
- Place a battery-operated tealight inside for a glowing effect!
3. DIY SpongeBob Banner
A vibrant banner can set the mood for your party. Here’s a simple way to create one:
Materials Needed:
- Colored paper
- Letter stencils or printed letters
- String or ribbon
- Glue
Instructions:
- Cut colored paper into triangles or rectangles.
- Using stencils, cut out letters that spell out “Happy Birthday!” or “Welcome to Bikini Bottom!”
- Glue the letters onto the paper pieces.
- String them together and hang them across the room.

4. Fun SpongeBob Balloons
Incorporate SpongeBob into your balloon arrangements:
Materials Needed:
- Yellow balloons
- Permanent markers
- Blue and pink balloons for friends
Instructions:
- Inflate the yellow balloons.
- Draw SpongeBob’s face on the balloons using permanent markers.
- Mix in pink and blue balloons for Patrick and Squidward.
5. Bikini Bottom Scene Backdrop
Create an enchanting backdrop for photo ops!
Materials Needed:
- Large cardboard sheets
- Paints (blue, yellow, green)
- Brushes and sponges
Instructions:
- Paint a large cardboard sheet blue for the sea.
- Use yellow and green to paint rocks, seaweed, and other Bikini Bottom elements.
- Set it up as a backdrop for photos.

Comparison Table: Store-Bought vs. DIY Decorations
| Feature | Store-Bought Decor | DIY Decor |
|---|---|---|
| Cost | Expensive | Budget-friendly |
| Customization | Limited | Unlimited |
| Fun Factor | No involvement | Highly engaging |
| Quality | Variable | Personal touch |
Tips for Successful DIY Projects
- Plan Ahead: Allocate enough time for preparation and crafting.
- Involve Friends or Family: Making decorations can be a great bonding experience.
- Keep it Simple: Choose projects appropriate for your skill level to avoid frustration.
- Be Creative: Feel free to mix styles and ideas; make it your own!

Frequently Asked Questions About DIY SpongeBob Decorations
What materials are best for making SpongeBob decorations?
Using a combination of foam, cardstock, and paint works best. These materials are easy to manipulate and yield vibrant colors.
Can I make SpongeBob decorations with kids?
Absolutely! Choose simpler projects and let them get creative with colors and designs.

Where can I find inspiration for DIY SpongeBob crafts?
Websites like Pinterest, YouTube, and dedicated crafting blogs can provide a plethora of ideas and tutorials.
How can I ensure my DIY decor lasts longer?
Seal your decorations with a clear spray or mod podge to protect them from wear and tear.

Conclusion
Creating DIY SpongeBob decorations can be an enjoyable and rewarding experience. Not only do you save money, but you also add a personal touch to your event or home decor. By following the ideas and tips outlined in this guide, you’re sure to create a fun, bubbly atmosphere that even SpongeBob himself would be proud of. So gather your materials, unleash your creativity, and dive into the world of DIY SpongeBob decorations. Happy crafting!