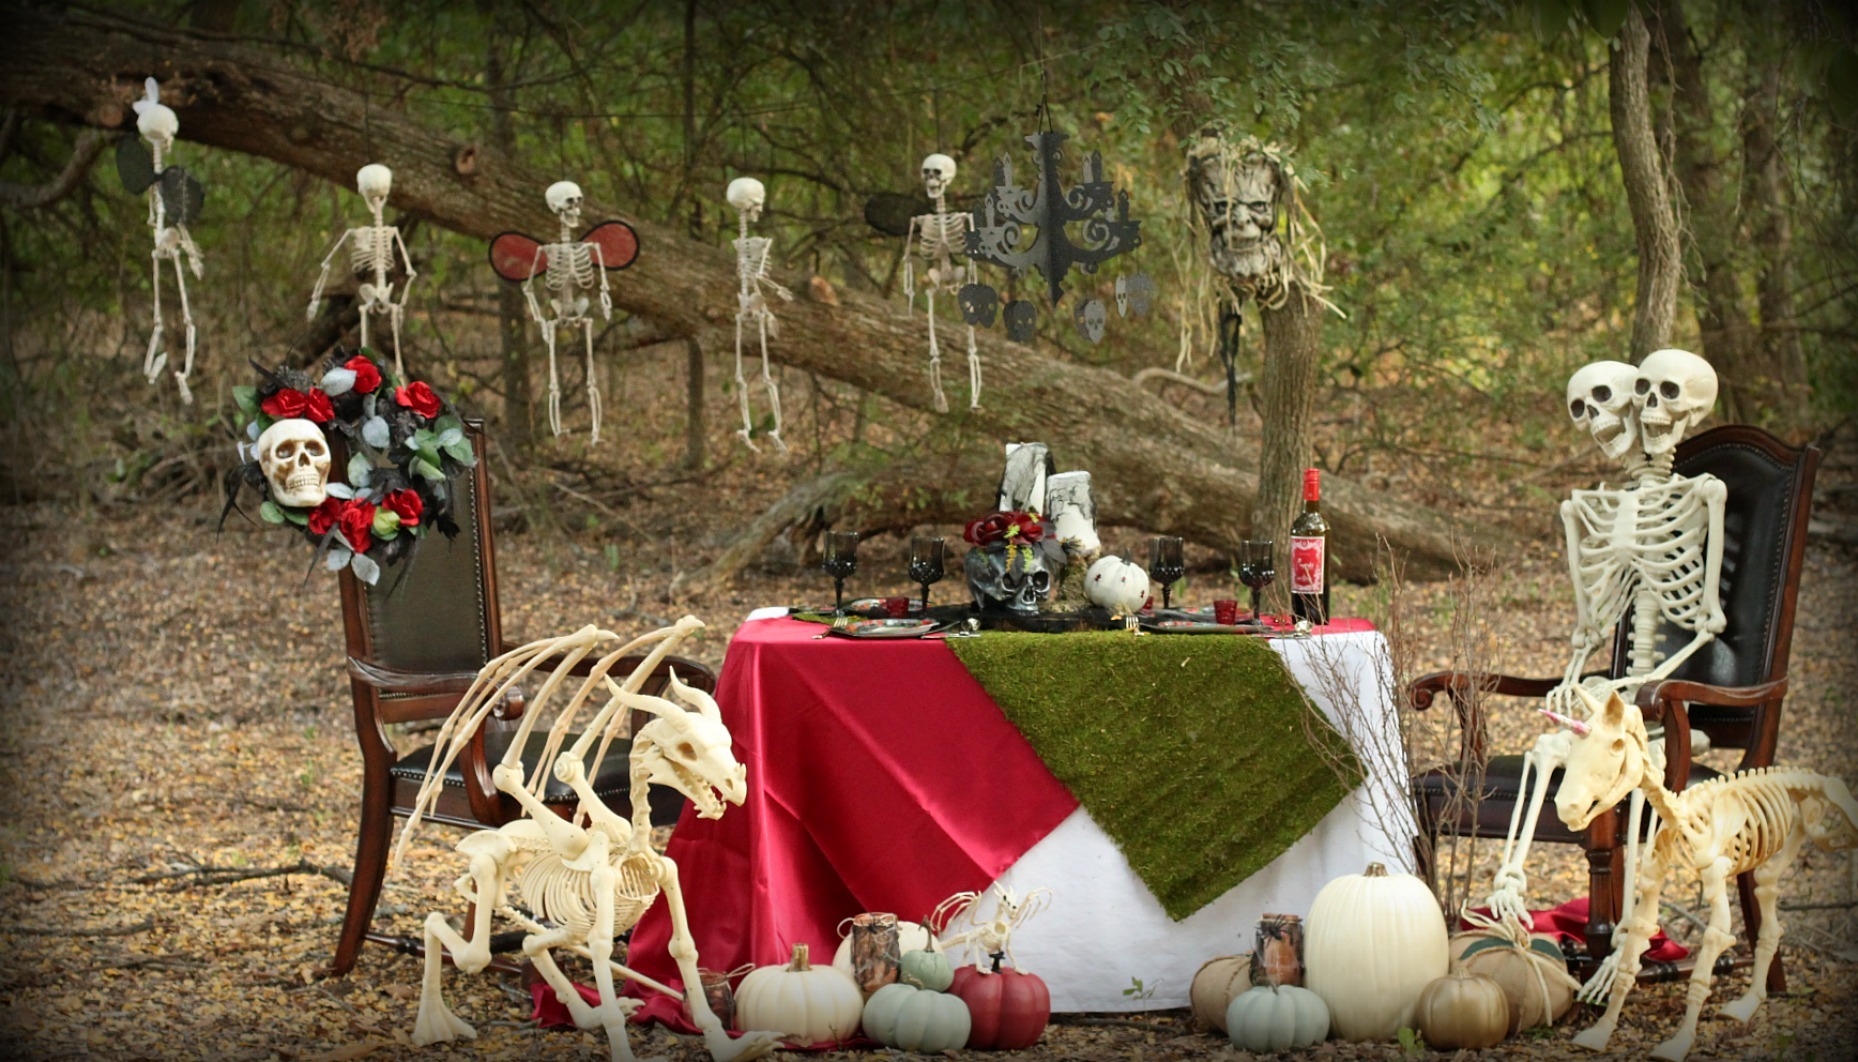
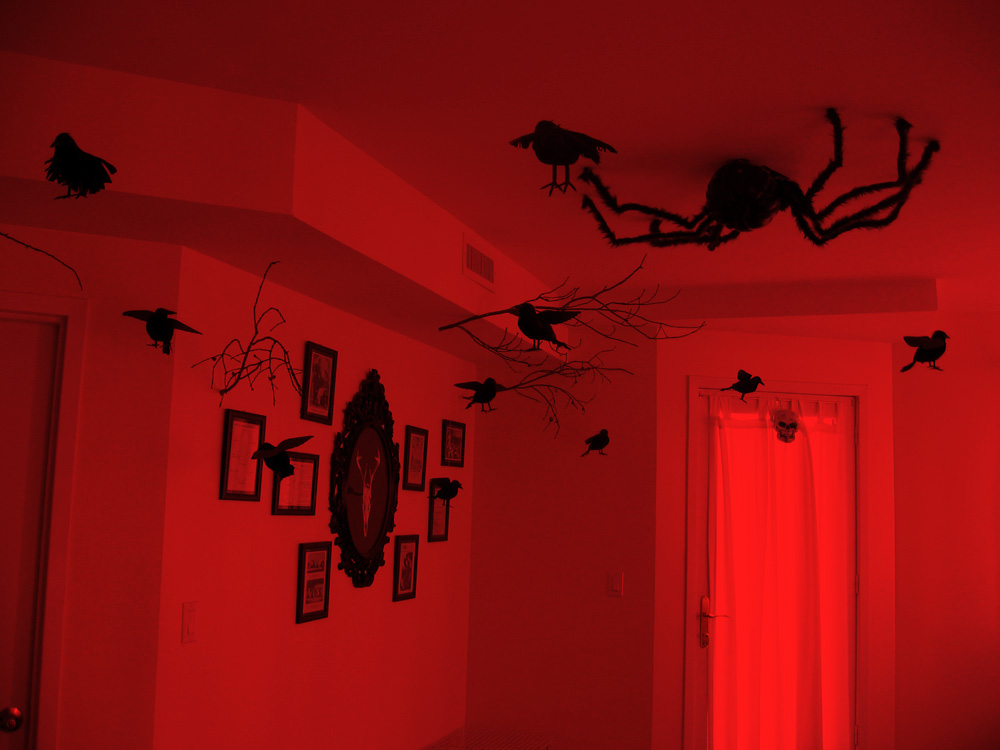
Halloween is the perfect time to let your imagination run wild, and what better way to embrace the spooky season than by transforming your space into a haunted forest? In this article, I’ll share my personal experiences with haunted forest Halloween decorations and provide you with a plethora of ideas, tips, and tricks to create an unforgettable experience for everyone who visits your home this Halloween.
The Allure of Haunted Forests in Halloween Decor
The idea of a haunted forest evokes feelings of mystery and excitement. Every rustling leaf and distant howl stirs the imagination and makes us ponder what lurks in the shadows. When you think about haunted forest decorations, picture twisted trees, fog rolling in, and eerie silhouettes that send shivers down your spine. This ambiance creates the perfect backdrop for Halloween.
From my own experience, I remember the first time I decorated my backyard as a haunted forest. It felt like stepping into a different realm, one where the ordinary became extraordinary. I invite you along as I walk you through the essentials of creating your haunted forest this Halloween.
Key Elements of Haunted Forest Decorations
To successfully create a haunted forest setting, you will need to focus on various elements that encompass the eerie yet exciting nature of such an environment. Below are some key components you should consider:
1. Atmosphere
Setting the right atmosphere is crucial. Dim lighting and strategic fog use can work wonders.
- Use of fog machines.
- String lights with warm colors or flickering flames.
- Moonlit effects with projectors or glow-in-the-dark elements.
2. Props
Props are the stars of your haunted forest. Here’s a list of essential props to consider:
- Artificial cobwebs
- Skeletons and skulls
- Ghostly figures or animatronics that move or make sounds
3. Natural Elements
Incorporating real or faux natural elements can enhance the authenticity of your forest:
- Faux tree trunks
- Branches and leaves
- Rocks and gravel for pathways

4. Sound Effects
Add sound to your haunted forest with eerie background music and sound effects:
- Sounds of rustling leaves, howling winds, and distant wolves.
- Spooky whispers and ghostly moans.
Planning Your Haunted Forest: Step-by-Step Guide
To avoid feeling overwhelmed, it’s best to plan your haunted forest decorations step by step. Here’s a handy guide to help you out:
Step 1: Choose Your Space
Decide if you’ll be decorating indoors or outdoors. Outdoor setups can utilize natural elements more effectively, while indoor setups can create a more intimate and controlled atmosphere.
Step 2: Inventory Check
Take stock of any decorations you already have. This can save you time and money—plus, reusing old decorations can add sentimental value to your setup.
Step 3: Gather Supplies
Make a list of items you’ll need. Here’s a sample list:
- Faux spider webs
- Battery-operated string lights
- Fog machine
- Decorative tombstones

Step 4: Layout Design
Sketch out a rough layout of where you want to place each element. A well-thought-out design will make decorating easier and more efficient.
Step 5: Set Up Your Decorations
Now comes the fun part—actually setting up your decorations! Start with the larger pieces and work your way down to the smaller details. And remember, layering is key to creating depth.

Comparison Table: Haunted Forest Decoration Ideas
| Decoration Type | Pros | Cons | Best For |
|---|---|---|---|
| Fog Machines | Creates an eerie atmosphere, easy to use | Can be messy, requires maintenance | Outdoor setups |
| Fake Cobwebs | Inexpensive, easy to apply | Can look cheap if overused | Indoors and outdoors |
| Animatronic Props | High impact, interactive | Can be expensive, may require setup | High traffic areas |
| Sound Effects | Enhances atmosphere greatly | Needs a sound system | Indoors or outdoors |
Personal Touch: My Haunted Forest Experience
Last year, I decided to go all out for Halloween and transformed my backyard into a haunted forest. I started by draping artificial cobwebs in the trees and added battery-operated fairy lights, which cast a magical glow at night. The fog machine I rented created an ethereal feel, especially when paired with eerie sound effects.
One of the highlights was the animatronic witch I placed at the entrance. Her cackles startled many trick-or-treaters, which was a delight! I also carved pumpkins and placed them along the path, illuminating the way and adding a classic Halloween touch.
Overall, it was an exhausting but fulfilling endeavor that brought smiles and screams alike. Seeing the joy and fright on the faces of passing neighbors made it all worth it.

Pros and Cons of Haunted Forest Decorations
There are always two sides to every decoration theme, so let’s break down the pros and cons of creating a haunted forest:
Pros
- Creates an immersive Halloween experience.
- Engages the community and family.
- Offers endless customization possibilities.
- Encourages creativity in decoration and design.
Cons
- Can be time-consuming to set up.
- Initial costs may be high for quality decorations.
- Requires regular maintenance, especially for outdoor setups.
- Weather can affect outdoor decorations.

Frequently Asked Questions (FAQs)
What are the best materials to use for haunted forest decorations?
Some of the best materials include faux spider webs, lightweight plastic skeletons, and durable outdoor lights. Consider using natural elements like branches and leaves for authenticity.
How can I make my haunted forest decorations safe for children?
Ensure that all props are securely anchored and that lighting is safe. Avoid sharp objects and toxic materials. Additionally, consider the scaring factor—make sure it’s fun, not traumatic!

Can I create a haunted forest on a budget?
Absolutely! Look for DIY decoration ideas or shop at dollar stores. Reusing old decorations or borrowing from friends can also save you money while creating a unique look.
How long should I plan to decorate for Halloween?
Ideally, start decorating at least a week before Halloween. This allows time to adjust your setup as needed and ensures everything looks stunning for the big day!
