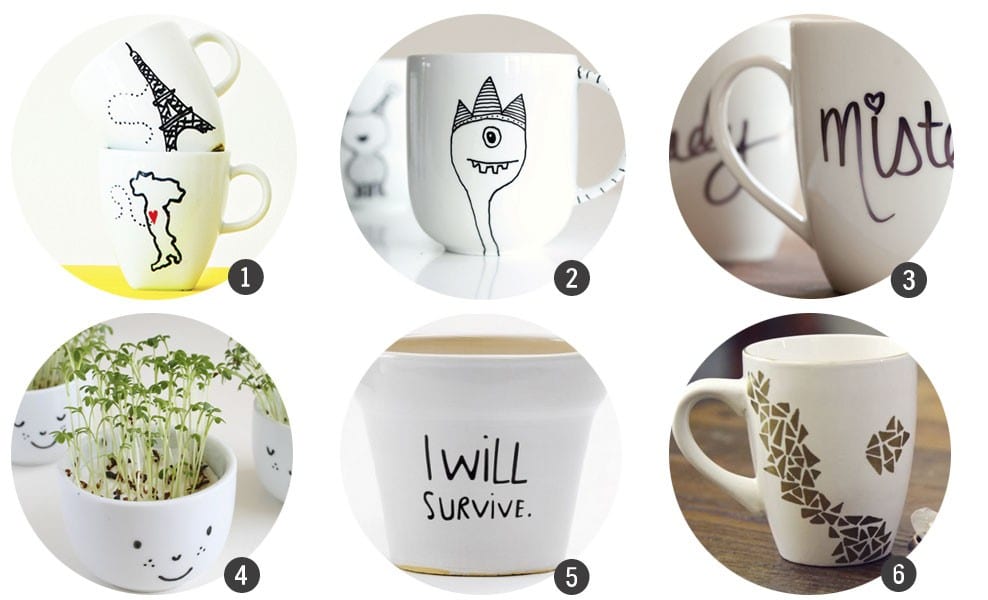
Making a personalized cup is a heartfelt way to show you care. In this comprehensive guide, I’ll share my personal experience, tips, and techniques to create the perfect gift.
Why Decorate a Cup?
Decorating a cup is not just an artistic endeavor; it’s an opportunity to express love and creativity. Here are a few reasons to consider:
- Personalization: Custom cups become cherished items.
- Memorable Gifts: A hand-decorated cup stands out from generic gifts.
- Creative Expression: It’s a fun way to showcase your artistic side.
Materials You Will Need
Before diving into the decoration process, gather the following materials:
- Ceramic or porcelain cup
- Oil-based paint markers
- Acrylic paints
- Brushes (various sizes)
- Clear sealant (optional, for durability)
- Stencils (optional)
- Masking tape (for patterns)
- Paper towels and water (for cleanup)
Basic Techniques for Decorating Your Cup
1. Hand Painting
Hand painting offers flexibility and creativity. Here’s how to do it:
- Choose your design. You can sketch it on paper first.
- Use a light pencil to outline your design on the cup.
- Start painting using acrylics or paint markers, allowing each layer to dry before applying more.
2. Using Stencils
If you prefer precision, using stencils can streamline your design:
- Secure the stencil to the cup with masking tape.
- Apply paint using a sponge or brush over the stencil.
- Gently remove the stencil to reveal your design.
3. Decoupage Technique
Decoupage is perfect for intricate designs with paper cutouts:
- Cut out images or patterns from napkins or paper.
- Apply a layer of decoupage glue to the cup.
- Place the cutouts and seal them with another layer of glue.
- Let it dry completely before using.
Design Ideas for Your Cup Decoration
1. Inspirational Quotes
Personalize with quotes that resonate with the recipient. Use beautiful fonts and colors that pop.

2. Floral Patterns
Paint delicate flowers or use stencils for a feminine touch.
3. Seasonal Themes
Consider decorating for specific seasons, like snowflakes for winter or pumpkins for fall.

4. Photos and Memories
Transfer small photos onto the cup using the decoupage technique for a personal touch.
Step-by-Step Guide for a Simple Design
Step 1: Sketch Your Design
Take a moment to sketch out your design on paper. This helps visualize the final product.

Step 2: Prepare Your Cup
Clean the cup thoroughly to ensure the paint adheres properly.
Step 3: Outline the Design
Lightly outline your design with a pencil or a light marker.

Step 4: Paint the Base Colors
Start with the base colors and let them dry completely.
Step 5: Add Details and Finishing Touches
Layer additional colors and details. Use a fine brush for intricate designs.

Step 6: Seal Your Design
If you want your design to last, apply a clear sealant after the paint has dried.
Pros and Cons of DIY Cup Decoration
| Pros | Cons |
|---|---|
| Highly personalized | Time-consuming process |
| Affordable | Requires artistic skills |
| Fun and therapeutic activity | Risk of mistakes |

FAQs about Decorating Cups
What type of paint is best for decorating cups?
Oil-based paint markers and acrylic paints are excellent choices, as they provide good color and durability.
How do I make my decoration last longer?
Use a sealant after your paint has dried to protect your design from wear and tear.

Can I use my decorated cup for drinking?
Yes, as long as you use non-toxic materials and seal your design properly.
What are some easy designs for beginners?
Start with simple shapes, stripes, or dots. Inspirational quotes also make for easy yet impactful designs.
How can I present the cup as a gift?
Wrap it in a colorful box or pair it with a matching saucer. Add a handwritten note for a personal touch!