Graduation is a momentous occasion, a culmination of years of hard work, dedication, and countless memories. As you prepare to don your cap and gown, it’s not just about the ceremony; it’s about expressing your individuality and celebrating your journey. One of the most fun and creative ways to stand out on graduation day is by decorating your graduation cap. In this guide, we’ll dive deep into how to decorate a graduation cap, sharing personal experiences, tips, and creative ideas to make your cap as unique as your journey.
Why Decorate Your Graduation Cap?
Decorating your graduation cap is not just a fun activity; it serves several meaningful purposes:
- Personal Expression: Your cap is a canvas to showcase your personality, interests, and experiences.
- Memorable Keepsake: A beautifully decorated cap can become a cherished memento of your graduation day.
- Photo Opportunities: Unique designs lead to standout photos that capture your special day.
- Inspiration for Others: Your creativity might inspire fellow graduates.
Choosing a Theme for Your Graduation Cap
Starting with a clear theme can make the decorating process smoother. Here are some popular themes to consider:
1. Academic Achievement
Celebrate your field of study with symbols, quotes, or images related to your major or career path.
2. Personal Interests
Incorporate hobbies, favorite quotes, or symbols that represent who you are outside of academics.
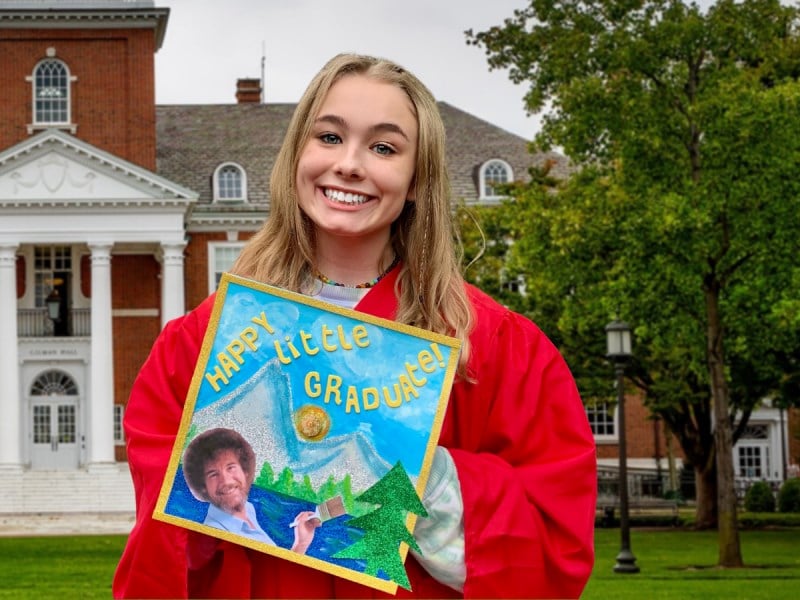
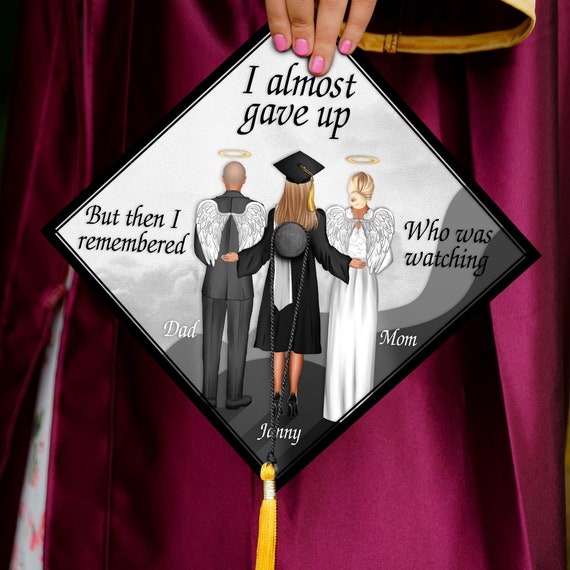
3. Inspirational Quotes
Choose a quote that resonates with your journey. This could be from a favorite book, movie, or personal mentor.
4. School Spirit
Show your pride in your institution with school colors, mascots, or logos.
5. Future Aspirations
What do you hope to achieve? Use your cap to represent your dreams and ambitions.
Essential Materials for Decorating Your Graduation Cap
Once you have a theme in mind, gather your supplies. Here’s a list of essential materials you may need:
- Base Cap: Make sure it’s clean and in good condition.
- Adhesives: Hot glue or fabric glue works best for a sturdy hold.
- Decorative Elements: Glitter, sequins, markers, stickers, and fabric scraps.
- Stencils: For precise lettering or designs.
- Crafting Tools: Scissors, paintbrushes, and a cutting mat.
- Optional: LED lights for added effects.

Step-by-Step Guide to Decorating Your Graduation Cap
Here’s a detailed process to help you create a stunning graduation cap:
Step 1: Plan Your Design
Sketch your ideas on paper before you begin. Consider the layout and which elements will be the focal points.

Step 2: Prepare the Cap
Start with a clean cap. If you want to paint, make sure it’s a fabric-safe option. Lightly sand your cap if necessary for better paint adherence.
Step 3: Base Layer
Apply any base paint or fabric to create a solid background. Allow it to dry completely before moving on.
Step 4: Add the Design Elements
Begin attaching your decorative elements. Use hot glue for heavier items and fabric glue for lighter materials. Remember to space out your decorations for a balanced look.
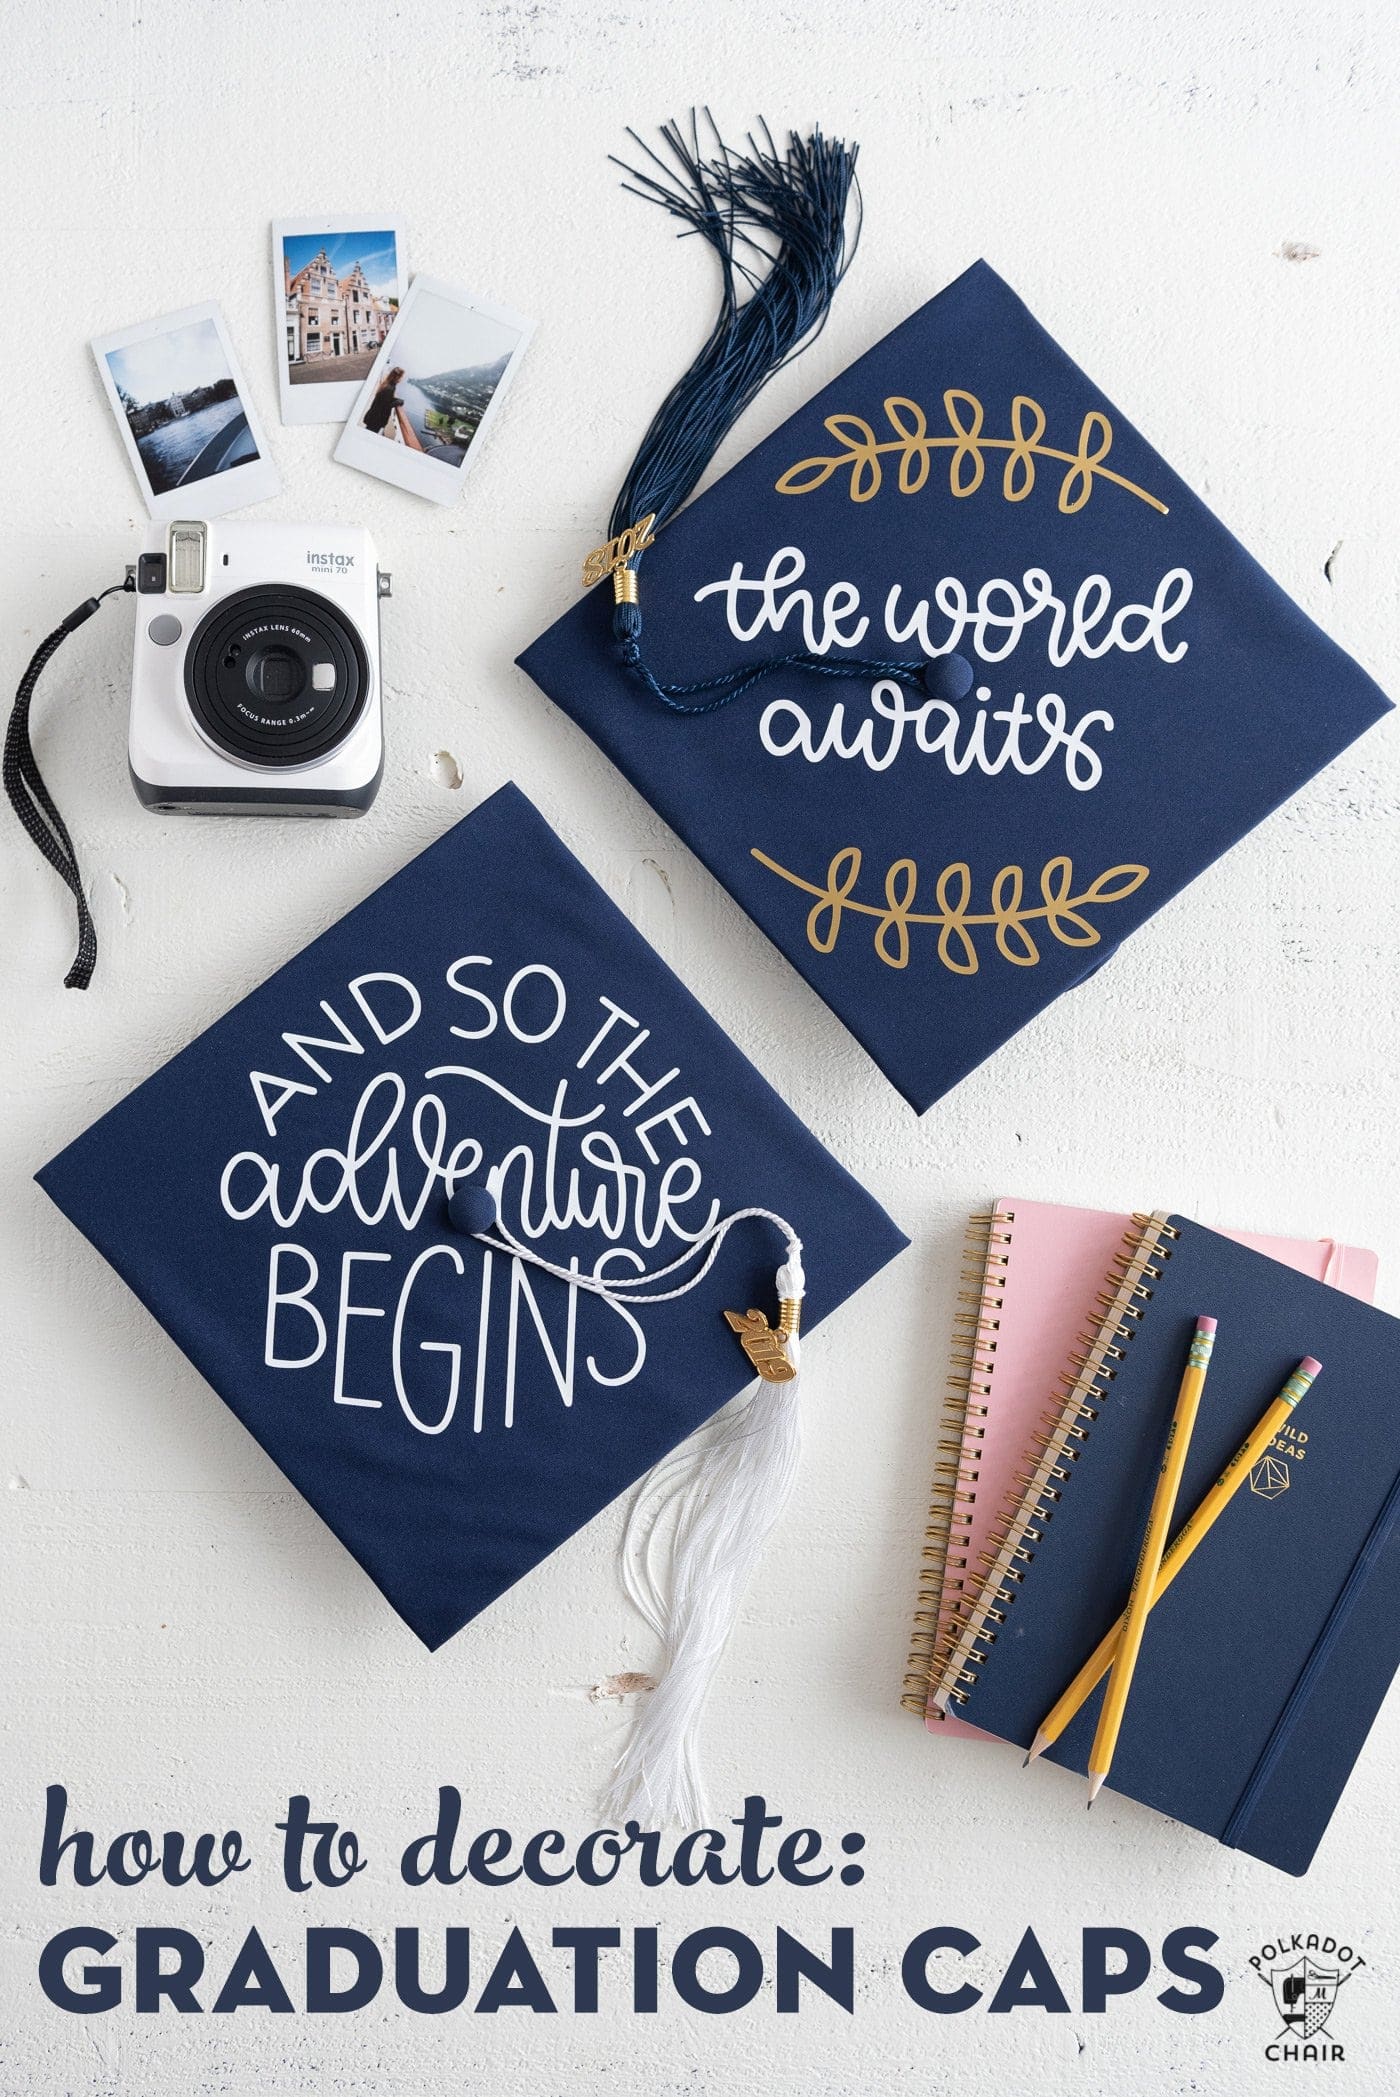
Step 5: Incorporate Text
If you’re adding quotes or phrases, stencils can help you create even lettering. Alternatively, you can freehand it with fabric markers.
Step 6: Final Touches
Check your cap for any loose elements and secure them. If you want, add finishing touches like glitter or sparkly details.
Step 7: Let It Set
Allow everything to dry thoroughly before handling your cap again. This ensures that all elements stay in place.

Creative Ideas for Your Graduation Cap Decoration
Looking for inspiration? Here are some creative ideas to consider:
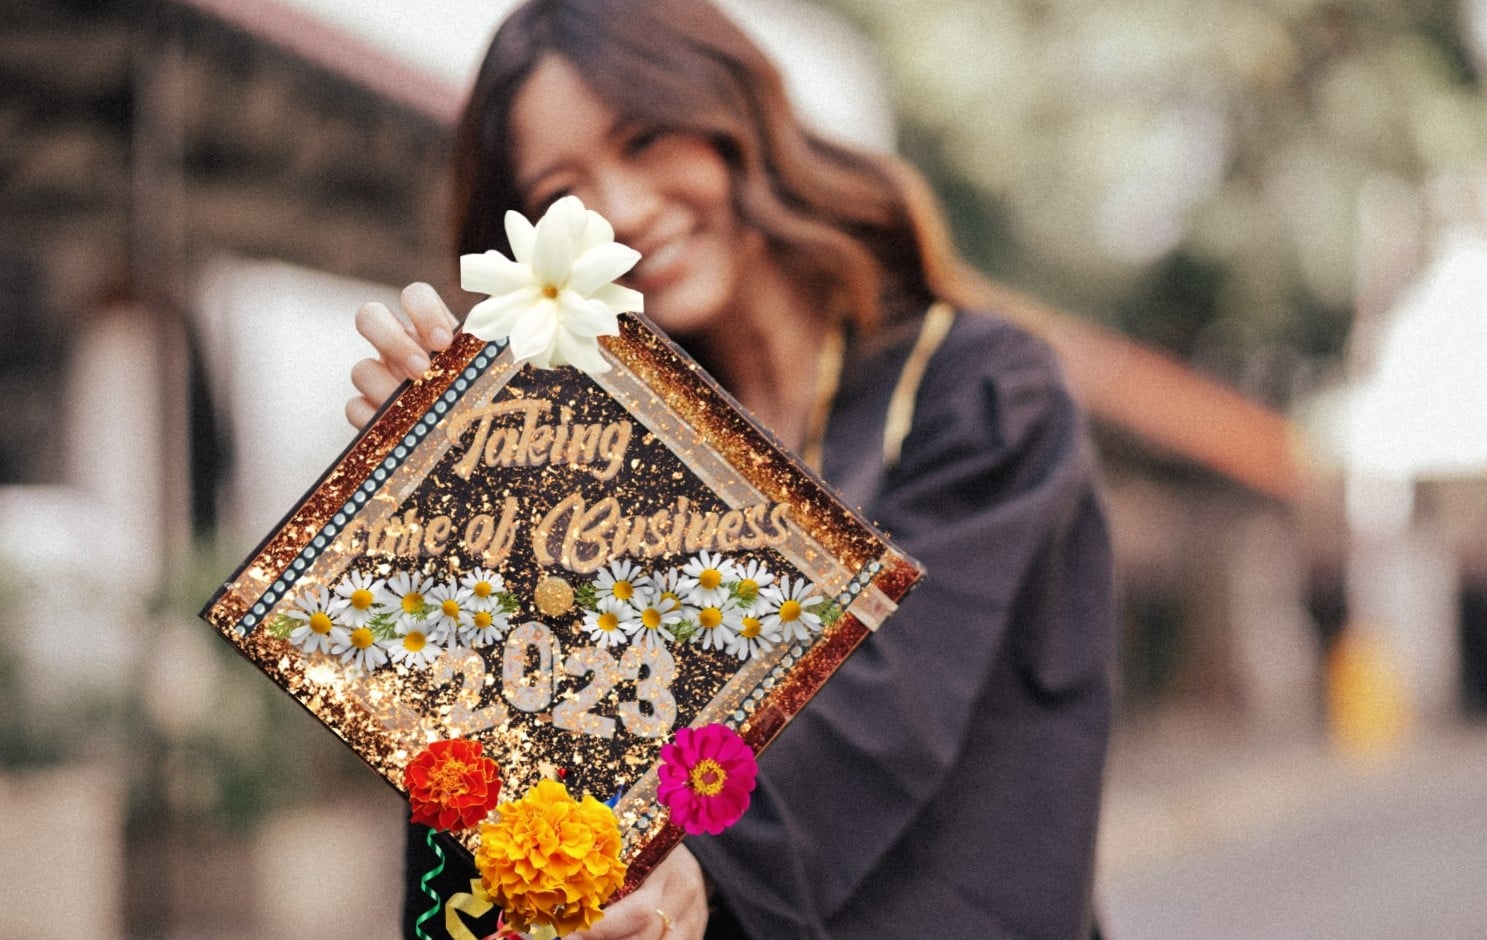
1. Floral Designs
Beautiful flowers can add a touch of elegance to your cap. Consider using faux flowers for a three-dimensional effect.
2. Photo Collage
Print miniature photos of memorable moments and create a collage on your cap. It’s a personal touch that tells your story.
3. 3D Elements
Incorporate three-dimensional items like tassels, ribbon, or metallic features to add depth.
4. Emoji Designs
If you’re a fan of the digital age, using emojis can create a fun and relatable cap design.
5. Light Up Cap
Add battery-operated fairy lights for a cap that shines brightly during the ceremony.
Pros and Cons of Decorating Your Graduation Cap
Before you dive in, let’s weigh the benefits and possible drawbacks of this creative endeavor.
| Pros | Cons |
|---|---|
| Personal expression | Can be time-consuming |
| Creates memorable photos | May require crafting skills |
| Stands out during the ceremony | Risk of elements falling off |
| Inspires others | May not be allowed in some ceremonies |
Tips for Successfully Decorating Your Graduation Cap
Here are additional tips based on personal experience and expert advice:
1. Start Early
Don’t wait until the last minute. Give yourself plenty of time to experiment and perfect your design.
2. Keep It Personal
Make sure your design reflects who you are. This is your moment, so it should be authentically you.
3. Use Quality Materials
Invest in good supplies to ensure your design holds up. You don’t want your hard work to fall apart on graduation day!
4. Test Before Finalizing
Try out the placement of your elements before gluing them down. This will help you visualize the final product.
Personal Experiences: My Graduation Cap Story
Let me share a little about my own graduation cap experience. When I graduated, I decided to honor my love for literature. I painted my cap with a whimsical quote from my favorite author and added small, hand-painted book designs around the edges. It was not only a reflection of my academic journey but also a tribute to my love for stories. The joy I felt when I saw my cap being admired by friends and family was unmatched!
Frequently Asked Questions (FAQs)
1. Can I use any type of glue for my graduation cap decorations?
While you can use various types of glue, hot glue and fabric glue are recommended for stronger adhesion.
2. What can I do if my decorations keep falling off?
Ensure that you use the appropriate glue and allow ample drying time. For heavier decorations, consider securing them with additional glue or support.
3. Are there any restrictions on graduation cap decorations?
Some schools have specific guidelines regarding decorations. Check your institution’s policy to avoid any issues on graduation day.
4. How can I safely transport my decorated cap?
When transporting your cap, use a padded bag or a box to prevent it from getting damaged. You might also want to place tissue paper around it for extra protection.
5. What are some ways to make my cap stand out even more?
Consider adding LED lights, using bold colors, or incorporating unique textures to make your cap visually striking.
Conclusion
Decorating your graduation cap is more than just a creative project; it’s a chance to express yourself, celebrate your journey, and make lasting memories. Whether you opt for a simple design or a complex arrangement of decorations, the most important aspect is to have fun and make it your own. As you prepare for your graduation, remember that this cap is a symbol of your hard work and dedication. So go ahead – unleash your creativity and craft a cap that will shine on your big day!