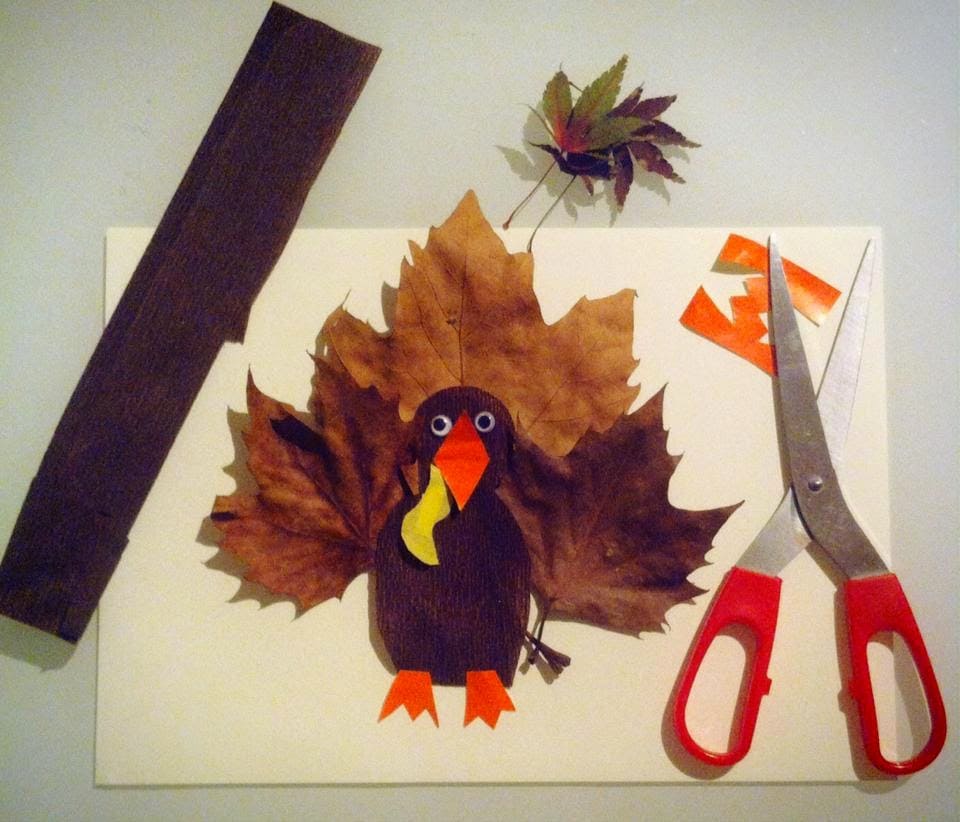
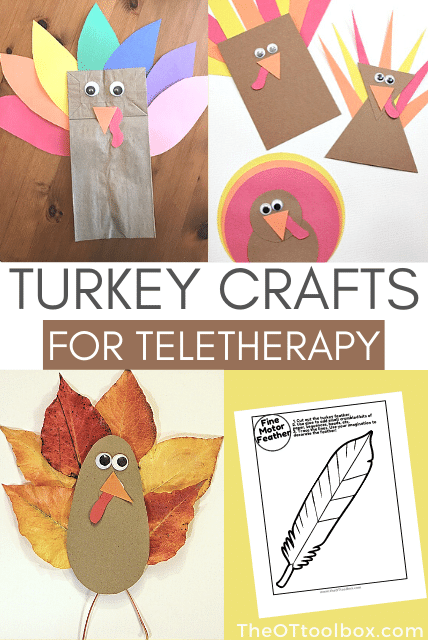
Thanksgiving is around the corner, and what better way to celebrate than by engaging in some delightful crafts? One of my personal favorites is decorating a paper turkey. It’s a simple, fun, and creative project that both kids and adults can enjoy. In this comprehensive guide, I will share various techniques, tips, and ideas for decorating a paper turkey, ensuring your Thanksgiving décor is as spectacular as your feast!
Why Decorate a Paper Turkey?
Decorating a paper turkey is not just a fun activity; it carries several benefits:
- Creative Expression: It allows individuals to express their creativity freely.
- Learning Experience: Kids can learn about Thanksgiving traditions through crafts.
- Quality Time: It’s a wonderful way to bond with family and friends.
Materials You Will Need
Before we dive into the decorating process, let’s gather all the necessary materials. Here’s a handy list:
| Materials | Purpose |
|---|---|
| Colored Paper | To create the turkey’s body and feathers. |
| Scissors | For cutting out shapes. |
| Glue or Tape | To assemble the turkey. |
| Markers/Crayons | For adding details and decorations. |
| Googly Eyes | For a fun, animated look. |
| Feather Decorations | To give it a real turkey feel. |
| Craft Paper | For additional embellishments. |
Step-by-Step Guide to Decorating Your Paper Turkey
Step 1: Create the Turkey Body
Begin by cutting out a large oval shape from your colored paper. This will serve as the turkey’s body. I like using browns, oranges, or yellows for that classic turkey look.
Step 2: Cut Out the Feathers
Next, create the feathers. Cut out smaller oval or feather-shaped pieces from different colors of paper. You can use red, yellow, orange, and green for a vibrant design. The more colors, the more eye-catching your turkey will be!

Step 3: Assemble the Turkey
Glue the feathers to the back of the turkey body. Make sure to spread them out evenly to create a beautiful fan effect. I often layer the feathers for added dimension.
Step 4: Add the Face
Now it’s time to give your turkey some personality! Use markers to draw a beak, waddle, and feet. Add googly eyes to make it playful and lively.

Step 5: Enhance with Details
Finally, let your creativity shine. Use decorative materials like glitter, stickers, or ribbon. You can also write a message of gratitude or a fun fact about turkeys on the feathers.
Creative Ideas for Paper Turkey Decor
1. Handprint Turkeys
One of the most popular methods is to use your hands as the turkey feathers. Simply trace your hand on colorful paper and cut it out. Glue them around the turkey body! Kids love this personal touch.

2. 3D Paper Turkey
For an interactive twist, create a 3D turkey. Layer the body and feathers using foam tape to add depth. This technique gives your turkey a fun, pop-out effect!
3. Thanksgiving Place Cards
Make smaller versions of your paper turkey to use as place cards for your Thanksgiving feast. Write each guest’s name on a feather, and you have a personalized dinner setting!

Frequently Asked Questions (FAQs)
What type of paper is best for making a paper turkey?
Cardstock is ideal for creating a sturdy paper turkey, but construction paper and craft paper also work well for a lighter option.

Can I use recycled materials for this project?
Absolutely! Old magazines, newspapers, or wrapping paper can add unique textures and colors to your turkey.
How long does it take to decorate a paper turkey?
Typically, it takes about 30 minutes to an hour, depending on the complexity of your design and the involvement of kids.

Are there any alternatives to using glue?
If you’re looking for mess-free options, double-sided tape or glue dots work perfectly for sticking pieces together.
Pros and Cons of Decorating Paper Turkeys
| Pros | Cons |
|---|---|
| Encourages creativity | Messy with glue and glitter |
| Fun for all ages | Requires time and patience for intricate designs |
| Inexpensive materials | Can be challenging for very young children |

Final Thoughts
Decorating a paper turkey is more than just a fun project; it’s an opportunity to create lasting memories with loved ones. Whether you decide to go with a simple design or an elaborate 3D turkey, the important part is to enjoy the process. I encourage you to gather your materials and start crafting the perfect Thanksgiving centerpiece this holiday season!
More Ideas and Resources
If you’re looking for further craft ideas, consider exploring other Thanksgiving-themed projects such as:
- DIY Thanksgiving Wreaths
- Gratitude Jars
- Handmade Thanksgiving Cards
Happy crafting, and have a wonderful Thanksgiving!