Parade floats are a vibrant expression of creativity, tradition, and community spirit. Whether you’re taking part in a local parade or a larger event, creating a stunning float can be the highlight of your participation. Drawing from personal experiences and creative tips, this guide will take you through the process of decorating a parade float step-by-step.
Understanding the Basics of Parade Float Design
Before diving into the decoration process, it’s essential to understand some basics about float design:
Choosing a Theme
Every great float starts with a captivating theme. Themes can range from seasons to popular movies, cultural festivals, or historical events. Here are some popular themes:
- Seasonal Celebrations (e.g., Christmas, Halloween)
- Movies and TV Shows (e.g., Disney, popular series)
- Historical Events (e.g., Independence Day, local history)
- Community Pride (e.g., local sports teams, community achievements)

Setting a Budget
The next step is to establish a budget. Here’s a simple comparison of potential costs involved:
| Item | Estimated Cost |
|---|---|
| Base Float Rental | $500 – $2000 |
| Decorative Materials (flowers, fabrics, etc.) | $200 – $800 |
| Labor (if hiring help) | $100 – $500 |
| Permits and Fees | $50 – $200 |

Gathering a Team
Creating a float can be a labor-intensive project. Gather a group of enthusiastic volunteers who share your vision. Assign roles based on individual strengths:
- Project Manager: Oversees the entire project.
- Designers: Focus on the visual aspects.
- Construction Crew: Handles building and assembly.
- Marketing Team: Promotes the float on social media.

Materials and Tools Needed
Once your team is assembled, it’s time to gather the materials and tools you will need. Here’s a breakdown of essential items:
Decorative Materials
- Floral Foam and Fresh/Artificial Flowers
- Fabrics (tulle, burlap, sequins)
- Paint (for signs and surfaces)
- LED Lights for Nighttime Events
- Wood or Cardboard for structures
Tools
- Scissors
- Hot Glue Gun and Glue Sticks
- Paintbrushes
- Power Drill (if necessary)
- Tape Measures

Steps to Decorate Your Parade Float
1. Design Your Layout
Using a pencil and paper, sketch the layout of your float. Make sure to consider the visibility from different angles and how it will look during the parade.

2. Build the Base Structure
If you’re building a custom float, start creating the base structure. Make sure it’s stable enough to hold the decorations and people. Consider these options:
- Wooden platform
- Pre-made trailer
- Cardboard for small-scale decorations
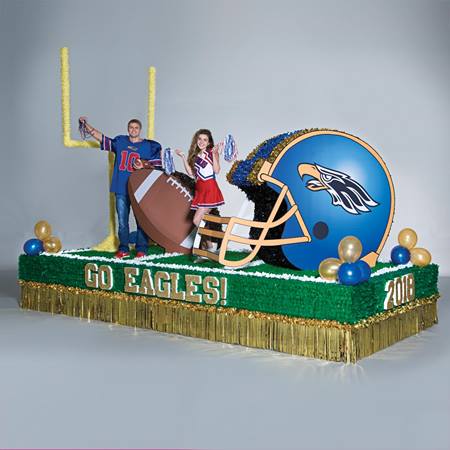
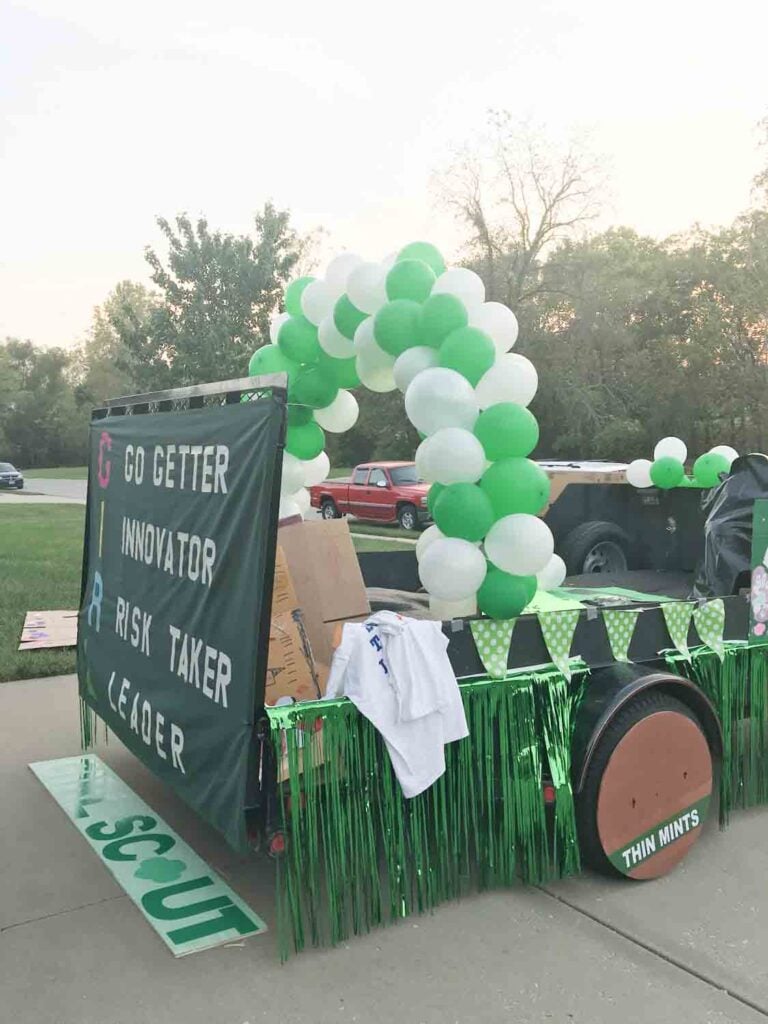
3. Start Decorating
Now comes the fun part! Start decorating your float based on your theme. Here are some tips based on my personal experience:
Floral Arrangements
Using floral foam, create arrangements that can endure the duration of the parade. Fresh flowers can wilt quickly, so consider using artificial ones for prolonged appearance.
Fabric and Textiles
Use vibrant fabrics to create flags, draping, or backdrops. Remember, less is more—ensure that you do not overcrowd the float.
Lighting
For evening parades, incorporate LED lights for visibility and to create a magical effect.
4. Finalize and Secure Decorations
Once you’ve completed the decorating process, make sure everything is securely attached. Double-check for any loose items and ensure that nothing can fall off during the parade.
Pros and Cons of DIY vs. Hiring Professionals
| Option | Pros | Cons |
|---|---|---|
| DIY |
|
|
| Hiring Professionals |
|
|
Frequently Asked Questions
What is the best material for float decorations?
Common materials include floral foam, fabrics, and cardboard, as they are versatile and can be easily manipulated to fit various designs.
How much time should I allocate for float decoration?
Depending on the complexity, you should allocate anywhere from a week to several weeks for planning and decorating your float.
Can I reuse decorations for future parades?
Yes, many decorations can be reused or repurposed for different themes, so save what you can!
What are some eco-friendly decoration options?
Consider using biodegradable materials, recycled fabrics, and natural flowers whenever possible to make your float more environmentally friendly.
How do I ensure my float complies with parade regulations?
Contact the parade organizers to understand any specific rules or regulations regarding float dimensions, decoration types, and safety measures.
Conclusion
Decorating a parade float is not just about aesthetics; it’s an opportunity to showcase creativity, teamwork, and community pride. Whether you choose to go the DIY route or hire professionals, the key is to have fun and enjoy the process. Remember, your float is a reflection of your vision and hard work, and it’s sure to leave a lasting impression on everyone who sees it!
Now that you have this comprehensive guide, gather your team, choose your theme, and get ready to create a float that will be the highlight of any parade. Happy decorating!