There’s something magical about the holiday season that brings out the artisan in all of us. One of my favorite holiday traditions is baking and decorating mitten cookies. These delightful treats not only taste good but also add a festive touch to any holiday gathering. In this comprehensive guide, we will explore everything you need to know to decorate mitten cookies like a pro. From essential tools and techniques to tips and personal anecdotes, you’ll be equipped to create stunning designs that will impress family and friends alike.
Table of Contents
- Getting Started with Mitten Cookies
- Essential Ingredients for Mitten Cookies
- Tools Needed for Decorating Mitten Cookies
- Baking the Cookies: A Step-by-Step Guide
- Decorating Techniques: Bringing Your Cookies to Life
- Pro Tips for Perfect Mitten Cookies
- My Personal Experience with Decorating Mitten Cookies
- Frequently Asked Questions
- Conclusion
Getting Started with Mitten Cookies
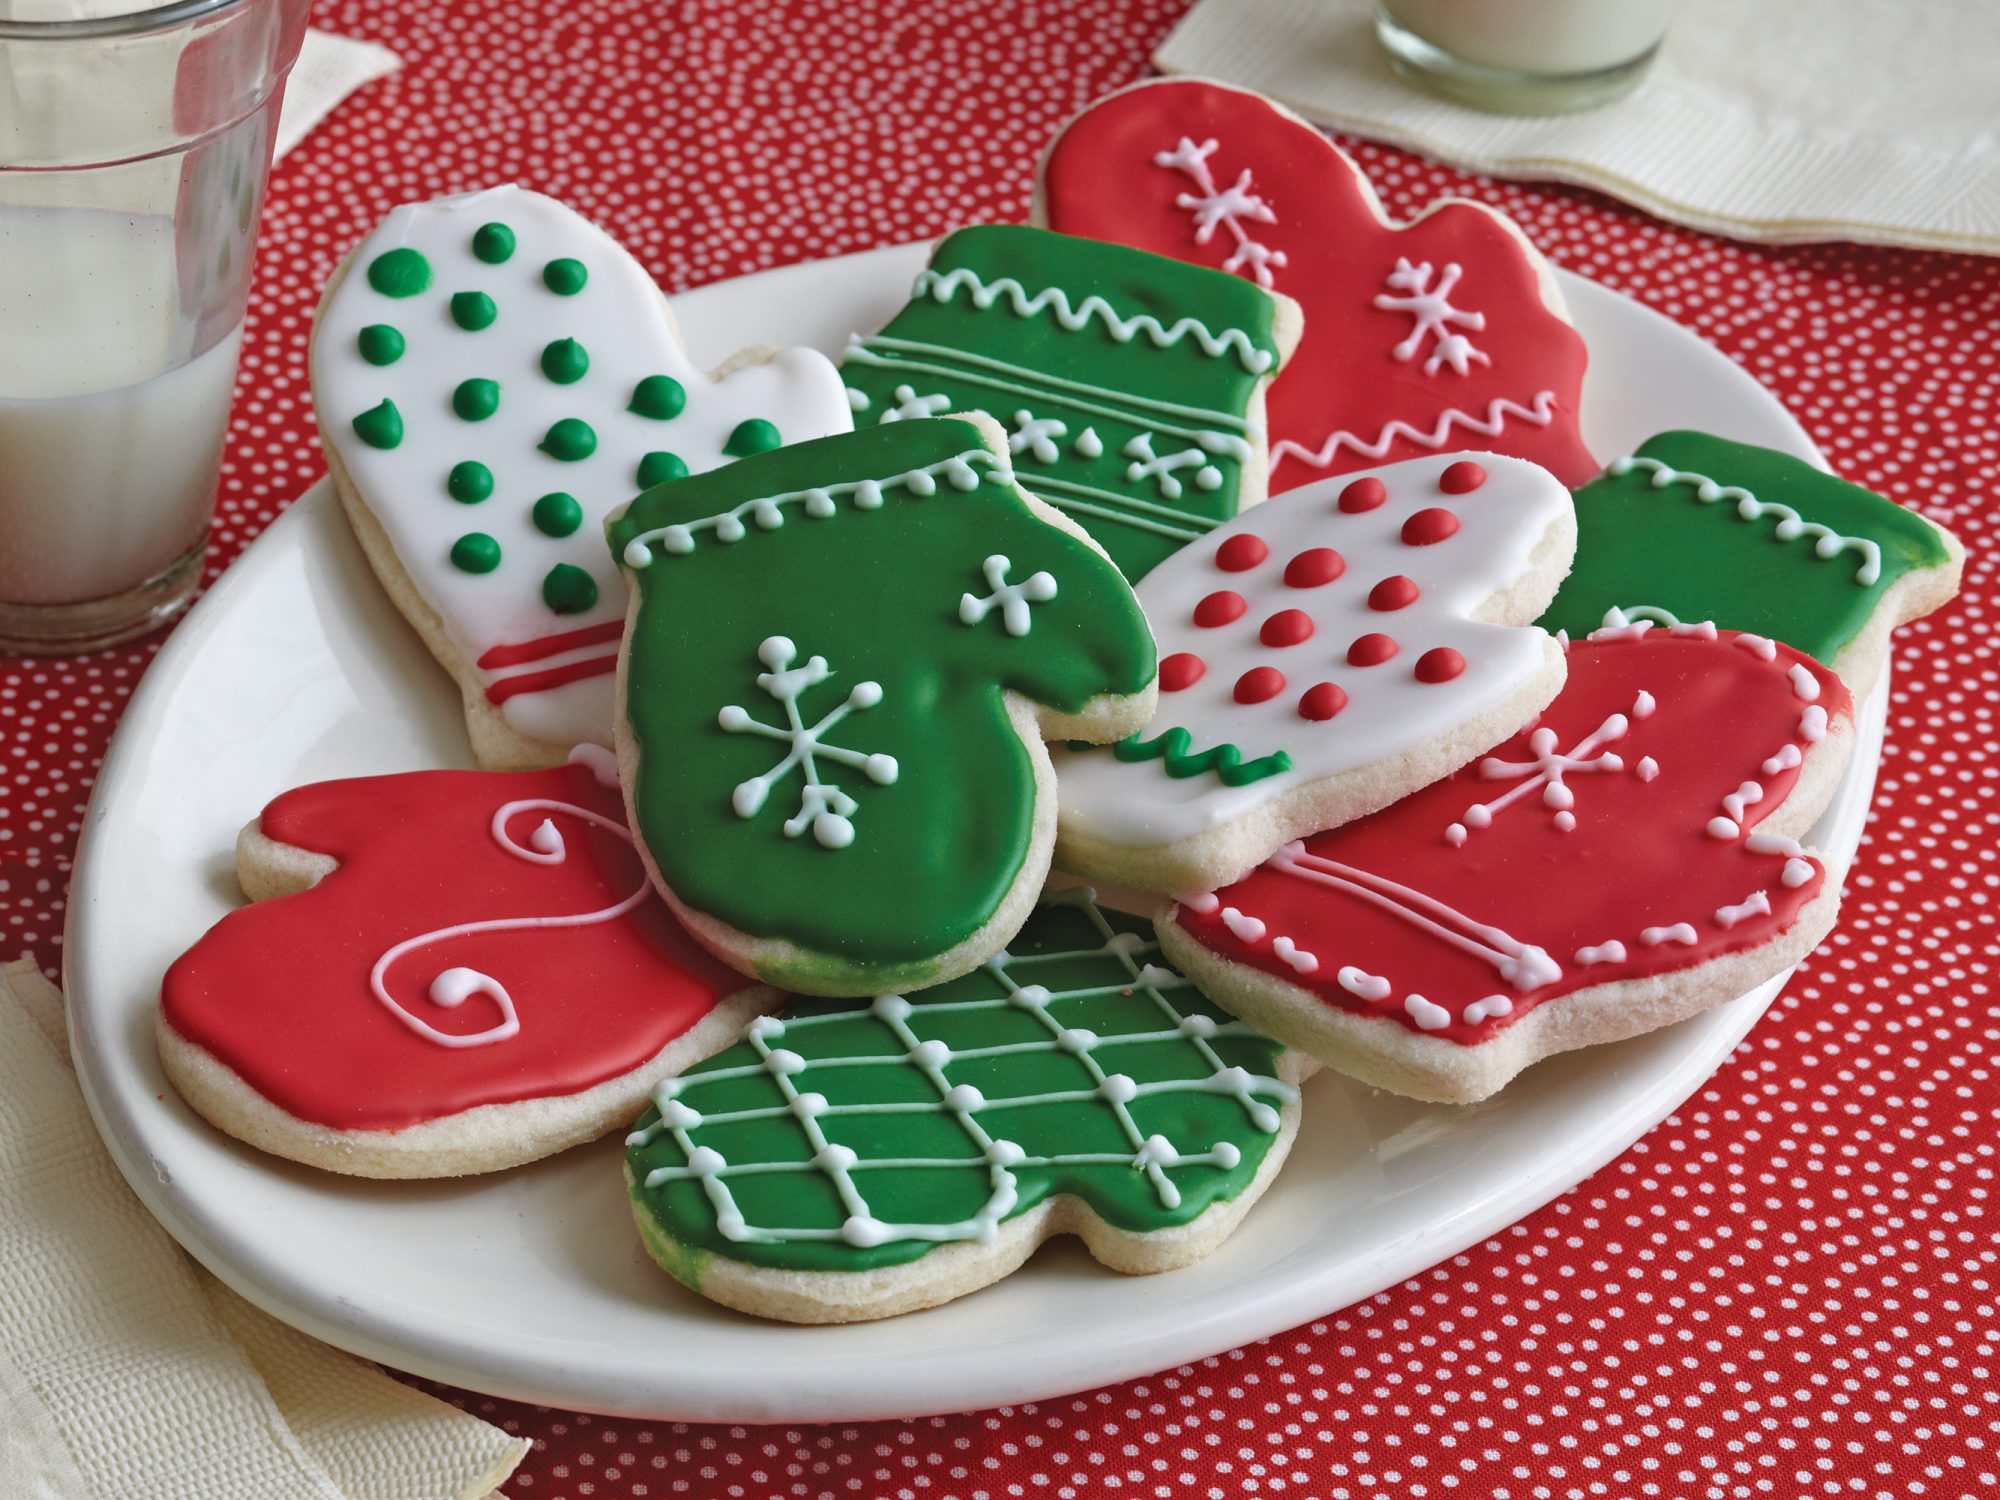
Mitten cookies are a fun and festive way to celebrate the winter months. They are perfect for holiday parties, cookie exchanges, or just a cozy day at home. Before diving into the decorating process, it’s essential to understand the basics of cookie-making and what it takes to make those adorable mitten shapes.
The History of Mitten Cookies
The tradition of baking cookies during the holiday season dates back centuries, with various cultures putting their spin on cookie designs. The mitten cookie is particularly popular in regions with cold winters, symbolizing warmth and coziness. Over the years, these cookies have become a staple of holiday celebrations.
Essential Ingredients for Mitten Cookies
Before you start baking, ensure you have the right ingredients. Here’s a list of essential ingredients for making delicious mitten cookies:

Basic Cookie Dough Ingredients
- 2 ¾ cups all-purpose flour
- 1 teaspoon baking powder
- ½ teaspoon salt
- 1 cup unsalted butter, softened
- 1 ½ cups granulated sugar
- 1 large egg
- 2 teaspoons vanilla extract
Royal Icing Ingredients
- 3 egg whites (or 1 tablespoon meringue powder)
- 4 cups powdered sugar
- 1 teaspoon lemon juice
- Food coloring (optional)
Tools Needed for Decorating Mitten Cookies
To achieve the best results when decorating your cookies, having the right tools is crucial. Here’s a list of must-have items:
Essential Decorating Tools
- Piping bags or squeeze bottles
- Decorating tips (round tips for outlines and flooding)
- Silicone spatula
- Cookie cutters (mitten-shaped)
- Food coloring
- Edible glitter or sprinkles (optional)
- Toothpicks for detailing

Baking the Cookies: A Step-by-Step Guide
Now that you have your ingredients and tools ready, let’s dive into baking the perfect mitten cookies.
Step-by-Step Baking Instructions
- Preheat your oven to 350°F (175°C).
- In a bowl, whisk together the flour, baking powder, and salt. Set aside.
- In a separate bowl, beat the softened butter and sugar until light and fluffy.
- Add the egg and vanilla extract, mixing well.
- Gradually add the dry ingredients to the butter mixture, combining until a dough forms.
- Wrap the dough in plastic wrap and refrigerate for at least 30 minutes.
- Roll out the chilled dough on a floured surface to about ¼ inch thickness.
- Use a mitten-shaped cookie cutter to cut out cookies and place them on a baking sheet lined with parchment paper.
- Bake for 8-10 minutes, or until the edges are slightly golden.
- Let cookies cool completely before decorating.

Decorating Techniques: Bringing Your Cookies to Life
Once your cookies are cooled, it’s time to unleash your creativity! Here are some popular decorating techniques you can use:
Royal Icing Flooding Method
Flooding is a common technique in cookie decorating that creates a smooth finish. Here’s how to do it:
- Prepare your royal icing with a pouring consistency (thinner than outlining icing).
- Fill your piping bag with the icing and outline the edges of the cookie.
- Immediately after outlining, fill the center of the cookie with icing, using a toothpick to spread it to the edges.
- Allow the icing to dry completely before adding additional designs.
Outlining and Detailing
Once the flooding is dry, you can add details using thicker royal icing:
- Use a small round tip to outline details like mitten patterns or cuffs.
- Consider using a contrasting color for added flair.
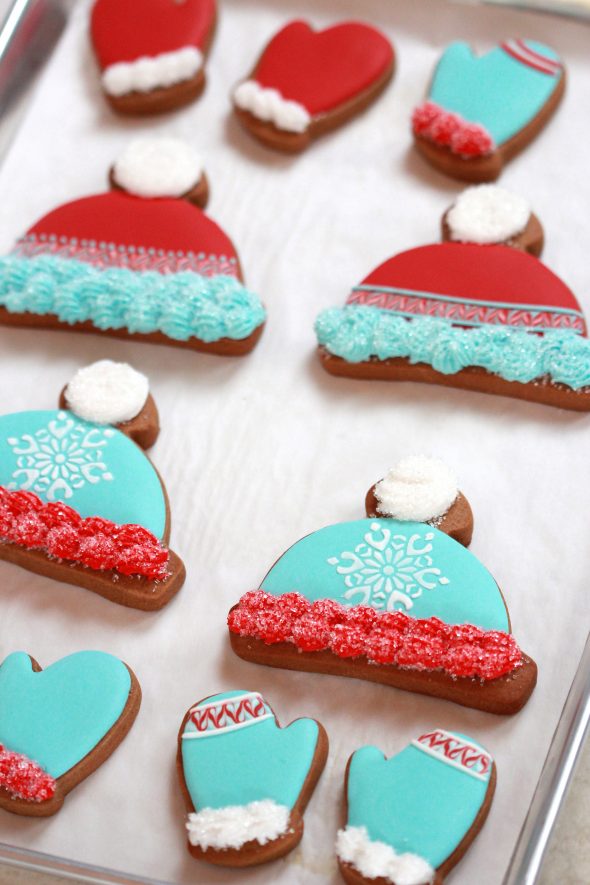
Adding Sprinkles and Edible Glitter
Add a festive touch by incorporating sprinkles or edible glitter while the icing is still wet. This allows them to adhere well, creating an eye-catching sparkle!
Comparison Table of Decorating Techniques
| Technique | Difficulty Level | Texture | Best For |
|---|---|---|---|
| Flooding | Medium | Smooth | Large areas |
| Outlining | Easy | Defined | Details |
| Sprinkles | Very Easy | Varied | Decoration |
Pro Tips for Perfect Mitten Cookies
To make your mitten cookies truly stand out, consider these pro tips:
Tip 1: Use High-Quality Ingredients
Using fresh, high-quality ingredients will enhance the flavor and texture of your cookies. Opt for pure vanilla extract and organic eggs if possible.
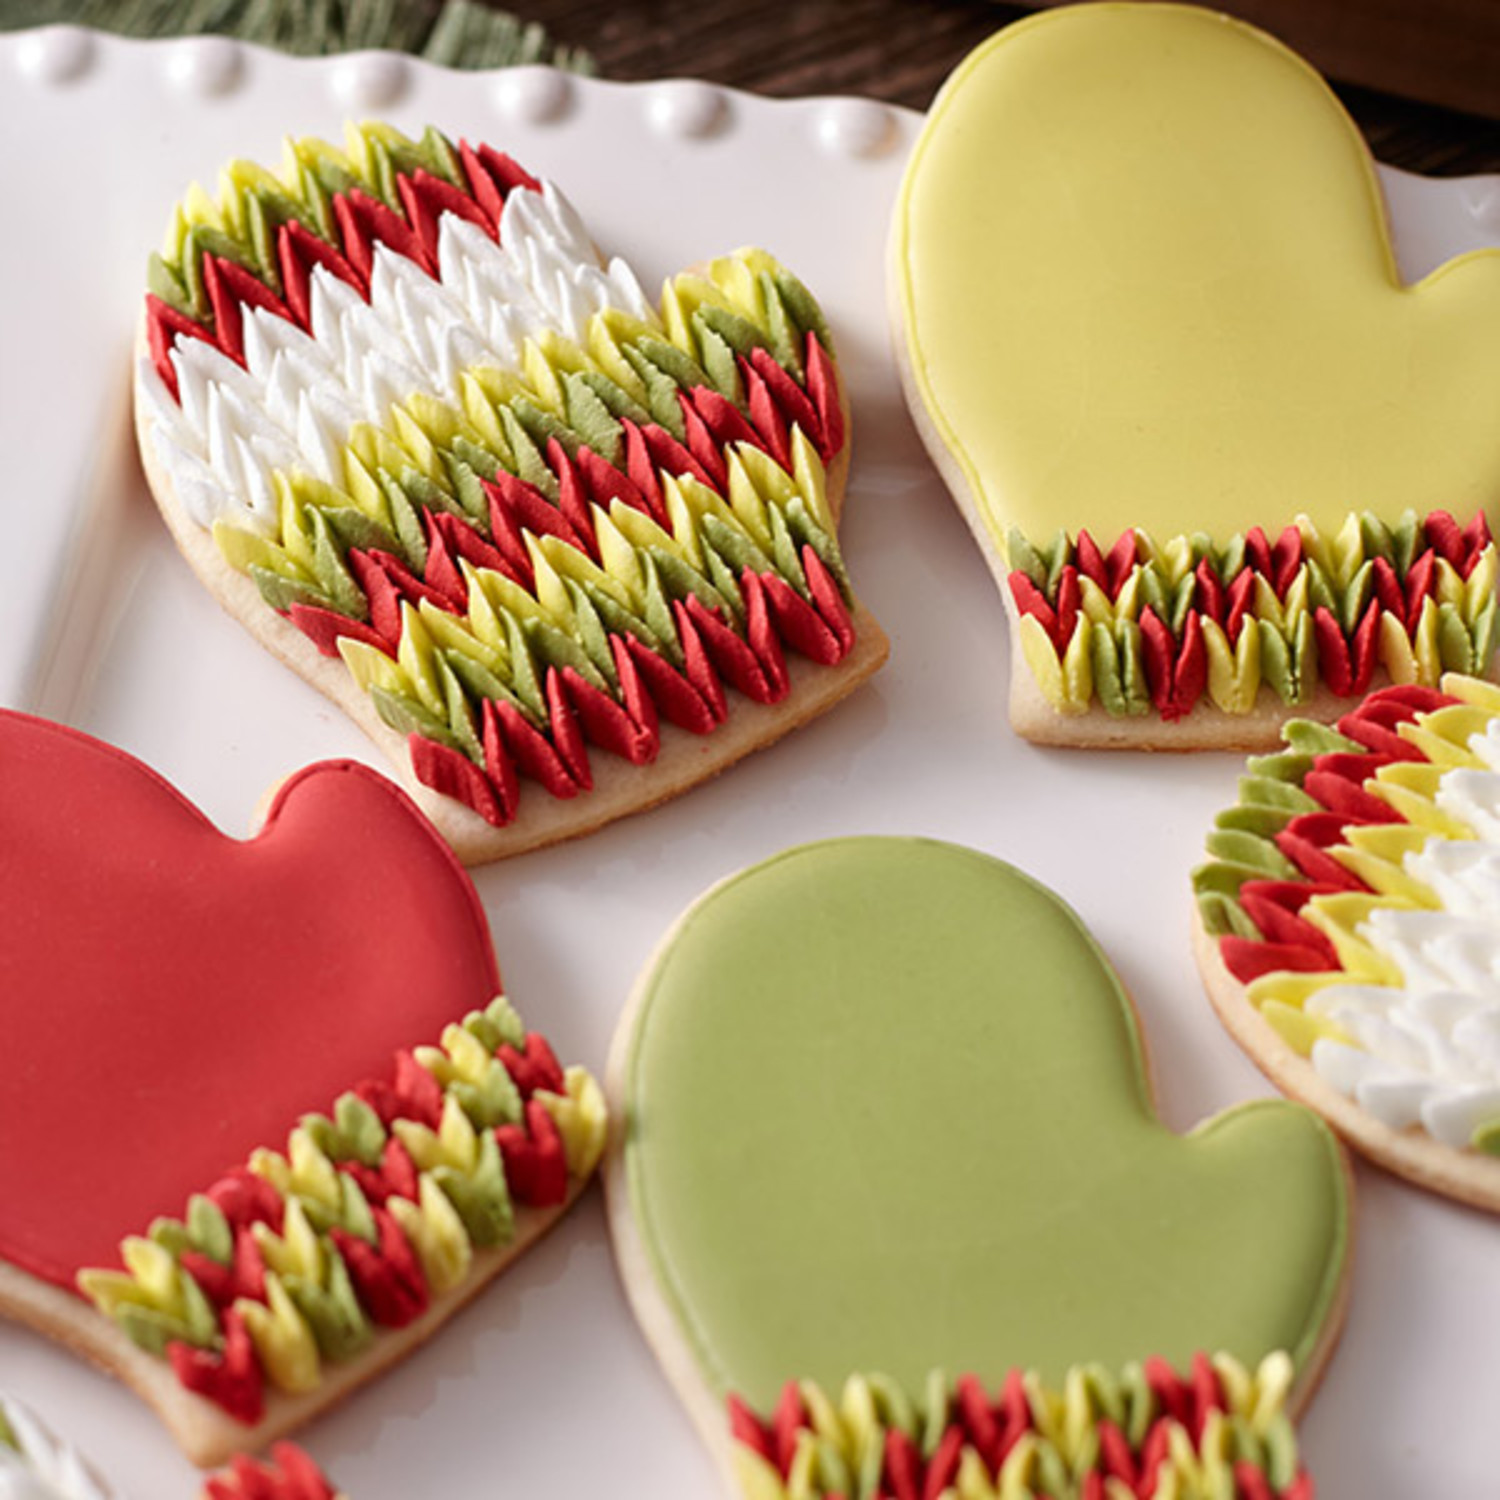
Tip 2: Experiment with Colors
Don’t be afraid to mix and match colors for your icing. Creating a gradient effect or using multiple colors can add depth to your designs.
Tip 3: Trial and Error
Don’t get discouraged if your first attempt doesn’t turn out as expected. Decorating cookies is an art, and practice will improve your skills!
My Personal Experience with Decorating Mitten Cookies
The first time I decorated mitten cookies, I was both excited and nervous. I vividly remember the kitchen filled with delightful aromas as the cookies baked. I took my time setting up my ingredients and tools, feeling like a master baker.
As I began to flood my first cookie, I watched in awe as the icing spread to the edges, leaving a glossy finish. I was so proud of my creation! However, my early attempts had a few hiccups; some cookies looked a bit wonky. But that’s the beauty of baking – it’s all part of the learning process.
Frequently Asked Questions
What is the best way to store decorated mitten cookies?
Once your cookies are completely dry, store them in an airtight container at room temperature. If you’re decorating with royal icing, they can stay fresh for up to two weeks.
Can I freeze mitten cookies?
Yes! You can freeze both decorated and undecorated cookies. Make sure they are fully cooled and stored in a single layer, separated by parchment paper.
How long does royal icing take to dry?
Royal icing can take anywhere from 6 to 12 hours to dry completely, depending on thickness and humidity. For best results, let your cookies dry overnight.
Can I use buttercream instead of royal icing?
While buttercream can be used for decorating, royal icing is preferred for its smooth finish and ability to harden, which is ideal for intricate designs.
Conclusion
Decorating mitten cookies can be a delightful and rewarding experience that enhances the joy of the holiday season. By following the tips and techniques shared in this guide, you’ll be well on your way to creating beautiful, delicious cookies that are sure to impress. Remember, the most important ingredient is to have fun and express your creativity. Happy baking!