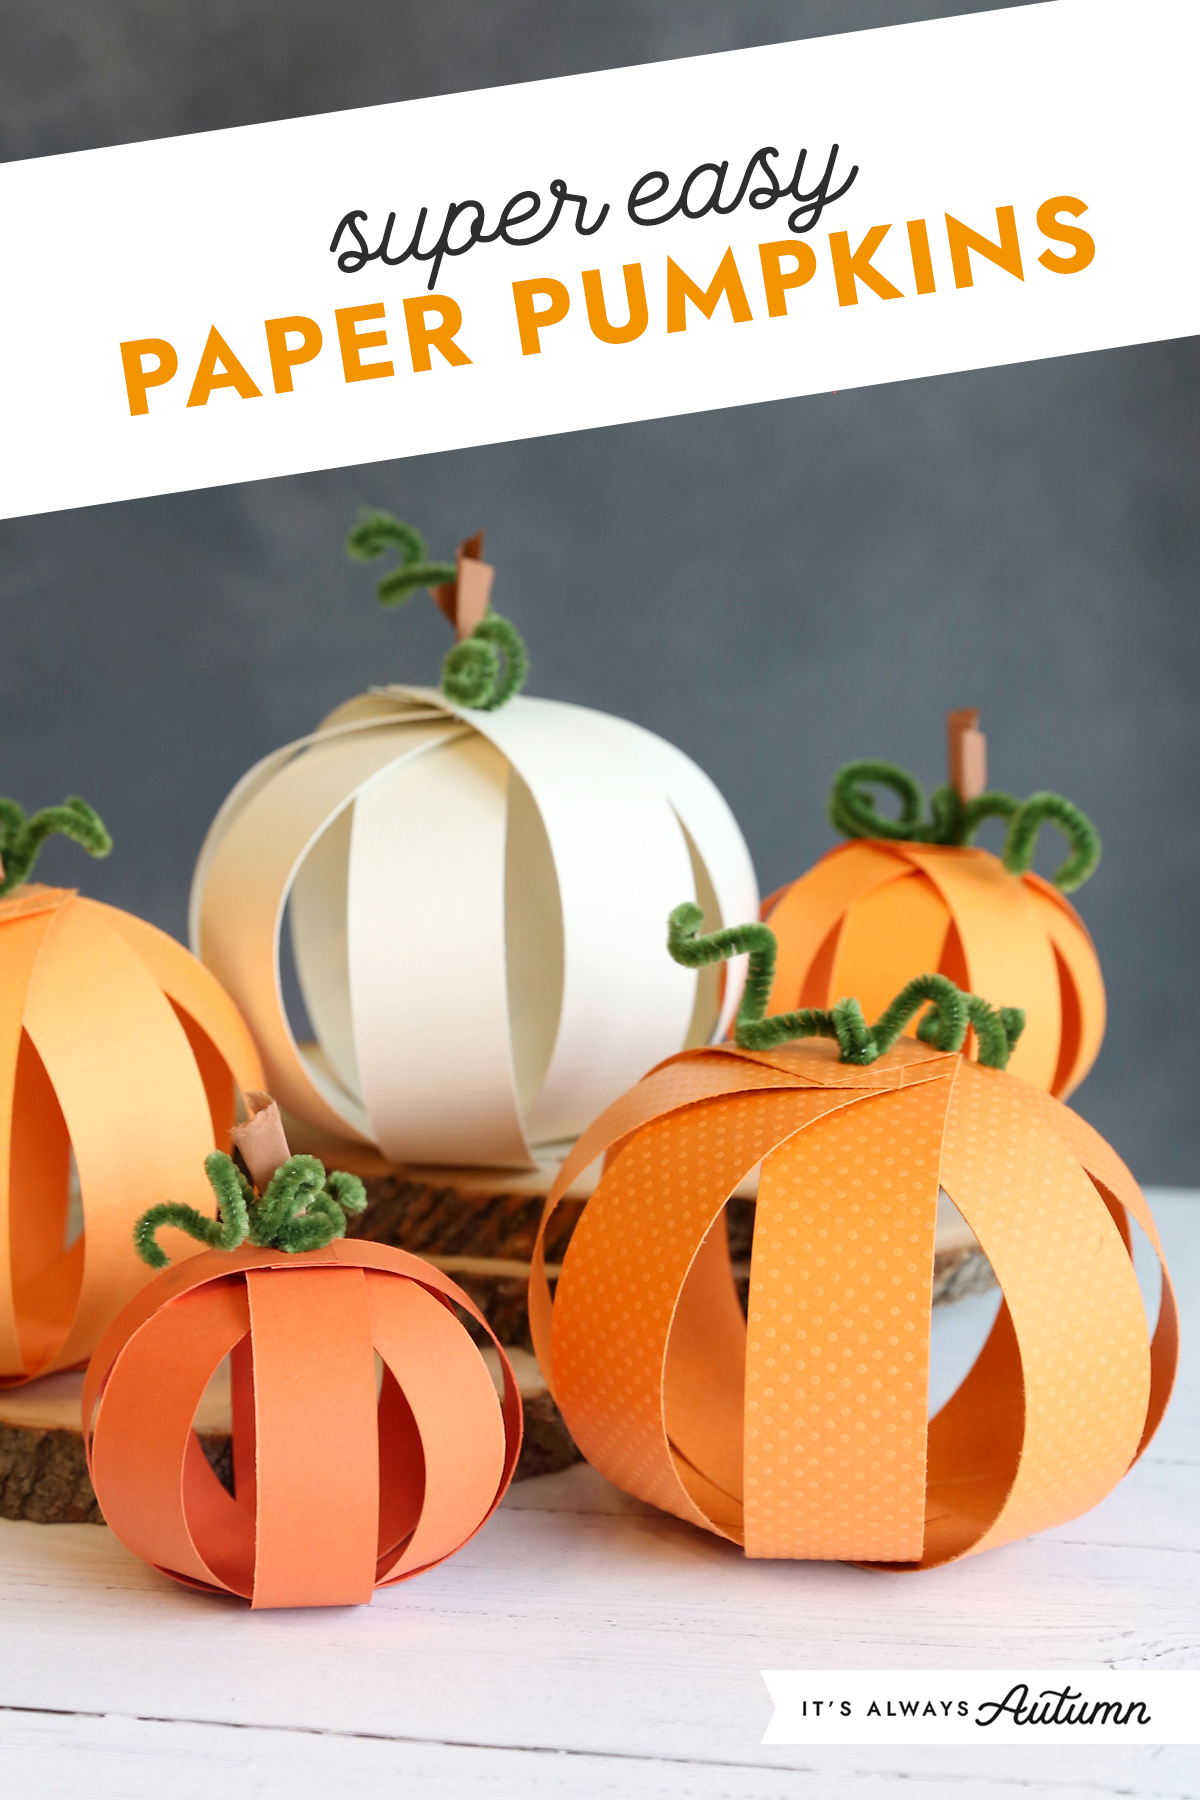
Introduction: Why Choose Paper Pumpkins?
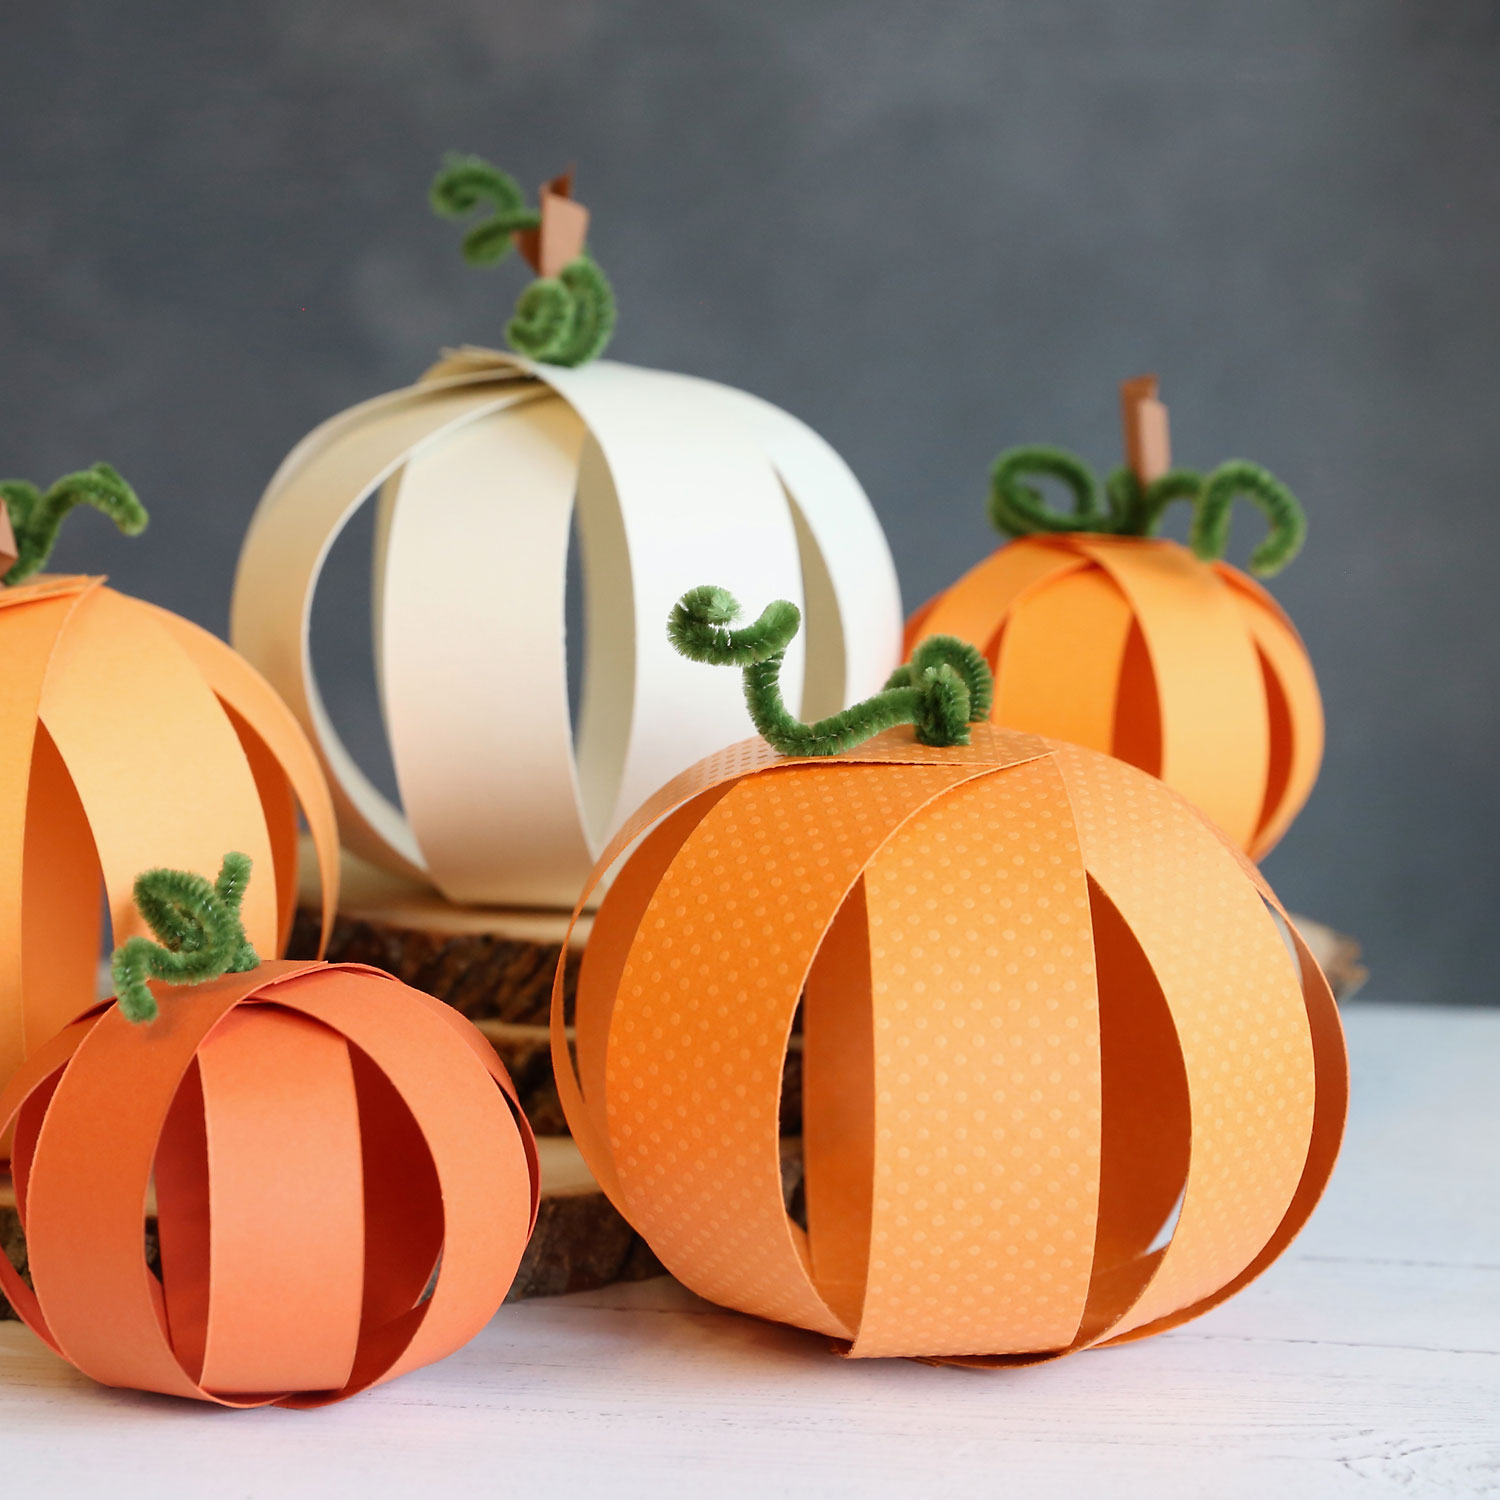
As the leaves change color and the air grows crisp, the allure of fall decor beckons us to embrace the season. One of my favorite projects during this time is decorating paper pumpkins. Not only are they easy to make, but they are also a sustainable option for your autumn decorating needs. In this article, I’ll share my personal experiences and various techniques to help you create beautiful paper pumpkins that will impress your friends and family.
Materials You’ll Need
Before we dive into the decoration techniques, let’s gather the necessary materials. You might be surprised at how easy it is to create stunning paper pumpkins with simple items.
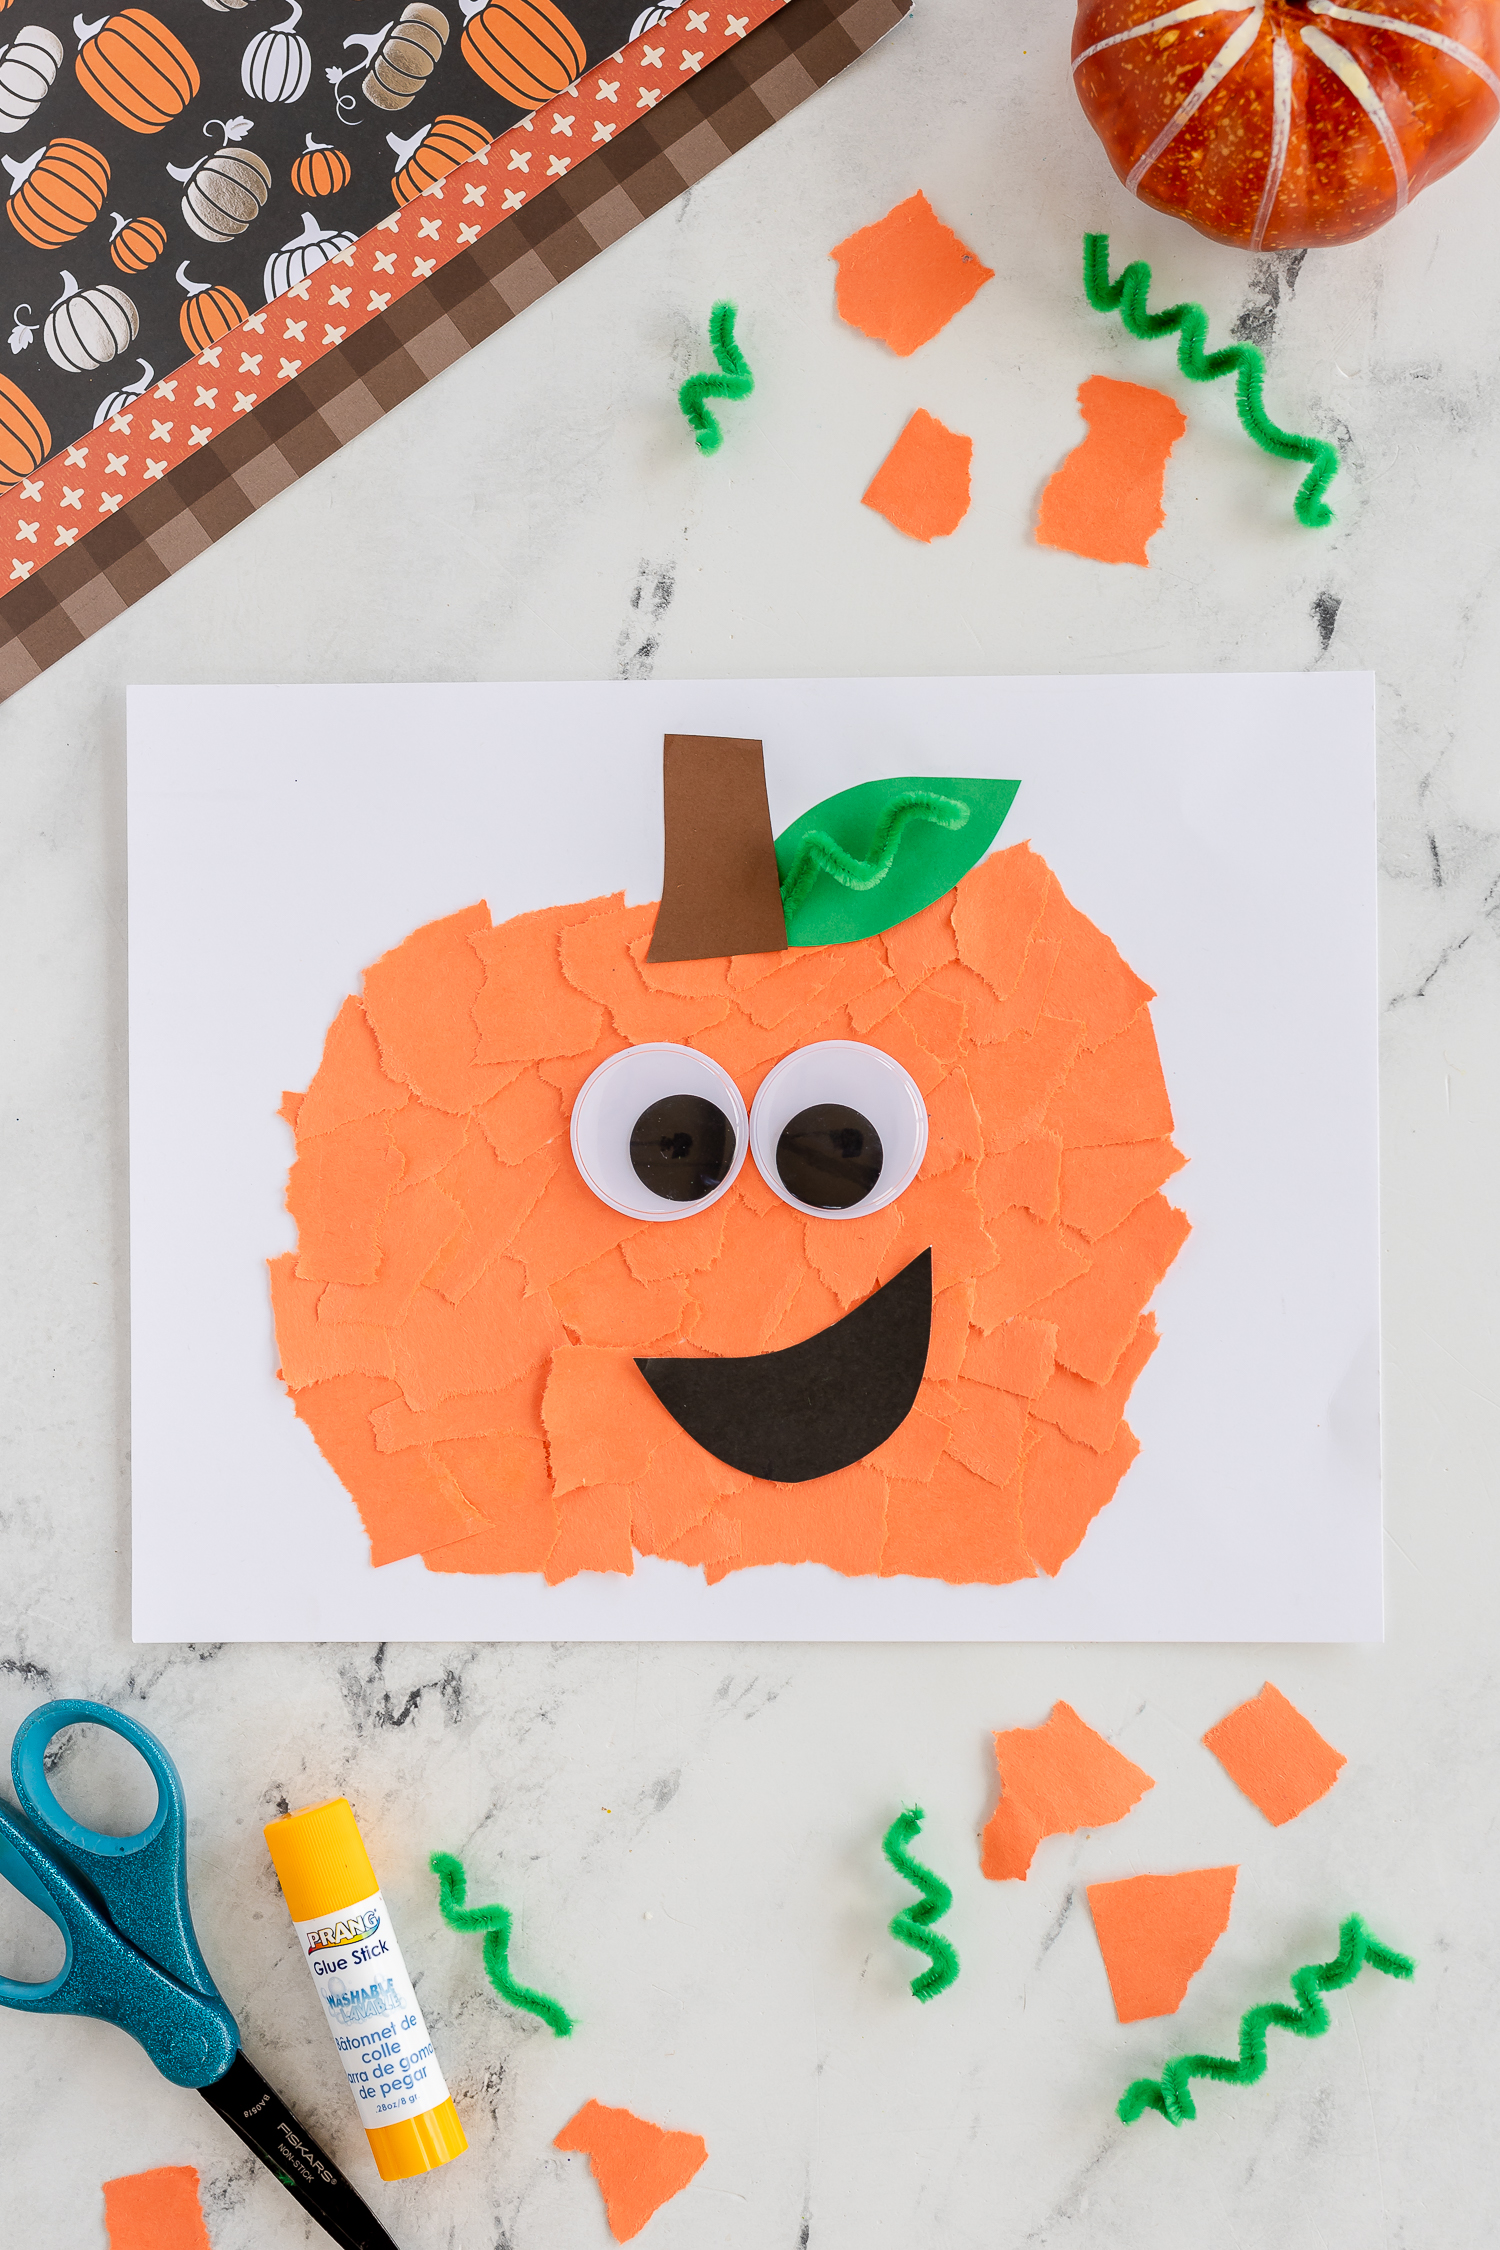
- Colored paper (orange, green, and brown)
- Scissors
- Glue or tape
- Markers or paint
- Ribbons or twine (for embellishment)
- Printable pumpkin templates (optional)
Step-by-Step Guide to Make Paper Pumpkins
Step 1: Choosing the Right Paper
Your choice of paper can set the tone for your pumpkin. While classic orange is a popular choice, consider using patterned paper for a unique twist. Here’s a quick comparison of different types of paper:
| Type of Paper | Pros | Cons |
|---|---|---|
| Construction Paper | Cuts easily; vibrant colors | Can tear easily |
| Scrapbook Paper | Variety of patterns; sturdy | More expensive |
| Cardstock | Durable; holds shape well | Can be difficult to cut |
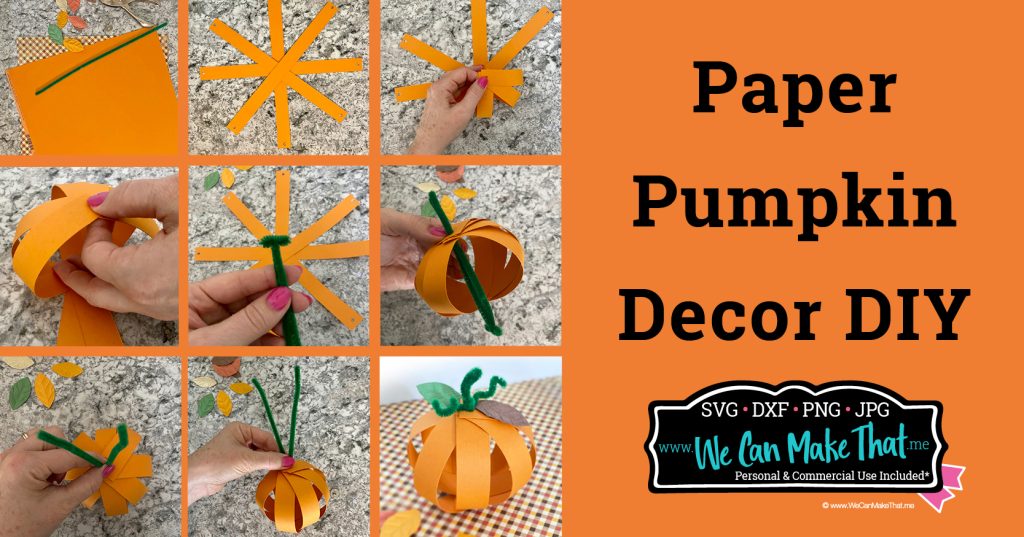
Step 2: Creating the Pumpkin Shape
For this step, you can either draw your own pumpkin using a template or freehand it. Cut out the shape and make sure it’s symmetrical. If you’re using a template, print it out and trace around it on your chosen paper.
Step 3: Add Texture and Depth
To give your pumpkin a more realistic appearance, consider crumpling the paper slightly and smoothing it out. This addition of texture can add a rustic charm to your decor.
Step 4: Painting and Drawing
Using acrylic paint or markers, you can add details such as veins on the pumpkin and create a stem. I love using gold or metallic markers for accents that catch the light beautifully.
Step 5: Assemble Your Pumpkin
Using glue or tape, assemble your pumpkin. You can stack multiple layers for a 3D effect or keep it flat for easy display.
Step 6: Adding Embellishments
This is where your creativity shines! Add ribbons, twine, or even faux leaves to finish your pumpkin. I often like to use burlap ribbons for a rustic, farmhouse-style touch.
Decorating Ideas for Your Paper Pumpkins
1. Seasonal Themes
Consider decorating your pumpkins according to different themes—Halloween, Thanksgiving, or even a harvest theme. Mixing various patterns and colors can create a cohesive look.

2. Use of Natural Elements
Incorporate natural materials such as acorns, pinecones, or dried leaves. These can be glued onto the pumpkin or used as part of the display base.
3. Pumpkin Stencils
For a unique twist, use stencils to cut out shapes from your pumpkins. This creates a beautiful contrast with the background color. I often use this technique to create intricate designs that stand out.
4. Create a Pumpkin Collage
Don’t limit yourself to just one pumpkin! Create a pumpkin collage by making different sizes and designs. Group them together for an eye-catching display.
Pros and Cons of Decorating Paper Pumpkins
Pros
- Environmentally friendly option compared to real pumpkins.
- Easily customizable and versatile.
- Long-lasting and can be reused every year.
- Safe for children and pets.

Cons
- Can be time-consuming depending on the level of detail.
- Less tactile experience compared to working with real pumpkins.
- May not have the same scent as real pumpkins.
Frequently Asked Questions
Can I use recycled paper to make paper pumpkins?
Absolutely! Recycled paper not only enhances sustainability but also adds a unique texture to your pumpkins.
What type of glue works best for paper pumpkins?
White glue, hot glue, or double-sided tape all work well, but I prefer hot glue for a quicker and sturdier hold.
How do I store my paper pumpkins after the season?
Store them in a cool, dry place, ideally in a plastic bin to avoid dust. You can also wrap them in tissue paper for extra protection.
Conclusion: Let Your Creativity Flow!
Decorating paper pumpkins is a delightful way to get into the spirit of fall. Not only does it allow you to express your creativity, but it also creates memories with friends and family who join in on the fun. With just a few materials and a little bit of imagination, you can craft stunning paper pumpkins that bring warmth and joy to your home during this beautiful season. So grab your supplies and start decorating your paper pumpkins today!