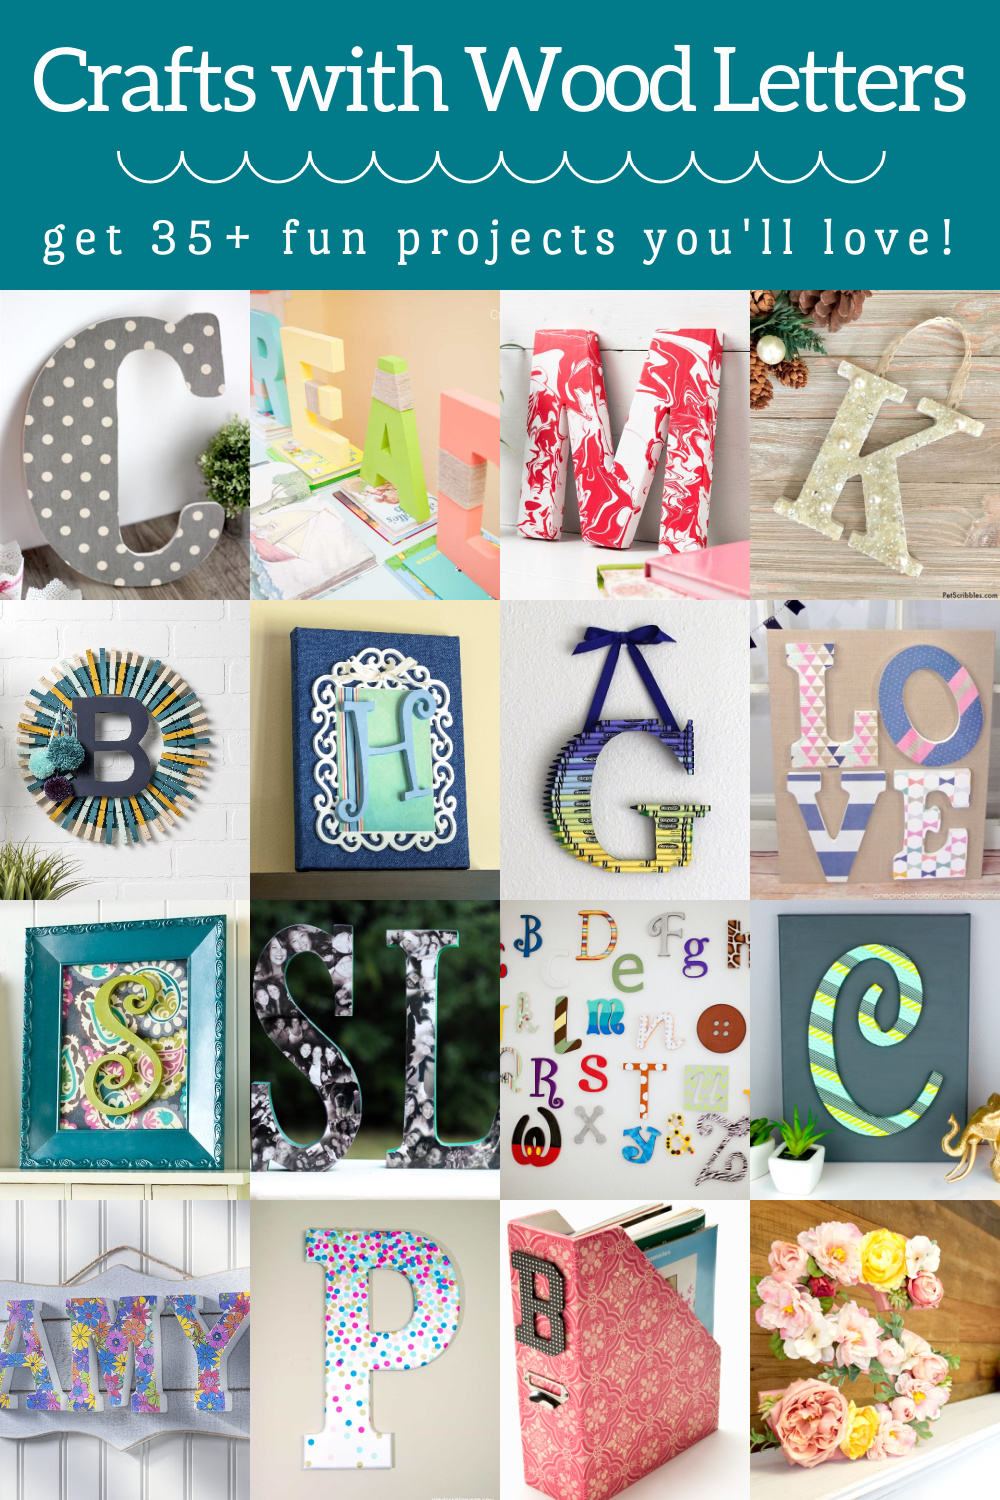
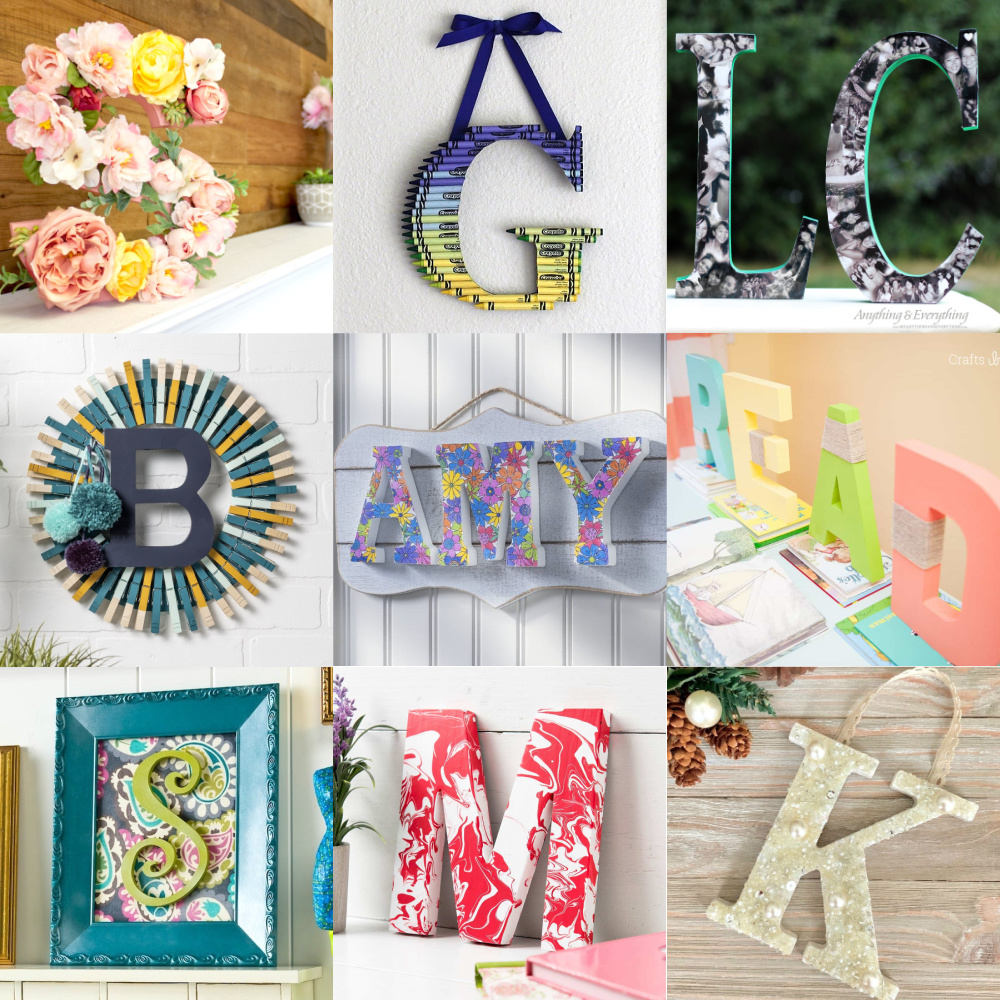
Decorating wooden letters can transform any space, adding a personal touch that reflects your style and creativity. Whether you’re creating a nursery, revamping your living room, or adding flair to a business sign, this guide will take you through all the steps and techniques to beautifully decorate wooden letters. With my personal experience and expert tips, you’ll be able to create stunning pieces that stand out.
What You’ll Need to Get Started
Before diving into the decorating process, gather the following supplies:
- Wooden letters (available at craft stores or online)
- Sandpaper (medium and fine grit)
- Paint (acrylic, chalk, or spray paint)
- Paintbrushes (various sizes)
- Mod Podge or wood glue
- Decorative items (ribbons, fabric, paper, stickers, etc.)
- Sealant (optional)
Choosing the Right Wooden Letters
When picking out wooden letters, consider the following factors:
- Size: Ensure the letters fit the space you intend to use them in.
- Font Style: Script, block, or a mix; choose what best suits your decor.
- Material Quality: Look for sturdy and smooth woods for easier decoration.

Preparation: Getting Your Wooden Letters Ready
Sanding the Surface

Start by sanding the wooden letters with medium-grit sandpaper to remove any rough edges and imperfections. Follow up with fine-grit sandpaper for a smooth finish. This step is crucial to ensure that the paint adheres well.
Cleaning the Dust

After sanding, wipe the letters with a damp cloth to remove any dust particles. Allow them to dry completely before proceeding to paint.
Painting Techniques for Wooden Letters

Painting is one of the most popular ways to decorate wooden letters. Here are some effective techniques you can use:
Acrylic Paint

Acrylic paint offers vibrant colors and dries quickly. Here’s a simple method to achieve a professional look:
- Use a base coat of acrylic paint in your chosen color. Apply 2-3 thin layers for an even finish.
- Let dry completely between coats.
- For added texture, use a dry brush technique by lightly brushing a contrasting color over the base coat.

Chalk Paint
Chalk paint provides a matte, vintage finish and is perfect for rustic decor. Here’s how to apply it:
- Apply one to two coats of chalk paint using a wide brush.
- For a distressed look, use sandpaper on the edges after the paint dries.
- Seal with a matte topcoat for durability.
Spray Paint
Spray paint is quick and gives a smooth, even coat. However, it requires careful application:
- Spray in a well-ventilated area and use a drop cloth to protect surrounding surfaces.
- Hold the can about 6-12 inches away from the letters.
- Apply several light coats rather than a single heavy coat to prevent drips.
Adding Decorative Elements
Once your letters are painted, the fun really begins! Here are some creative ways to embellish them:
Decoupage with Paper or Fabric
Decoupage is an excellent way to add patterns and textures. Here’s a quick overview:
- Cut your desired paper or fabric into pieces.
- Apply a layer of Mod Podge on the letter.
- Place the cut pieces on the letter and seal with another layer of Mod Podge.
Using Ribbons and Twine
Consider wrapping letters with ribbons or twine for a charming look. Here’s how:
- Start at the bottom of the letter, securing the ribbon or twine with glue.
- Wrap it around tightly, overlapping slightly, and secure at the top.
Adding Stickers or Stencils
For those who aren’t confident in their painting skills, stickers or stencils can be a fantastic option:
- Choose letters or designs that match your theme.
- Apply them cleanly on the painted surface.
Displaying Your Decorated Wooden Letters
After decorating your wooden letters, it’s time to showcase them! Here are some ideas for display:
Wall Mounting
Use adhesive hooks or nails to mount your letters on the wall. You can arrange them to spell a word or phrase or simply hang them as individual decorative pieces.
Tabletop Arrangements
Place your letters on shelves, mantels, or tables as part of a larger decorative arrangement. Pair them with plants, books, or other decorative items for a cohesive look.
Event Decor
Wooden letters can also serve as great decoration for events such as weddings or birthday parties. Customizing letters to match the color scheme can add a personal touch.
Pros and Cons of Decorating Wooden Letters
Pros
- Highly customizable to fit your decor.
- Fun and engaging DIY project.
- Inexpensive option for personalizing your space.
- Great for gifting and special occasions.
Cons
- Time-consuming, depending on the complexity of the design.
- Requires some crafting skill for best results.
- Paint and glue can be messy if not handled properly.
Conclusion: Let Your Creativity Shine
Decorating wooden letters is an enjoyable craft that allows you to express your individuality and style. With various painting techniques and decorative options, the only limit is your imagination. Whether you’re designing for a special occasion or sprucing up your living space, these tips and personal insights will help you achieve a beautiful and polished look. So grab your supplies and start creating!
FAQs About Decorating Wooden Letters
1. What type of paint is best for wooden letters?
Acrylic paint is best for vibrant colors and quick drying, while chalk paint is great for a vintage look.
2. Can I use outdoor materials for wooden letters?
Yes! Make sure to use outdoor sealant to protect your letters from weather elements if displaying them outside.
3. How do I seal my painted wooden letters?
After your paint dries, apply a clear sealant like acrylic spray or Mod Podge for extra durability.
4. Can I personalize wooden letters for a gift?
Absolutely! You can customize them with initials, names, or meaningful words for a thoughtful gift.
5. Where can I buy wooden letters?
You can find wooden letters at craft stores, online marketplaces, or even local artisan shops.