Decorative wall paneling can transform any room into a stylish and inviting space. Whether you’re looking to add texture, warmth, or a touch of elegance, wall paneling can do just that. In this article, I’ll share my personal experiences and guide you through the entire installation process in a friendly, approachable manner. Let’s dive right in!
Table of Contents
- What is Wall Paneling?
- Types of Wall Paneling
- Tools and Materials Needed
- Preparation Steps
- Installation Process
- Finishing Touches
- Pros and Cons
- Frequently Asked Questions
What is Wall Paneling?
Wall paneling refers to the application of a decorative material to the walls of a room. Traditionally made from wood, modern paneling can also include materials like MDF, vinyl, and even metal. It serves both aesthetic and functional purposes, such as improving insulation and covering imperfections in walls.
Types of Wall Paneling
There is a variety of wall paneling styles to choose from, each suiting different tastes and needs. Here are the most common types:
1. Wood Paneling
Classic and timeless, wood paneling can add warmth and character to any space.
2. MDF Paneling
Medium-density fiberboard (MDF) is a cost-effective option that mimics the look of wood.
3. Vinyl Paneling
Durable and moisture-resistant, vinyl paneling is perfect for kitchens and bathrooms.
4. Plywood Paneling
Plywood paneling is versatile and can be stained or painted to match your decor.
5. Shiplap and Tongue-and-Groove
These styles create a charming, textured look that’s very popular in rustic and farmhouse designs.

Comparison Table of Wall Paneling Types
| Type | Cost | Durability | Maintenance | Aesthetic |
|---|---|---|---|---|
| Wood | High | Adequate | High | Classic |
| MDF | Medium | Good | Medium | Modern |
| Vinyl | Low to Medium | Excellent | Low | Varied |
| Plywood | Medium | Good | Medium | Natural |
| Shiplap | Medium | Adequate | Medium | Rustic |
Tools and Materials Needed
Before you get started, it’s crucial to gather all the necessary tools and materials. Here’s a list of what you will need:
Essential Tools
- Measuring tape
- Level
- Stud finder
- Utility knife
- Power drill
- Cutting saw
- Caulk gun
- Paintbrush or roller
Materials
- Wall panels (wood, MDF, vinyl, etc.)
- Adhesive or nails
- Primer and paint (if necessary)
- Trim (baseboards, crown molding)
Preparation Steps
Preparation is key to a successful installation. Follow these steps to ensure your workspace is ready:
1. Choose Your Paneling Style
Decide on the type of paneling that best suits your design vision.

2. Measure Your Walls
Use a measuring tape to determine the height and width of the walls you plan to panel. This will guide your material purchase.
3. Clear the Wall Space
Remove any decorations, furniture, or outlet covers to give you a clean working area.
4. Prepare the Wall Surface
Fill in any holes or imperfections with spackle, and ensure the wall is clean and dry.
Installation Process
Now that you’re prepared, let’s move onto the installation process. I’ve broken it down into easy-to-follow steps.
Step 1: Mark the Studs
Use a stud finder to locate the wall studs, marking them lightly with a pencil. This will help you secure the panels properly.
Step 2: Cut the Panels to Size
Measure and cut your wall panels to fit the height and width of your walls. Be sure to wear safety goggles and a mask when cutting.
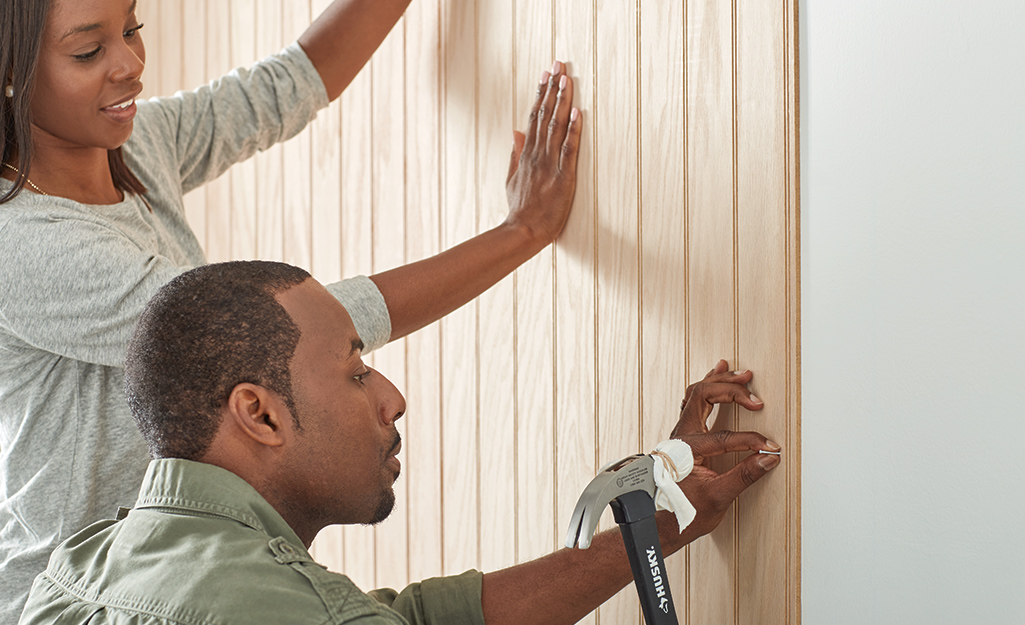
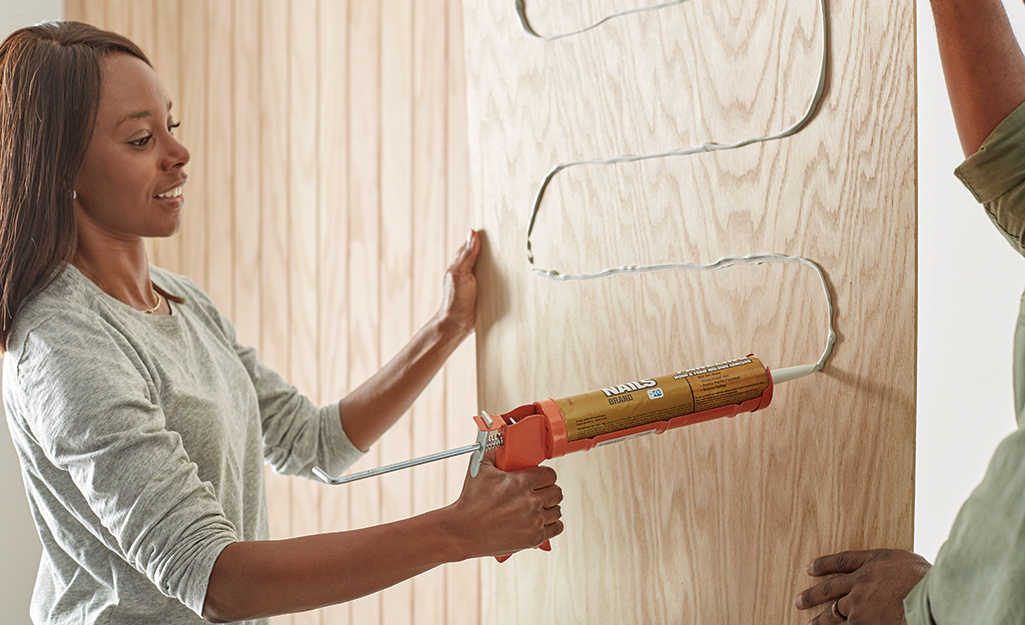
Step 3: Attach the Panels
Start at one corner and apply adhesive or nails to the back of the panel. Press it firmly against the wall, ensuring it aligns with the studs.
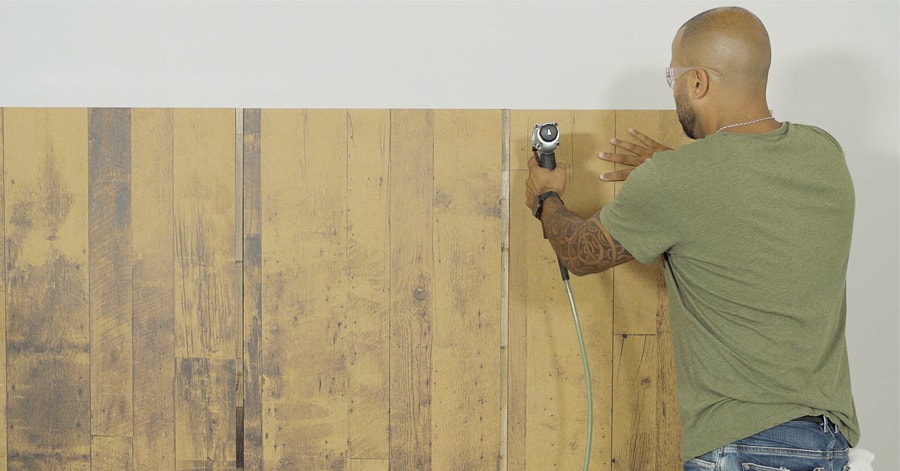
Step 4: Continue Installing Panels
Repeat the process for each subsequent panel, ensuring they fit snugly together. You may need to use a level to ensure everything is straight.
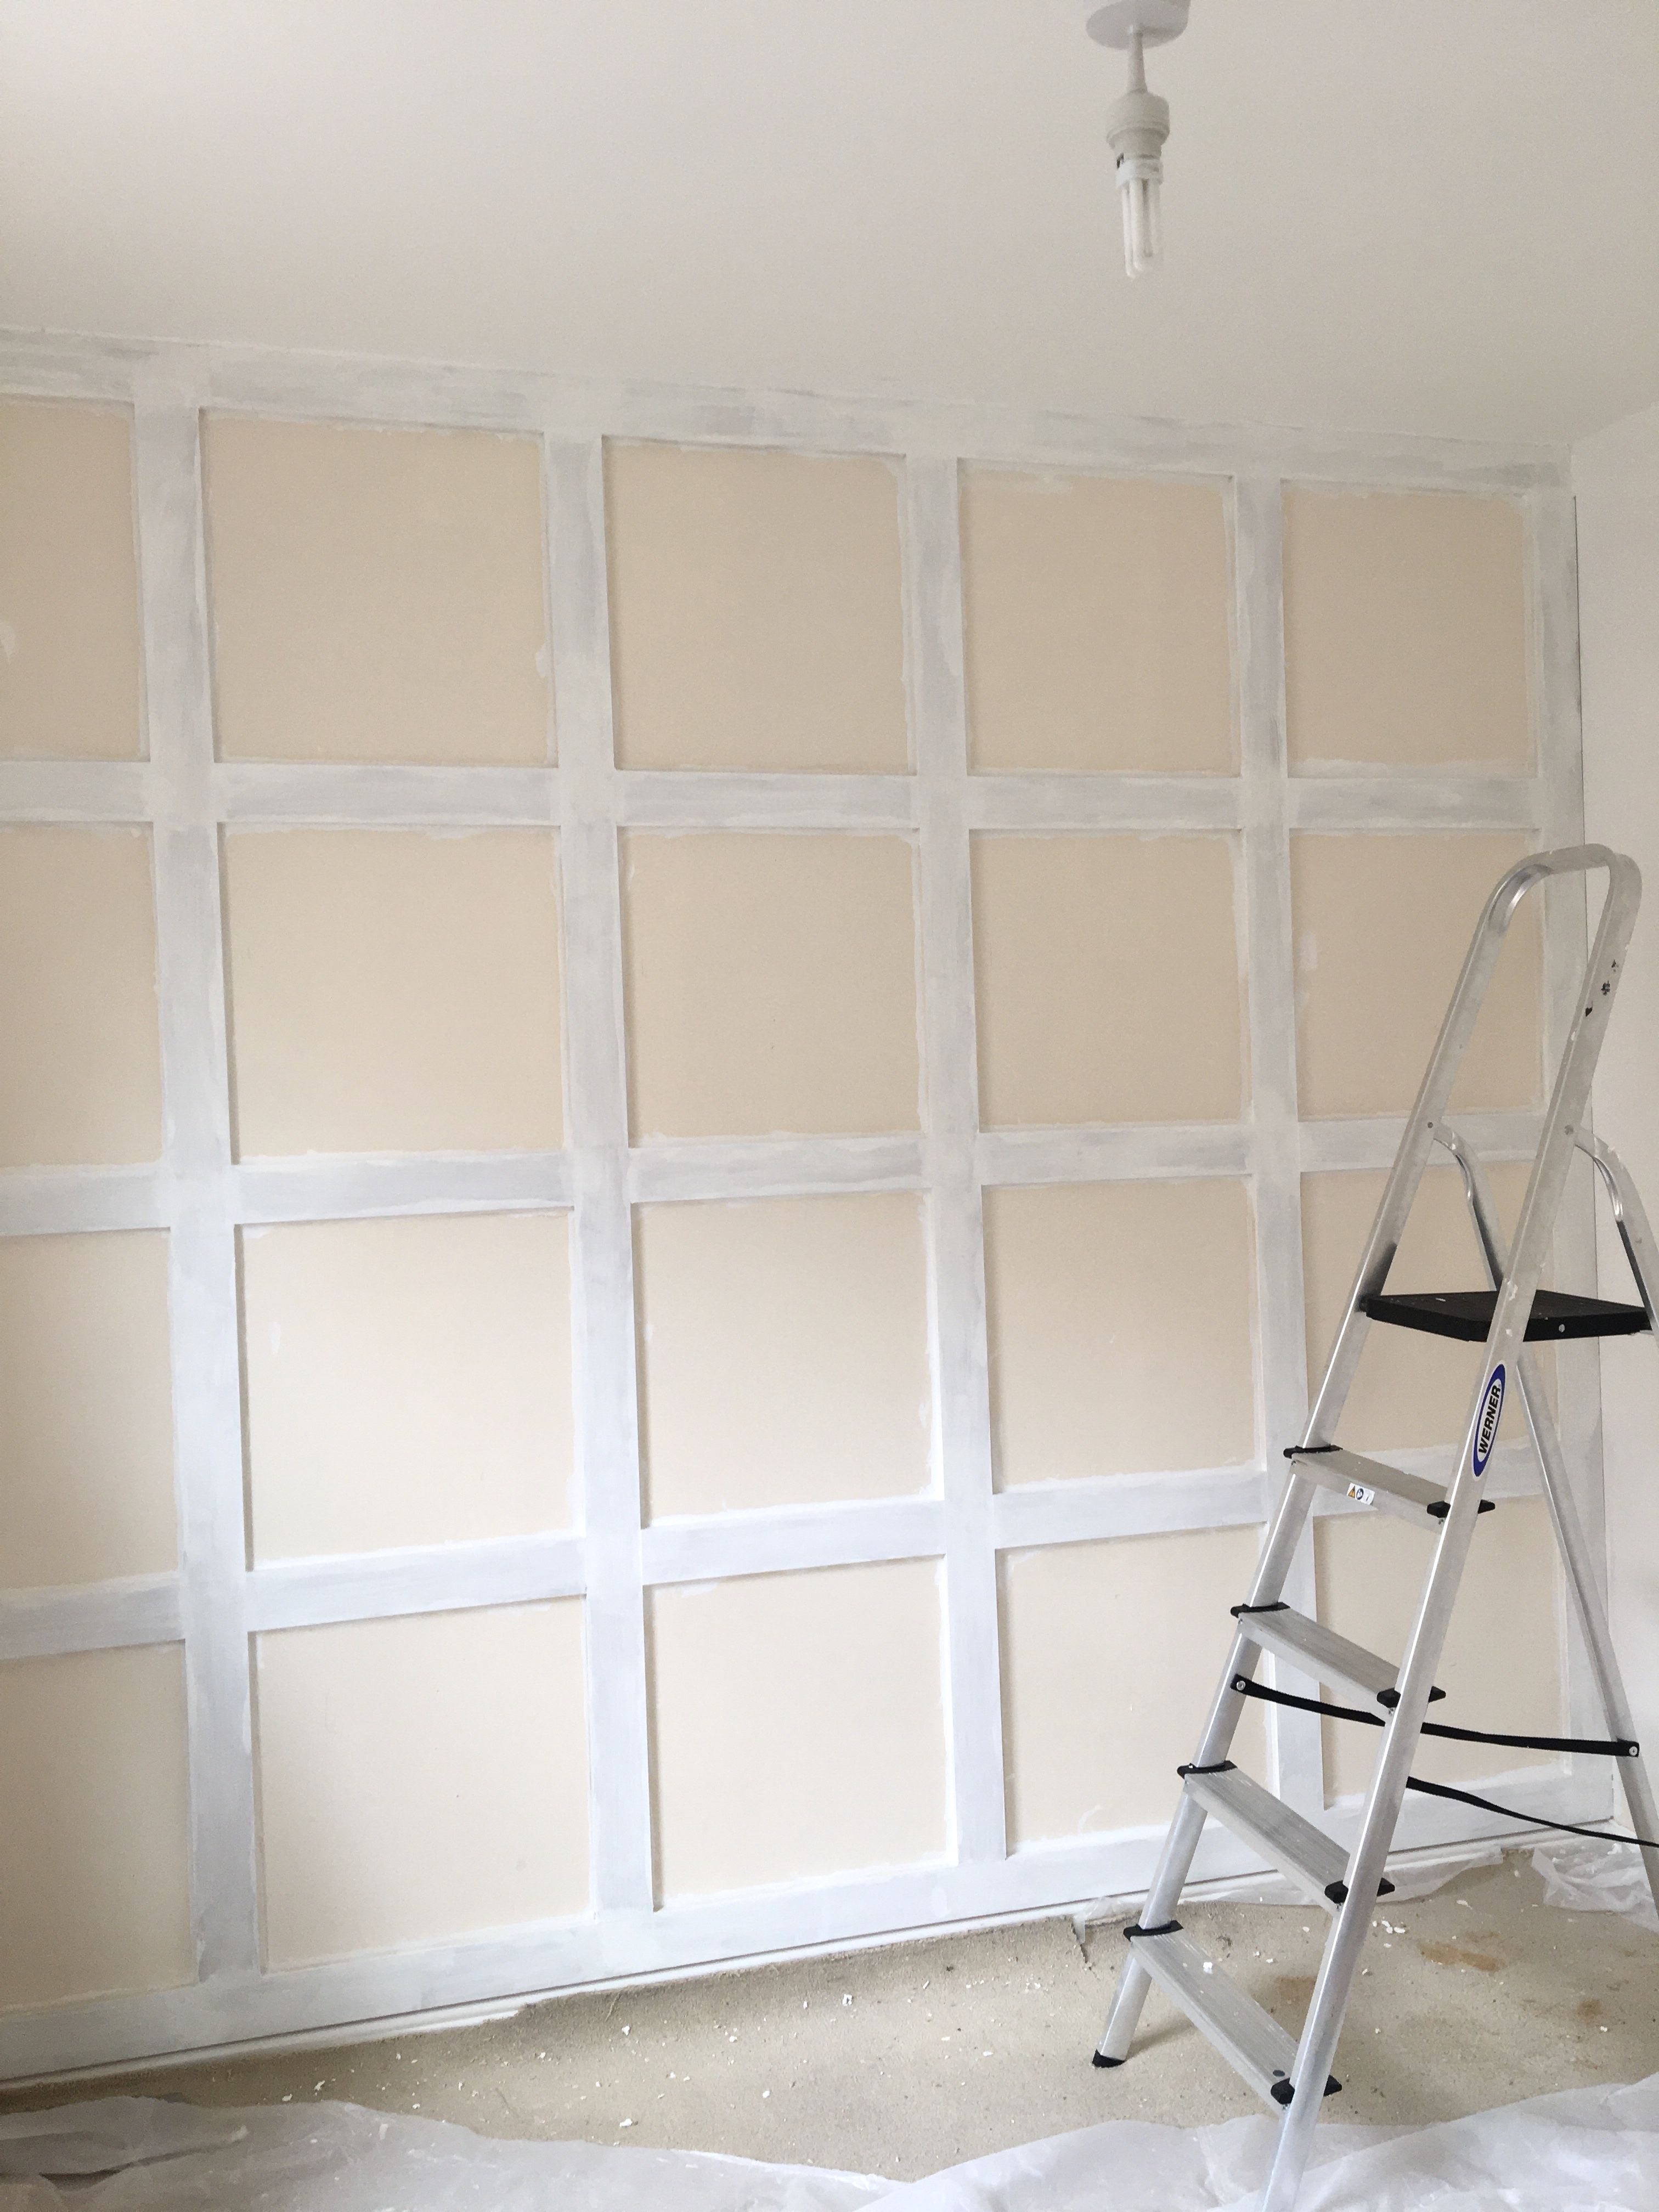
Step 5: Finish with Trim
After all panels are installed, add trim around the edges to give a polished look. Use caulk to fill any gaps between the trim and walls.
Finishing Touches
Once the installation is complete, it’s time for the finishing touches:
1. Painting or Staining
If you chose unpainted panels, now is the time to apply paint or stain. Be sure to use a primer if necessary for best results.
2. Adding Accessories
Consider adding shelves, artwork, or other decorative items to showcase your new wall paneling.
Pros and Cons of Decorative Wall Paneling
Like any home improvement project, wall paneling comes with its own set of advantages and disadvantages. Here’s a quick overview:
Pros
- Adds character and warmth to a room
- Helps to hide wall imperfections
- Improves insulation
- Variety of materials and styles available
Cons
- Can be expensive, depending on materials
- Installation can be time-consuming
- May require maintenance over time
- Can make a room feel smaller if not carefully planned
Frequently Asked Questions
1. How much does it cost to install decorative wall paneling?
The cost of wall paneling varies significantly based on the material and style chosen. On average, you can expect to spend between $1.50 to $5.00 per square foot for materials, not including installation costs.
2. Can I install wall paneling over existing drywall?
Yes, you can install wall paneling over drywall. Ensure the surface is clean and in good condition before starting your installation.
3. Is wall paneling easy to remove?
Removing wall paneling can be labor-intensive, especially if it was glued down. Use a pry bar and work carefully to avoid damaging the underlying wall.
4. How do I care for my wall paneling?
Most paneling can be wiped clean with a damp cloth. For painted panels, regular touch-ups may be necessary to maintain the finish.
5. Does wall paneling add value to my home?
High-quality wall paneling can enhance a home’s aesthetic and possibly increase its market value. However, trends in design can vary, so consider your target market.
In conclusion, installing decorative wall paneling is a rewarding home improvement project that can dramatically enhance your living space. With the right preparation and tools, you can achieve stunning results that reflect your personal style. Happy decorating!