Baptisms are significant events that mark the beginning of a spiritual journey. Celebrating this milestone with a beautifully decorated cake not only adds sweetness to the occasion but also serves as a centerpiece for the celebration. In this article, I’ll share my personal experiences with baptism cake decorating and provide you with ideas, tips, and tricks to create stunning cakes that will impress your guests. Let’s dive in!
Why Cake Decoration Matters at Baptisms
A baptism is often the first major celebration in a child’s life, and the cake plays a vital role in bringing people together. Here are some key reasons why cake decoration matters:
- Symbolism: The cake often symbolizes the joy of the occasion.
- Memorability: An elegantly decorated cake enhances the overall theme of the celebration.
- Photo Opportunities: A stunning cake will be a focal point for photos.
- Personal Touch: Customized decorations can reflect the family’s beliefs and style.
Themed Cake Ideas for Baptisms
1. Classic Religious Themes
Classic religious themes often incorporate symbols like crosses, doves, and angels. Here are a few ideas:
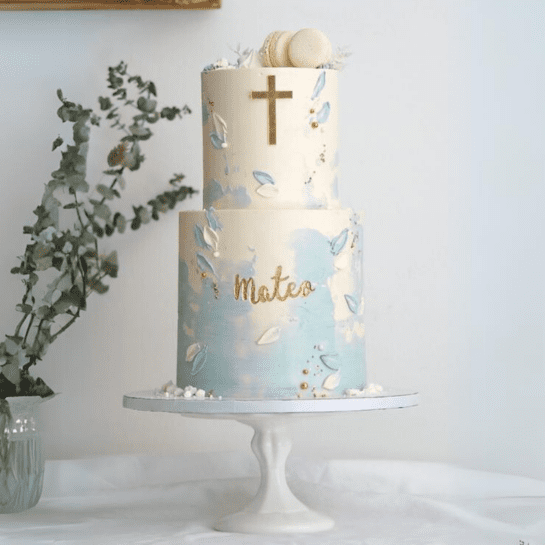
- Cross Designs: Use edible gold or silver paint for a cross on top of a white cake.
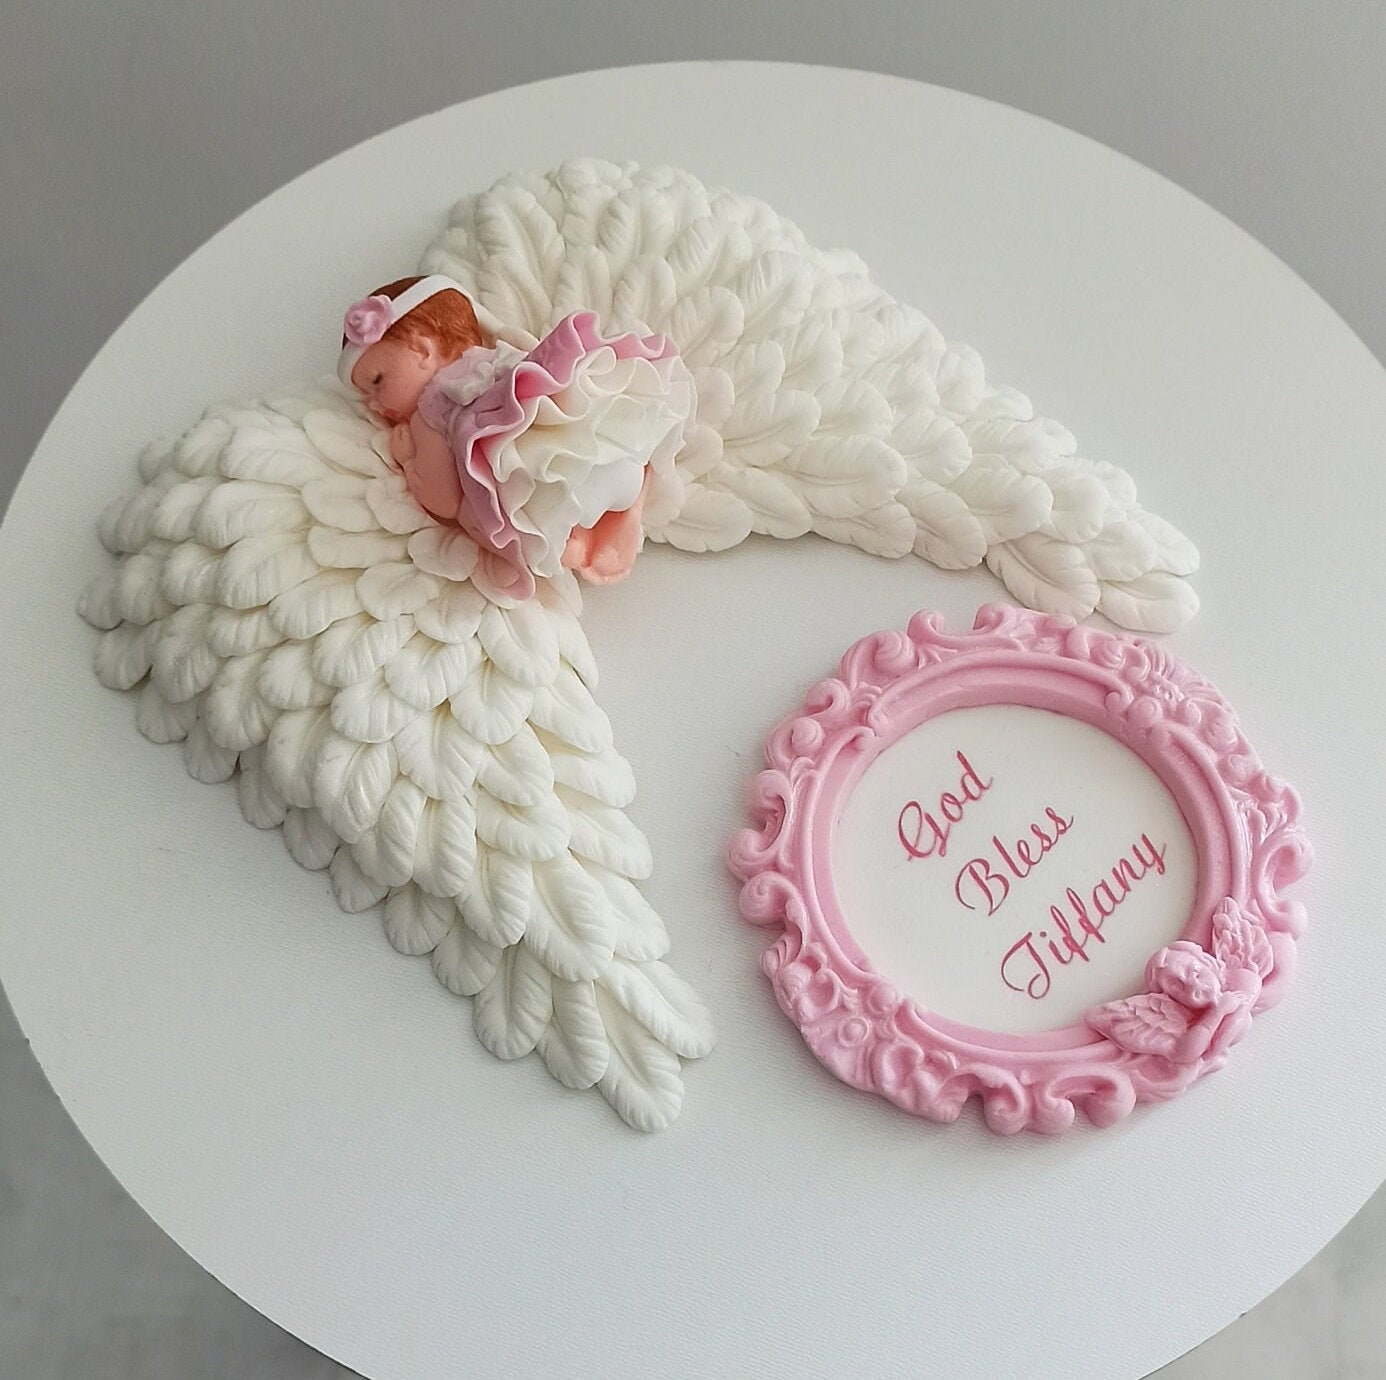
- Dove Toppers: Incorporate sugar doves flying around the cake for a serene look.
2. Floral Designs
Flowers bring life and color to any cake. Consider these floral arrangements:
- Rose Accents: Pink or white roses can add elegance.
- Succulent Arrangements: More modern and trendy, succulents can give a fresh look to the cake.
3. Color Themes
Choosing a color scheme can help you to create a cohesive look for the baptism:
- Pastels: Soft pinks, blues, and yellows are classic choices for children’s cakes.
- Neutral Tones: White, ivory, and gold offer a sophisticated elegance.
Table: Popular Color Themes for Baptism Cakes
| Color Theme | Description | Best For |
|---|---|---|
| Pastels | Soft and light colors that bring warmth | Baby showers and christenings |
| Neutral Tones | Elegant and sophisticated with a modern twist | Formal celebrations |
| Bright Colors | Vibrant and cheerful, perfect for casual settings | Celebrations with young guests |
Techniques for Cake Decoration
1. Fondant vs. Buttercream
Both fondant and buttercream have their pros and cons. Here’s a comparison to help you decide:
| Technique | Pros | Cons |
|---|---|---|
| Fondant | Smooth finish, holds shapes well | Can be too sweet, requires practice |
| Buttercream | Rich taste, easy to work with | Less polished finish, can melt in heat |

2. Piping Techniques
Piping is a fantastic way to add intricate designs. Here are a few techniques to try:
- Shell Borders: Perfect for adding a finished edge.
- Rosettes: Great for creating a whimsical look.
Personal Touches: Customization Ideas
1. Cake Toppers
Custom cake toppers are an excellent way to personalize the cake. Consider options like:
- Name and Date: Adding the baby’s name and baptism date.
- Religious Symbols: Customized wood or acrylic symbols can add a lovely touch.

2. Edible Images
If you want to incorporate photos, edible images are a fantastic option. You can print images onto edible paper, making it easy to include a personal touch.
Tips for Creating Edible Images
- Choose high-resolution images for the best quality.
- Ensure the image fits within your design; go for circular or rectangular shapes.
- Place the edible image on a smooth surface for even adhesion.

Pros and Cons of Professional Cake Decorators
Hiring a professional can relieve a lot of stress but comes with its own set of considerations. Here are some pros and cons:
Pros of Hiring a Professional
- Expertise in design and decoration
- Time-saving
- Access to quality ingredients and tools
Cons of Hiring a Professional
- Cost can be significantly higher than DIY
- Less personal involvement in the design
- Dependency on the decorator’s timeline

DIY Cake Decoration: A Step-by-Step Guide
If you’re feeling inspired to create your cake, follow these simple steps:
1. Gather Your Materials
Essential tools include:
- Cake layers (your choice of flavor)
- Fondant or buttercream
- Piping bags and tips
- Cake board or stand
2. Level and Stack Your Cake
Once baked, ensure your cake layers are flat by leveling them with a knife. Stack the layers with icing in between.
3. Crumb Coat
Apply a thin layer of icing around the cake to seal in crumbs, then chill for a bit.
4. Final Coat
Add a thicker layer of icing or fondant for a polished look.
5. Decorate!
Now have fun with your decorations! Pipe borders, add edible images, or place fondant decorations on top.
Frequently Asked Questions
Q1: How far in advance should I order a baptism cake?
A1: It’s recommended to place your order at least 2–4 weeks in advance, especially for customized designs.

Q2: Can I use a store-bought cake for decoration?
A2: Absolutely! Store-bought cakes can be a convenient base for your decorations.
Q3: How do I transport a decorated cake?
A3: Use a sturdy box, keep it level, and avoid sharp turns while driving to prevent damage.

Q4: What are some good flavors for baptism cakes?
A4: Popular flavors include vanilla, chocolate, lemon, and red velvet. Choose flavors that both kids and adults will enjoy!
Q5: How can I make a cake gluten-free for a baptism?
A5: Use gluten-free flour and ensure all your ingredients are certified gluten-free for safety.

Final Thoughts: Making Your Baptism Special
Decorating a baptism cake is a beautiful way to celebrate a significant milestone in your child’s life. Whether you choose to DIY or hire a professional, the effort you put into the cake will be appreciated by all. Remember, it’s not just about the cake; it’s about the cherished memories you create with family and friends. Happy decorating!