Welcome to the world of interior design! Elevation drawings are one of the essential tools in this field, serving as a bridge between vision and reality. As a professional in interior design, I can tell you that understanding elevation drawings can transform your approach to design projects. In this article, we’ll explore what interior design elevation drawings are, how to create them, their benefits, and more!
What are Interior Design Elevation Drawings?
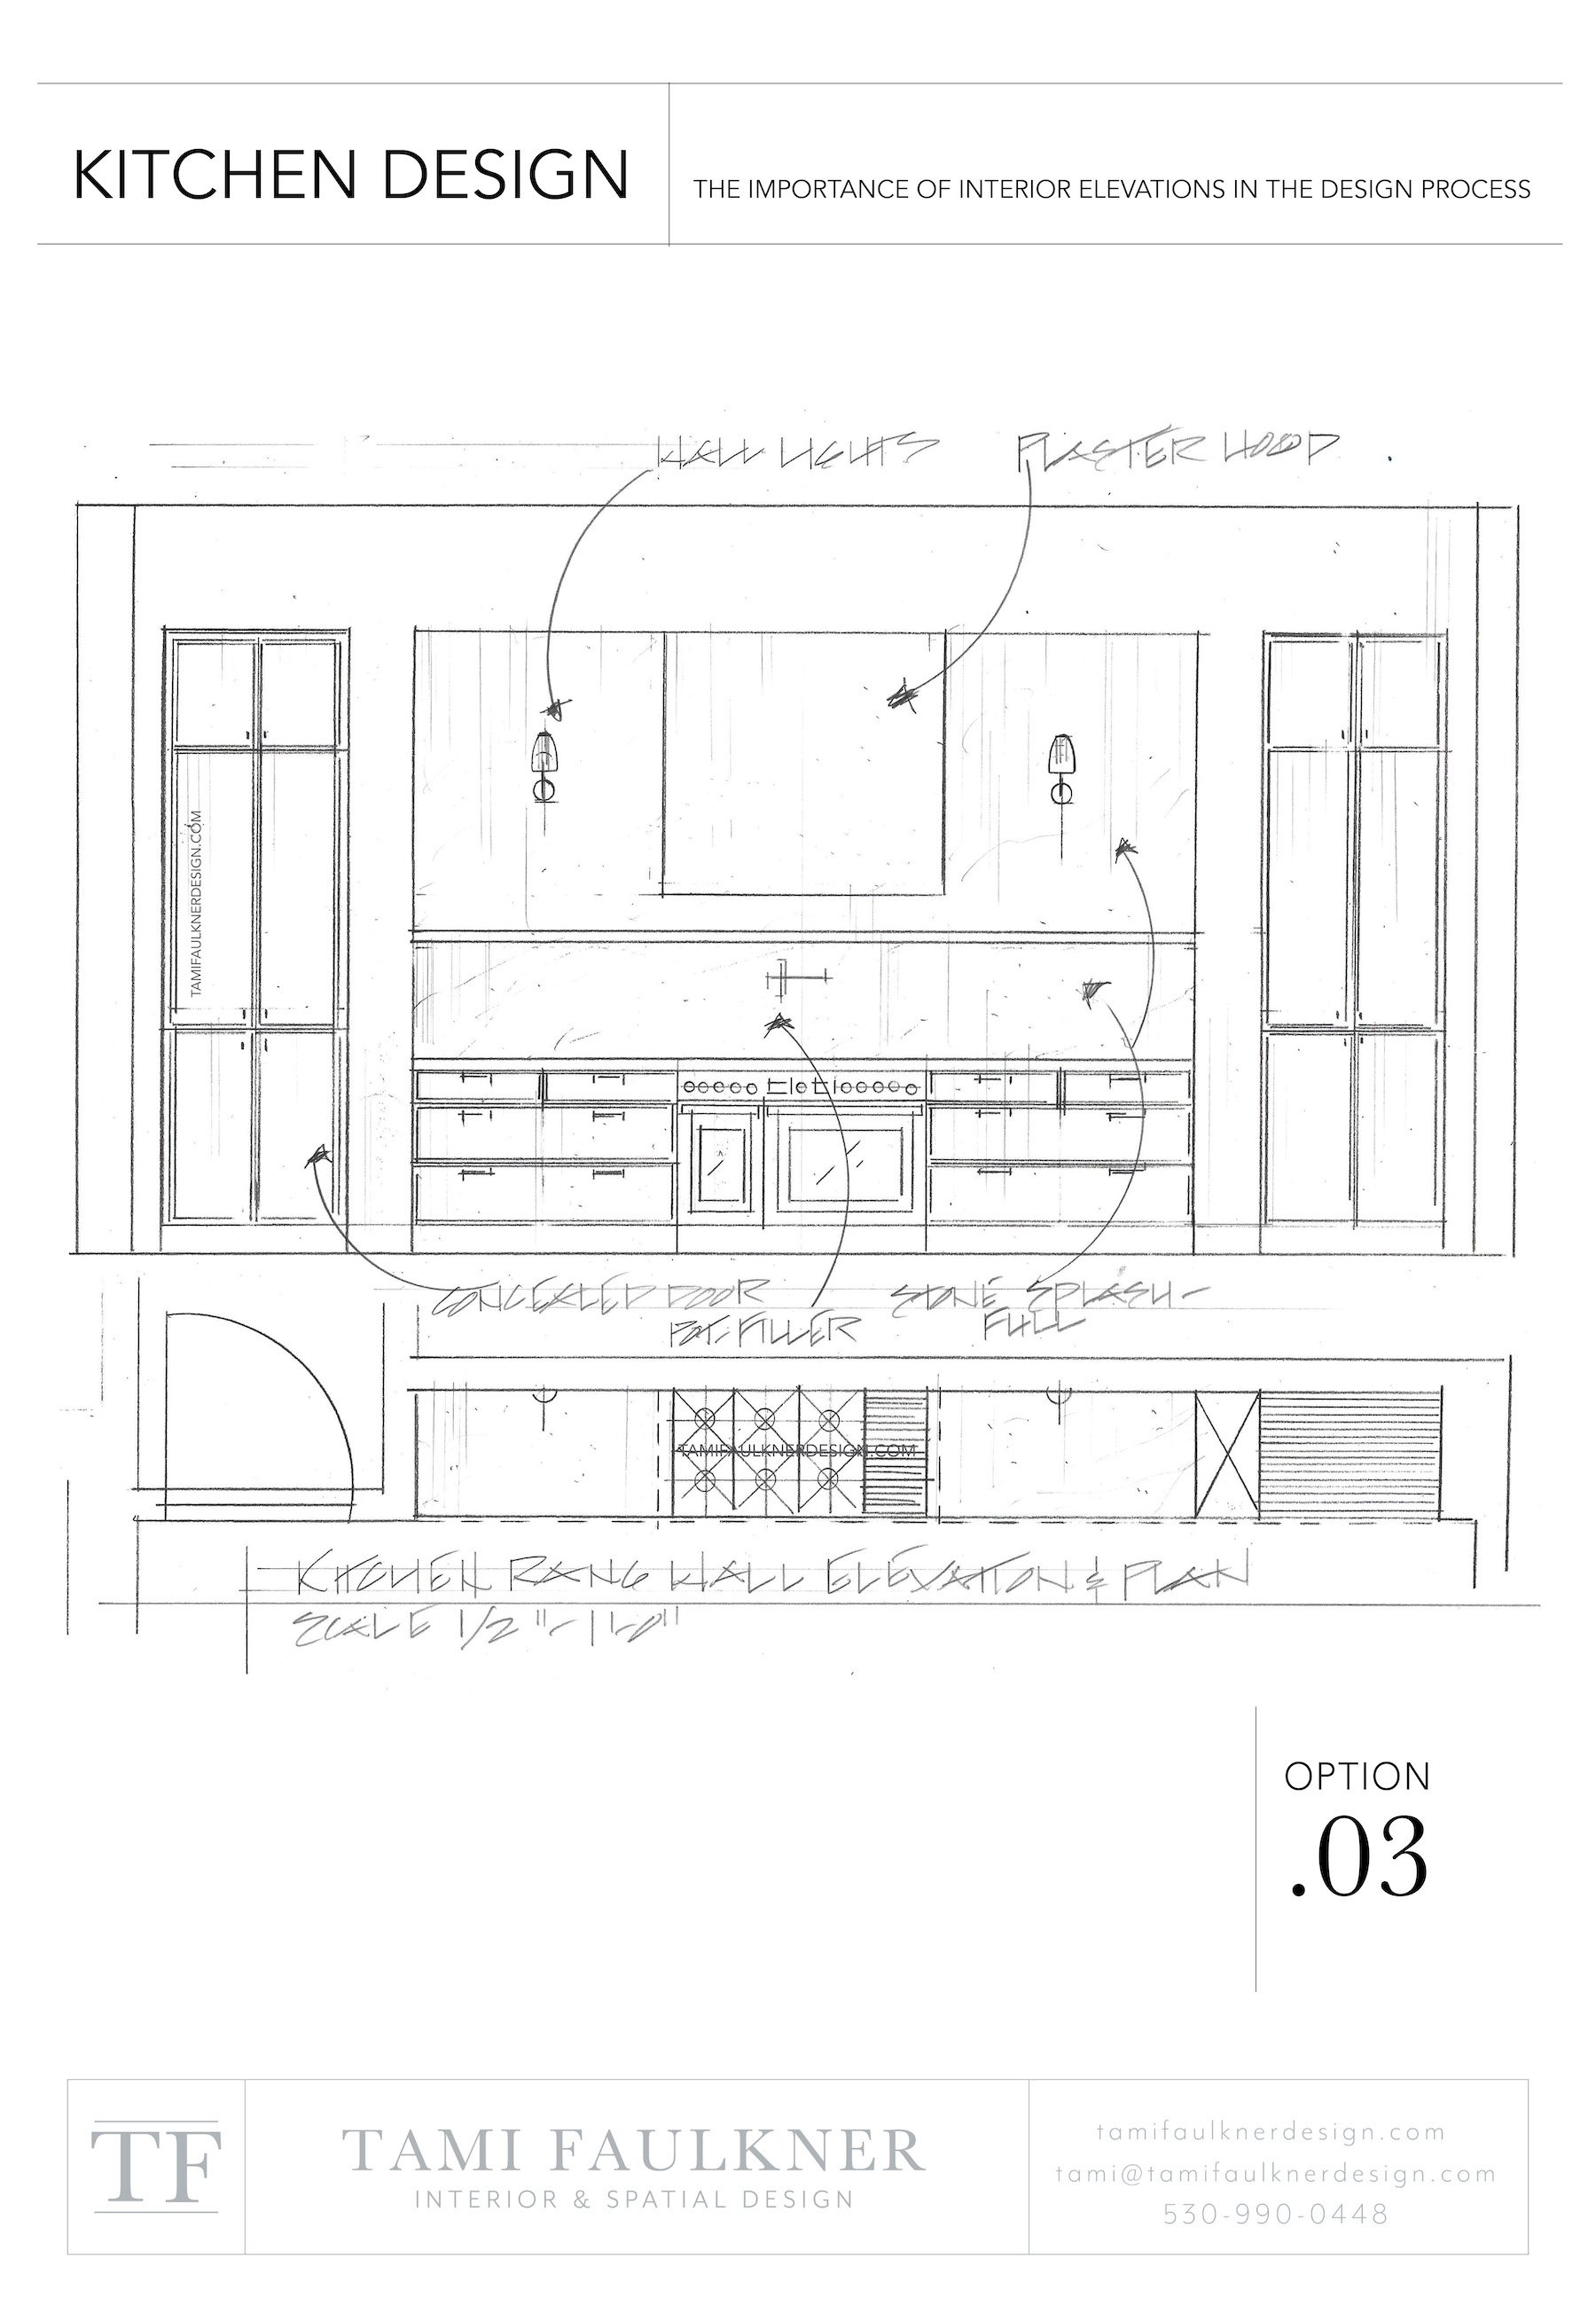
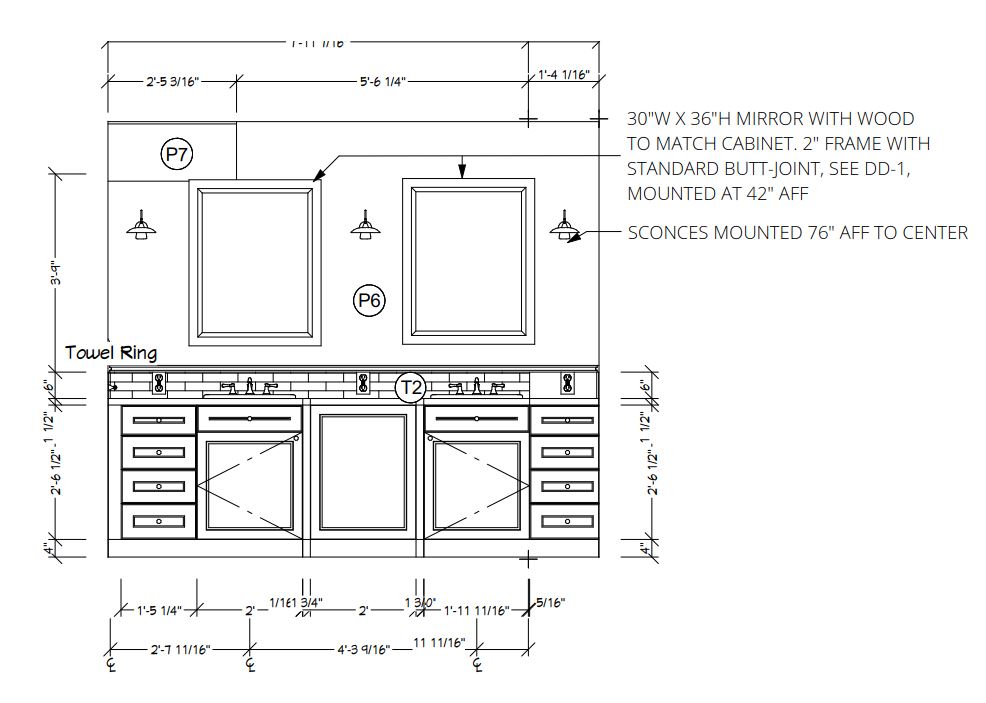
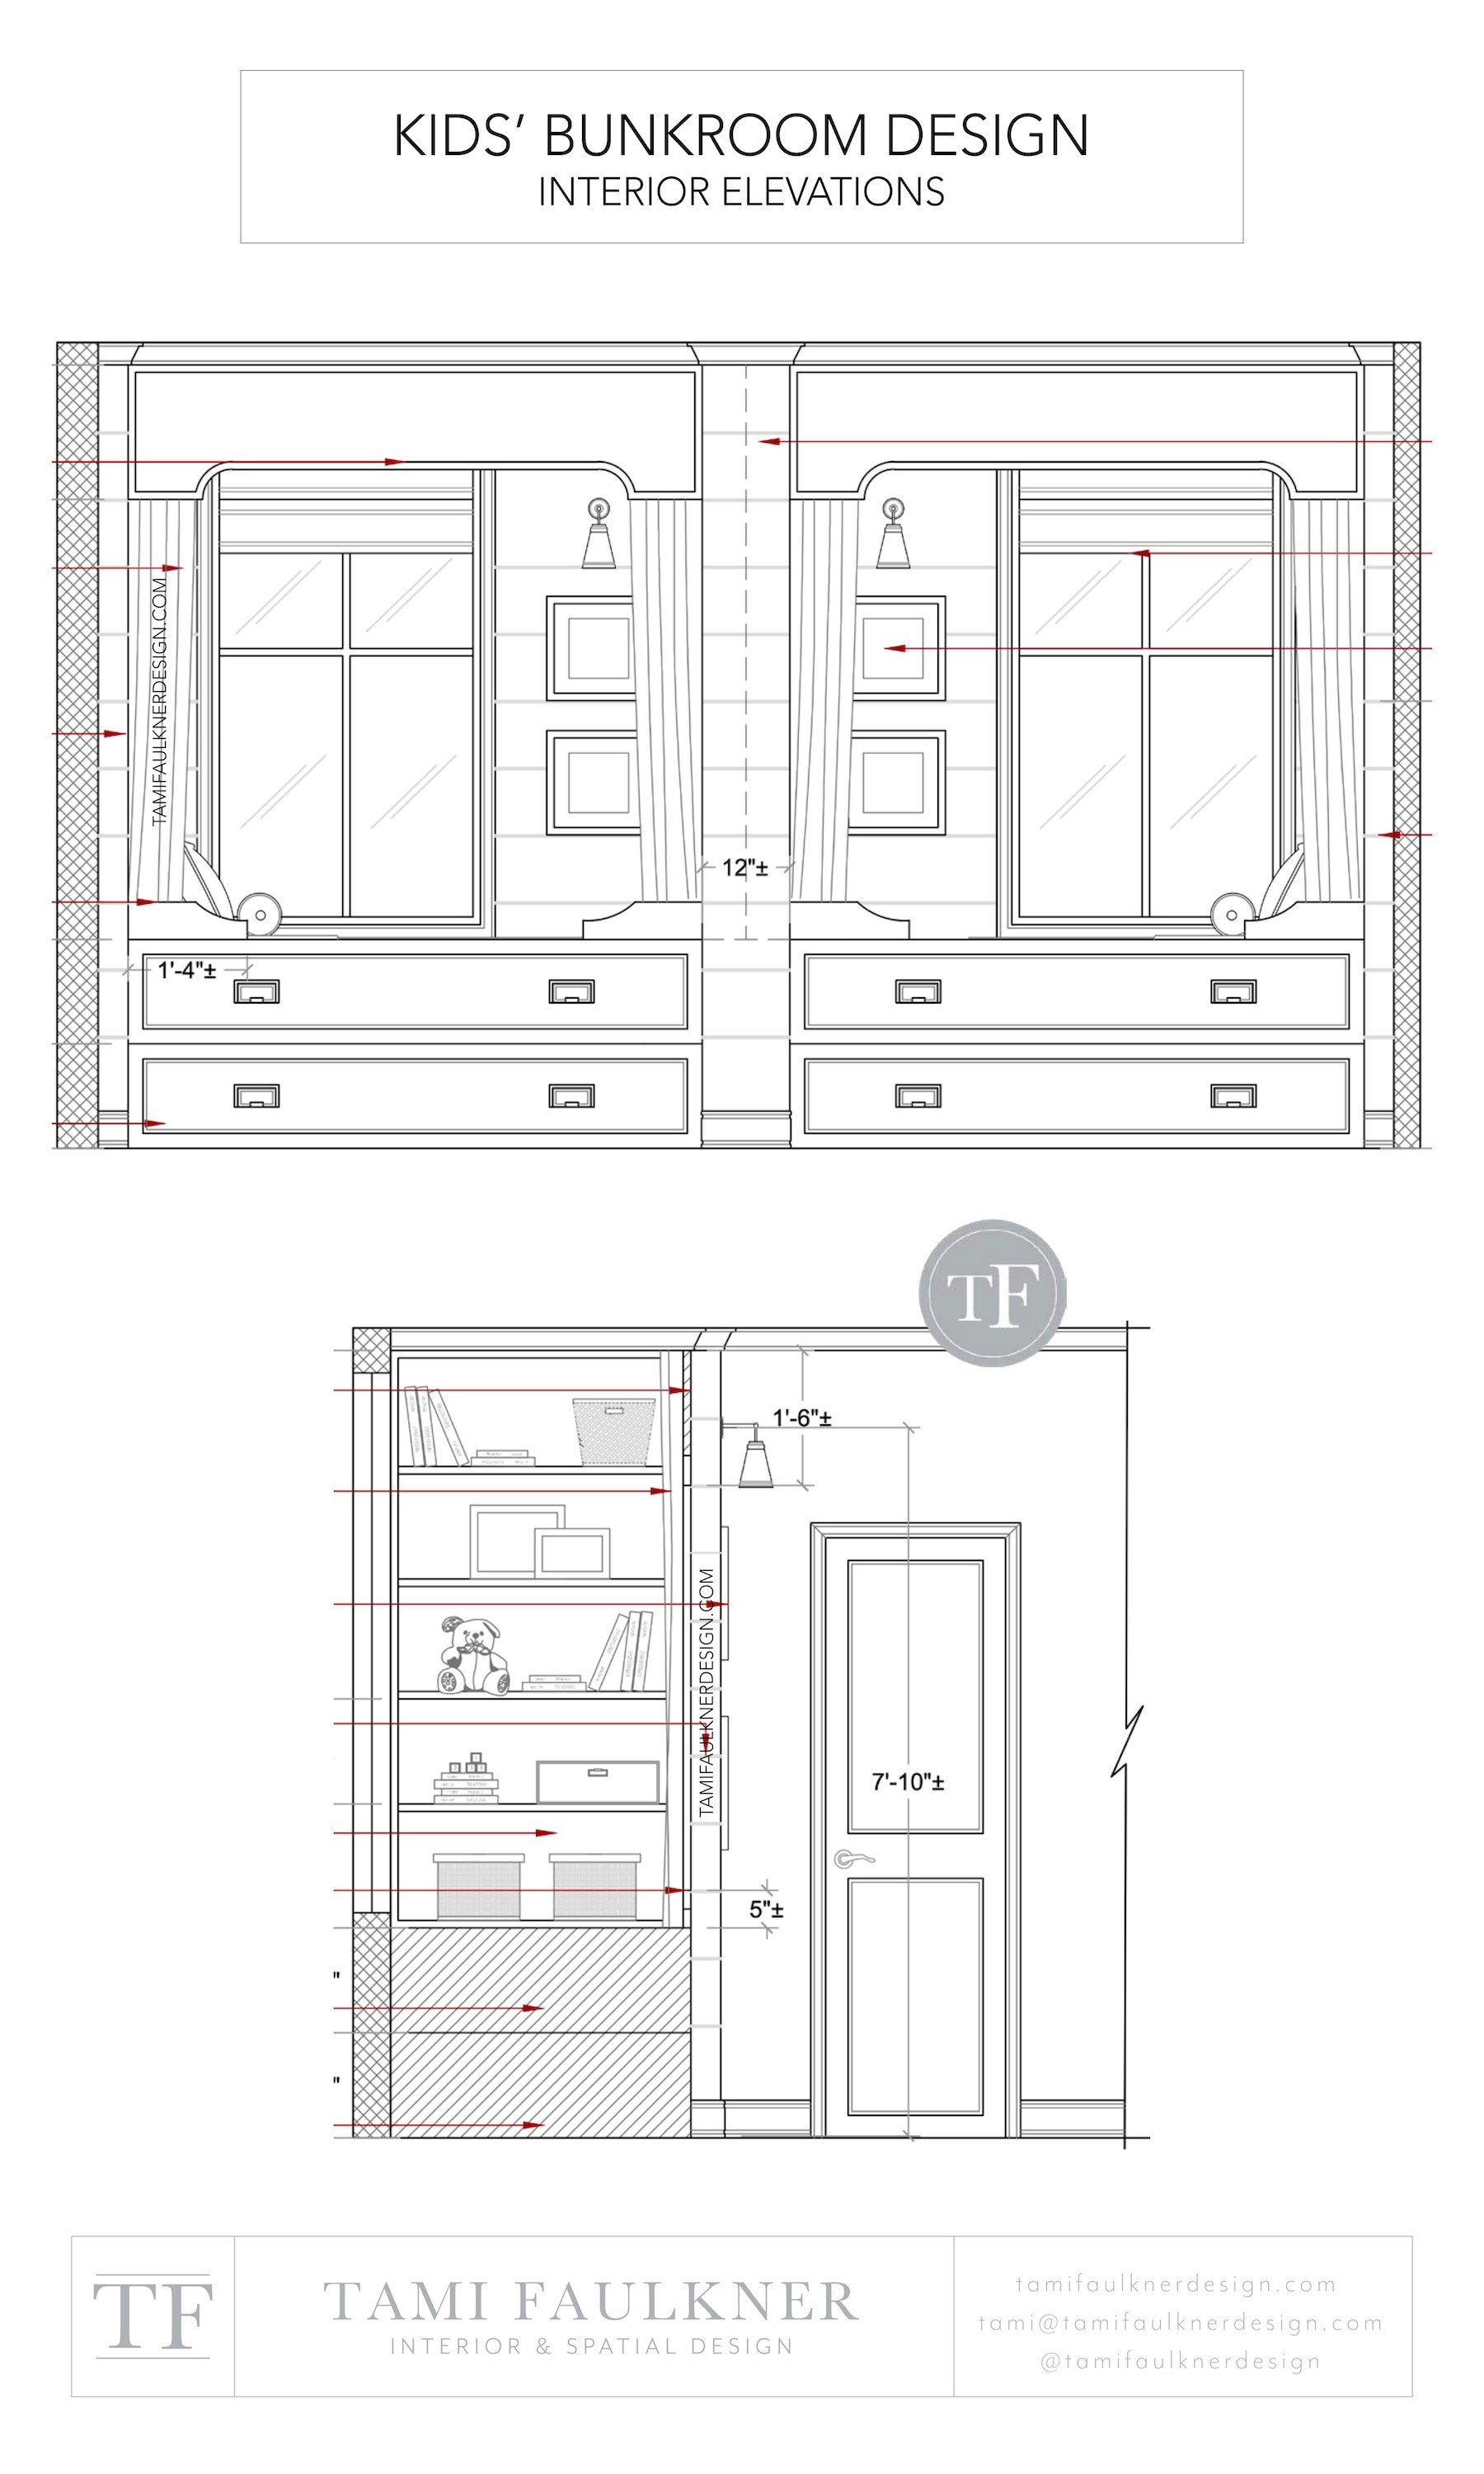
Elevation drawings are scaled drawings that illustrate the vertical aspects of a space. They depict how walls, furniture, and other elements will look from a particular viewpoint. Unlike plan drawings, which provide a top-down view, elevations give a more realistic representation of the end result.
Types of Elevation Drawings
- Interior Elevation Drawings: Focus on the interior spaces of a structure.
- Exterior Elevation Drawings: Show the building’s façade and outdoor aspects.
- Detail Elevation Drawings: Highlight specific features, such as cabinetry or built-ins.
Why are Elevation Drawings Important in Interior Design?
Elevation drawings are crucial to ensuring that an interior design project runs smoothly. Here are some reasons why:
- Visual Clarity: They provide a clear visual representation of the design.
- Communication: Serve as effective communication tools among designers, clients, and contractors.
- Planning: Assist in precise measurements and planning.
- Consistency: Help maintain design consistency across different spaces.

How to Create Interior Design Elevation Drawings
Creating elevation drawings requires a blend of creativity and technical skills. Here’s a step-by-step guide to get you started:
Step 1: Gather Essential Tools
- Graph paper or a digital drawing program (e.g., AutoCAD, SketchUp)
- Pencil or stylus
- Measuring tape
- Ruler or scale

Step 2: Measure the Space
Accurate measurements are fundamental. Measure the height, width, and depth of each wall, noting any architectural features like doors, windows, or built-ins.
Step 3: Draft the Base Drawing
Begin with a light pencil sketch of the walls, windows, and doors, ensuring that proportions are maintained according to the scale.

Step 4: Add Details
Include details such as furniture layouts, wall treatments, and any other design elements. Use symbols and annotations to convey your ideas clearly.
Step 5: Finalize the Drawing
Once you are satisfied with your rough sketch, use a pen to finalize the drawing. Add color, shading, and textures to enhance the visual appeal.

Step 6: Review and Revise
Ask for feedback from clients or colleagues and revise as necessary to ensure clarity and accuracy.
Tools for Creating Elevation Drawings
There are various tools available for creating elevation drawings. Here’s a comparison of some popular options:

| Tool | Best For | Pros | Cons |
|---|---|---|---|
| AutoCAD | Professional designers | Highly customizable, professional-grade | Steep learning curve, expensive |
| SketchUp | 3D modeling | User-friendly, excellent for visualization | Limited 2D capabilities |
| Revit | Building Information Modeling (BIM) | Integrated project management | Complex for beginners, costly |
| Graph Paper | Hand-drawn sketches | Inexpensive, easy to use | Time-consuming, less precise |
Pros and Cons of Using Elevation Drawings

Pros
- Enhanced Visualization: They help visualize designs better than just floor plans.
- Improved Communication: Serve as a common reference point for discussions.
- Design Consistency: Ensures all elements align with the overall design theme.
Cons
- Time-Consuming: Creating detailed elevation drawings can take a considerable amount of time.
- Requires Skill: Effective elevation drawings require a certain level of artistic and technical skill.
- Not Always Necessary: In some small or straightforward projects, they may not be needed.

Real-Life Applications of Elevation Drawings
Over the years, I’ve seen firsthand how elevation drawings can make a difference in projects. Here are a few real-life applications:
Residential Projects
In my experience, homeowners often appreciate elevation drawings for new constructions or renovations. They can see precisely how their living room will look with different furniture layouts or how the kitchen cabinets will be arranged.
Commercial Spaces
Businesses require elevation drawings to ensure that their branding is consistent across various locations. Elevation drawings help visualize signage placements and overall aesthetic coherence.
Renovations and Restorations
When working on heritage buildings, elevation drawings become indispensable. They enable designers to maintain the historical integrity of the structure while updating its functionality.
Common Mistakes to Avoid
Even seasoned professionals make mistakes in elevation drawings. Here are some common pitfalls to dodge:
1. Poor Measurements
Always double-check measurements to avoid costly errors down the line.
2. Ignoring Scale
It’s crucial to maintain the correct scale throughout the drawing.
3. Overcomplicating Details
Keep details clear and concise; overly complicated drawings can confuse clients.
FAQs About Interior Design Elevation Drawings
What is the difference between a floor plan and an elevation drawing?
A floor plan provides a top-down view of a space, illustrating the layout, whereas an elevation drawing shows the vertical aspects, such as walls and furniture.
Are elevation drawings necessary for all interior design projects?
Not all projects require elevation drawings. They are most beneficial for complex designs or projects involving significant alterations.
Can I create elevation drawings without software?
Yes, you can create elevation drawings by hand using graph paper, although software can provide more precision and easier revisions.
What software is best for beginners in creating elevation drawings?
SketchUp and other user-friendly design software are great options for beginners to create elevation drawings without a steep learning curve.
Conclusion
Interior design elevation drawings are an invaluable asset in the design process, allowing for better visualization, communication, and planning. As you embark on your design journey, remember that practice makes perfect. Don’t hesitate to explore different tools and techniques to find what works best for you! Whether you’re a seasoned professional or just starting, elevation drawings will elevate your interior design projects to new heights.
Thank you for joining me in this exploration of interior design elevation drawings! If you have any questions or want to share your experiences, feel free to leave a comment below.