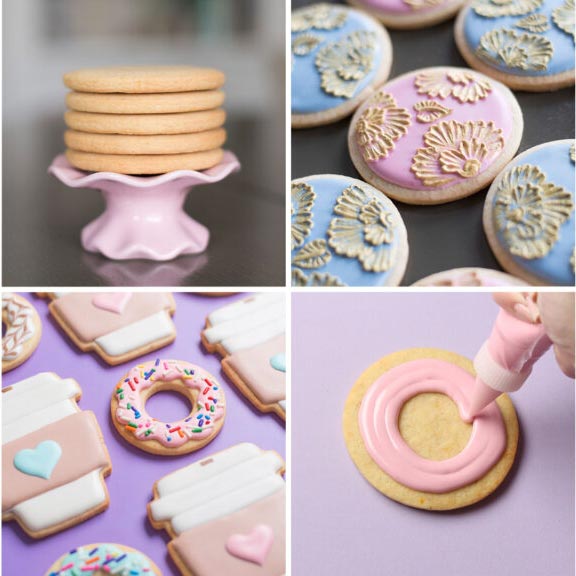
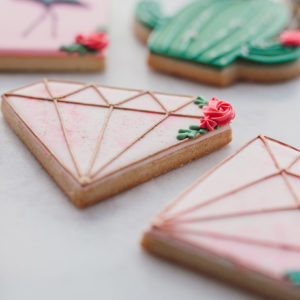
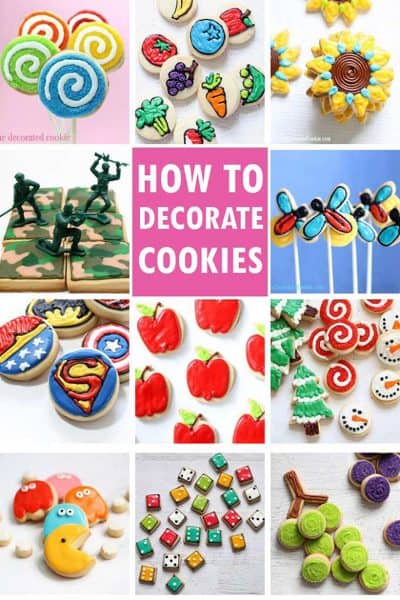
Welcome to the delightful world of cookie decorating! Whether you’re looking to impress friends at a party or simply express your creativity, decorating cookies is a fun and rewarding experience. In this guide, I’ll share my personal journey of learning to decorate cookies, along with expert tips, techniques, and resources to help you master this sweet art form.
The Basics of Cookie Decorating
Before we dive into the techniques, let’s cover some fundamental concepts to ensure you have a solid foundation for your cookie decorating adventures.
Essential Tools and Supplies
To get started, you’ll need the following basic tools:
- Decorated cookies (baked and cooled)
- Royal icing
- Piping bags and tips
- Food coloring
- Sprinkles and edible decorations
- Smoothing tools (like an offset spatula)
Types of Cookies to Decorate
While sugar cookies are the most popular choice for decorating, there are other options, too. Here’s a quick comparison:
| Type of Cookie | Texture | Flavor | Best for Decorating |
|---|---|---|---|
| Sugar Cookies | Soft and chewy | Sweet | Excellent |
| Gingerbread Cookies | Crispy | Spicy | Good |
| Shortbread Cookies | Crumbly | Buttery | Fair |

Choosing Your Recipe
For my first try, I picked a simple sugar cookie recipe. The key to achieving the perfect cookie is to ensure they are not overbaked. A slightly underbaked cookie will provide a soft base that complements the hard royal icing beautifully.
Getting Started with Royal Icing

Royal icing is the staple for cookies—it’s what allows for intricate designs and smooth finishes. Here’s a quick overview of how to make it:
Ingredients for Royal Icing
- 3 Egg whites or 4 cups of powdered sugar
- 1 teaspoon of lemon juice (optional)
- Water (as needed)

How to Make Royal Icing
1. In a stand mixer, whisk egg whites and lemon juice until frothy.
2. Gradually add the powdered sugar.
3. Beat until stiff peaks form—this can take about 5-10 minutes.
4. Adjust consistency with water: add a few drops for a thinner icing and mix thoroughly.
Basic Decorating Techniques

Now that you have your cookies and icing ready, let’s explore some basic decorating techniques.
Outlining and Flooding
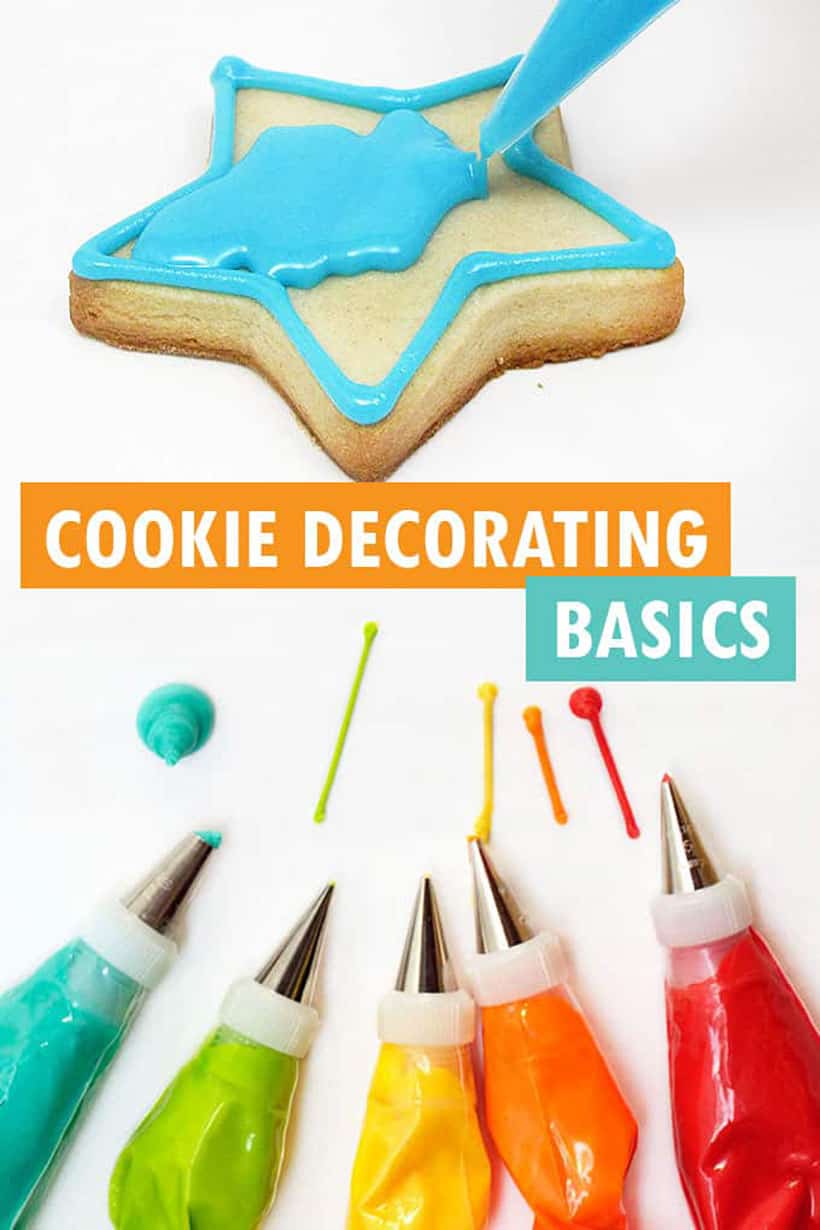
Outlining involves piping a border around the cookie, and flooding is the process of filling in the space with more icing. This forms the base for most decorated cookies.

Piping Techniques
Different piping tips can create various designs, such as flowers, rosettes, and intricate patterns. I remember my first attempt at piping a flower—it looked like a colorful explosion! Practice is key to mastering this skill.
Adding Color to Your Cookies

Coloring your icing can elevate your designs. Here’s my advice on how to achieve beautiful colors:
Coloring Techniques
Use gel food coloring for vibrant hues. Start with a toothpick to add color gradually, mixing until you achieve your desired shade.

Creating Ombre Effects
To create an ombre effect, make several shades of the same color and layer them on the cookie, blending slightly where the colors meet for a soft transition.
Advanced Techniques to Explore
Once you feel confident with the basics, consider trying these advanced techniques:
Marble Icing
Mix two colors of icing together lightly before applying to create a stunning marble effect.
Stenciling
Use stencils to create patterns on your cookies. This method requires a steady hand, but the results can be breathtaking.
Common Mistakes and How to Avoid Them
Even seasoned decorators make mistakes. Here are some common ones I’ve encountered:
Too Thin Icing
If your icing runs off the cookie, it’s too thin. Add powdered sugar to thicken it.
Failing to Let Icing Dry
Impatience can lead to smudged designs. Allow your cookies to dry completely before moving them.
Finishing Touches and Presentation
Once your cookies are decorated, consider how to present them. Here’s my approach:
Packaging Your Cookies
Cellophane bags tied with ribbons make for a charming presentation, perfect for gifts.
Displaying Cookies at Events
A tiered cake stand can beautifully showcase your cookie creations at parties.
Resources for Further Learning
To continue improving your skills, here are some helpful resources I recommend:
Conclusion: Enjoy the Journey
Decorating cookies is more than just a craft—it’s a way to express creativity and share joy. With each batch, I continue to learn and grow as a decorator. I encourage you to experiment, be patient with yourself, and above all, have fun!
FAQs about Cookie Decorating
What type of icing is best for decorating cookies?
Royal icing is the most commonly used icing for cookie decorating due to its ability to harden and create detailed designs.
How can I make my icing colors vibrant?
Using gel food coloring will give you the most vibrant colors. Start with small amounts and mix until you reach your desired shade.
How long do decorated cookies last?
Properly stored decorated cookies can last for up to two weeks, provided they’re kept in an airtight container.
Can I freeze decorated cookies?
Yes, you can freeze decorated cookies! Just be sure to layer them carefully with parchment paper in between.
What is the best way to store cookies?
Store them in an airtight container at room temperature away from direct sunlight for the best results.