Decorating cookies is a delightful way to express creativity, especially when it comes to the charming world of angel cookie decorating. These whimsical treats aren’t just about flavor; they are a canvas for your artistic talents. In this comprehensive guide, we’ll explore everything you need to know to create stunning angel cookies that will dazzle your friends and family. From essential tools to step-by-step techniques, we’ve got you covered!
Why Choose Angel Cookies for Decorating?
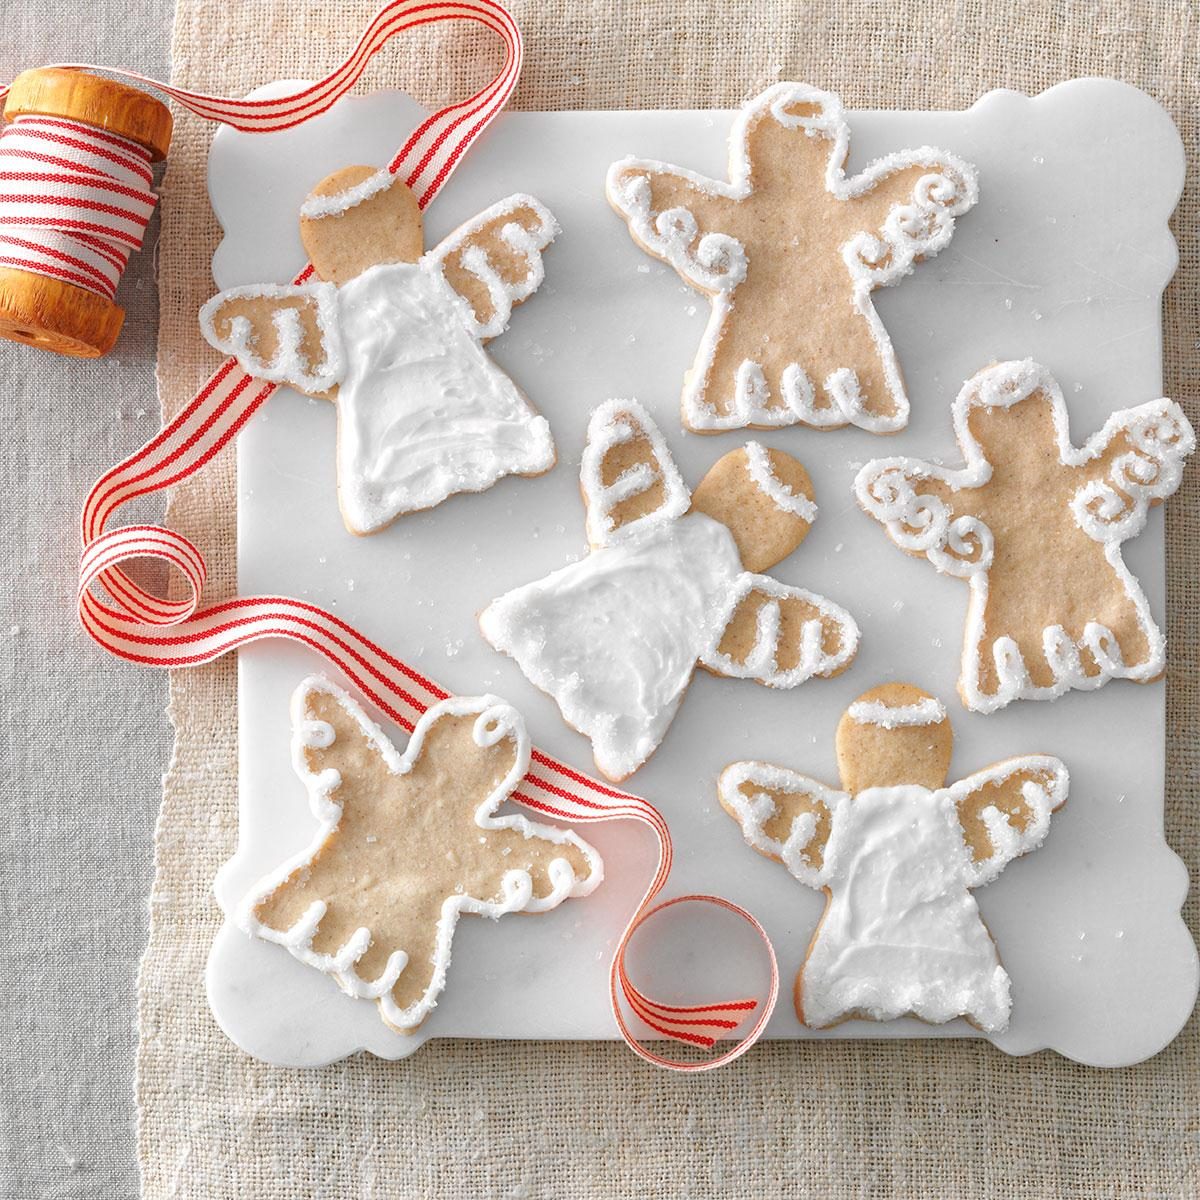
Angel cookies are not just visually stunning; they carry a sense of joy and whimsy, perfect for various occasions such as holidays, weddings, and baby showers. They symbolize purity and grace, making them a lovely addition to any dessert table. The beauty of angel cookies lies in their versatility—they can be simple or intricate, depending on your preferred decorating style.
Personal Experience: My First Encounter with Angel Cookies
When I first tried decorating angel cookies, I was overwhelmed. I remember spending hours scrolling through Pinterest, captivated by the intricate designs. On my first attempt, I almost gave up when my icing was too runny. However, persistence paid off, and I progressively learned through trial and error. Let me share that journey with you!
Essential Tools for Angel Cookie Decorating
Before diving into decorating, it’s crucial to gather the necessary tools and ingredients. Here’s a list of essentials:
Baking Supplies
- Angel-shaped cookie cutters
- Rolling pin
- Parchment paper
- Oven

Decorating Supplies
- Royal icing (many recipes available online)
- Food coloring
- Piping bags and tips
- Sprinkles and edible glitter
- Paintbrushes and toothpicks for detailing
Comparison Table: Recommended Baking Tools

| Tool | Purpose | Price Range |
|---|---|---|
| Angel Cookie Cutter | Cutting cookie shapes | $2 – $10 |
| Piping Bags | Decorating with icing | $5 – $15 |
| Royal Icing Mix | Frosting cookies | $3 – $10 |
Making the Perfect Angel Cookies

To create beautiful angel cookies, start with a solid cookie recipe. Here’s a simple sugar cookie recipe that pairs well with icing.
Classic Sugar Cookie Recipe
- Ingredients:
- 2 ¾ cups all-purpose flour
- 1 cup sugar
- ½ cup unsalted butter, softened
- 1 egg
- 1 tsp vanilla extract
- 1 tsp baking powder
- ¼ tsp salt
- Instructions:
- Preheat your oven to 350°F (175°C).
- In a bowl, cream the butter and sugar until fluffy.
- Add the egg and vanilla extract, mixing well.
- In another bowl, combine flour, baking powder, and salt. Gradually add the dry ingredients to the wet mixture.
- Chill the dough for one hour.
- Roll out the dough and cut with the angel cookie cutter.
- Bake for 8-10 minutes. Cool completely before decorating.

Techniques for Decorating Angel Cookies
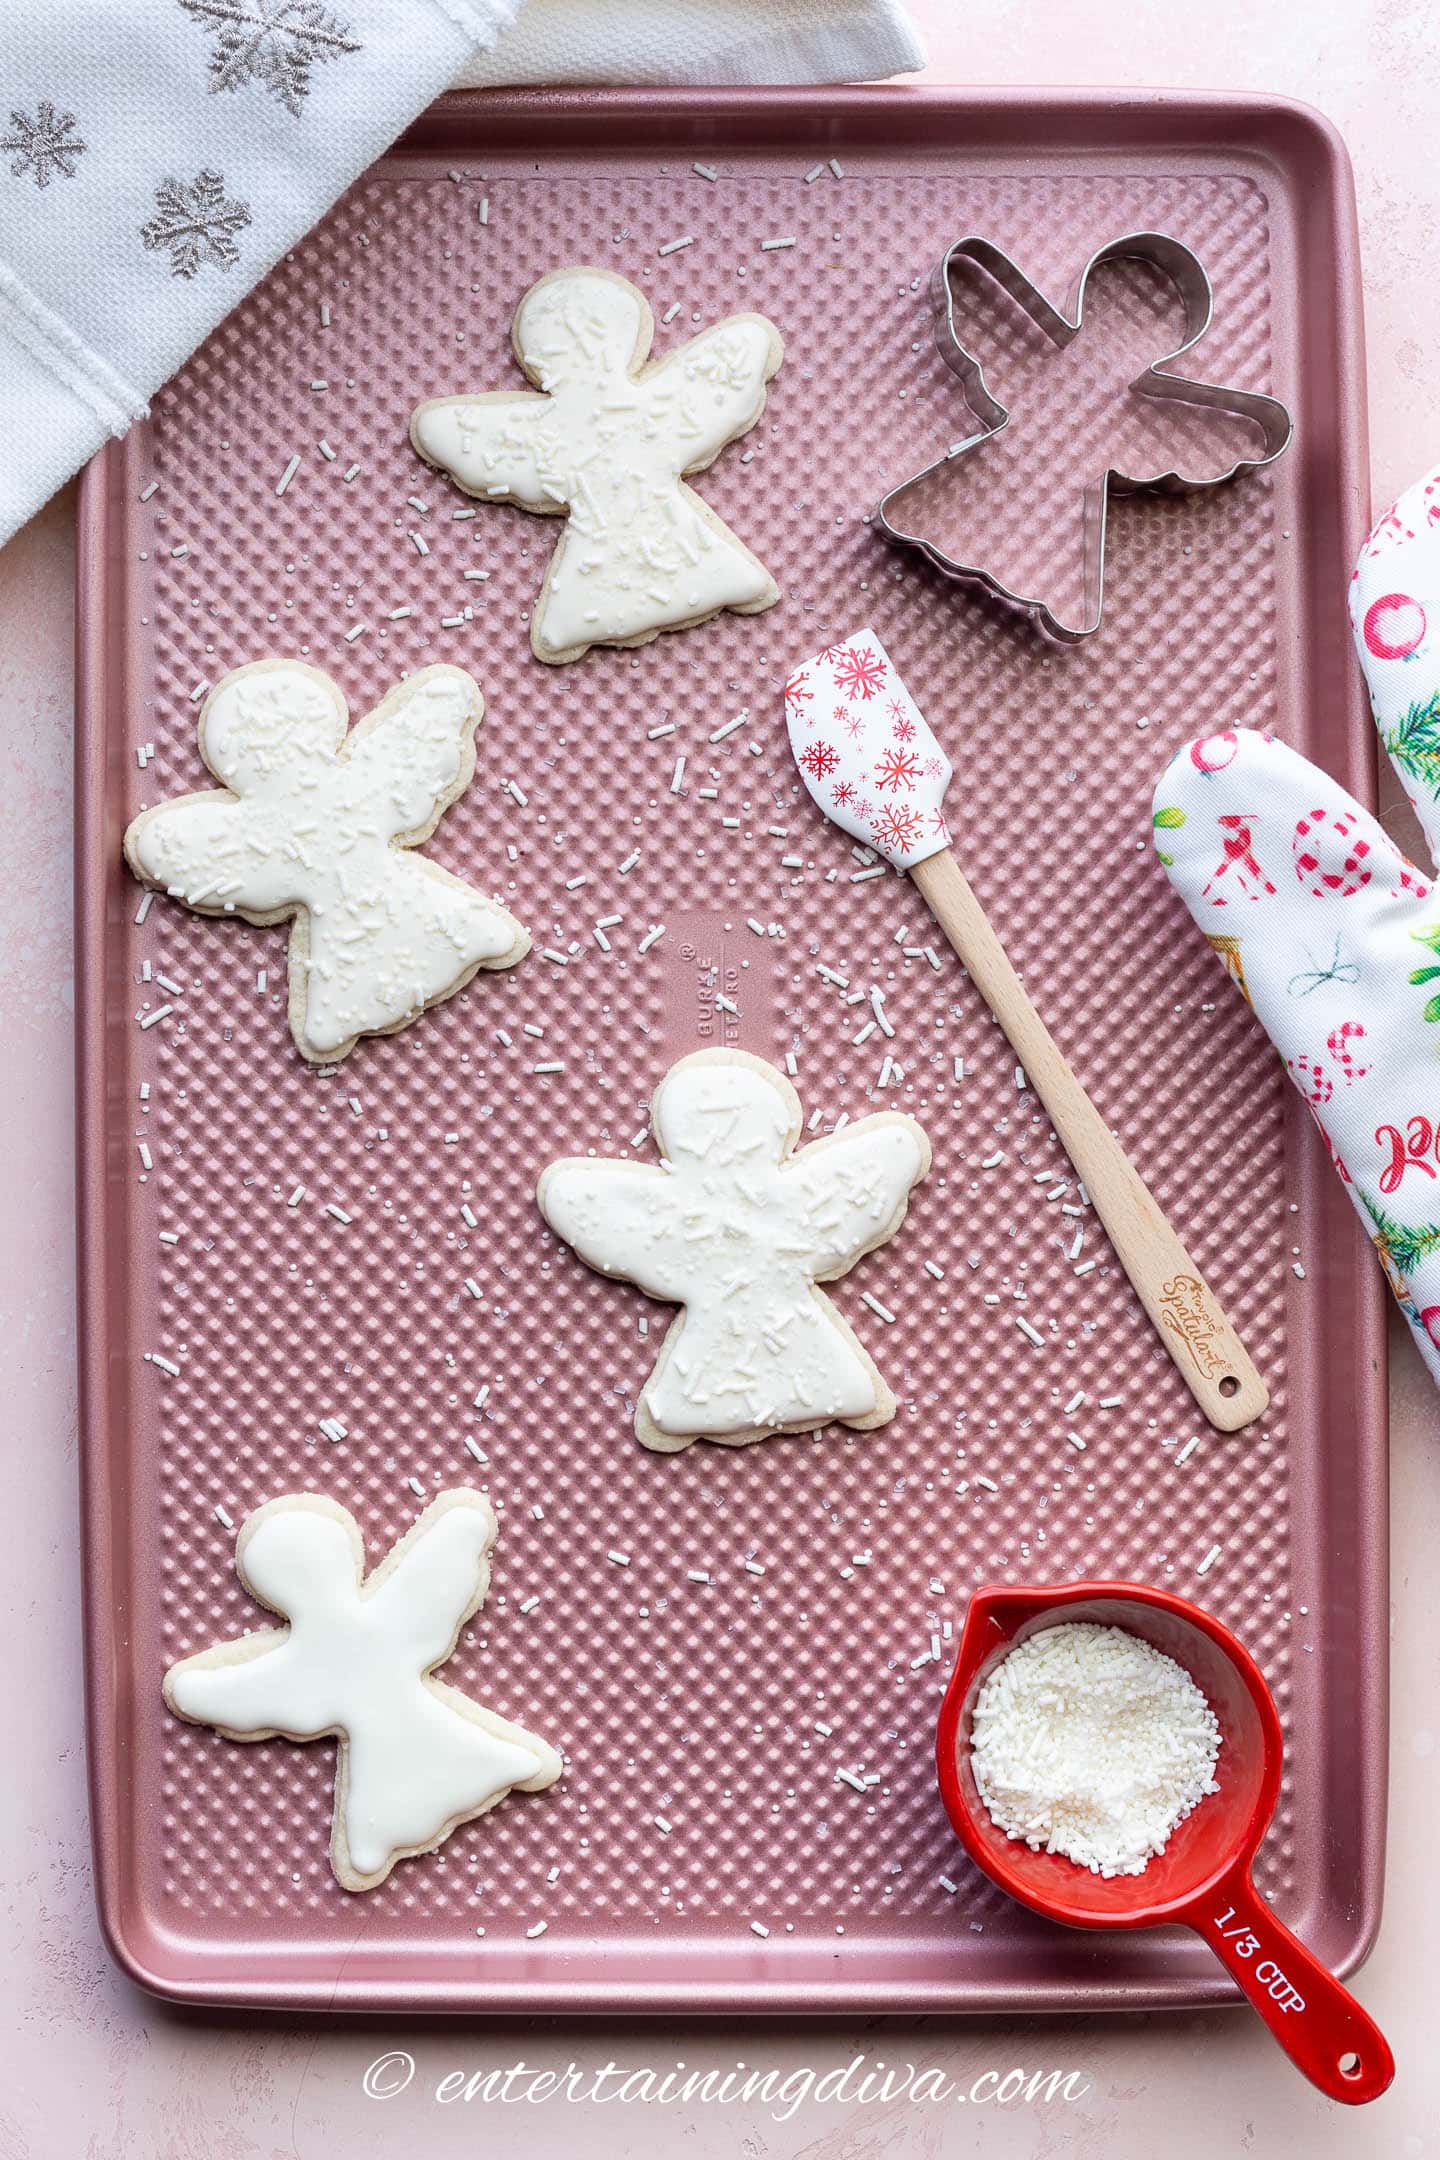
Once your cookies are baked and cooled, it’s time to unleash your creativity!
Royal Icing: The Foundation of Angel Cookie Decorating
Royal icing is essential for cookie decorating. It dries hard, making it perfect for intricate designs. Here’s a simple royal icing recipe:
- Ingredients:
- 3 egg whites or 4 cups powdered sugar
- 1 tsp lemon juice or vinegar
- Water (as needed)
- Instructions:
- Beat the egg whites until frothy.
- Add powdered sugar gradually until you achieve a thick consistency.
- Mix in lemon juice or vinegar.
- If needed, add water to achieve desired piping consistency.
Using Piping Bags
Fill piping bags with different colored royal icing to add intricate designs. Here are a few techniques you may consider:
- Flooding: Outline the cookie shape and flood the center with icing.
- Piping: Use a smaller tip to create details like wings and halos.
- Marbling: Blend two or more colors for a unique look.
Personal Experience: My Favorite Techniques
One of my favorite techniques is marbling. I remember the first time I tried it; I was nervous but excited. The result was stunning—a mix of blues and whites that resembled an ethereal sky. I encourage you to experiment with this technique, as it adds a unique touch to your angel cookies!
Common Mistakes and How to Avoid Them
Even seasoned decorators make mistakes. Here are some common pitfalls to watch out for:
Too Thin or Thick Icing
Ensure you have the right consistency. If your icing is too thin, it will run off the cookie. If it’s too thick, it won’t spread properly.
Piping Tip Misuse
Using the wrong size piping tip can ruin your designs. Larger tips for flooding and smaller tips for detail work are key.
Overworking the Icing
Avoid overmixing your royal icing, as it can lead to air bubbles. Gently fold in the ingredients for the best results.
Pros and Cons of Different Icing Types
| Icing Type | Pros | Cons |
|---|---|---|
| Royal Icing | Hardens well, easy to pipe | Can be temperamental with humidity |
| Glaze Icing | Softer finish, easy to work with | Doesn’t hold detail well |
| Buttercream Icing | Rich flavor, creamy texture | Softens quickly, may smudge |
Creative Decorating Ideas for Angel Cookies
Now that you have all the tools and techniques, let’s get creative! Here are some ideas to inspire you:
1. Glitter and Gold
Use edible glitter or gold spray to give your angel cookies an ethereal look. A touch of shimmer adds a magical element that’s hard to resist!
2. Use Different Shapes
While angel-shaped cookies are the star, consider using star-shaped or cloud-shaped cookies as complementary pieces to your display.
3. Themed Colors
Choose a color palette that aligns with the occasion. Pastels for baby showers or rich gold and silver for winter holidays can enhance the festive spirit.
FAQs About Angel Cookie Decorating
What is the best way to store decorated cookies?
Store your decorated cookies in an airtight container at room temperature. Avoid stacking them to prevent damage to the icing.
How can I make my icing dry faster?
To speed up the drying process, place your cookies in a cool, dry environment. Using a fan can also help circulate air around them.
Can I use store-bought icing?
Yes, store-bought icing can save time, but it may not have the same consistency or flavor as homemade royal icing.
Conclusion: The Joy of Angel Cookie Decorating
Angel cookie decorating is a fulfilling and creative endeavor that can add a touch of magic to any occasion. With practice and the right techniques, you’ll be able to create stunning cookies that are not only beautiful but also delicious. Remember, the journey is just as important as the destination, so enjoy the process! Whether you’re a novice or an experienced baker, there’s always something new to learn and create in the world of cookie decorating!
Now it’s your turn! What decorating techniques are you excited to try? Share your experiences below and let’s inspire each other!