Cake decorating is an art that transforms simple baked goods into stunning masterpieces. One of the most exciting and versatile tools in a cake decorator’s arsenal is the airbrush. My journey into the world of cake decoration began several years ago, and as I experimented with various methods, the airbrush stole my heart. In this comprehensive guide, we’ll explore everything you need to know about using airbrush techniques for decorating cakes. From basic equipment to advanced techniques, this article aims to equip you with the knowledge to elevate your cake decorating game.
What is an Airbrush?
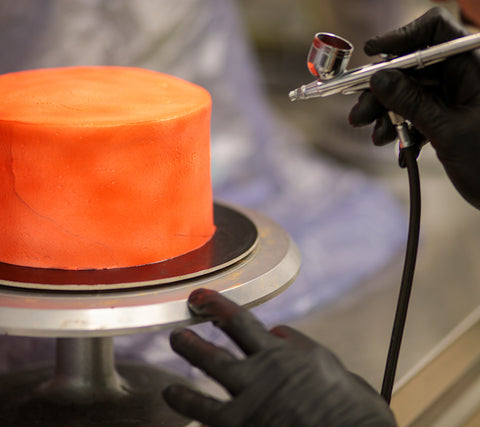
Before we dive into techniques, let’s clarify what an airbrush is. An airbrush is a small, air-operated tool that sprays various media, including food coloring, onto surfaces. It can create smooth gradients, intricate designs, and stunning visual effects, making it a must-have for serious cake decorators.
Types of Airbrushes
When it comes to airbrushes, they generally fall into three categories:

- Single-Action Airbrush: This type allows users to control the airflow, while the paint flow remains constant. It’s great for beginners.
- Double-Action Airbrush: This more advanced option lets you control both airflow and paint flow, providing greater versatility for intricate designs.
- Gravity Feed Airbrush: This is where the paint is held above the airbrush, allowing for finer lines and more detailed work.
Essential Equipment for Cake Decorating with Airbrush

Getting started with airbrush cake decorating requires some essential tools:
- Airbrush Kit: Look for a kit that includes an air compressor and airbrush. Popular brands include Iwata, Badger, and Copic.
- Food Coloring: Use food-safe airbrush colors specifically designed for cakes. They are usually thinner and provide better coverage.
- Stencils: For creating patterns and designs easily.
- Cleaning Supplies: Make sure to have cleaning solution and brushes to maintain your airbrush.

Why Use an Airbrush for Cake Decorating?
Using an airbrush for cake decorating comes with several advantages:

Benefits of Airbrushing Cakes
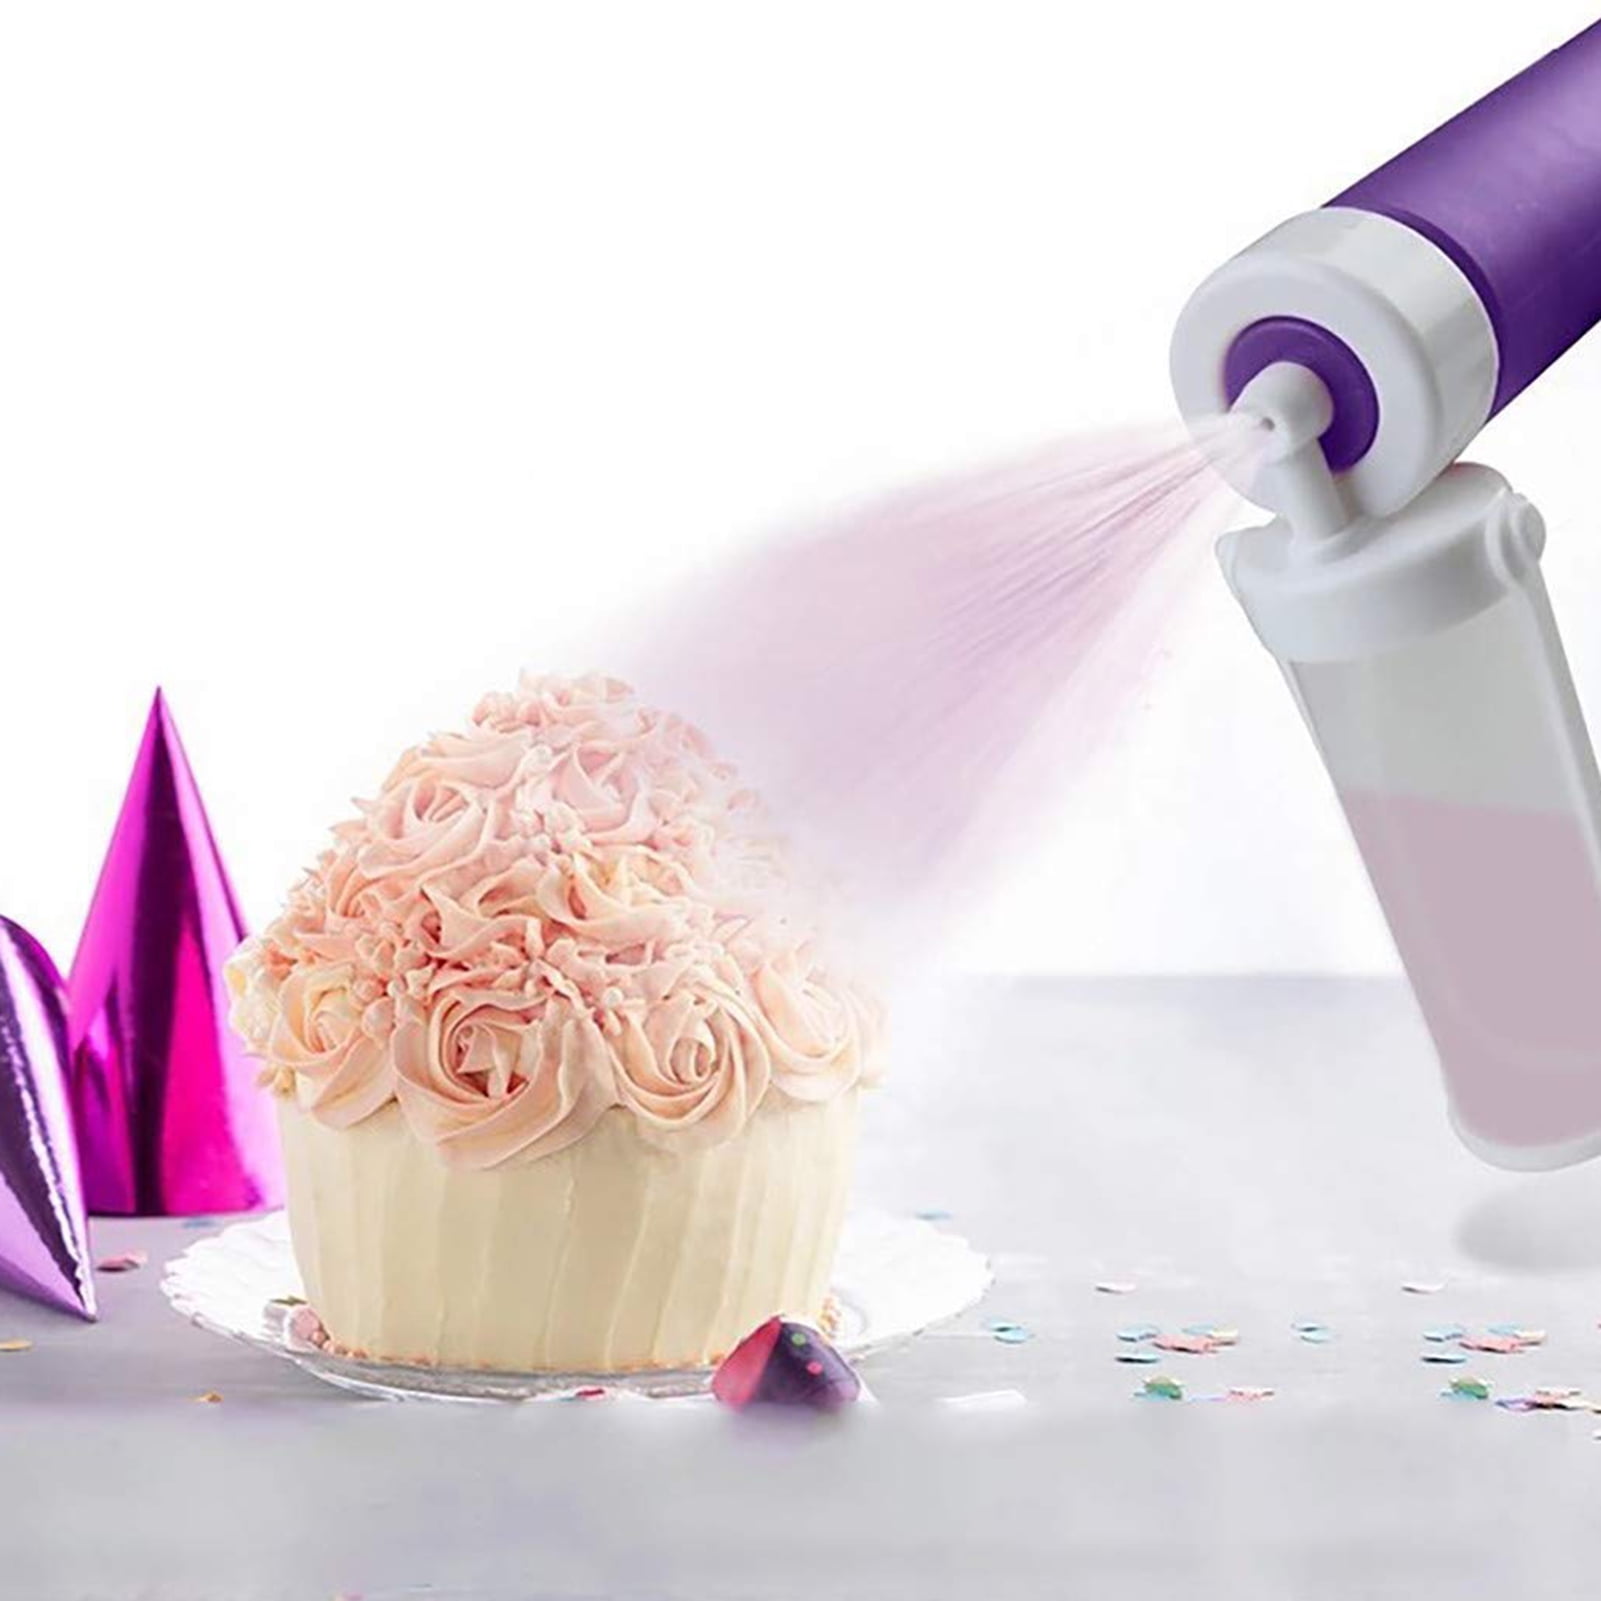
- Smooth Application: Airbrushing allows for even color application, eliminating brush strokes.
- Versatile Designs: From simple color washes to detailed designs, an airbrush can accomplish it all.
- Quick Drying: Airbrushed colors dry quickly, allowing for efficient layering and completion of cakes.
- Professional Finish: The texture and finish achieved with an airbrush can elevate your cakes to a professional level.
Getting Started with Airbrush Techniques
Now that we’ve covered the basics, let’s look at how to effectively use an airbrush for cake decorating.

Step-by-Step Guide to Airbrushing Cakes
- Prepare Your Cake: Ensure your cake is properly covered with a layer of fondant or buttercream for the best results.
- Set Up Your Airbrush Station: Find a well-ventilated area. Set up your compressor, airbrush, and colors.
- Mix Your Colors: Dilute your food coloring if necessary to achieve the right consistency.
- Test the Airbrush: Before applying to the cake, practice on a piece of parchment paper.
- Start Airbrushing: Hold the airbrush about 6-8 inches away from the cake. Apply in light layers, gradually building color.
- Clean the Airbrush: After use, clean your airbrush thoroughly to maintain its performance.
Pro Tip:
Keep a consistent distance from the cake while airbrushing to ensure even color distribution. A steady hand will lead to better results.
Creative Airbrush Techniques for Cakes
Once you are comfortable with basic airbrushing, experiment with creative techniques to add flair to your cakes.
1. Ombre Effect
The ombre effect is a stylish gradient that adds dimension to your cake. Here’s how to achieve it:
- Choose two or three colors that blend well.
- Start from the bottom of the cake with the darkest shade, and gradually lighten the colors as you move up.
2. Stenciling Designs
Stencils can be a game-changer for adding intricate designs without the pressure of freehand work:
- Secure the stencil against the cake surface.
- Airbrush over the stencil to leave a sharp design.
3. Texturing Techniques
Experiment with different textures using household items:
- Use a sponge to dab onto the cake while airbrushing for a unique texture.
- Try crumpled paper for a rustic effect.
Comparing Airbrush Brands and Models
| Brand | Model | Type | Price Range | Best For |
|---|---|---|---|---|
| Iwata | Neo for Iwata | Double Action | $50 – $80 | Professional decorators |
| Badger | Badger 150 | Double Action | $60 – $90 | Beginner to intermediate |
| Copic | Copic Airbrush System | Gravity Feed | $80 – $120 | Detailed artwork |
Pros and Cons of Airbrushing Cakes
Pros
- Creates smooth, professional finishes
- Offers versatility and creative freedom
- Provides efficient cover and coloring
Cons
- Requires practice to master
- Initial setup costs can be high
- Cleaning and maintenance can be time-consuming
Common FAQs Regarding Airbrushing Cakes
1. Is airbrushing safe for food?
Yes, as long as you use food-safe colors and maintain proper hygiene, airbrushing is safe for food.
2. How do I clean my airbrush?
Follow the manufacturer’s cleaning instructions, typically involving a cleaning solution and brushes to ensure thorough cleaning after each use.
3. How long does the color last on a cake?
Airbrushed colors are generally stable and can last until the cake is consumed, especially when stored properly.
4. Can I use regular food coloring in an airbrush?
It’s best to use colors specifically formulated for airbrushing, as they have a thinner consistency that allows for a proper spray.
5. What surfaces can I airbrush?
You can airbrush on fondant, buttercream, chocolate, and even some types of cookies.
Conclusion
Airbrushing can transform your cake decorating skills and open up a world of creative possibilities. With practice and experimentation, you’ll find unique styles and techniques that reflect your personal touch. Whether you’re decorating for a special occasion or indulging in a personal project, airbrushing can elevate your cakes into edible works of art. So grab your airbrush, get creative, and enjoy the sweet journey of cake decorating!