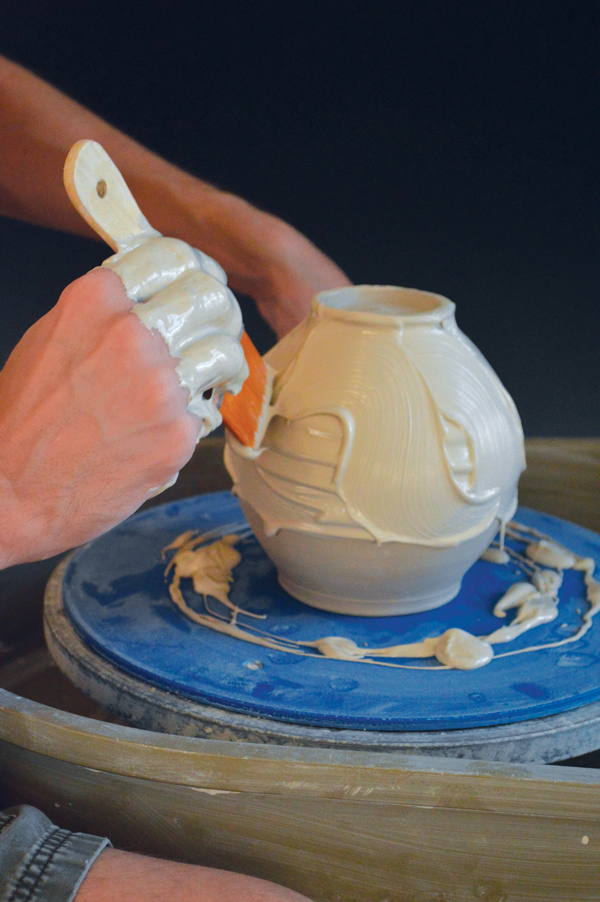
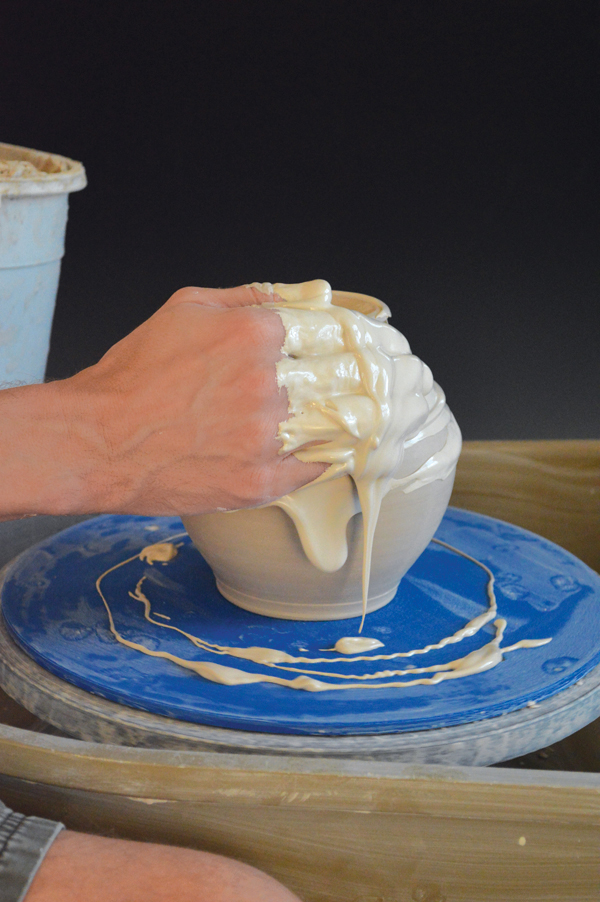
Welcome to the vibrant world of clay slip decoration! As a pottery enthusiast with years of hands-on experience, I invite you to embark on this creative journey. Whether you’re a novice or a seasoned potter, this comprehensive guide will enhance your skills, broaden your knowledge, and inspire your artistry.
What is Clay Slip Decoration?
Clay slip decoration involves applying a liquid mixture of clay and water (called slip) to a clay surface to create designs, textures, and colors. This technique can transform ordinary pottery into stunning pieces of art, offering a myriad of creative possibilities.
Types of Clay Slip
Understanding different types of clay slip is crucial for effective decoration. Here, I’ll break down the various types and their unique characteristics:
| Type of Slip | Composition | Best Use |
|---|---|---|
| Colored Slip | Clay mixed with mineral oxides | Adding color directly to pieces |
| Engobe | Clay slip with added pigments | Decorative coatings for stoneware |
| Underglaze | Color pigments mixed with clay | Detailed designs and intricate patterns |
| Overglaze | Glass-like coating with color | Finishing pieces with a glossy touch |
Essential Tools for Clay Slip Decoration
Before diving into the techniques, let’s discuss essential tools you’ll need:
- Slipping Tools: Brushes, sponges, and slip trailers.
- Clay Extruder: For creating consistent designs.
- Stamps and Molds: To imprint patterns.
- Glazing Tools: For applying overglazes smoothly.
Techniques for Applying Clay Slip
Let’s explore various techniques you can use for applying slip:
1. Brushing
This traditional technique involves using a brush to paint slip onto the surface. It’s great for creating detailed designs.
2. Dipping
Dipping pieces into slip provides an even coating. It’s ideal for larger items.
3. Spraying
Using a spray gun offers a unique way to distribute slip, especially for intricate patterns.
4. Pouring
Pouring slip over a piece can create abstract designs and textures.
Tips for Successful Clay Slip Decoration
Here are some personal tips I’ve learned throughout my pottery journey:
- Test Your Slip: Always test your colored slips on a small piece before applying to your main work.
- Understand Drying Times: Slip should be applied to leather-hard clay for best results.
- Layering Techniques: Don’t be afraid to layer different slips for depth and complexity.
- Stay Clean: Keep your workspace organized to maintain creativity and avoid mess.
Pros and Cons of Clay Slip Decoration
Like any technique, slip decoration comes with its benefits and challenges:
Pros
- Versatility in design and application.
- Ability to achieve a wide range of textures and colors.
- Low cost and easy to make at home.
Cons
- Requires practice for precision.
- Can crack if not applied correctly or if clay is too dry.
- Time-consuming when layering numerous slips.

Inspiration: Famous Potters Who Use Clay Slip Decoration
Learning from masters in the field can spark your creativity. Here are some renowned potters known for their slip decoration techniques:
- Lucie Rie: Known for her subtle, elegant slip work.
- Peter Voulkos: Famous for bold and expressive slip designs.
- Akio Takamori: Renowned for integrating traditional methods with modern aesthetics.
Frequently Asked Questions (FAQs)
What is the difference between slip and glaze?
Slip is a mixture of clay and water used for decoration, while glaze is a glass-like coating applied to pottery for aesthetic and functional purposes.

Can I make my own colored slip?
Absolutely! You can mix natural clay with water and add colorants like oxides or stains to achieve your desired hue.
How do I prevent slip from cracking?
Ensure the slip is applied to leather-hard clay and keep your pieces covered as they dry to prevent moisture loss.
