Have you ever marveled at the stunning finishing touches of a well-made garment? The secret often lies in the decorative edge stitch—a simple yet transformative technique that can elevate your sewing projects. In this comprehensive guide, I’ll share my personal experiences with decorative edge stitching, practical tips, and a wealth of information to help you master this art form.
What is Decorative Edge Stitch?
Decorative edge stitching involves using specialized stitches to provide a visually appealing finish to the edges of fabrics. It not only adds beauty to your sewing projects but also strengthens edges, preventing fraying and wear. From garments to home décor, the possibilities are endless.
Benefits of Decorative Edge Stitching
- Aesthetic Appeal: Adds a professional and polished look.
- Durability: Reinforces edges, extending the life of the fabric.
- Versatility: Suitable for various fabrics, from delicate silks to sturdy canvas.
- Creative Expression: Allows for customization and personal touches in your projects.
Types of Decorative Edge Stitches
1. Straight Stitch
The classic straight stitch is often the foundation of many sewing projects. It’s versatile and functional, providing a clean finish for edges.
2. Zigzag Stitch
Zigzag stitches are great for preventing fraying, especially on knit fabrics. They can also add decorative flair when used with contrasting thread.
3. Blind Hem Stitch
Often used in hemming, the blind hem stitch is almost invisible on the front side, making it ideal for professional-looking finishes.
4. Decorative Stitches
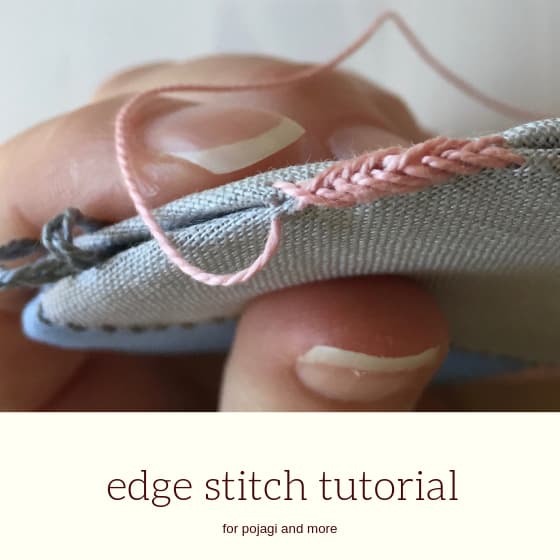
Many sewing machines come with built-in decorative stitches that can create beautiful patterns. These can be used to embellish edges creatively.
How to Master Decorative Edge Stitching
Getting Started
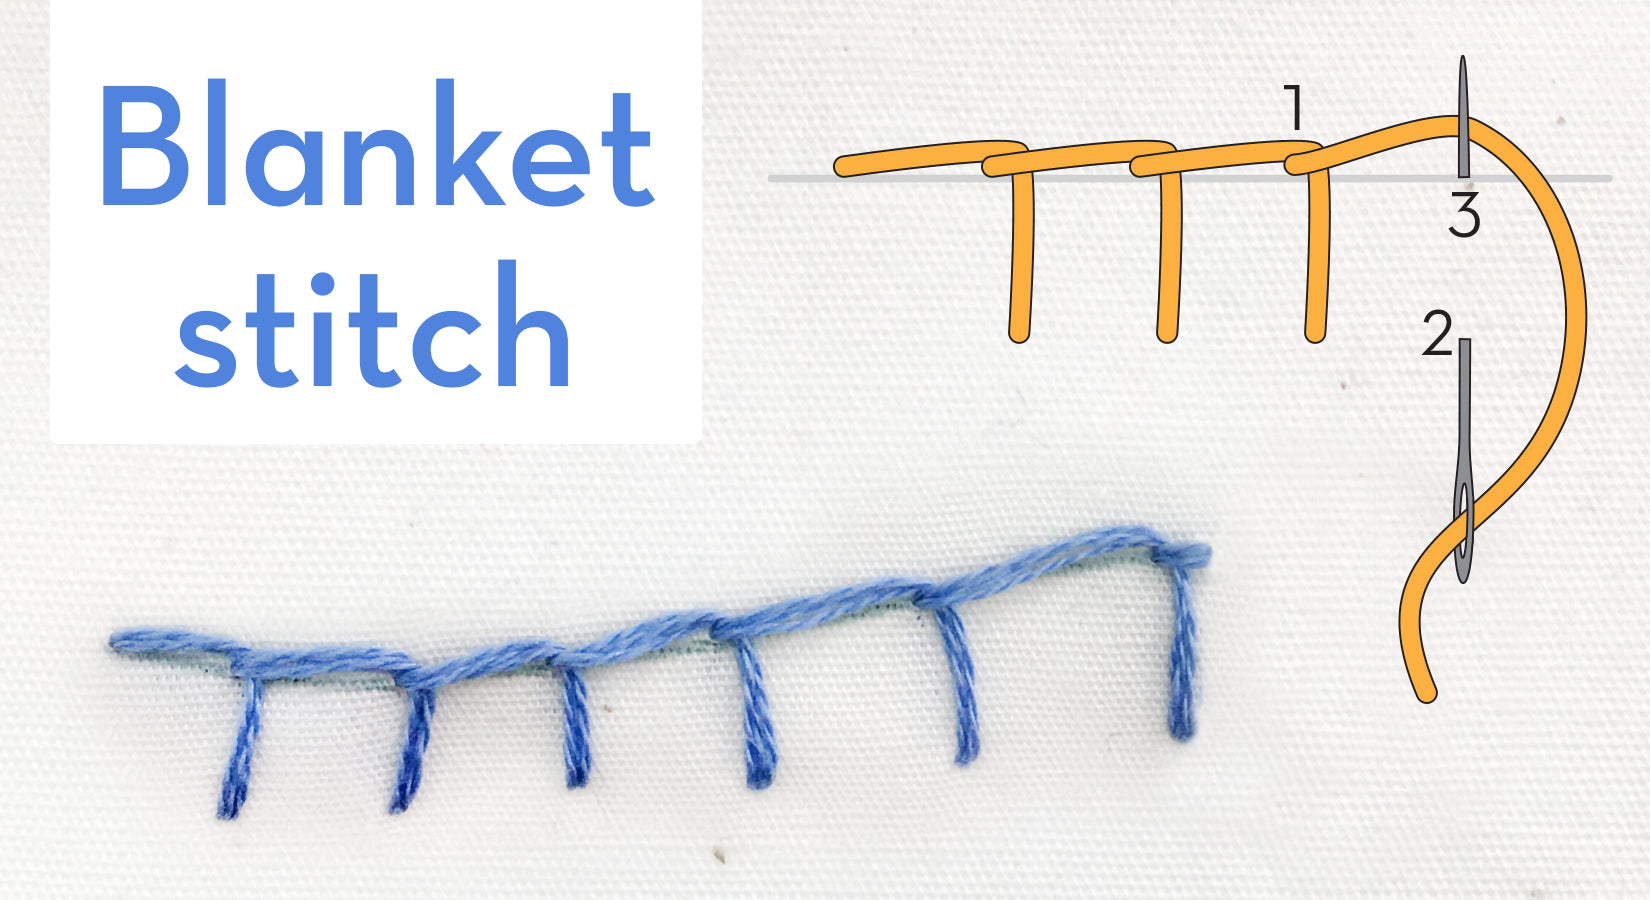
Before diving into decorative edge stitching, gather your materials—fabric, sewing machine, thread, and scissors. Ensure your machine is equipped with the necessary presser feet.
Step-by-Step Guide
- Choose Your Stitch: Select a stitch that complements your project.
- Prepare the Fabric: Press the edge you want to stitch for a clean finish.
- Set Up Your Machine: Adjust the tension and stitch length as needed.
- Sew Your Stitch: Carefully sew along the edge, maintaining an even pace.
- Finishing Touches: Trim any excess threads and press the stitched edge for a polished look.
Common Mistakes in Decorative Edge Stitching
1. Incorrect Tension Settings
Improper tension can cause puckering. Always test on a scrap fabric first.

2. Forgetting to Use a Stabilizer
For delicate fabrics, a stabilizer can help prevent distortion while stitching.
3. Not Prewashing Fabric
Skipping this step can lead to uneven stitching if the fabric shrinks later on.
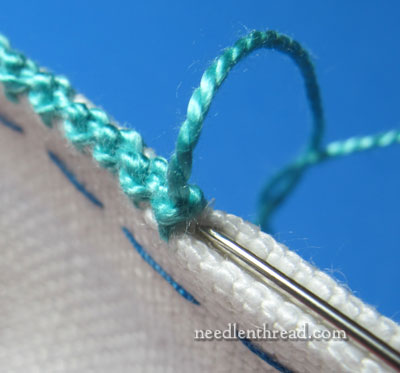
Comparison Table of Stitch Types
| Stitch Type | Use | Pros | Cons |
|---|---|---|---|
| Straight Stitch | General sewing | Easy to use | Less decorative |
| Zigzag Stitch | Prevent fraying | Strong and flexible | Can be bulky |
| Blind Hem Stitch | Hems | Invisible finish | Requires practice |
| Decorative Stitches | Embellishments | Highly decorative | Time-consuming |
Personal Experience with Decorative Edge Stitching
My journey with decorative edge stitching began when I first attempted to hem a pair of trousers. I was intrigued by a zigzag stitch I saw in a sewing magazine and decided to give it a go. The result was surprisingly pleasing, and I quickly learned how much a simple stitch could enhance the overall aesthetic of my work. Since then, I’ve incorporated various decorative techniques into my projects, from quilts to bags, finding joy in the intricate designs they create.
Tips for Success with Decorative Edge Stitching
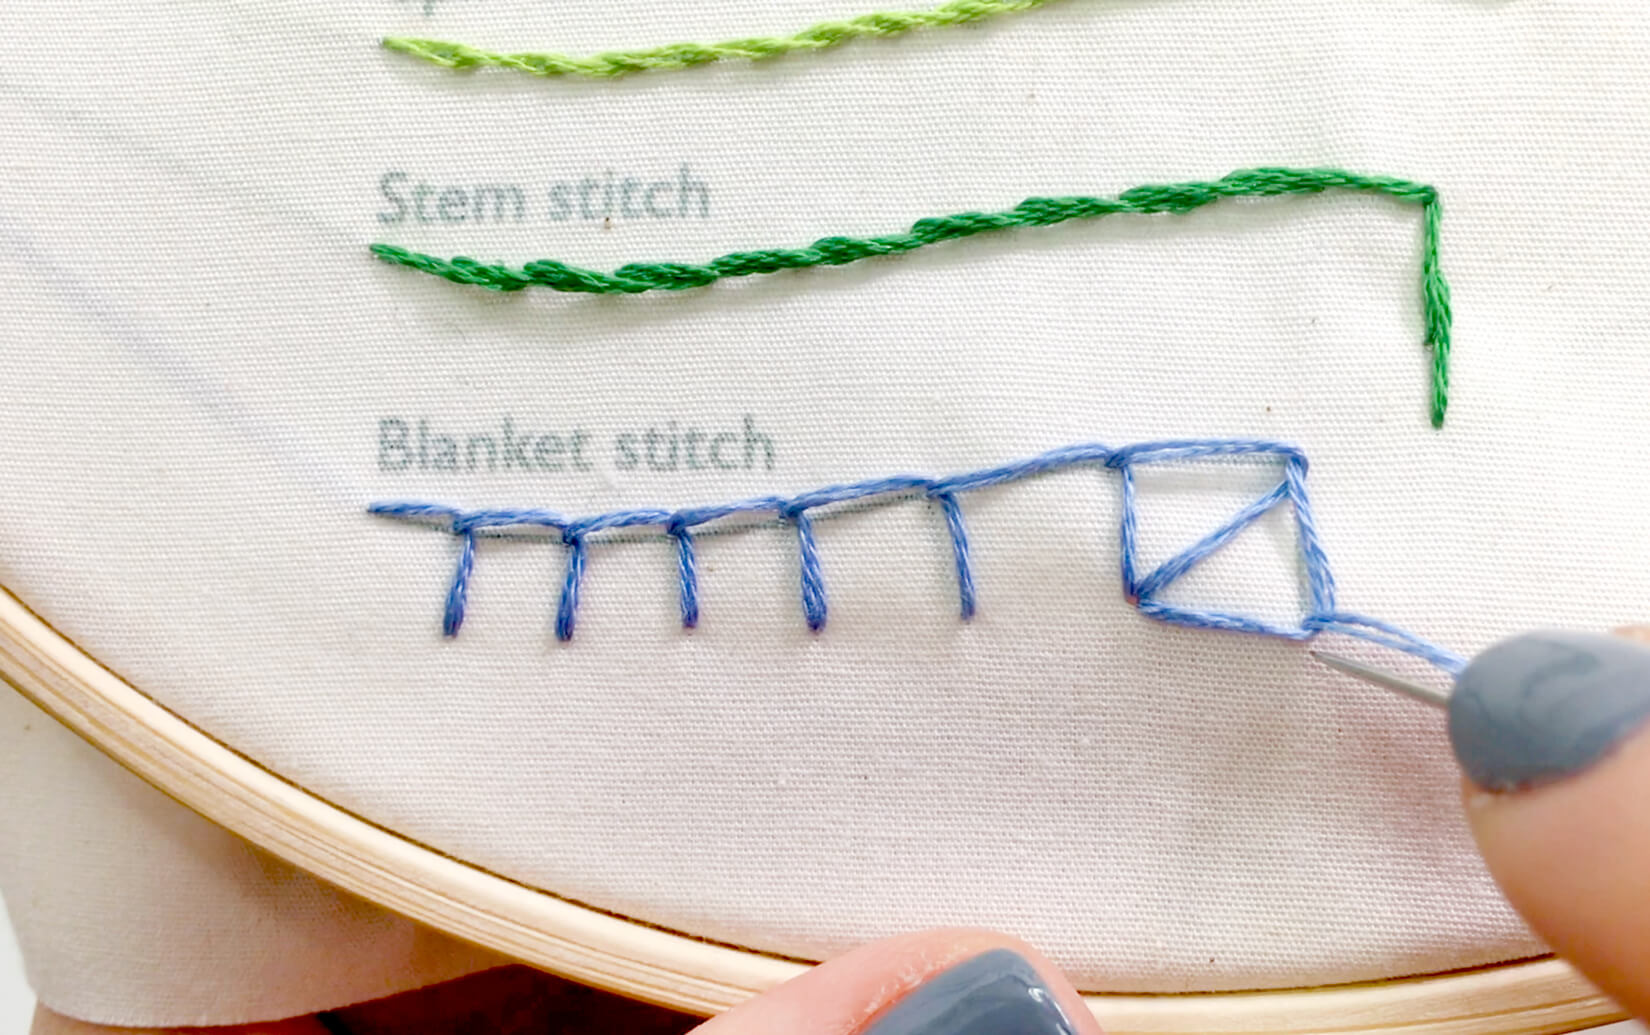
1. Practice on Scrap Fabric
Before starting on your main project, practice on scrap pieces to ensure you’re comfortable with the stitch and settings.
2. Experiment with Thread Colors
Using contrasting or complementary thread can transform a simple stitch into a stunning detail.
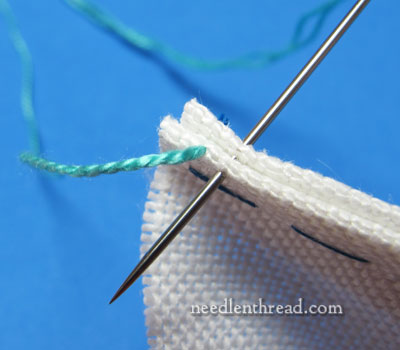
3. Use a Walker Foot for Thick Fabrics
This can help prevent puckering when working with multiple layers of thick fabric.
Pros and Cons of Decorative Edge Stitching
Pros
- Enhances visual appeal
- Increases fabric durability
- Allows for personalization in projects

Cons
- Can be time-consuming
- Requires practice to perfect
- May involve additional supplies (e.g., stabilizers)
FAQs about Decorative Edge Stitching
What is the best stitch for finishing edges?
The zigzag stitch is one of the best options for finishing edges, as it prevents fraying while adding a decorative element.
Can I use decorative edge stitching on knit fabrics?
Absolutely! Using a zigzag or stretch stitch is recommended for knit fabrics to allow for movement without breaking the thread.
What type of thread should I use for decorative edge stitching?
For most projects, a standard sewing thread will suffice; however, specialty threads (e.g., metallic, variegated) can enhance decorative stitches.
Do I need a special presser foot for decorative edge stitching?
While a regular presser foot can work, using a foot designed for decorative stitching may provide better results and ease of use.