Introduction to Decorative Needlepoint Stitches
Needlepoint has been a cherished form of decorative art for centuries, offering a unique blend of creativity and craftsmanship. While traditional needlepoint often focuses on simple stitches and geometric patterns, decorative needlepoint stitches elevate the art by introducing intricate designs and textures. In this article, I’ll share my personal journey with decorative needlepoint, as well as valuable techniques, tips, and ideas to inspire your own projects.
The Basics of Needlepoint
Understanding Needlepoint
Needlepoint is a form of canvaswork, typically executed on a stiff fabric canvas using a variety of stitches. It’s the perfect medium for expressing creativity as it allows for endless design possibilities.
The Tools You Need
- Needle: A tapestry needle is ideal.
- Canvas: Choose from various types of canvas based on your project.
- Thread: Wool, cotton, or silk threads can be used.
- Scissors: Sharp fabric scissors are essential for clean cuts.
- Embroidery hoop: While optional, it helps in maintaining tension.
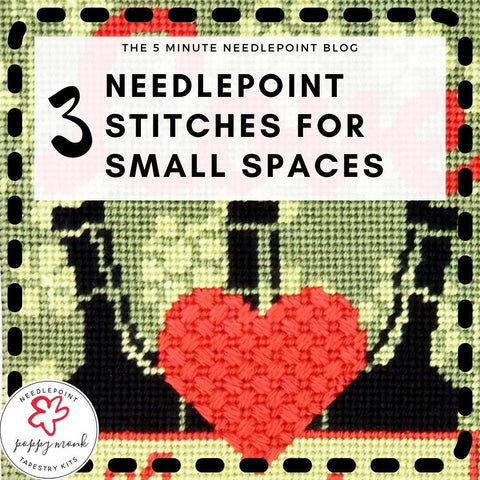
Types of Decorative Needlepoint Stitches
Common Decorative Stitches
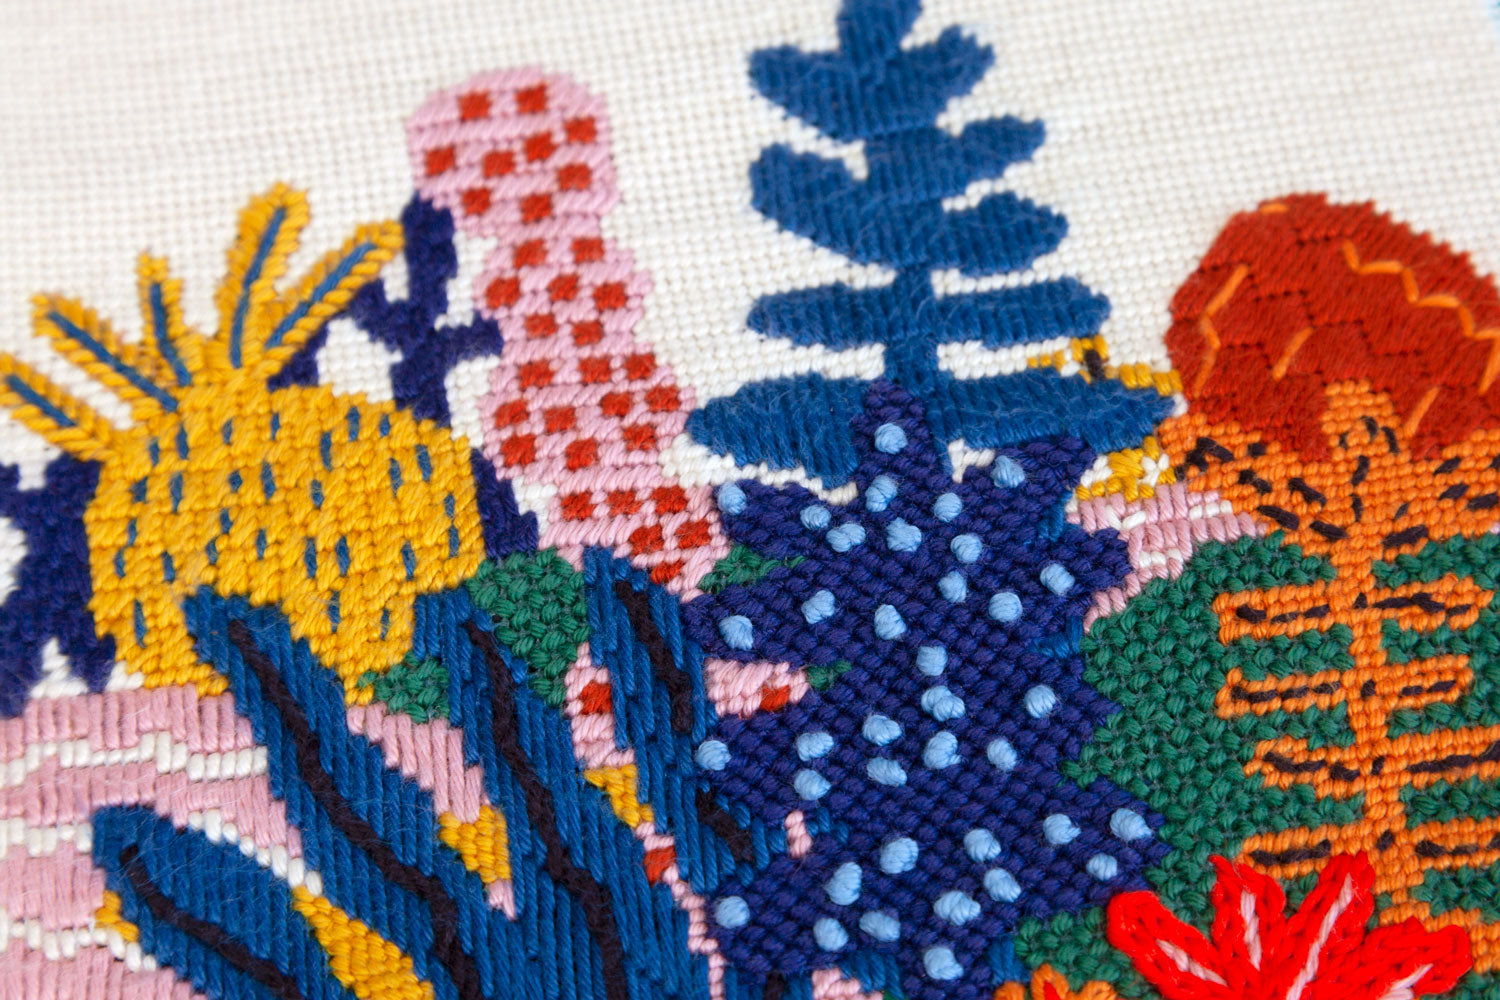
There are countless decorative stitches that can add flair to your needlepoint projects. Here’s a breakdown of some popular types:
| Stitch Name | Description | Best For |
|---|---|---|
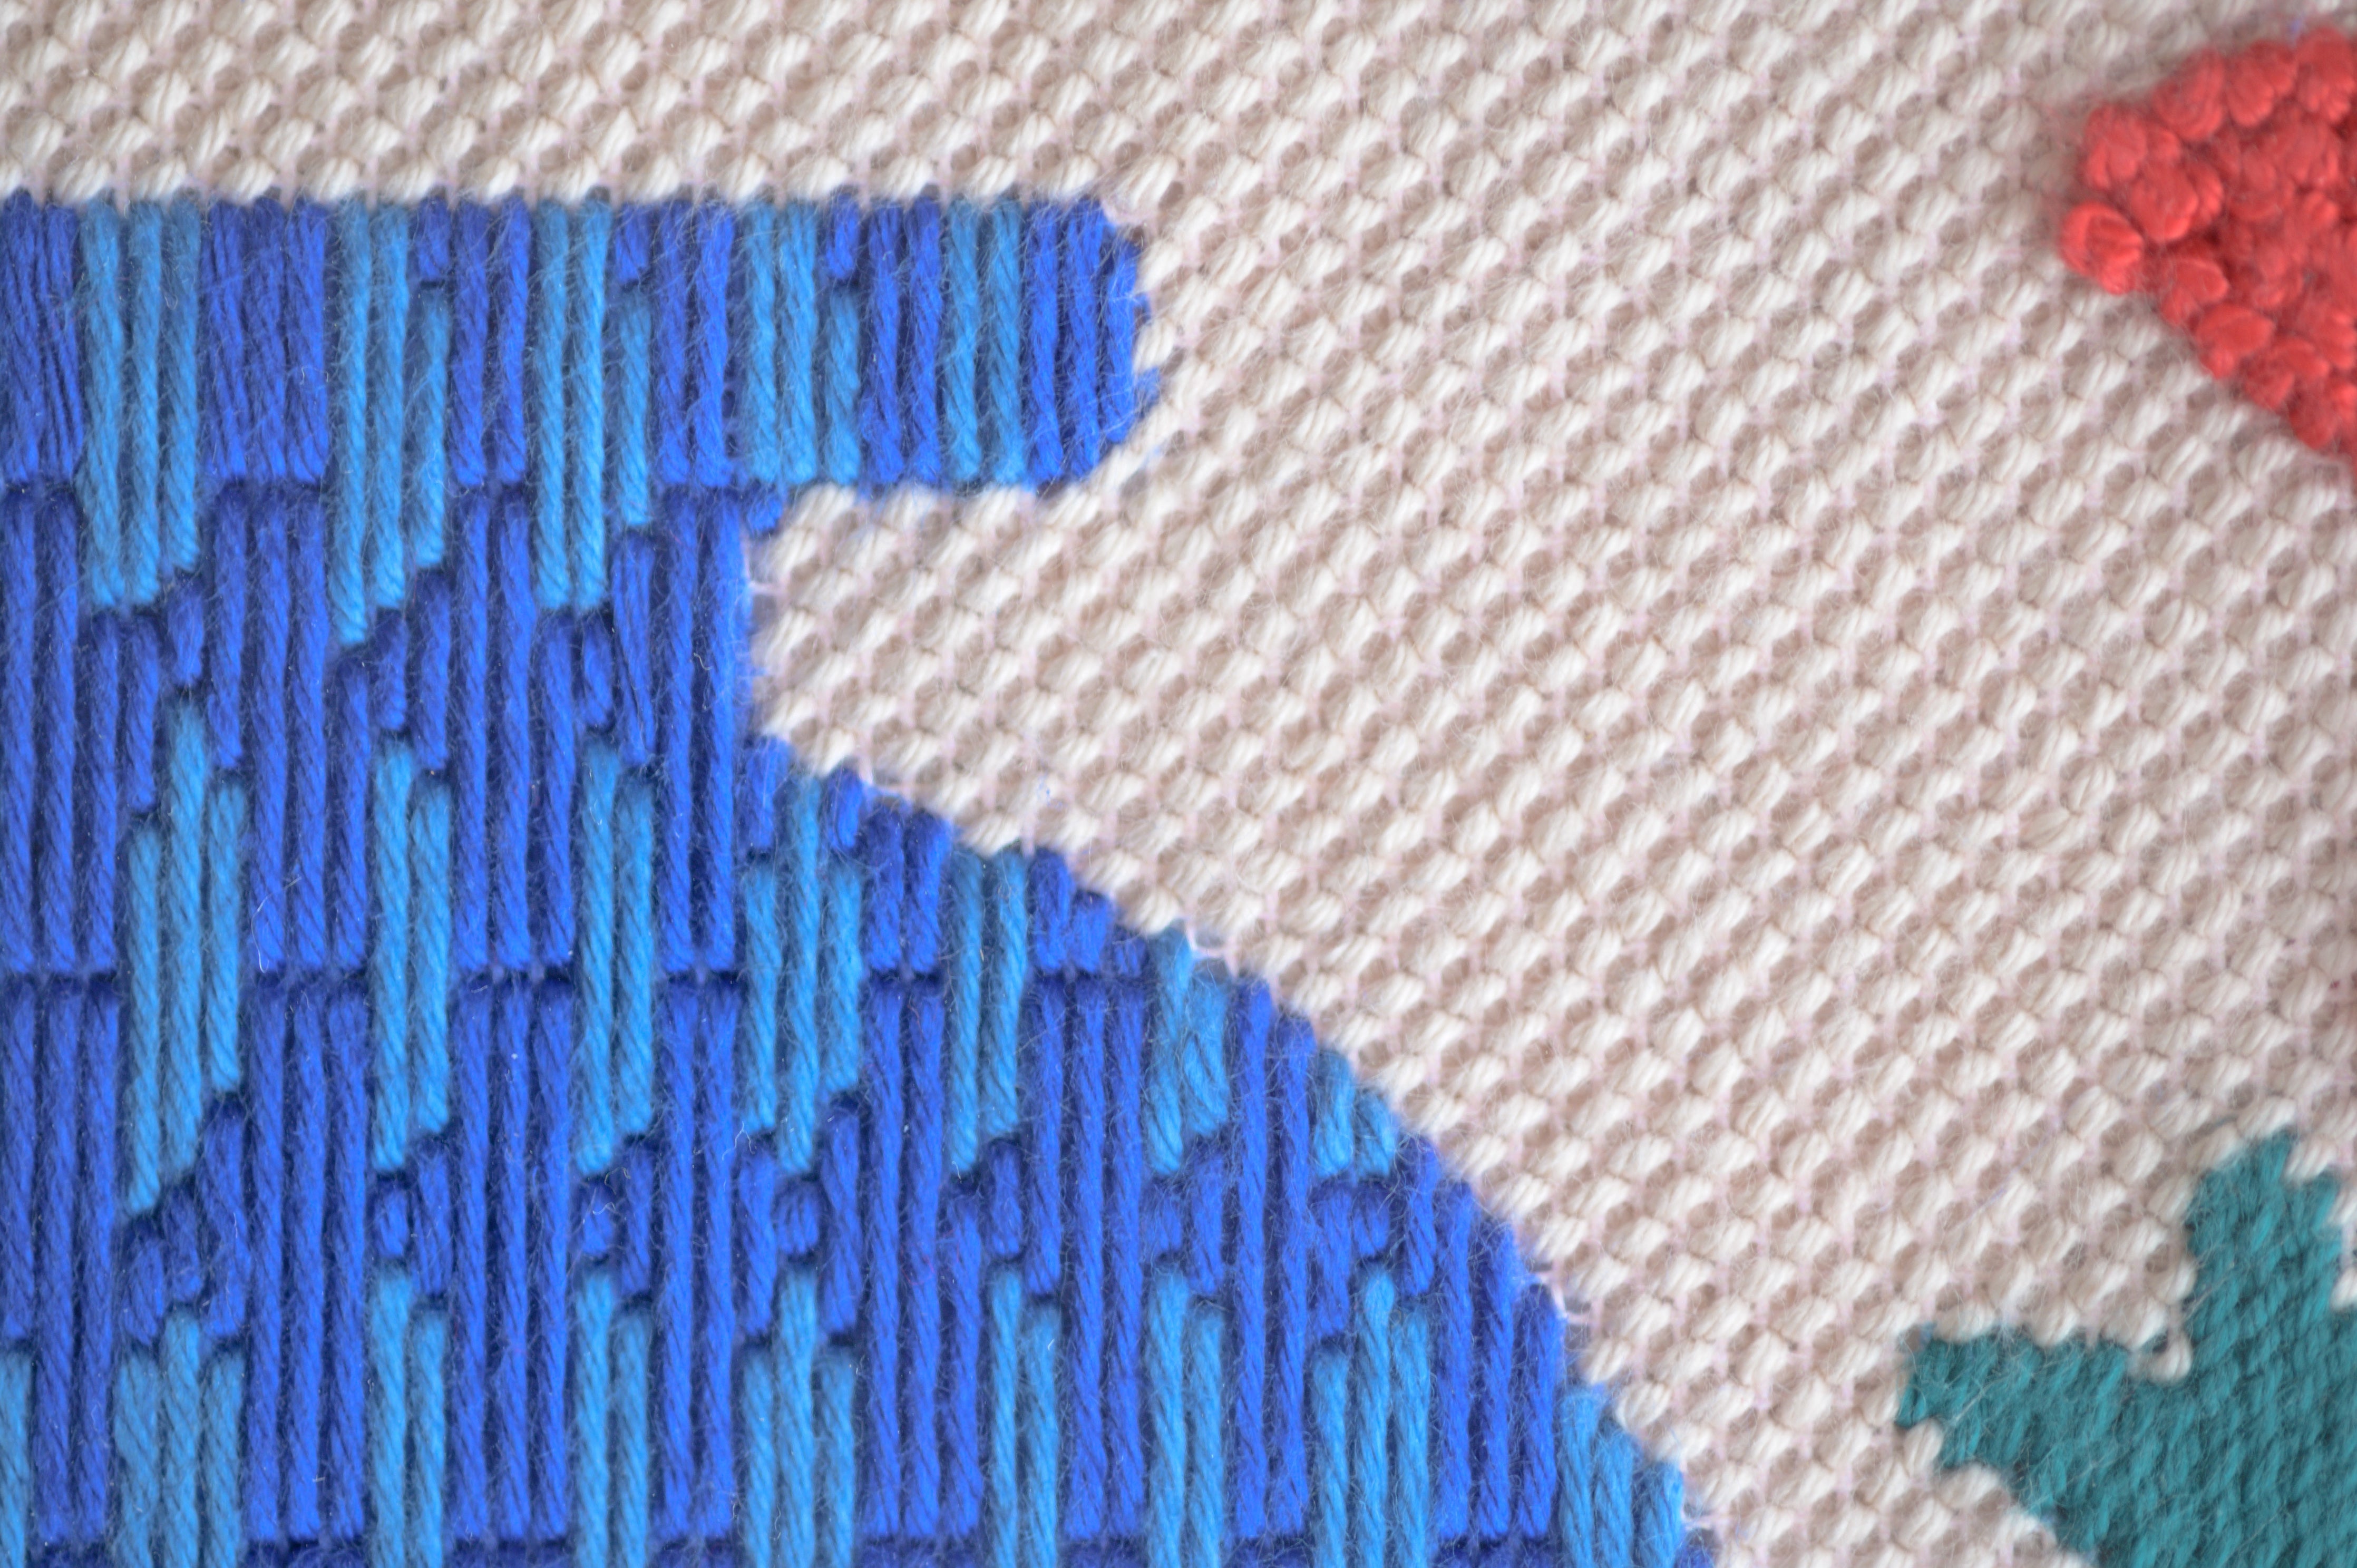
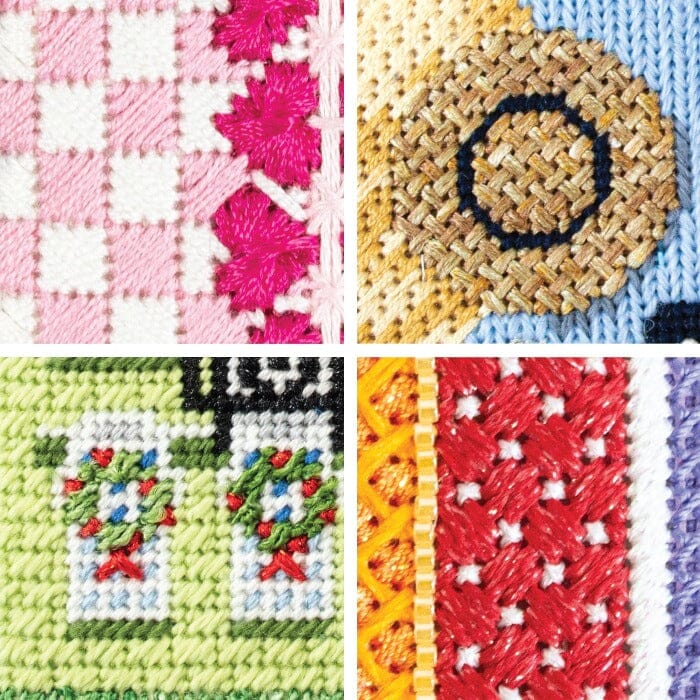
| Basketweave Stitch | A simple stitch creating a woven look. | Backgrounds, borders. |
| Diagonal Gobelin Stitch | Diagonal stitch providing texture. | Filling shapes, shading effects. |
| Petal Stitch | Forming petal-like shapes with stitches. | Flowers, nature motifs. |
| Slanted Gobelin Stitch | Creates a smooth, slanted surface. | Textures and backgrounds. |
| French Knot | A small knot that adds dimension. | Flowers, detailing accents. |
How to Choose the Right Stitch for Your Project
Factors to Consider
Choosing the right decorative stitch can significantly impact the overall look of your project. Here are some factors to keep in mind:
- Project Type: Consider whether you are creating a wall hanging, cushion, or another item.
- Desired Texture: Determine if you want your piece to have a smooth finish or a textured appearance.
- Color Scheme: Some stitches work better with specific colors or gradations.
Personal Experience
When I first started needlepoint, I often chose stitches based solely on their appearance. However, I quickly learned that the function of the stitch in the project is equally vital. For example, the basketweave stitch is my go-to for backgrounds, while I’ll opt for French knots to add dimension to floral designs.
Step-by-Step Guide to Decorative Needlepoint Stitches
Getting Started with a Simple Project
To help you get started, here’s a step-by-step guide for creating a simple decorative needlepoint project using various stitches.
Materials Needed
- Canvas (12-count)
- Tapestry needle
- Wool threads (various colors)
- Scissors
- Graph paper (optional)
Step 1: Design Your Pattern
Sketch a simple design on graph paper, considering different areas where you can apply various stitches.
Step 2: Prepare Your Canvas
Stretch your canvas in an embroidery hoop to maintain even tension while stitching.
Step 3: Start Stitching
Begin with your chosen stitch for the background, such as the basketweave stitch, then incorporate decorative stitches in the foreground.
Step 4: Finishing Touches
Once complete, trim any excess threads, and consider framing or presenting your finished piece.

Common Mistakes and How to Avoid Them
Learning from Experience
Making mistakes is part of the creative process. Here are some common pitfalls I faced and how to avoid them:
- Overlooking Tension: Ensure your stitching tension is consistent to avoid puckering.
- Ignoring Stitch Direction: Pay attention to the direction of your stitches for a polished look.
- Choosing the Wrong Thread: Test your thread choice on scrap canvas first to see how it looks with your pattern.
Pros and Cons of Decorative Needlepoint Stitches
| Pros | Cons |
|---|---|
| Endless design possibilities | Can be time-consuming |
| Ability to create texture and dimension | Requires practice to master |
| Perfect for personalization | May need special threads or tools |
Inspiration for Your Next Project
Exploring Creative Ideas
Whether you’re a beginner or a seasoned stitcher, finding inspiration can ignite your creativity. Here are some ideas to get you started:
- Create a personalized family crest using decorative stitches.
- Design a seasonal wall hanging that changes with the seasons.
- Incorporate decorative stitches into clothing or tote bags for a unique style.
FAQs about Decorative Needlepoint Stitches
What is decorative needlepoint?
Decorative needlepoint refers to various intricate stitches used to enhance needlepoint projects, adding texture, dimension, and artistic flair.

What materials do I need for needlepoint?
Essential materials include a canvas, tapestry needle, thread (wool, cotton, silk), scissors, and optionally, an embroidery hoop.
Can I use decorative stitches for beginners?
Absolutely! While some stitches may be more complex, there are many simple decorative stitches suitable for beginners.
How can I improve my needlepoint skills?
Practice regularly, try different stitches, and don’t hesitate to take classes or watch tutorials to expand your skill set.
Where can I find patterns for decorative needlepoint stitches?
Many online resources, including craft websites, needlepoint forums, and community groups, offer free and paid patterns.