Welcome to the beautiful world of pottery slip decoration! As a passionate ceramic artist, I have spent countless hours experimenting with various slip techniques, and I can’t wait to share my insights and experiences with you. In this comprehensive guide, we’ll delve into everything you need to know about pottery slip decoration, from the basics to advanced techniques, ensuring you can elevate your ceramic creations to new heights.
What is Pottery Slip Decoration?
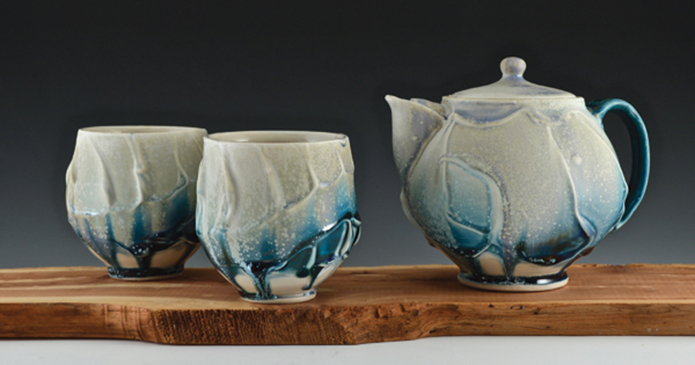
Pottery slip is a liquid mixture of clay and water, which can be colored or left natural. It is a versatile medium used for decorating ceramics. Slip can be applied in various ways, allowing artists to create stunning designs, textures, and colors on their pottery.
The Importance of Slip in Pottery
Slip serves multiple purposes in pottery:
- Enhances aesthetics through color and texture
- Provides a means to join clay pieces together
- Can be used to create a smooth surface for glazing
Types of Pottery Slip
Understanding the different types of pottery slip is crucial for mastering decoration techniques. Here are the main types:
1. Casting Slip
This type of slip is designed to be poured into molds. It contains a lower viscosity, making it ideal for creating detailed shapes and textures.
2. Decorating Slip
Used mainly for decorative purposes, decorating slip can be colored with oxides and stains, allowing for a wide range of creative possibilities.

3. Glaze Slip
A mix of glaze materials intended for decorative purposes. It is typically more fluid than traditional decorating slip and can create unique surface effects.
How to Prepare Pottery Slip
Preparation is key in pottery slip decoration. Here’s a simple step-by-step guide to preparing your own slip:

Materials Needed
- Clay (the same as your pottery body)
- Water
- Mixing container
- Hand mixer or spatula
Steps to Prepare Slip
- Measure Your Clay: Start with a specific amount of dry clay based on the desired quantity of slip.
- Add Water Gradually: Slowly add water to the clay while mixing. Aim for a smooth, creamy consistency.
- Mix Thoroughly: Use a hand mixer or spatula to blend the clay and water until you achieve a uniform mixture.

Techniques for Pottery Slip Decoration
Now that we’ve covered the basics of slip, let’s explore some popular techniques for applying slip to your pottery.
1. Slip Trailing
This technique involves using a squeeze bottle or slip trailer to apply lines of slip onto your pottery. It allows for intricate designs and patterns.
Pros and Cons of Slip Trailing
| Pros | Cons |
|---|---|
| Great for detailed designs | Requires a steady hand |
| Can create texture | Time-consuming |

2. Spraying Slip
Using a spray gun or airbrush, you can apply slip evenly over your piece, resulting in a smooth, blended color effect.
Pros and Cons of Spraying Slip
| Pros | Cons |
|---|---|
| Even application | Requires equipment |
| Quick technique | Can overspray |

3. Stamping with Slip
Stamping involves using pre-made stamps or your own designs to print slip onto the surface of your pottery, adding an element of texture.
Pros and Cons of Stamping with Slip
| Pros | Cons |
|---|---|
| Quick to execute | Limited to stamp design |
| Consistent patterns | May need practice for full effect |

4. Pouring Slip
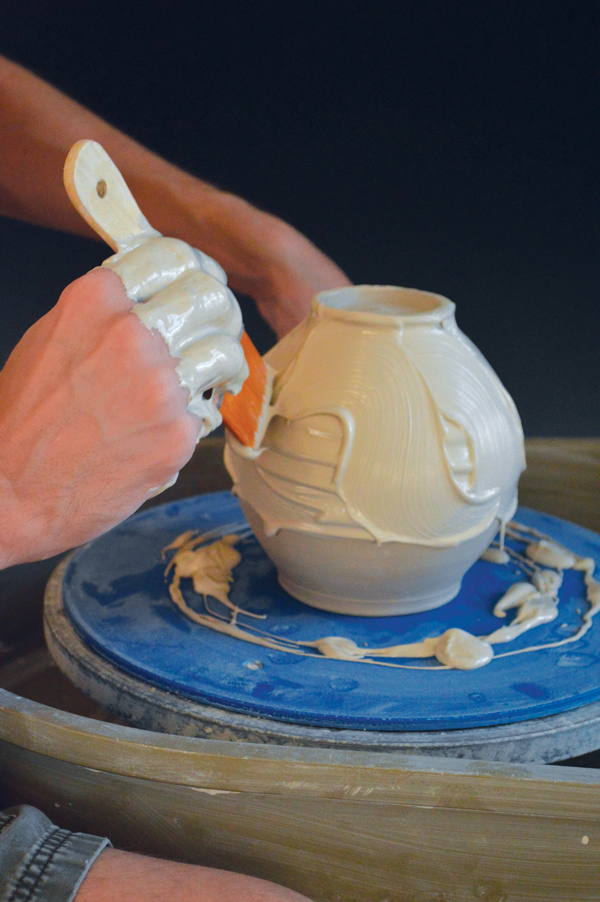
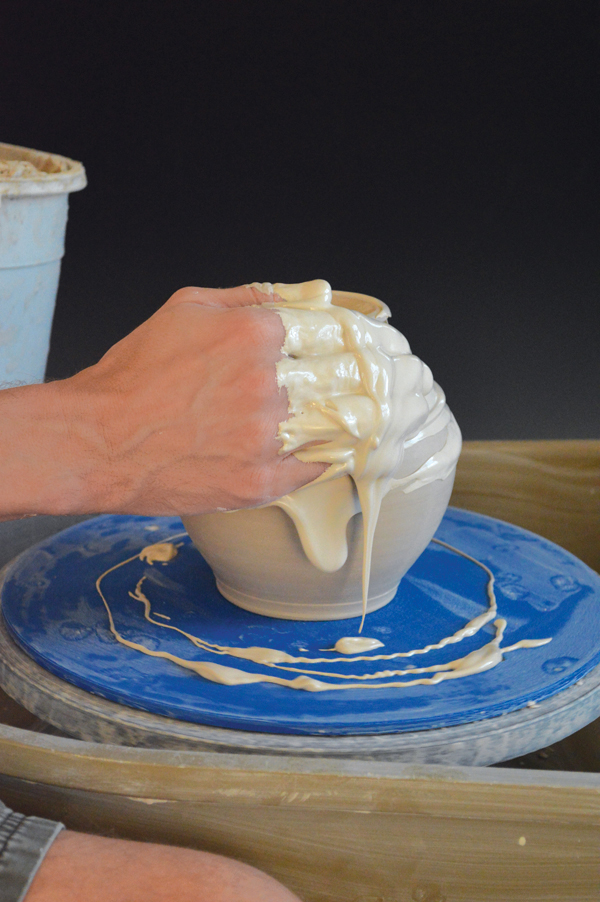
This technique involves pouring slip directly onto a leather-hard piece, creating interesting drip effects and blending opportunities.
Pros and Cons of Pouring Slip
| Pros | Cons |
|---|---|
| Unique textures and patterns | Messy application |
| Easy to experiment with | Requires control |
Coloring Your Slip
Color is an integral part of the slip decoration process. Here’s how to effectively color your slip:
Using Oxides and Stains
Oxides such as iron oxide or cobalt oxide can be added to create vibrant colors. It’s essential to test your colors before applying them to your final piece.
Mixing Techniques
Experiment with layering colors or blending them for gradient effects. Don’t hesitate to get creative!
Firing and Finishing Your Slip-Decorated Pottery
The final steps involve firing your decorated piece and potentially adding a glaze for a polished finish.
Choosing the Right Firing Schedule
It’s essential to consider your clay body and slip when deciding on a firing schedule. A slow bisque fire followed by a glaze fire is common.
Applying Glaze Over Slip
If desired, glaze can be added over the slip decoration. Be cautious, as certain glazes may react unpredictably with the slip.
Personal Experience and Tips for Success
Throughout my pottery journey, I’ve learned a few key tips that can elevate your slip decoration skills:
- Always test your slips and glazes on a test tile.
- Keep your workspace organized to minimize mistakes.
- Don’t be afraid to make mistakes; they often lead to your best work.
- Document your processes and outcomes for future reference.
FAQs about Pottery Slip Decoration
What type of slip is best for decorating pottery?
The best type of slip for decorating pottery depends on your specific project and the desired effect. Decorating slip and glazing slip are popular choices for achieving vibrant colors and textures.
Can I use store-bought slip?
Yes! Store-bought slip is convenient and often comes pre-colored. However, mixing your own slip allows for tailored textures and colors.
How do I prevent slip from drying too fast on my pottery?
To prevent slip from drying too quickly, work in a humid environment or cover your pieces with plastic while working on them.
Conclusion: Unlock Your Creativity with Slip Decoration
Pottery slip decoration opens a world of creative possibilities. Through experimentation and practice, you can develop your unique style and techniques. Whether you’re a beginner or a seasoned potter, these methods and insights can help refine your craft and enhance your ceramic pieces. Happy decorating!