Welcome to the sweet world of royal icing cake decorations! As a passionate baker, I can assure you that mastering royal icing can elevate your cake decorating game. In this article, we will explore everything you need to know about royal icing—from its history and uses to detailed tutorials and tips for perfect results. Let’s dive in!
What is Royal Icing?
Royal icing is a smooth, high-gloss icing made from egg whites (or meringue powder), powdered sugar, and water. It dries hard, making it ideal for intricate cake decorations, such as flowers, lace, and borders.
History of Royal Icing
The origins of royal icing date back to the 16th century. It was first used in England for decorating cakes, particularly during celebrations like weddings and anniversaries.
Why Use Royal Icing for Cake Decorations?
Royal icing has several advantages over other types of icing:
- Durability: Once set, royal icing holds its shape and doesn’t become sticky.
- Versatility: It can be piped, flooded, or painted, making it suitable for various designs.
- Beautiful Finish: Royal icing provides a professional-looking finish that is perfect for special occasions.
Ingredients for Royal Icing
Basic Royal Icing Recipe
To make basic royal icing, you’ll need:
- 2 egg whites or 1 tablespoon of meringue powder
- 4 cups of powdered sugar, sifted
- 1 tablespoon of lemon juice or water (adjust for consistency)
Mix the ingredients until combined, then beat on high speed until stiff peaks form.
Adjusting Consistency
The consistency of royal icing is crucial. You can achieve different consistencies by adding more liquid for flooding or more sugar for stiff peaks:
| Consistency | Use | How to Adjust |
|---|---|---|
| Stiff | Decorative borders, flowers | Add more powdered sugar |
| Medium | Outline designs | Mix of sugar and water |
| Flooding | Fill in designs | Add more water |

Essential Tools for Working with Royal Icing
- Piping bags
- Diverse piping nozzles (especially round tips)
- Offset spatula
- Silicone mat or parchment paper
- Food coloring
- Scribe tool or toothpick for detail work
Techniques for Royal Icing Cake Decorations
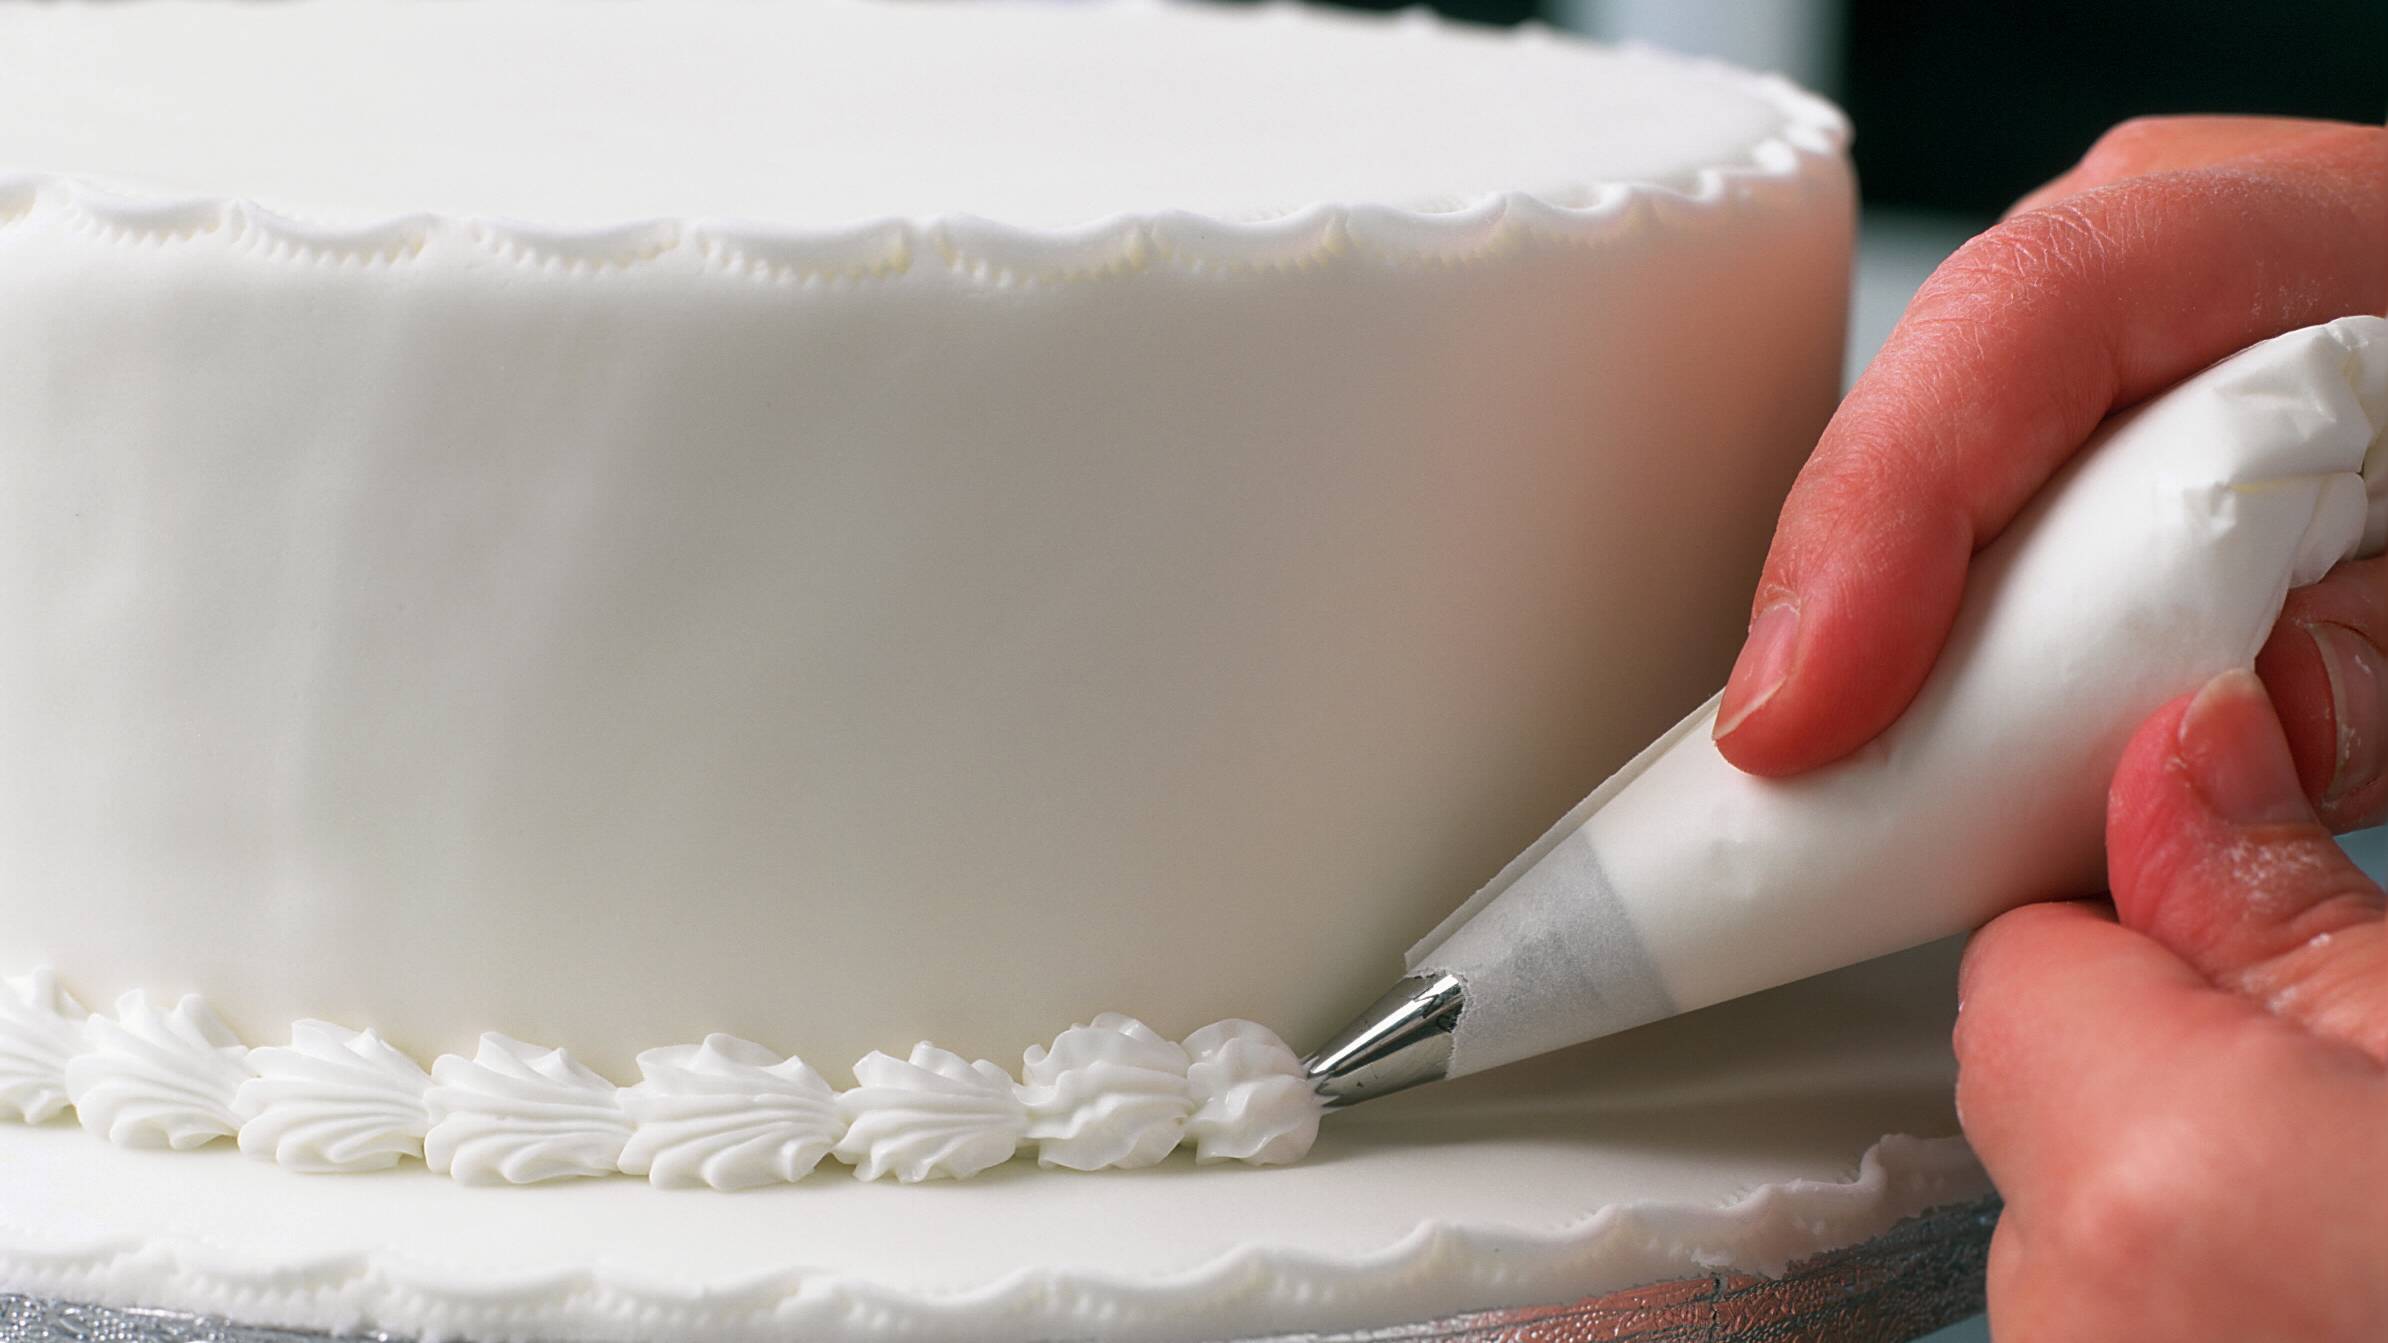
Piping Techniques
Piping is one of the most popular methods of applying royal icing:
Basic Piping
For basic piping, fill your piping bag with stiff royal icing and use a round nozzle to outline your design. Practice makes perfect!
Filigree and Lace Designs
Create elegant lace designs by piping intricate patterns on parchment paper and allowing them to dry before transferring them onto cakes.

Flooding Technique
Flooding involves outlining a shape with stiff icing and then filling it in with thinned royal icing. Here’s how:
- Outline your design with stiff royal icing.
- Use a thinner icing to fill the outlined area.
- Use a scribe tool to spread the icing evenly.
Painting with Royal Icing
Royal icing can also be painted to add depth and color. Make sure the base icing is completely dry before painting.
Common Challenges with Royal Icing
Cracking and Breaking
It’s essential to allow royal icing to dry completely to avoid cracking. Consider a drying box to maintain low humidity.
Color Bleeding
To prevent colors from bleeding, let each layer dry completely before applying another layer of color.
Humidity Issues
Royal icing can be affected by humidity. If you live in a humid area, consider using a desiccant to help reduce moisture while drying.
Tips for Perfect Royal Icing Designs
- Always sift your powdered sugar to avoid lumps.
- Keep your piping bags wrapped to prevent drying out.
- Have a spare bowl of water nearby to adjust consistency.
- Practice on parchment paper before decorating your cake.
Royal Icing Storage Tips
Storing Leftover Royal Icing
Store leftover royal icing in an airtight container to prevent it from drying out. It can last for up to two weeks in the fridge.
Freezing Royal Icing
You can also freeze royal icing for long-term storage. Place it in a zip-top bag, squeeze out excess air, and freeze. Thaw it in the fridge before use.

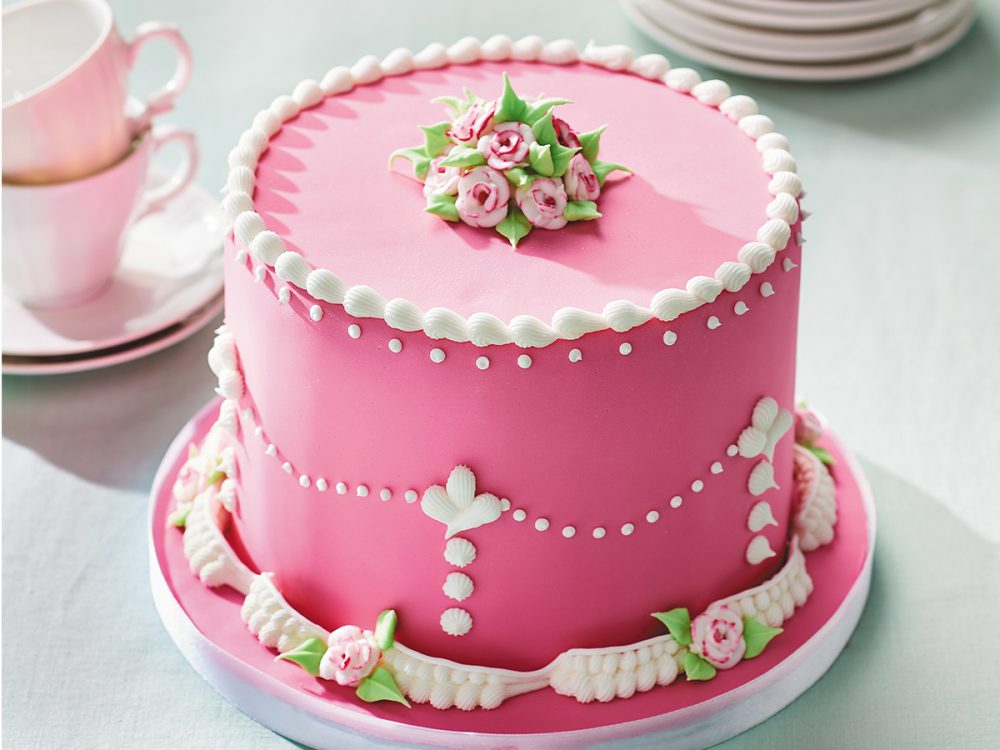
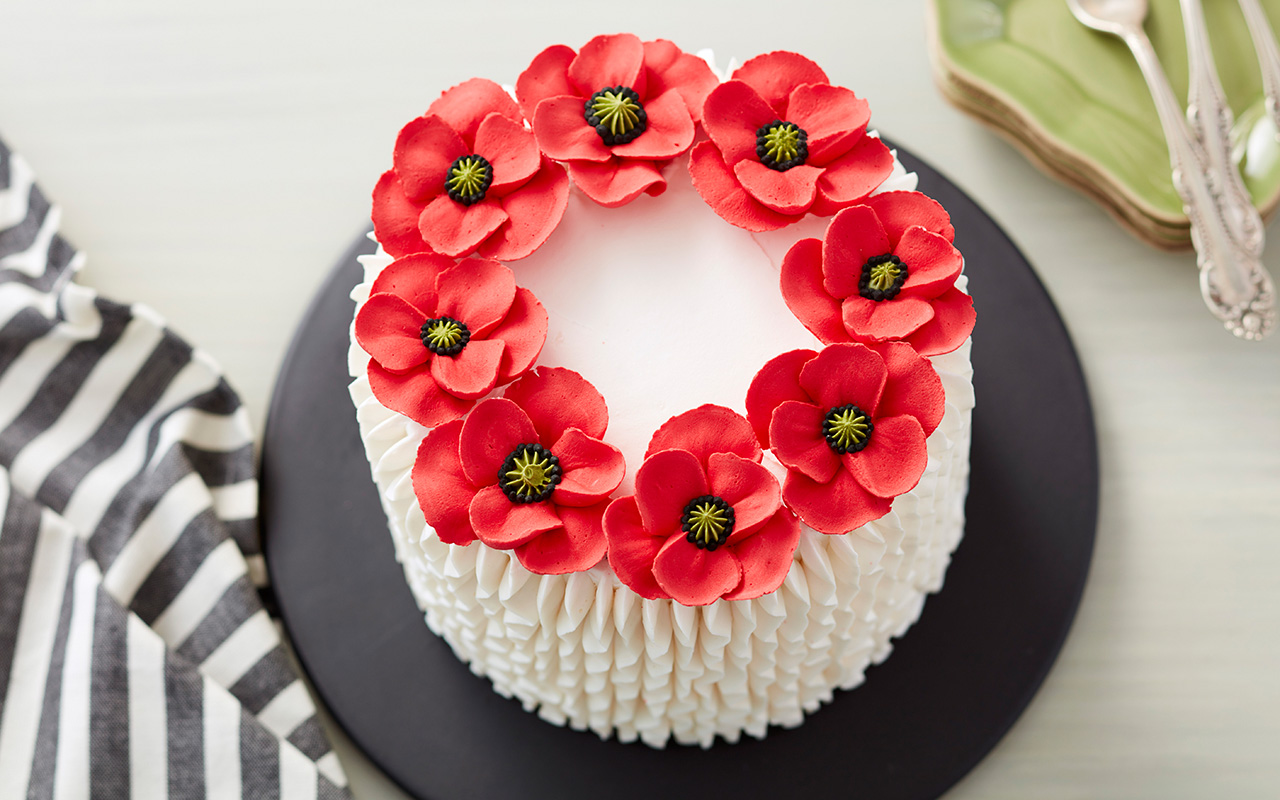
Inspiration for Royal Icing Decorations
Here are some creative ideas for using royal icing:
- Floral arrangements on wedding cakes
- Intricate lace patterns for special occasions
- Colorful decorated cookies for holidays
- Themed cake designs for birthdays and anniversaries
FAQs About Royal Icing Cake Decorations
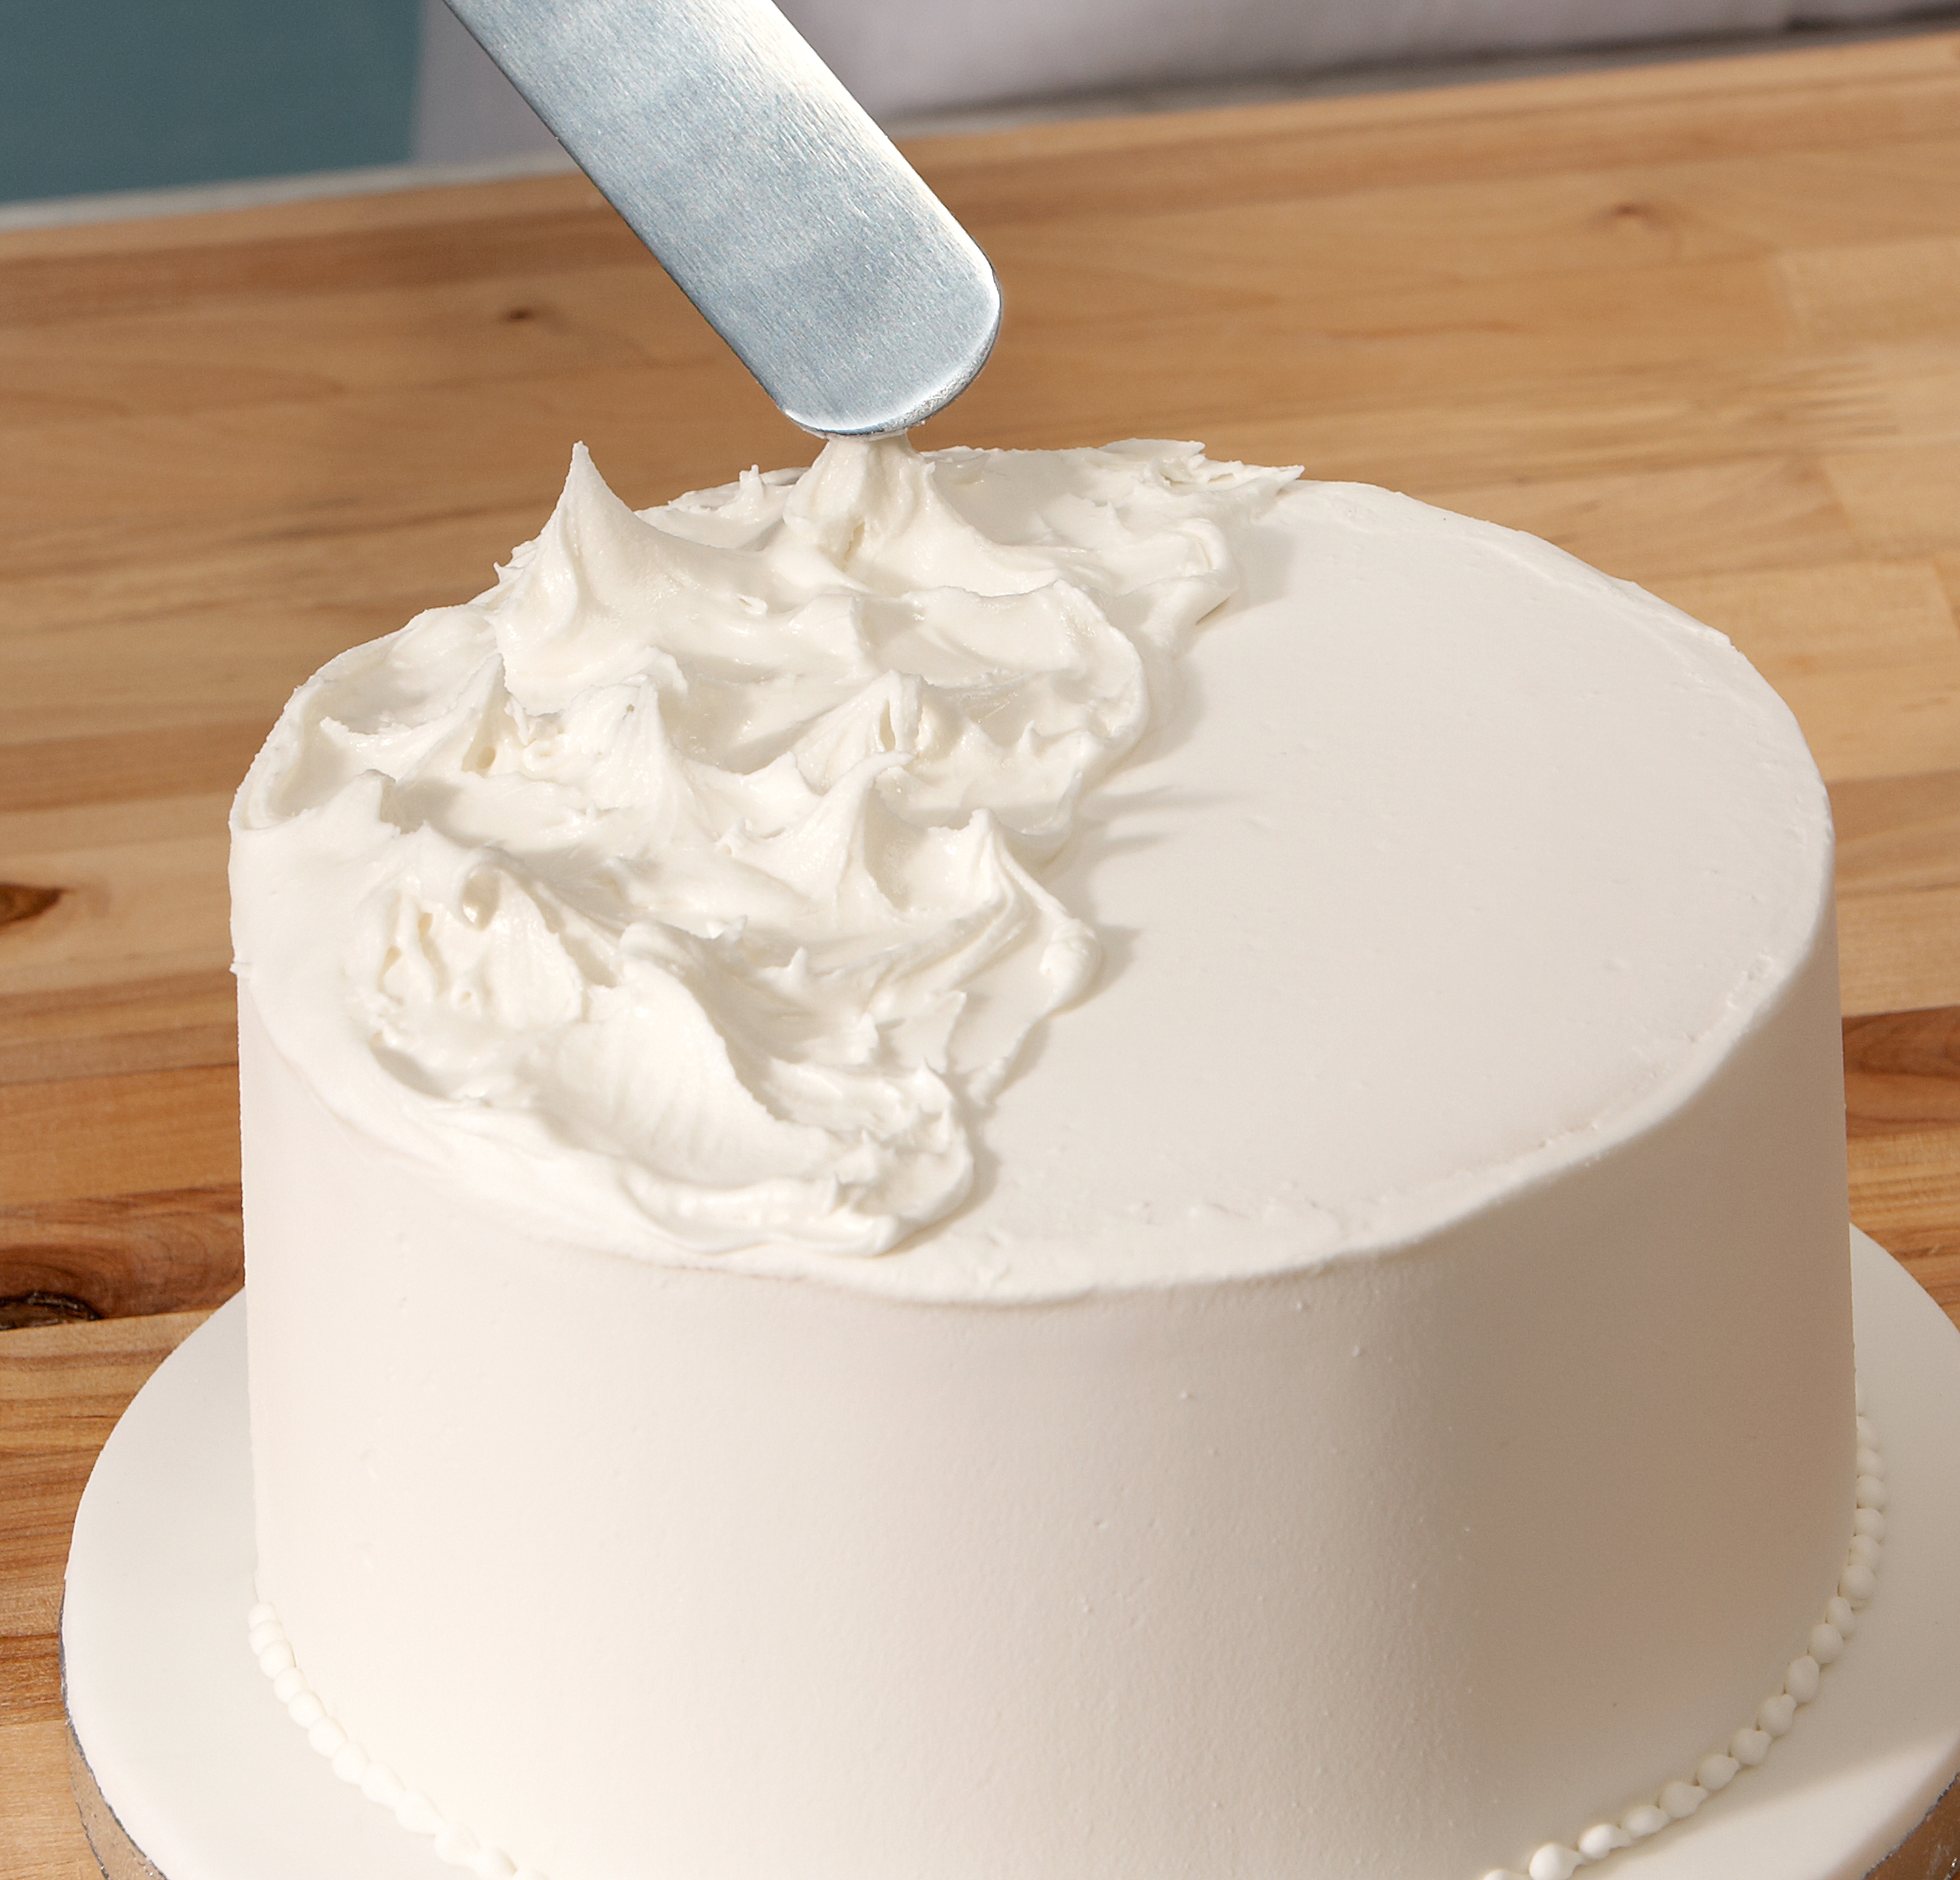
What is the difference between royal icing and buttercream?
Royal icing sets hard and is best for detailed decorations, while buttercream is creamy and ideal for frosting cakes and piped flowers.
How long does royal icing take to dry?
Royal icing typically takes 6 to 8 hours to dry completely, depending on the humidity and thickness of the application.
Can I use royal icing on fondant cakes?
Yes! Royal icing works beautifully on fondant cakes, adding intricate designs and textures.
How do I fix runny royal icing?
If your royal icing is too runny, add more sifted powdered sugar until the desired consistency is achieved.