Are you ready to dive into the sweet world of custom cookie decorating? Whether you’re preparing for a special event, looking to impress friends and family, or just want to indulge your creative side, this guide will equip you with everything you need to know. With personal tips and tricks drawn from my own experiences, you’ll not only learn the techniques but also understand the joy of creating something beautiful and delicious.
Table of Contents
- What Are Custom Cookies?
- Essential Tools and Supplies for Custom Cookie Decorating
- Step-by-Step Decorating Techniques
- Design Ideas for Custom Cookies
- Troubleshooting Common Issues
- Notes and Tips from My Experience
- Frequently Asked Questions
- Conclusion
What Are Custom Cookies?
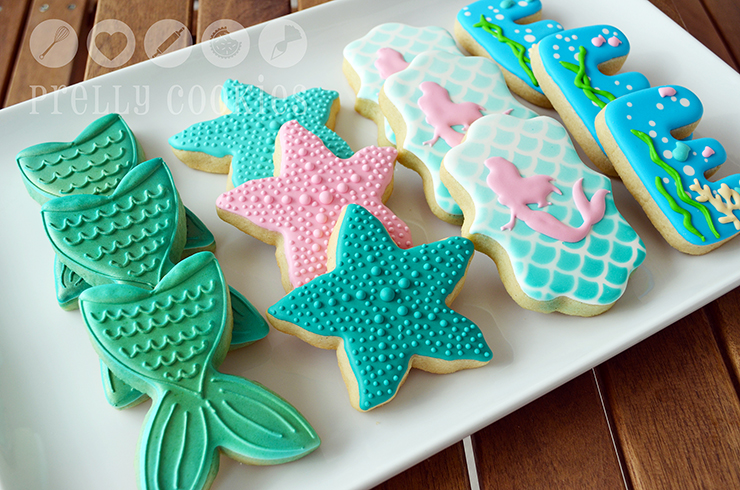
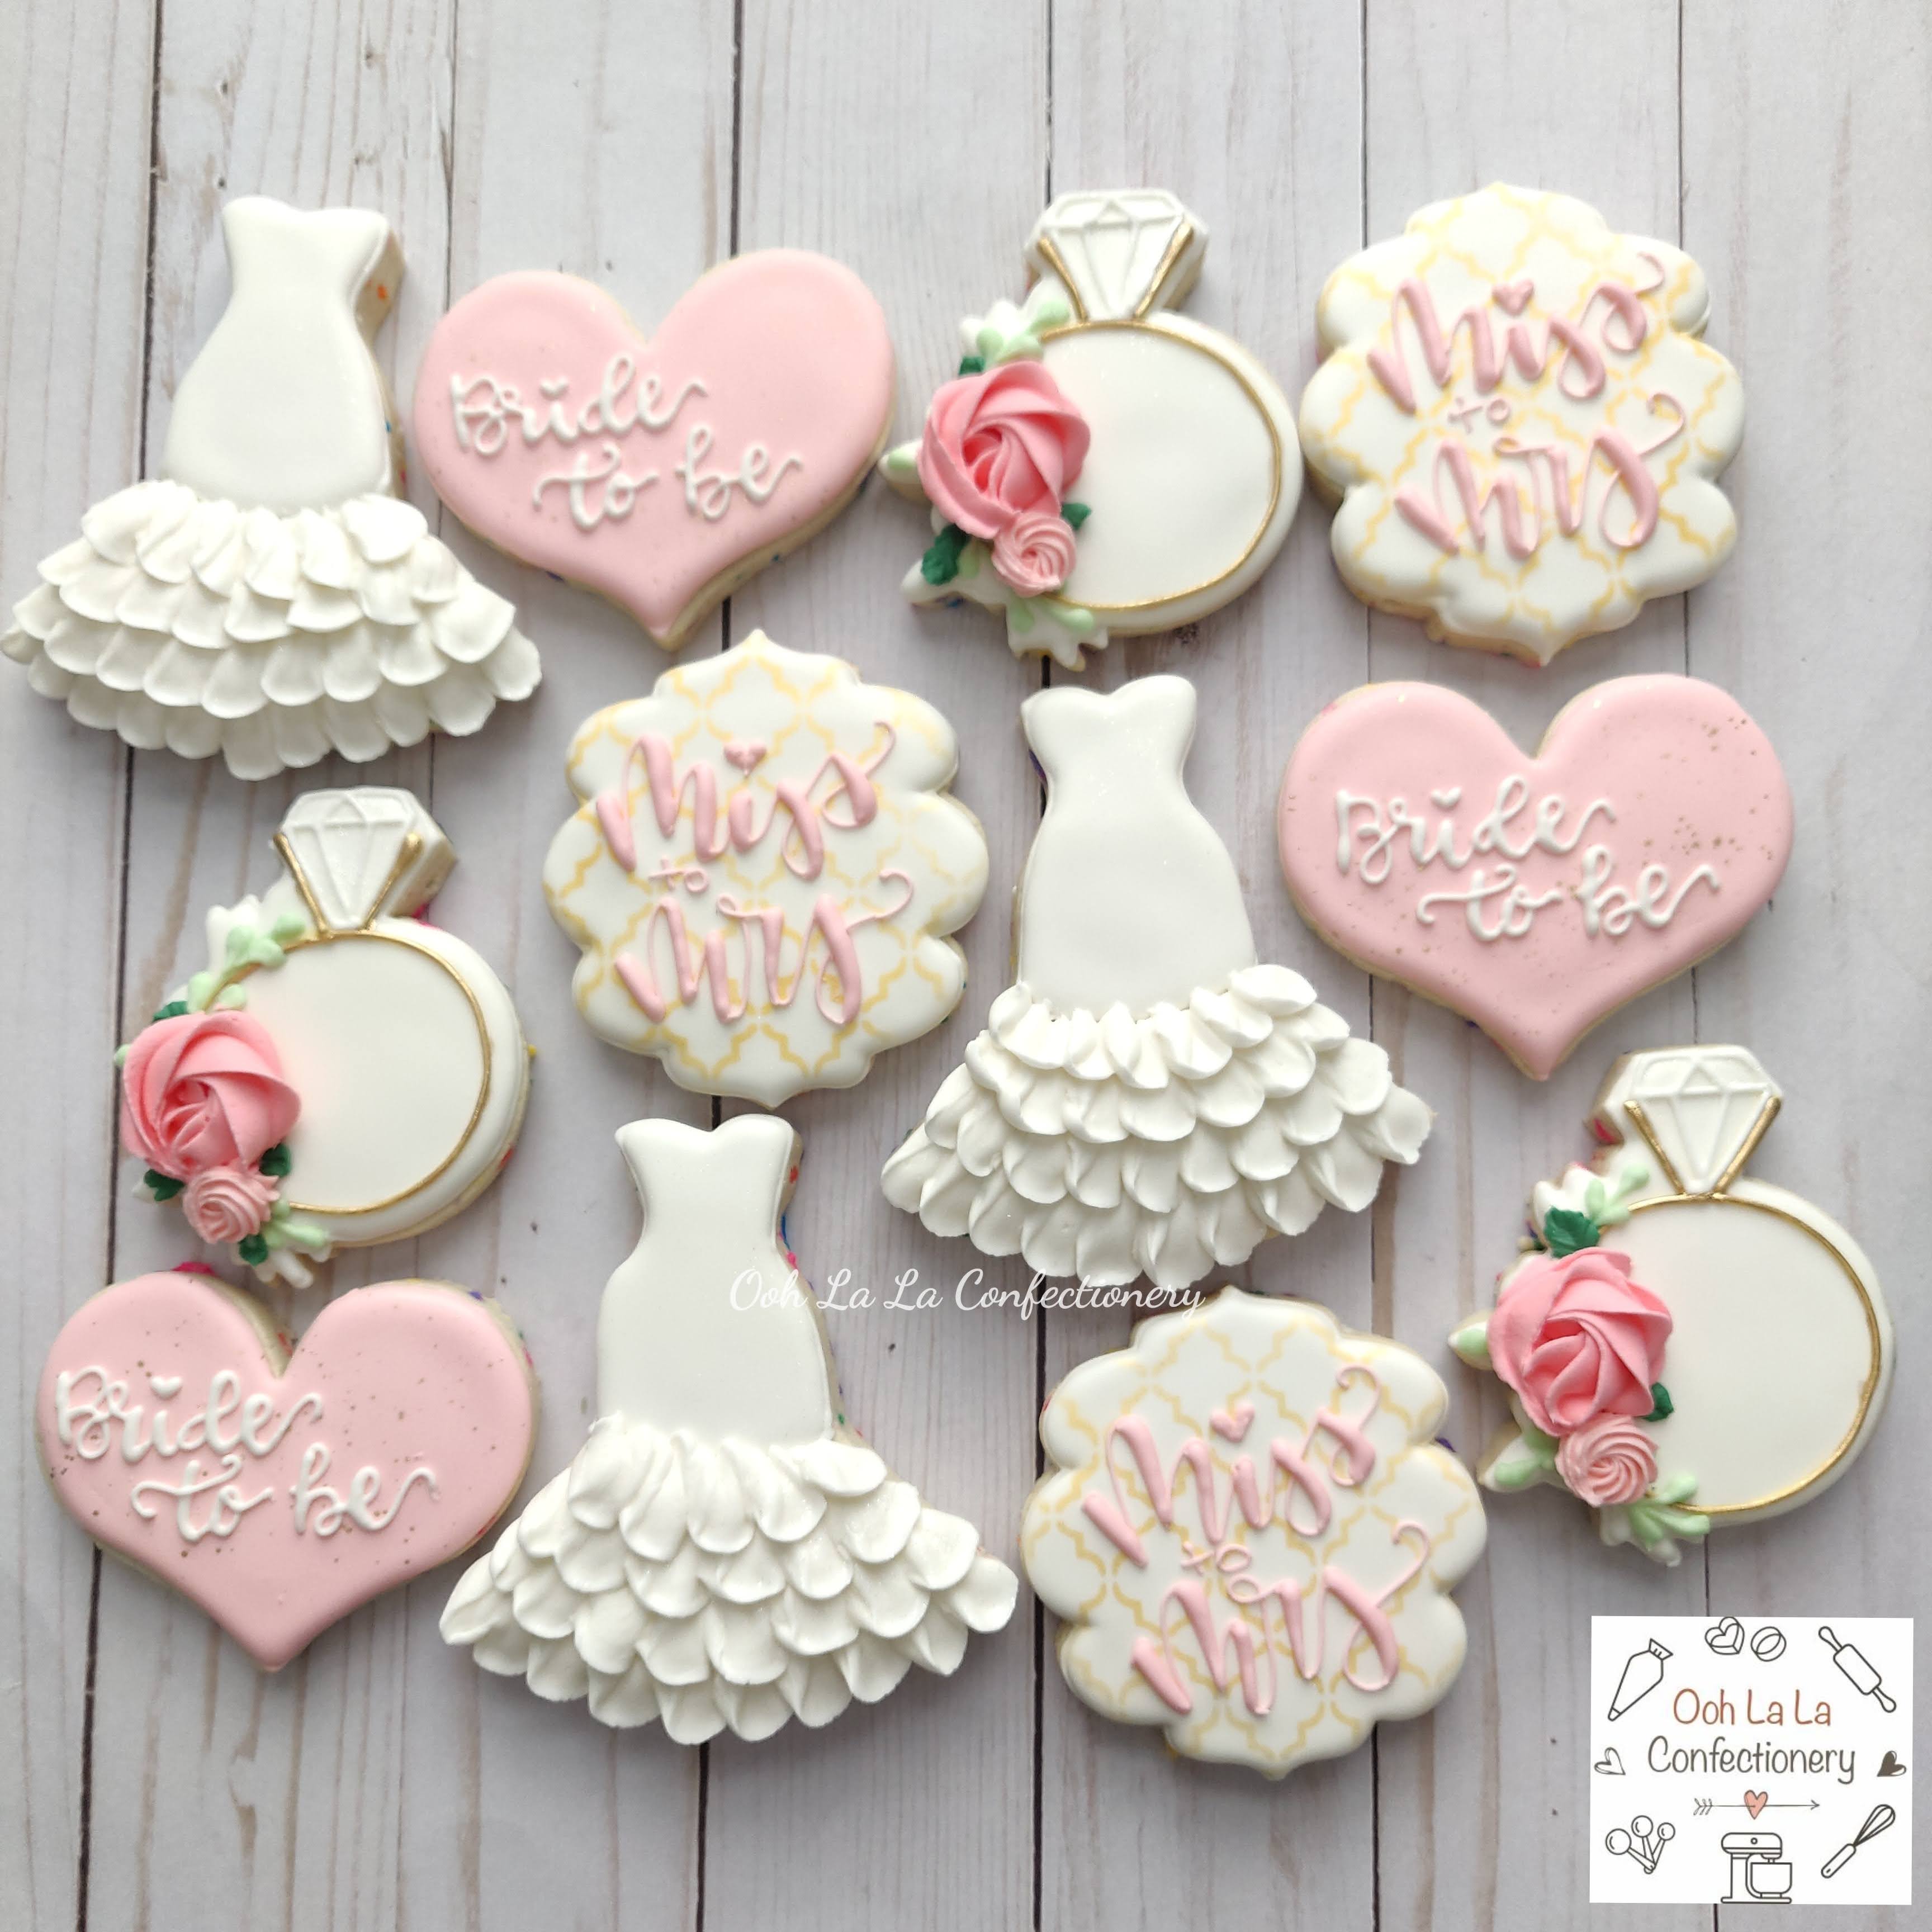
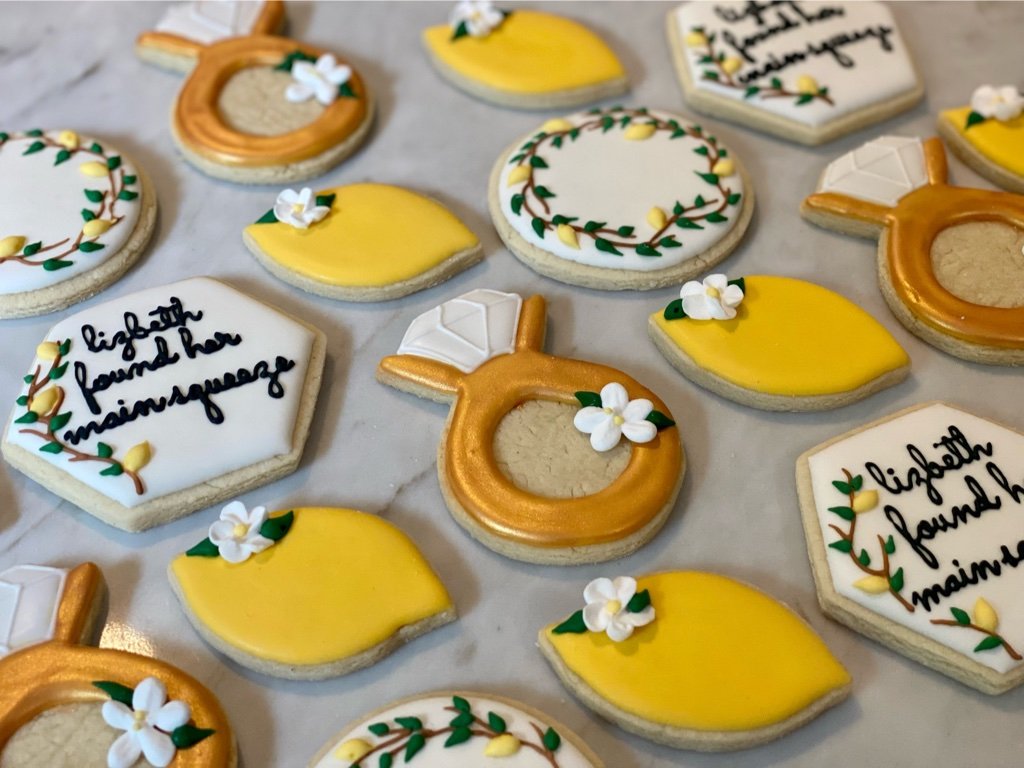
Custom cookies are baked treats that are designed to reflect personal styles, themes, or occasions. They differ from regular cookies in their intricate designs, which can include everything from simple icing patterns to elaborate character shapes. These cookies serve not just as snacks but as art pieces that can elevate any celebration, be it a birthday, wedding, or holiday gathering.
Essential Tools and Supplies for Custom Cookie Decorating

Before you start decorating, it’s important to have the right tools and supplies. Below is a breakdown of necessary items, ensuring you’re fully equipped for sugar-fueled creativity!
Baking Tools

| Tool | Description | Purpose |
|---|---|---|
| Rolling Pin | A cylindrical tool used to flatten out dough. | To ensure even thickness of the cookie dough. |
| Cookie Cutters | Metal or plastic shapes to cut cookies into desired forms. | Create various shapes for decorating. |
| Baking Sheets | Flat metal trays for baking cookies. | Provides a surface for cookies to bake evenly. |
| Cooling Rack | Wire rack for cooling baked cookies. | Helps prevent cookies from getting soggy. |
Decorating Tools

| Tool | Description | Purpose |
|---|---|---|
| Piping Bags | Plastic or cloth bags to pipe icing. | For precise icing application. |
| Couplers | Connects piping tips to bags. | Allows for easy tip changes while decorating. |
| Icing Tips | Nozzles used for decorating. | Creates different icing patterns (e.g., star, round). |
| Food Coloring | Edible colors for icing. | Adds vibrant colors to your cookies. |
Step-by-Step Decorating Techniques

Once you’ve baked your cookies, it’s time to unleash your creativity! Below, discover essential techniques to elevate your cookie decorating skills.
Icing Basics

Icing is the cornerstone of cookie decorating. There are various types of icing, but royal icing is primarily used due to its ability to harden and maintain design integrity. Here’s how to make it:
- In a mixing bowl, combine 2 egg whites and 1 pound of powdered sugar.
- Mix on medium speed until you reach a stiff peak consistency.
- Add a few drops of lemon juice for flavor and to help with consistency.

Once prepared, divide your icing into bowls and add food coloring to achieve your desired shades.
Advanced Decorating Techniques
As you become comfortable with the basics, it’s time to explore advanced decorating techniques, such as:
- Flooding: This involves outlining a shape with thick icing and then filling it with a thinned version of the icing.
- Brush Embroidery: Using a damp brush to create flower patterns on hardened icing.
- Wet-on-Wet: Applying different colors of icing simultaneously to create marble effects.
Design Ideas for Custom Cookies
Your creativity can shine through your cookie designs. Here are some popular design ideas to inspire you!
Seasonal Themes
Seasonal themes can be a fun way to celebrate different times of the year. Examples include:
- Christmas: Snowflakes, Christmas trees, and gingerbread men.
- Halloween: Pumpkins, ghosts, and spooky monsters.
- Valentine’s Day: Hearts and love-themed designs.
Event-Specific Cookies
For special events, tailor your cookies to the occasion:
- Weddings: Monogrammed cookies and floral designs.
- Birthdays: Character-themed cookies or age numbers.
- Baby Showers: Baby bottles, onesies, and storks.
Troubleshooting Common Issues
No one’s perfect, and cookie decorating can sometimes present challenges. Here are common issues and how to solve them:
Issue: Icing Is Too Runny
- Solution: Add more powdered sugar to thicken the icing.
Issue: Icing Does Not Dry Properly
- Solution: Ensure you’re using the correct proportions of egg whites or meringue powder.
Issue: Colors Run Together
- Solution: Allow layers of icing to dry before applying additional colors for detailed designs.
Notes and Tips from My Experience
As someone who has spent countless hours decorating cookies, here are a few personal insights to enhance your experience:
- Practice makes perfect! Don’t get discouraged if your first batch doesn’t turn out as expected.
- Keep your workspace clean to avoid contamination of colors and flavors.
- Take breaks! Decorating can be meticulous; a fresh perspective can inspire creativity.
Frequently Asked Questions
1. What type of icing is best for custom cookie decorating?
Royal icing is highly recommended for custom cookie decorating due to its ability to harden and provide a smooth finish.
2. Can I use fondant instead of icing?
Yes, fondant can be used for decorating cookies, but it offers a different texture and flavor compared to traditional icing.
3. How far in advance can I decorate cookies?
You can decorate cookies one to two weeks in advance if they are stored properly in an airtight container.
4. What are some popular themes for custom cookies?
Popular themes include seasonal events like Christmas and Halloween, as well as personal milestones such as weddings and birthdays.
Conclusion
Custom cookie decorating is not just about creating tasty treats; it’s about expressing creativity and celebrating special moments in life. With the tools and techniques shared in this guide, you’ll be well on your way to becoming a cookie decorating aficionado. Remember, each cookie is a canvas, and the only limit is your imagination. So grab those cookie cutters, whip up some buttercream, and start decorating!