Decorating a cross cake can be both a joyful and rewarding experience. Whether you’re preparing for a baptism, confirmation, or Easter celebration, creating a beautifully decorated cross cake is a lovely way to honor the occasion. In this comprehensive guide, I’ll share my personal tips, techniques, and experiences to help you create your very own stunning cross cake. Whether you’re a beginner or an experienced baker, you’ll find valuable insights to enhance your cake-decorating skills.
Understanding the Basics of Cross Cake Decoration
Before diving into the actual decorating process, it’s essential to understand what a cross cake is and its significance. Cross cakes are often made for religious events and symbolize faith, hope, and love. They can come in various flavors and designs, allowing for creativity in both the baking and decorating processes.
Types of Cross Cakes
- Traditional Round Cross Cake
- Square Cross Cake
- 3D Cross Cake
- Sheet Cake with Cross Design
Choosing the Right Shape
Choosing the shape of your cake is the first step. While round and square cakes are traditional, a 3D cross cake can make a striking centerpiece. Consider the occasion and guest preferences when deciding on the shape.

Gathering Essential Ingredients and Tools
Once you’ve decided on the type of cross cake you want to create, the next step is gathering your ingredients and tools. Here’s a breakdown of what you’ll need.

Basic Ingredients
| Ingredient | Purpose |
|---|---|
| All-purpose flour | Base of the cake |
| Sugar | Sweetness |
| Baking powder | Leavening agent |
| Butter | Moisture and flavor |
| Eggs | Binding agent |
| Milk | Moisture |
| Vanilla extract | Flavor enhancer |
| Powdered sugar | For frosting |
Decorating Tools
Here’s a list of essential tools to have on hand for decorating your cross cake:
- Cake leveler or serrated knife
- Offset spatula
- Pastry bags and various tips
- Cake board
- Turntable (optional but recommended)
- Food coloring (for colored frosting)
- Edible decorations (sprinkles, flowers, etc.)

Baking Your Cross Cake
Before you start decorating, you need to bake the cake. Here’s a step-by-step guide to ensure your cake turns out moist and delicious.
Step-by-Step Baking Instructions
- Preheat your oven to 350°F (175°C).
- Prepare your baking pans by greasing them or lining with parchment paper.
- In a large mixing bowl, cream together the butter and sugar until light and fluffy.
- Add in the eggs one at a time, mixing well after each addition.
- In a separate bowl, whisk together the flour, baking powder, and salt.
- Gradually add the dry ingredients to the wet mixture, alternating with milk. Mix until just combined.
- Pour the batter evenly into your prepared pans.
- Bake for 25-30 minutes or until a toothpick inserted into the center comes out clean.
- Once baked, let the cakes cool in the pans for 10 minutes before transferring to a wire rack.

Preparing the Cake for Decoration
After your cake has cooled completely, it’s time to prepare it for decoration. Properly leveling and frosting your cake will ensure a professional-looking finish.
Leveling Your Cake
Use a cake leveler or serrated knife to remove any domed tops from your cakes. This process will help your cake sit flat and make it easier to stack.
Crumb Coating
Before applying the final layer of frosting, it’s essential to apply a crumb coat. A crumb coat is a thin layer of frosting that traps any loose crumbs, creating a smooth base for your decoration.
- Using an offset spatula, apply a thin layer of frosting around the entire cake.
- Chill the cake in the fridge for about 30 minutes to set the crumb coat.
Decorating Techniques for Your Cross Cake
Now for the fun part—decorating! Here are some creative techniques and ideas to transform your cake into a masterpiece.
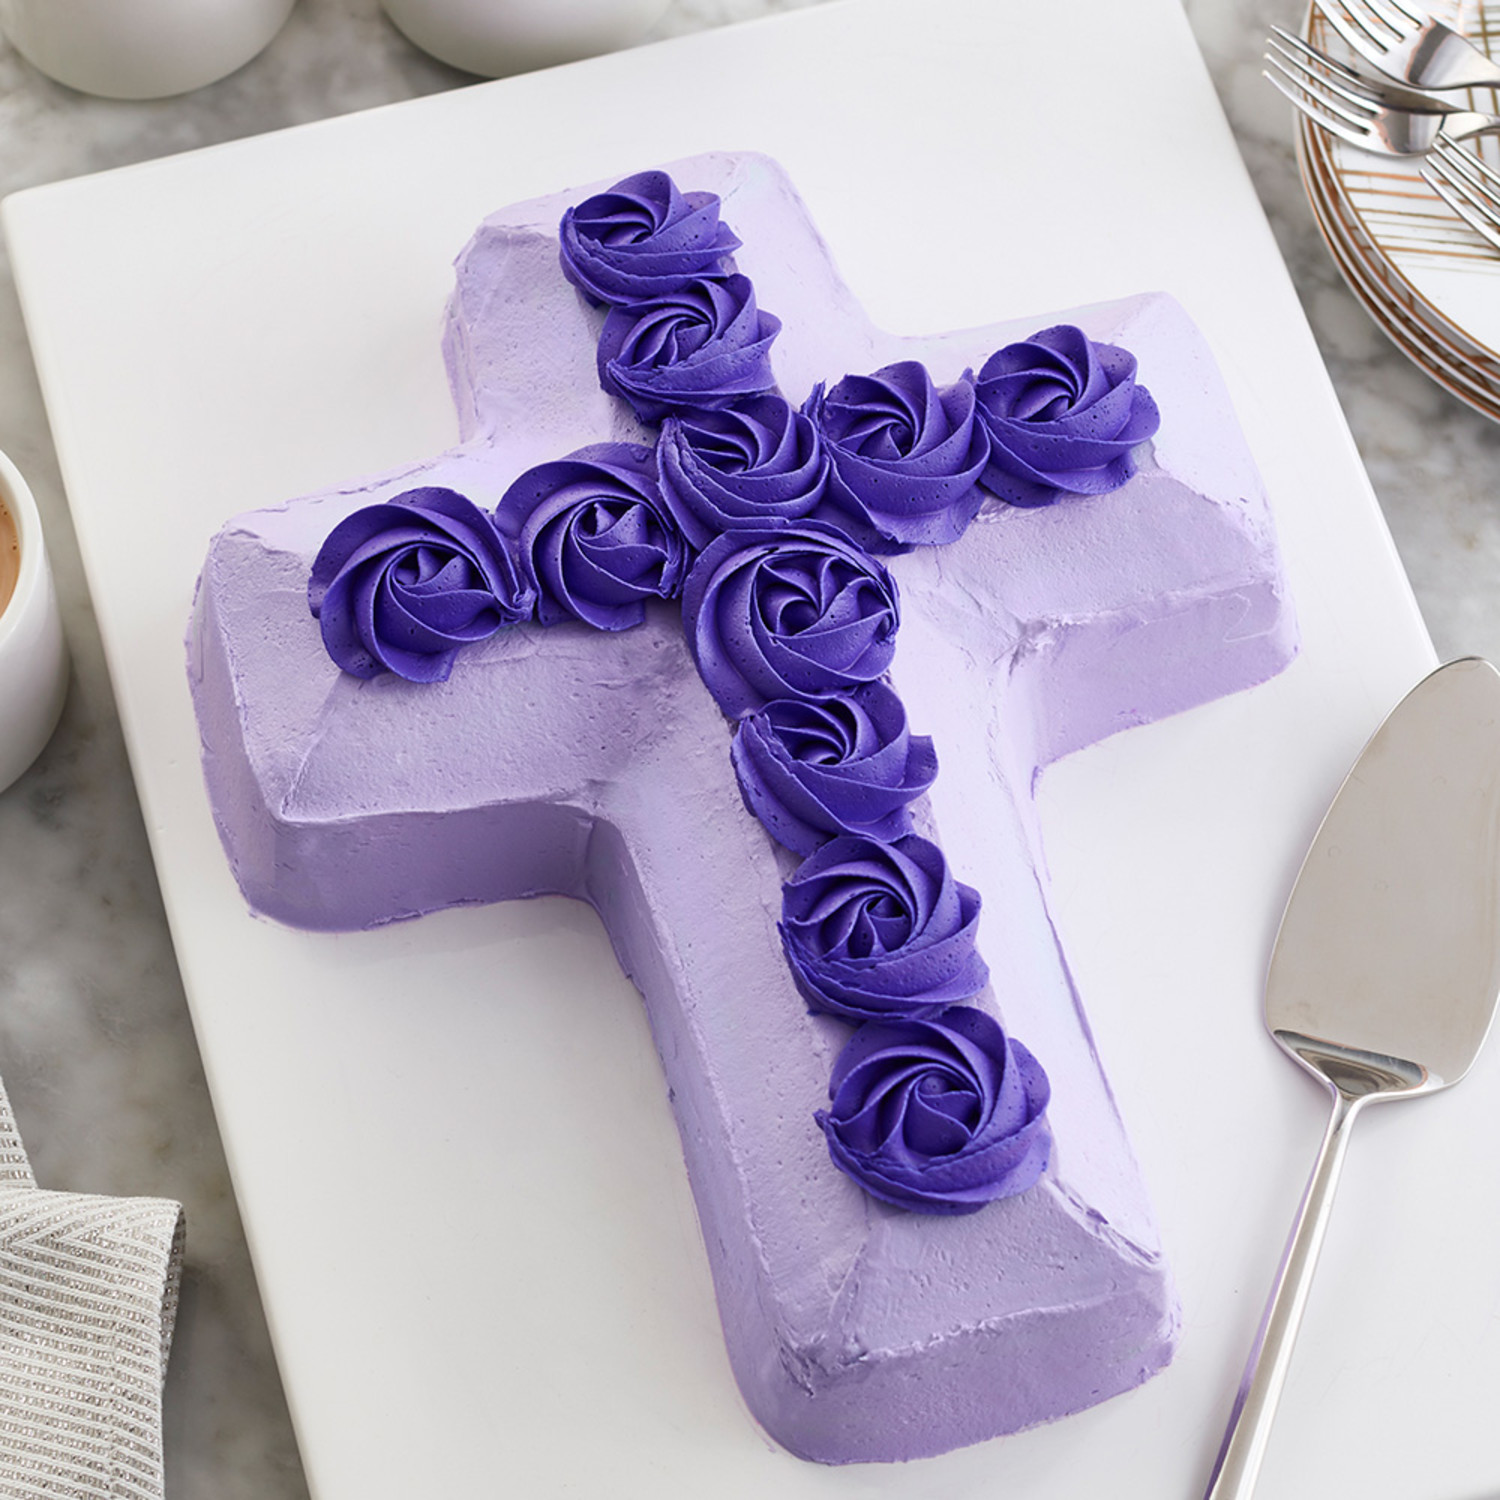
Choosing a Color Palette
Selecting a color palette is fundamental in creating an appealing design. Soft pastels work well for religious occasions, while bold colors can make a statement.
Popular Color Combinations
| Color 1 | Color 2 | Occasion |
|---|---|---|
| White | Gold | Baptism |
| Pale Blue | Soft Pink | Christening |
| Lavender | White | Confirmation |
| Pastel Yellow | Green | Easter |
Frosting Techniques
Experiment with different frosting techniques to achieve various textures and finishes. Here are some popular methods:
- Smooth Finish: Use a spatula to spread frosting evenly, creating a smooth surface.
- Textured Finish: Use a comb or a fork to create lines or patterns in the frosting.
- Swirls: Use a piping bag with a star tip to create decorative swirls around the edges or on top of the cake.
Additional Decoration Ideas
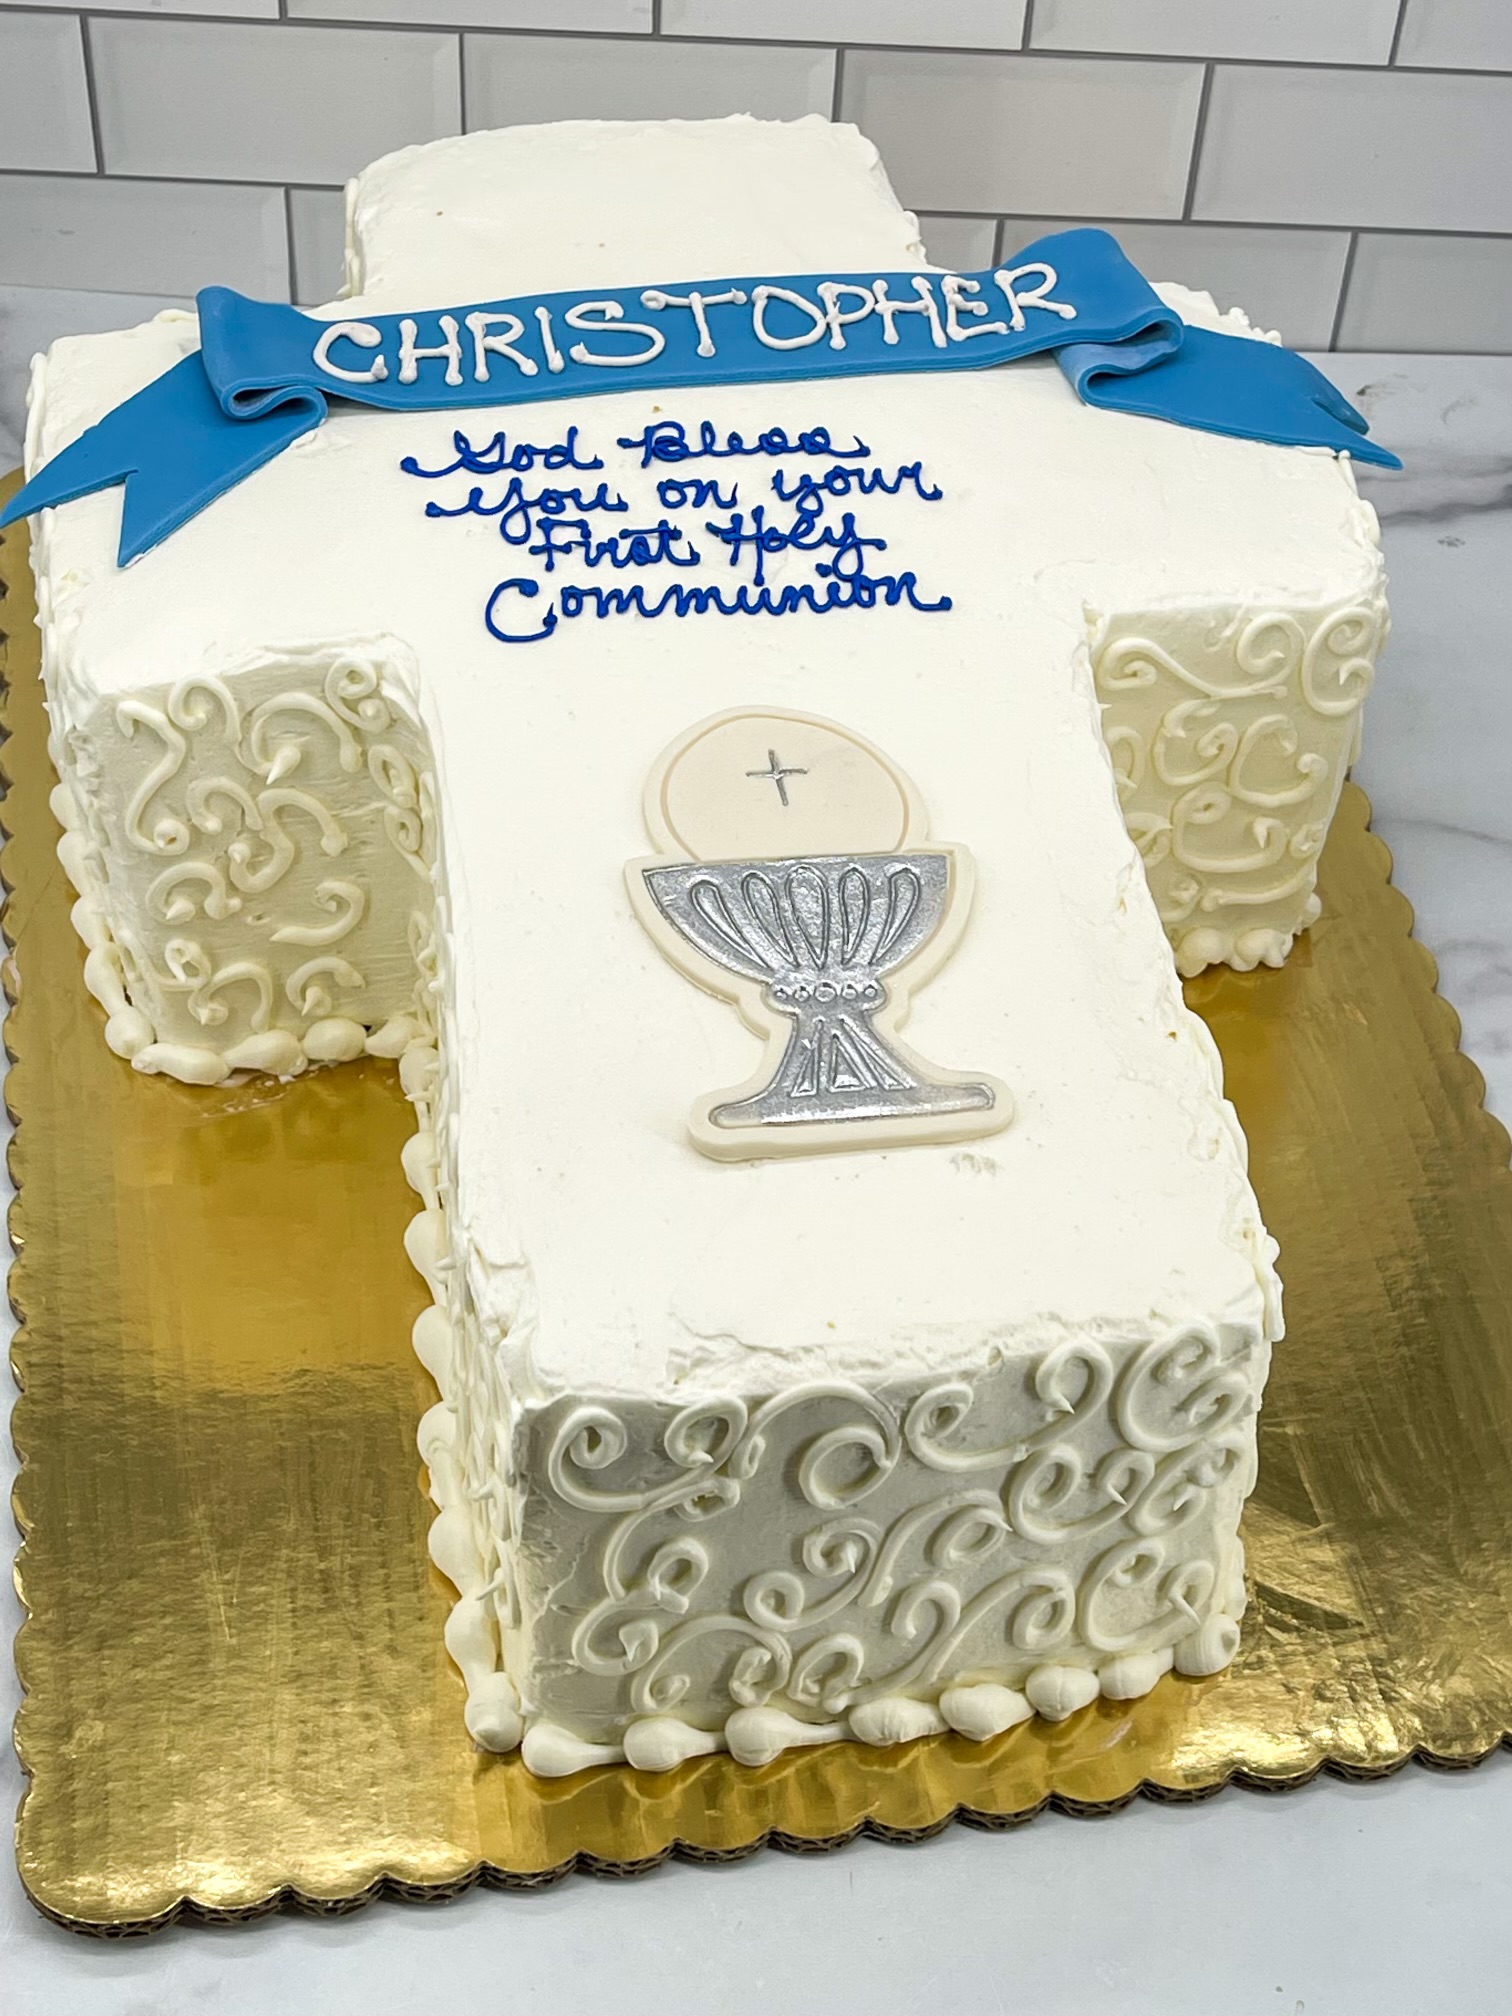
Add a personal touch to your cross cake with these decoration ideas:
- Use fondant to create a cross shape or other religious symbols.
- Top the cake with fresh flowers or edible decorations.
- Add a message or scripture verse using colored frosting.
- Use a cake topper that represents the occasion.
Personal Experience: My First Cross Cake
When I first decided to decorate a cross cake for my niece’s baptism, I felt a mix of excitement and anxiety. As a beginner, I wasn’t sure if I could create something beautiful. However, I took it one step at a time. I chose a simple round cake with pastel blue frosting and added a fondant cross on top. The smile on my niece’s face made every moment of effort worthwhile!
What I Learned
One important lesson I learned was that it’s okay to make mistakes. I had a few mishaps, like a cake that broke during leveling. However, by creatively placing decorations over the cracks, I turned a potential disaster into a charming feature. This experience taught me the value of patience and creativity in cake decorating.
Common Challenges in Cake Decorating
Cake decorating can come with its share of challenges. Here’s a look at some common issues you might face and how to overcome them.
Crumbly Cake
If your cake crumbles during leveling or decorating, it could be due to overmixing the batter or not using enough moisture. Ensure you measure ingredients correctly and avoid over-mixing.
Uneven Frosting
If your frosting isn’t evenly spread, try using a turntable to make it easier to apply frosting at an even angle. Don’t hesitate to use a spatula for smoothing out uneven areas.
Melting Frosting
If you live in a warmer climate and your frosting starts to melt, chill your cake briefly before adding more decorations. Keep your workspace cool and try to work quickly.
Conclusion: Create Your Own Cross Cake Masterpiece
Creating a beautifully decorated cross cake is an enjoyable and rewarding process. With the right ingredients, tools, and techniques, you can create a stunning cake that will be the highlight of any celebration. My personal experiences have taught me that every cake is a learning opportunity, so don’t be afraid to experiment and make it your own. Happy decorating!
FAQs about Decorating a Cross Cake
What type of frosting is best for a cross cake?
Buttercream frosting is popular for cross cakes due to its taste and versatility. Fondant is also a great option if you want a smooth finish and detailed designs.
Can I make a cross cake in advance?
Yes! You can bake and freeze the cake in advance. Just make sure to wrap it tightly to prevent freezer burn. Thaw before decorating.
How can I keep my decorated cake from melting?
Keep your cake in a cool place, avoid direct sunlight, and refrigerate if necessary to maintain the frosting’s integrity.
What are some common mistakes to avoid when decorating a cake?
- Not leveling the cake before frosting.
- Using too much frosting or frosting that is too soft.
- Not chilling the cake after crumb coating.