Introduction to Mummy Door Decorations
Halloween is a time for creativity, spookiness, and a little bit of magic. One of the best ways to get into the festive spirit is by decorating your home, starting with your front door! This year, why not try your hand at a DIY mummy door decoration? It’s a simple, fun project that can transform your entryway into a hauntingly beautiful sight. In this article, I’ll share my personal experiences, tips, and step-by-step instructions for creating an eye-catching mummy door that will delight trick-or-treaters and visitors alike.
Why Choose a Mummy Theme for Your Door?
Mummy door decorations are popular for several reasons:
- They are relatively easy to create with minimal materials.
- The mummy theme adds a playful, spooky vibe that is perfect for Halloween.
- It’s a great way to engage kids in the decorating process.
- You can customize it to fit your style and preferences.
Materials You Will Need
Before diving into the DIY process, let’s gather all the materials you’ll need:
Essential Materials
- White or off-white fabric (cotton, cheesecloth, or muslin works well)
- Black construction paper or felt (for the eyes)
- Scissors
- Glue or a hot glue gun
- Washi tape or masking tape
- Optional: Fake spider webs, plastic spiders, or other Halloween embellishments
Tools You Might Need
- Measuring tape
- Marker or fabric pen
- Craft knife (for detailed cuts)
Step-by-Step Instructions
Now that we’ve got our materials ready, it’s time to create your spooky mummy door decoration!
Step 1: Measure Your Door
Use a measuring tape to determine the dimensions of your door. This will help you plan how much fabric you’ll need to cover the door.
Step 2: Cut the Fabric
Cut the fabric into strips. Aim for varying widths—some wider, some thinner—to create a more dynamic look. A length of at least 5-6 feet is usually sufficient, depending on your door size.
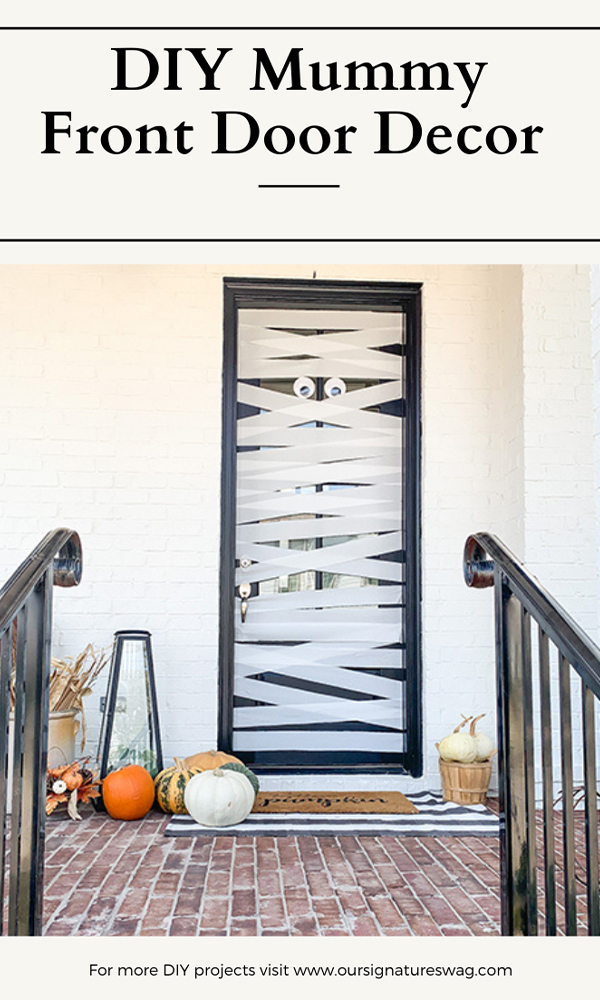
Step 3: Attach the Fabric to the Door
Starting at the top of the door, use washi tape or masking tape to secure the top of each strip, letting them hang down. Layer the strips in a random pattern, overlapping them as you go.

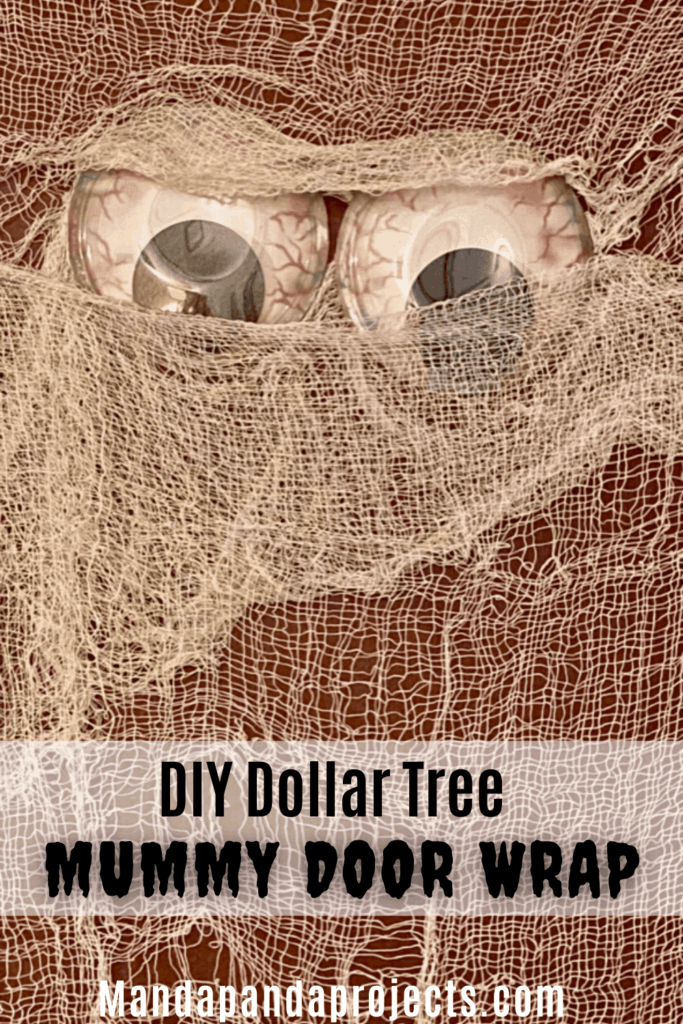
Step 4: Create the Eyes
Using black construction paper or felt, cut out two large circles for the eyes and smaller circles or ovals for the pupils. Glue these onto the fabric to give your mummy a little personality!
Step 5: Add Finishing Touches
For an extra spooky effect, consider adding fake spider webs, plastic spiders, or other Halloween décor items around your mummy. Get creative!

Step 6: Hang a Sign (Optional)
Consider hanging a “Welcome to My Crypt” sign above your mummy for added charm. You can create this using a piece of wood, paint, and some twine.
Comparison of Fabric Types for Your Mummy Door Decoration
| Fabric Type | Pros | Cons |
|---|---|---|
| Cotton | Soft, easy to work with, widely available | May need to be layered for opacity |
| Cheesecloth | Lightweight, gives a spooky sheer effect | Easily tears, may not hold up well outdoors |
| Mysterious Muslin | Durable, simulates a true mummy look | Can be more expensive than other fabrics |
Tips for a Successful Mummy Door Decoration
Choose the Right Location
Make sure your door is in a visible location where guests can easily appreciate your design. Good lighting will enhance the overall effect.
Change Up the Look Each Year
If you enjoy crafting, consider changing your mummy design each Halloween! Try different fabrics or add new elements to keep things fresh.

Involve the Kids
This project is ideal for family time. Let the kids help cut out the eyes or choose how to position the fabric for a fun bonding experience!
Pros and Cons of DIY Mummy Door Decorations
Pros
- Customizable to fit your style.
- Cost-effective compared to store-bought decorations.
- Can be a fun family activity.
- Reusable if properly stored.
Cons
- May require some time and effort.
- Outdoor elements can affect longevity.
- Some materials can be costly depending on quality.

Personal Experiences with Mummy Door Decorations
From my experience, decorating the door with a mummy theme has always been a hit in our neighborhood. One year, after a particularly creative session with my children, we were thrilled to find that our door was the most photographed during our neighborhood’s Halloween party! The smiles on their faces made the effort worthwhile. Plus, it became a cherished family tradition that we replicate every year, each time trying to one-up the previous year’s creation.
Frequently Asked Questions (FAQs)
What materials are best for outdoor mummy decorations?
For outdoor decorations, consider using weather-resistant materials like weatherproof fabric or plastic. Avoid materials that will easily tear or fade in the rain.
Can I use store-bought materials for a mummy door decoration?
Absolutely! If you’re short on time, you can purchase pre-made mummy decorations or kits. However, creating your own adds a personal touch that store-bought items often lack.
How long will a mummy door decoration last?
The longevity of your decoration depends on the materials used and the weather conditions. Indoor decorations can last several years, while outdoor versions may need to be replaced or repaired annually.
Are there any alternative designs for Halloween door decorations?
Yes! Other fun Halloween door decoration ideas include ghosts, witches, or even a haunted house theme. The possibilities are endless!
What’s the most important tip for making a mummy door decoration?
The key is to have fun and let your creativity shine! Don’t stress about perfection—a little imperfection adds to the charm!