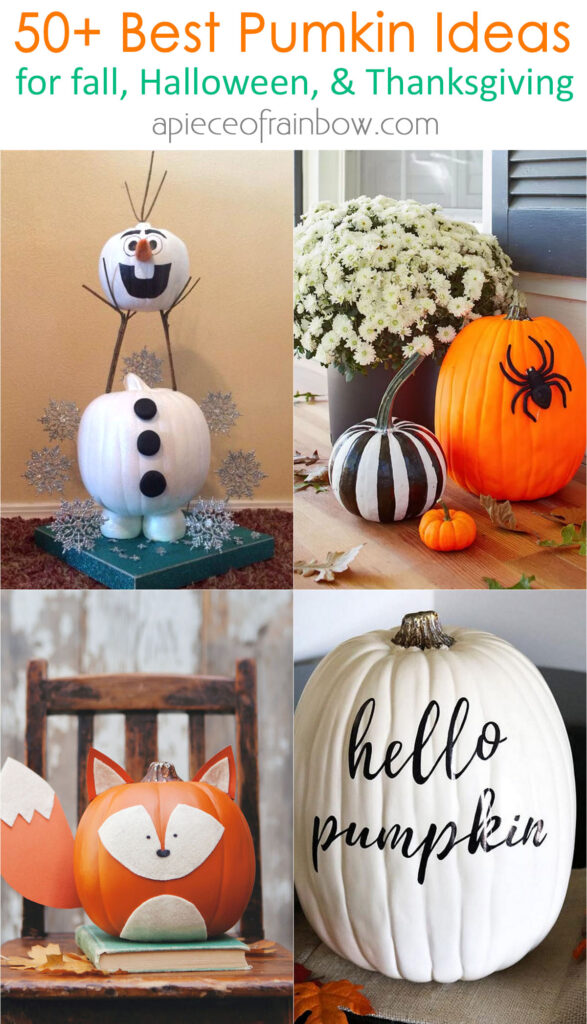
Welcome to the exciting world of no-carve pumpkin decorating! As the leaves turn and the air gets crisp, it’s time to bring a touch of fall magic into your home. Whether you’re looking to entertain the kids or simply add some festive flair to your decor, these creative ideas will inspire you to transform a simple pumpkin into a work of art without carving a single line.
Why Choose No-Carve Pumpkin Decorating?
No-carve pumpkin decorating has rapidly gained popularity for good reasons. Not only does it keep the mess to a minimum, but it also offers a unique chance to experiment with various styles and materials. From paint to embellishments, here are some compelling reasons to consider going no-carve this season:
- Less Mess: Say goodbye to pumpkin guts and seeds.
- Durability: No-carve pumpkins last longer without rotting.
- Kid-Friendly: Perfect for all ages—safe and fun!
- Versatile: Endless design possibilities!
Gathering Your Supplies
Before diving into the fun, make sure you have the right supplies on hand. Here’s a helpful checklist:
- Small to medium-sized pumpkins
- Paint (acrylic, spray, or craft paint)
- Markers (permanent and washable)
- Glue (hot glue, craft glue, or glue guns)
- Embellishments (glitter, sequins, ribbons, fabric, buttons)
- Miscellaneous items (stars, feathers, foam shapes, etc.)
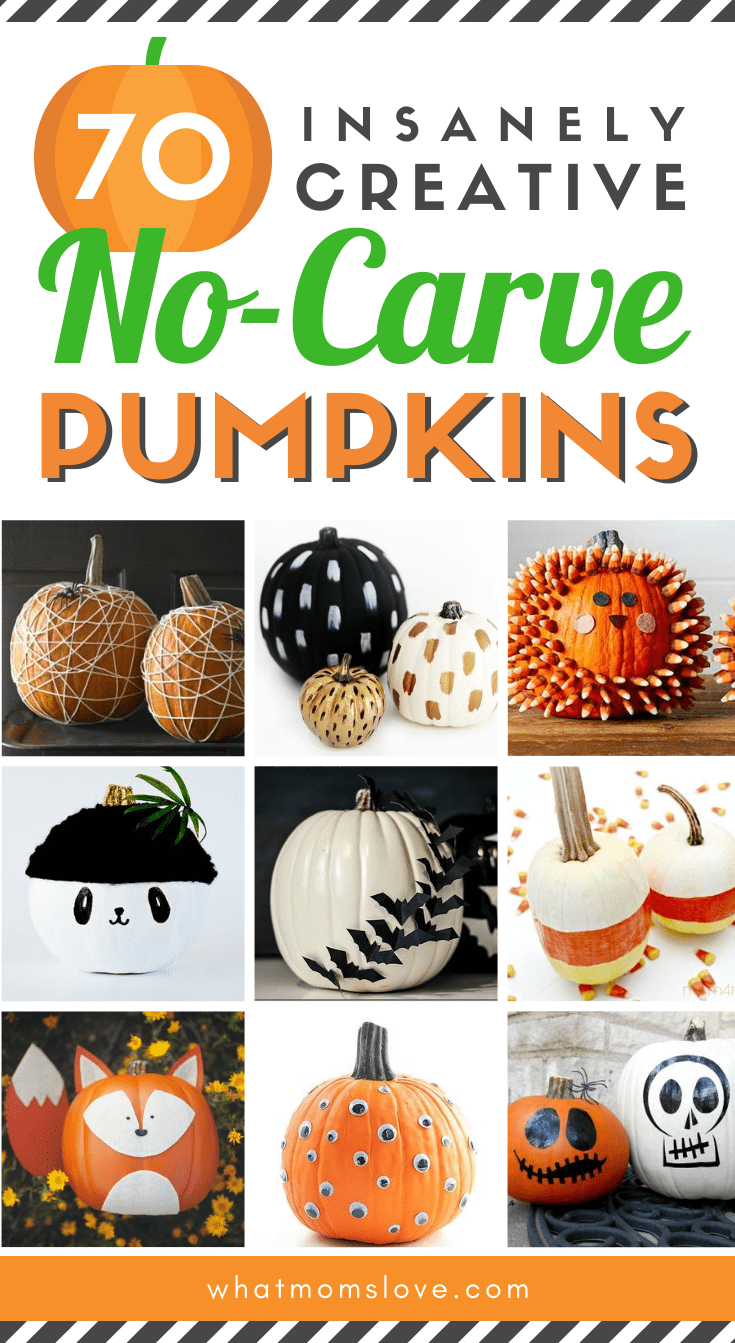
Top No-Carve Pumpkin Decorating Ideas
Now that you have your supplies, let’s get into the fun part! Here are some of the most creative no-carve pumpkin ideas that you can easily replicate at home.
1. Painted Pumpkins
Painting pumpkins is an excellent way to get creative. Use a variety of colors to create patterns or themes.
Materials Needed:
- Acrylic paint or spray paint
- Paintbrushes or sponges
- Masking tape for patterns
Instructions:
- Start by cleaning your pumpkin with soap and water.
- Use masking tape to create designs.
- Paint your pumpkin with your chosen colors, applying two coats for better coverage.
- Allow to dry completely before displaying.
Tip: Use metallic or glow-in-the-dark paint for a unique touch!
2. Glitter Pumpkins
Add some sparkle to your fall decor with glitter pumpkins! This idea is simple and striking.
Materials Needed:
- Glitter (various colors)
- Mod Podge or craft glue
Instructions:
- Apply a layer of Mod Podge or glue to the pumpkin.
- Sprinkle glitter generously over the glued area.
- Repeat if desired for full coverage.
- Shake off any excess glitter and let dry.
Pros: Eye-catching and festive. Cons: Glitter can get messy!
3. Fabric Pumpkins
Using fabric is an innovative way to give your pumpkin a cozy, textured look.
Materials Needed:
- Various fabric scraps
- Scissors
- Hot glue gun
Instructions:
- Cut fabric into strips or shapes.
- Glue fabric pieces around your pumpkin, overlapping as desired.
- Trim excess fabric and adjust for a polished look.
This method is perfect for creating a rustic or farmhouse-style pumpkin.
4. Nature-Inspired Pumpkins
Ditch the paint and use elements from nature! Leaves, twigs, and acorns can create a natural look.
Materials Needed:
- Dried leaves
- Twigs
- Acorns
- Craft glue
Instructions:
- Attach leaves and twigs using craft glue.
- Glue acorns to the top for a whimsical touch.
This is not only eco-friendly but also creates a beautiful centerpiece.
5. Sharpie Art Pumpkins
If you’re not artistically inclined, using permanent markers might be the way to go!
Materials Needed:
- Permanent markers in various colors
- Stencils (optional)
Instructions:
- Sketch designs lightly with a pencil or use stencils.
- Go over your designs with permanent markers.
This technique allows for intricate designs without the need for carving!
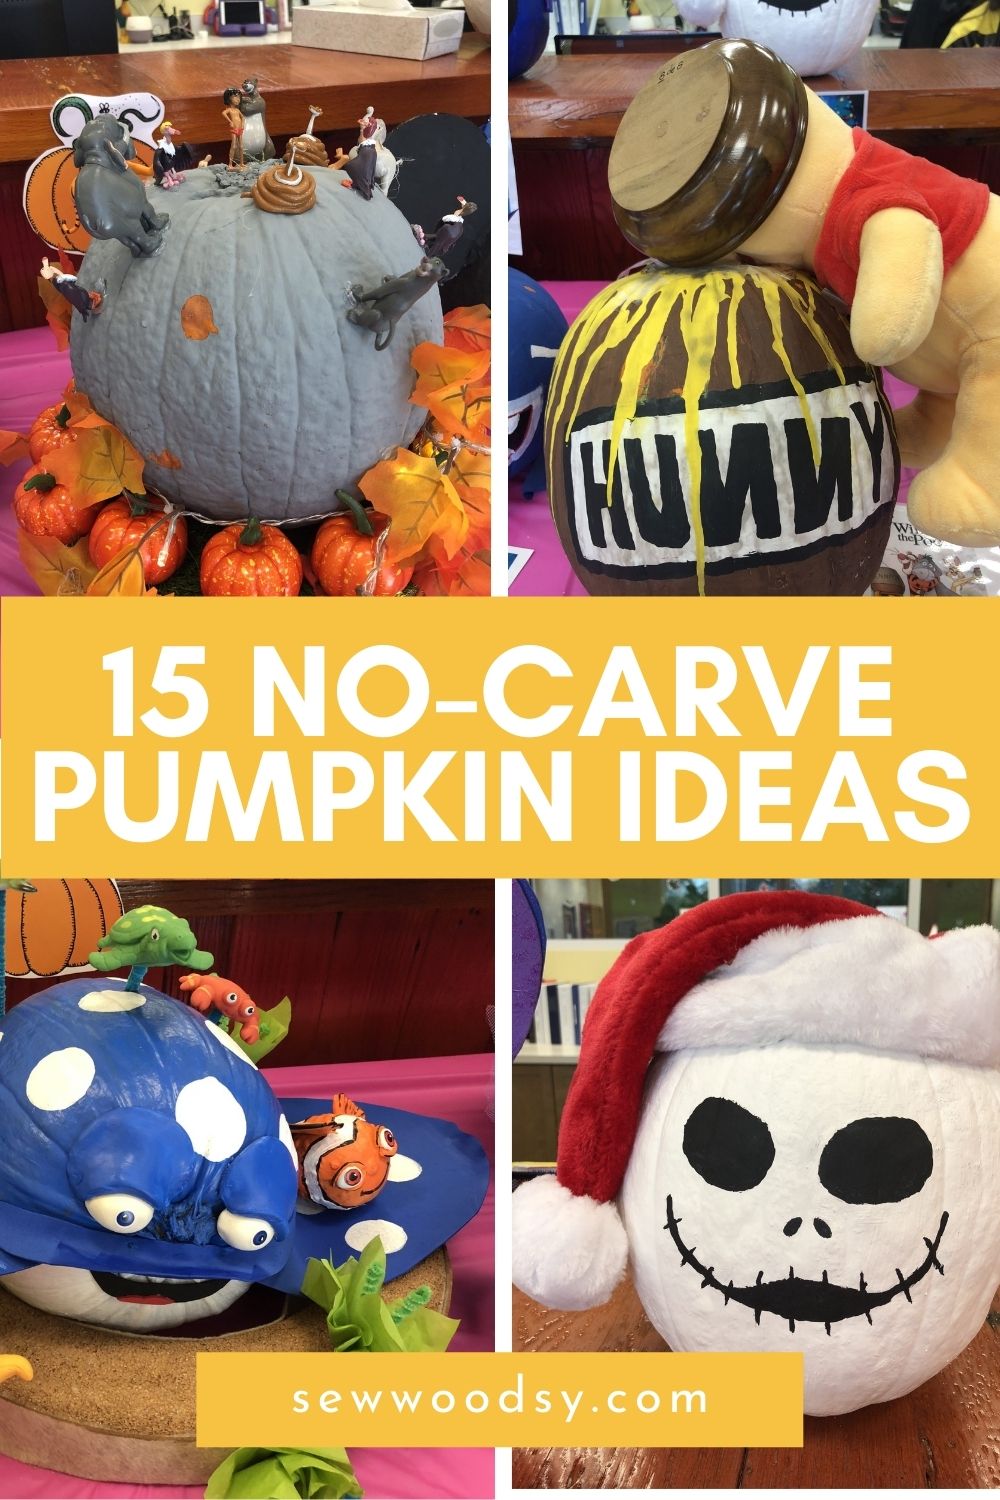
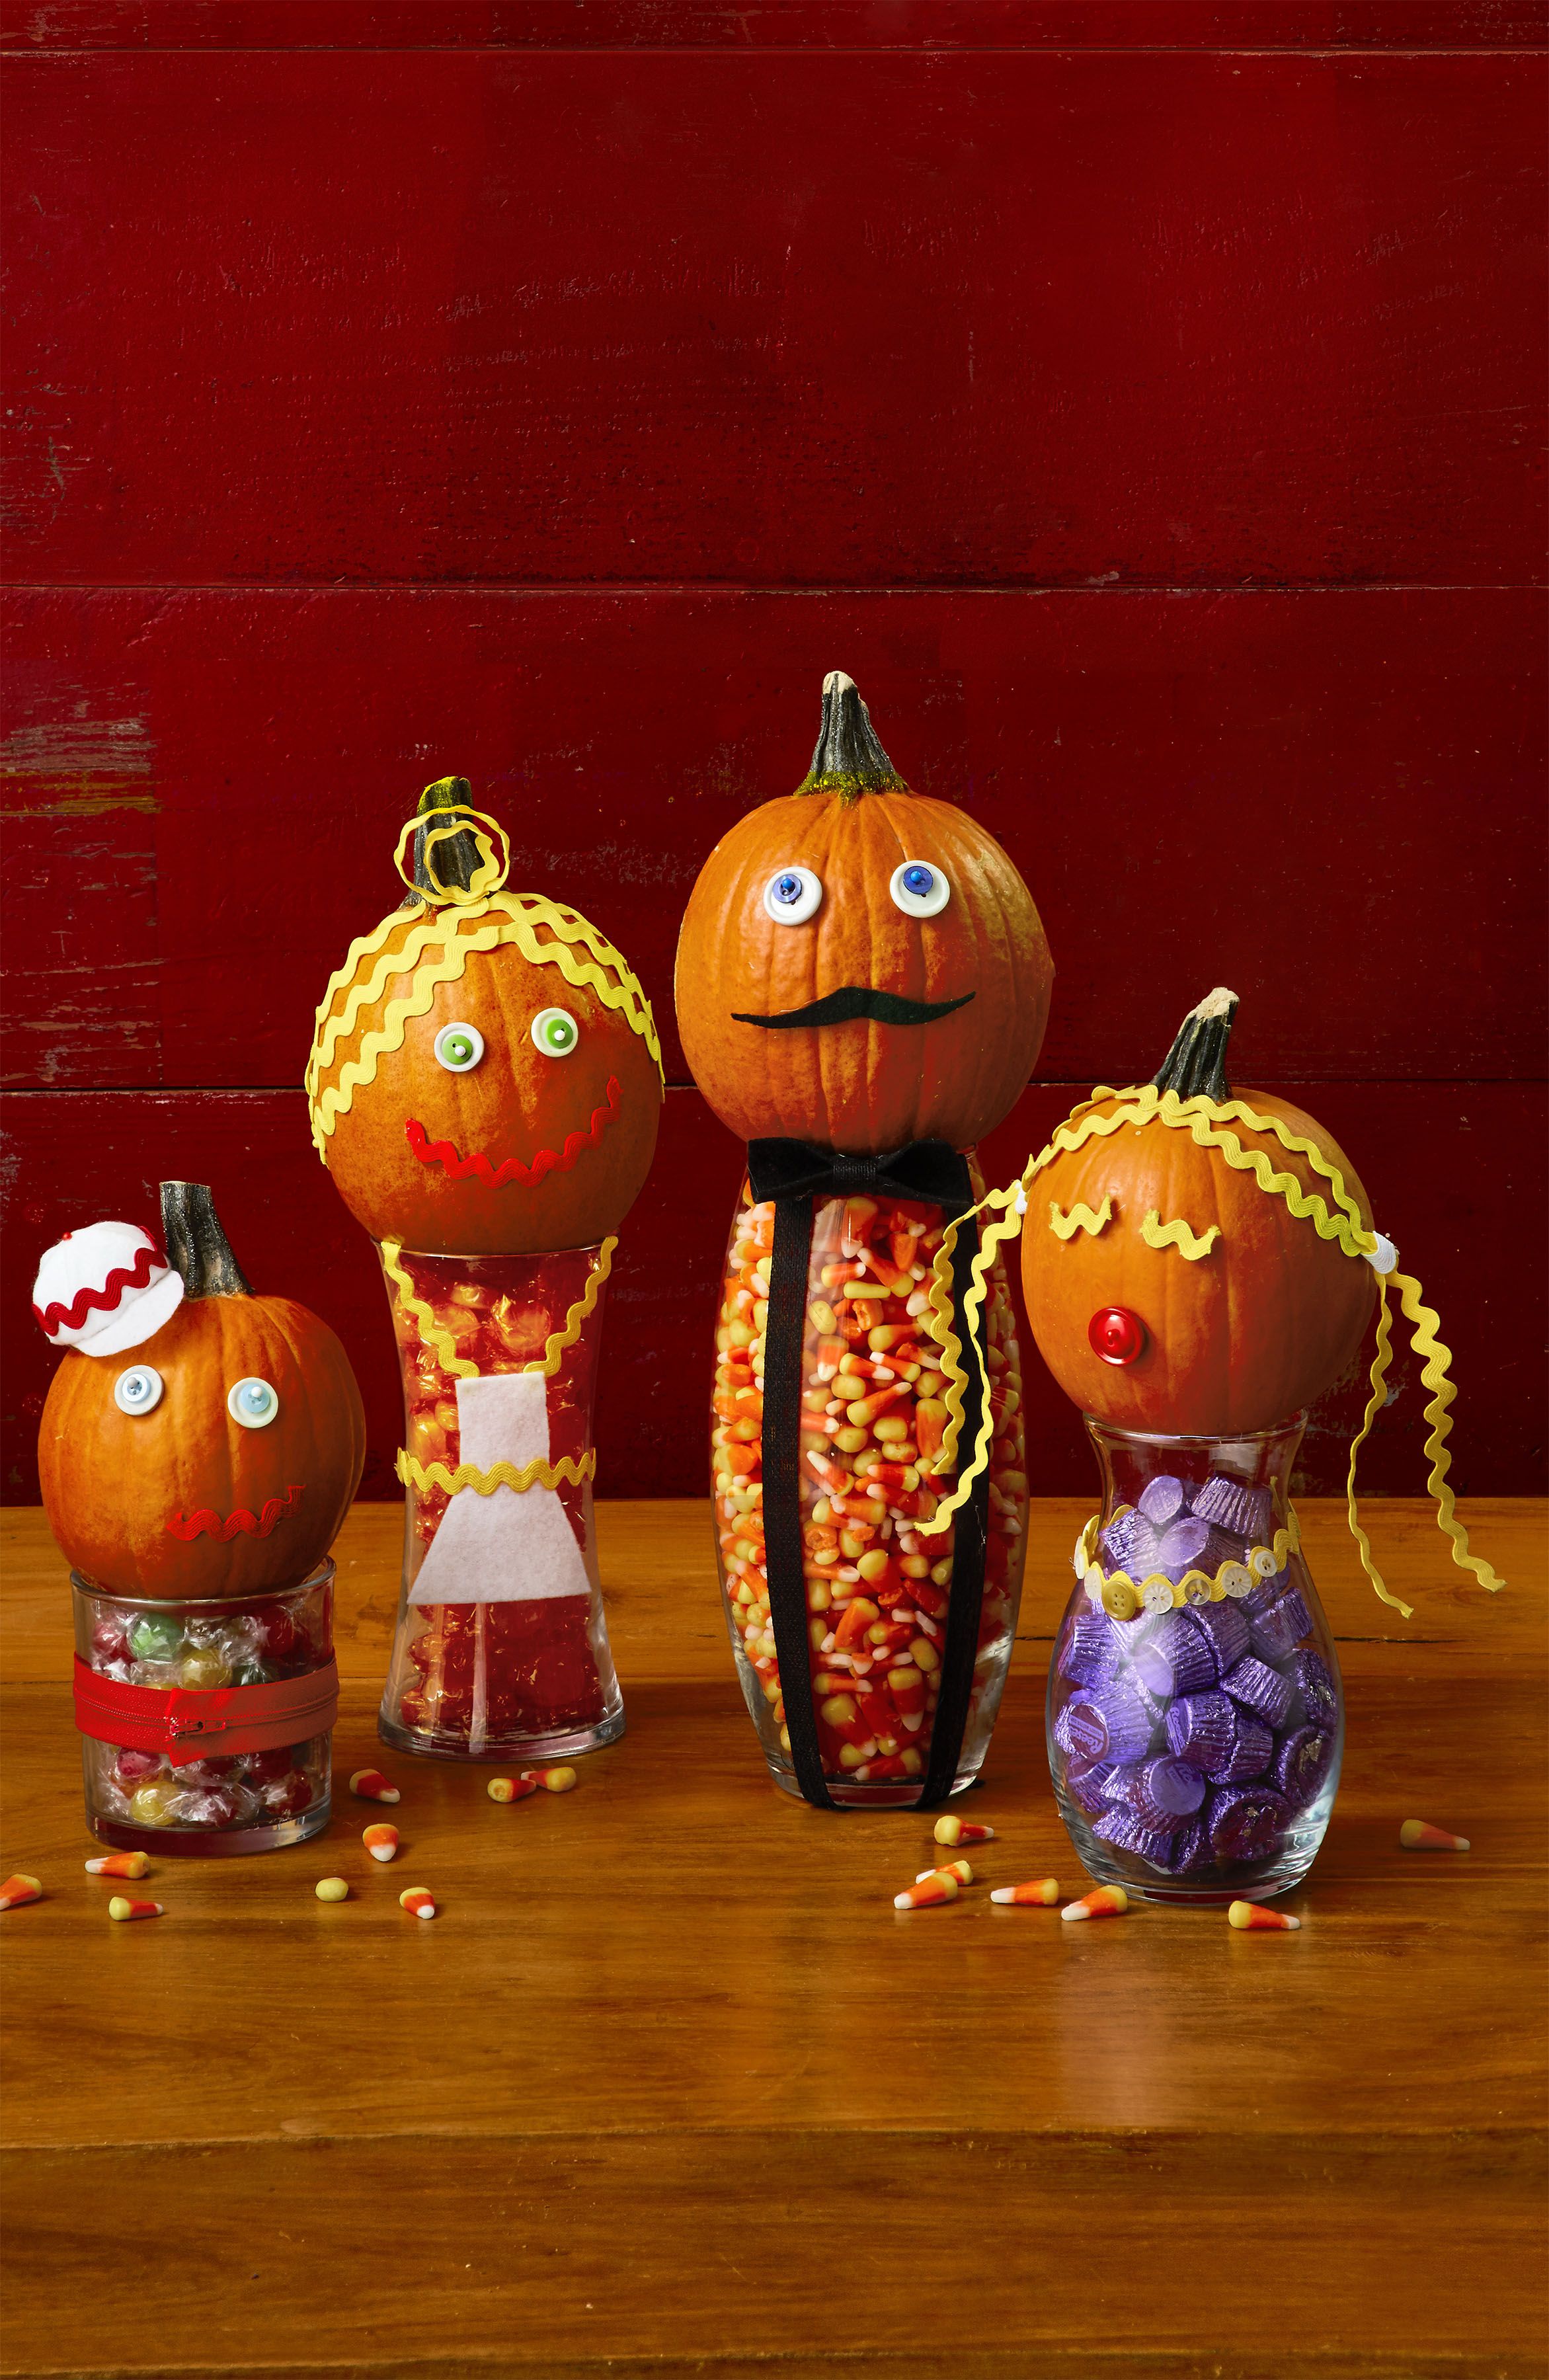
6. Pumpkin Monsters
Let your creativity run wild by transforming pumpkins into cute monsters using various materials!
Materials Needed:
- Craft eyeballs
- Pompoms
- Felt or colorful paper
Instructions:
- Glue on googly eyes or make your own with felt.
- Add pom-poms or felt pieces for hair or other features.
- Get creative and name your monsters!
This option is particularly fun for kids and encourages imaginative play!
7. Balloon Pumpkins
For something a little different, why not use balloons to mimic the look of pumpkins?
Materials Needed:
- Orange balloons
- Green construction paper or tissue paper
- String (for hanging)
Instructions:
- Inflate the orange balloons and tie them off.
- Cut out leaves and vines from construction paper.
- Attach to the top of the balloon with glue or string.
This idea works great for parties or events!

Comparison Table of No-Carve Pumpkin Ideas
| Method | Tools Needed | Age Suitability | Time Required |
|---|---|---|---|
| Painted Pumpkins | Paint, brushes, tape | All ages | 30-60 minutes |
| Glitter Pumpkins | Glitter, glue | All ages | 20-40 minutes |
| Fabric Pumpkins | Fabric, glue | Teens and up | 30-60 minutes |
| Nature-Inspired | Natural materials, glue | All ages | 30-60 minutes |
| Sharpie Art | Markers | All ages | 15-30 minutes |
| Monster Pumpkins | Craft supplies | All ages | 30-60 minutes |
| Balloon Pumpkins | Balloons, paper | All ages | 15-30 minutes |
Tips for Successful No-Carve Pumpkin Decorating
To ensure that your no-carve pumpkin decorating experience is enjoyable and successful, consider these helpful tips:
- Plan Your Design: Sketch out your ideas before you start.
- Be Patient: Allow each layer of paint or glue to dry completely.
- Get Creative: Don’t be afraid to mix techniques!
- Involve the Family: Make it a fun family activity!
Frequently Asked Questions (FAQs)
1. Can I use real pumpkins for no-carve decorating?
Yes, real pumpkins are perfect for decorating! Just ensure you clean and dry them properly to make your decorations last longer.
2. How long will my no-carve pumpkins last?
No-carve pumpkins can last several weeks, especially if you keep them in a cool, dry place.
3. What is the best paint for pumpkins?
Acrylic paint is recommended for its vibrant colors and quick drying time, but spray paint can also work well for a smoother finish.
4. Are there any safe ways to light my no-carve pumpkins?
Using LED tea lights or string lights inside your pumpkins is a safe option to add a warm glow without the fire hazard.
5. Can I store my decorated pumpkins?
Yes! Just be sure to store them in a cool, dry place to maintain their quality.