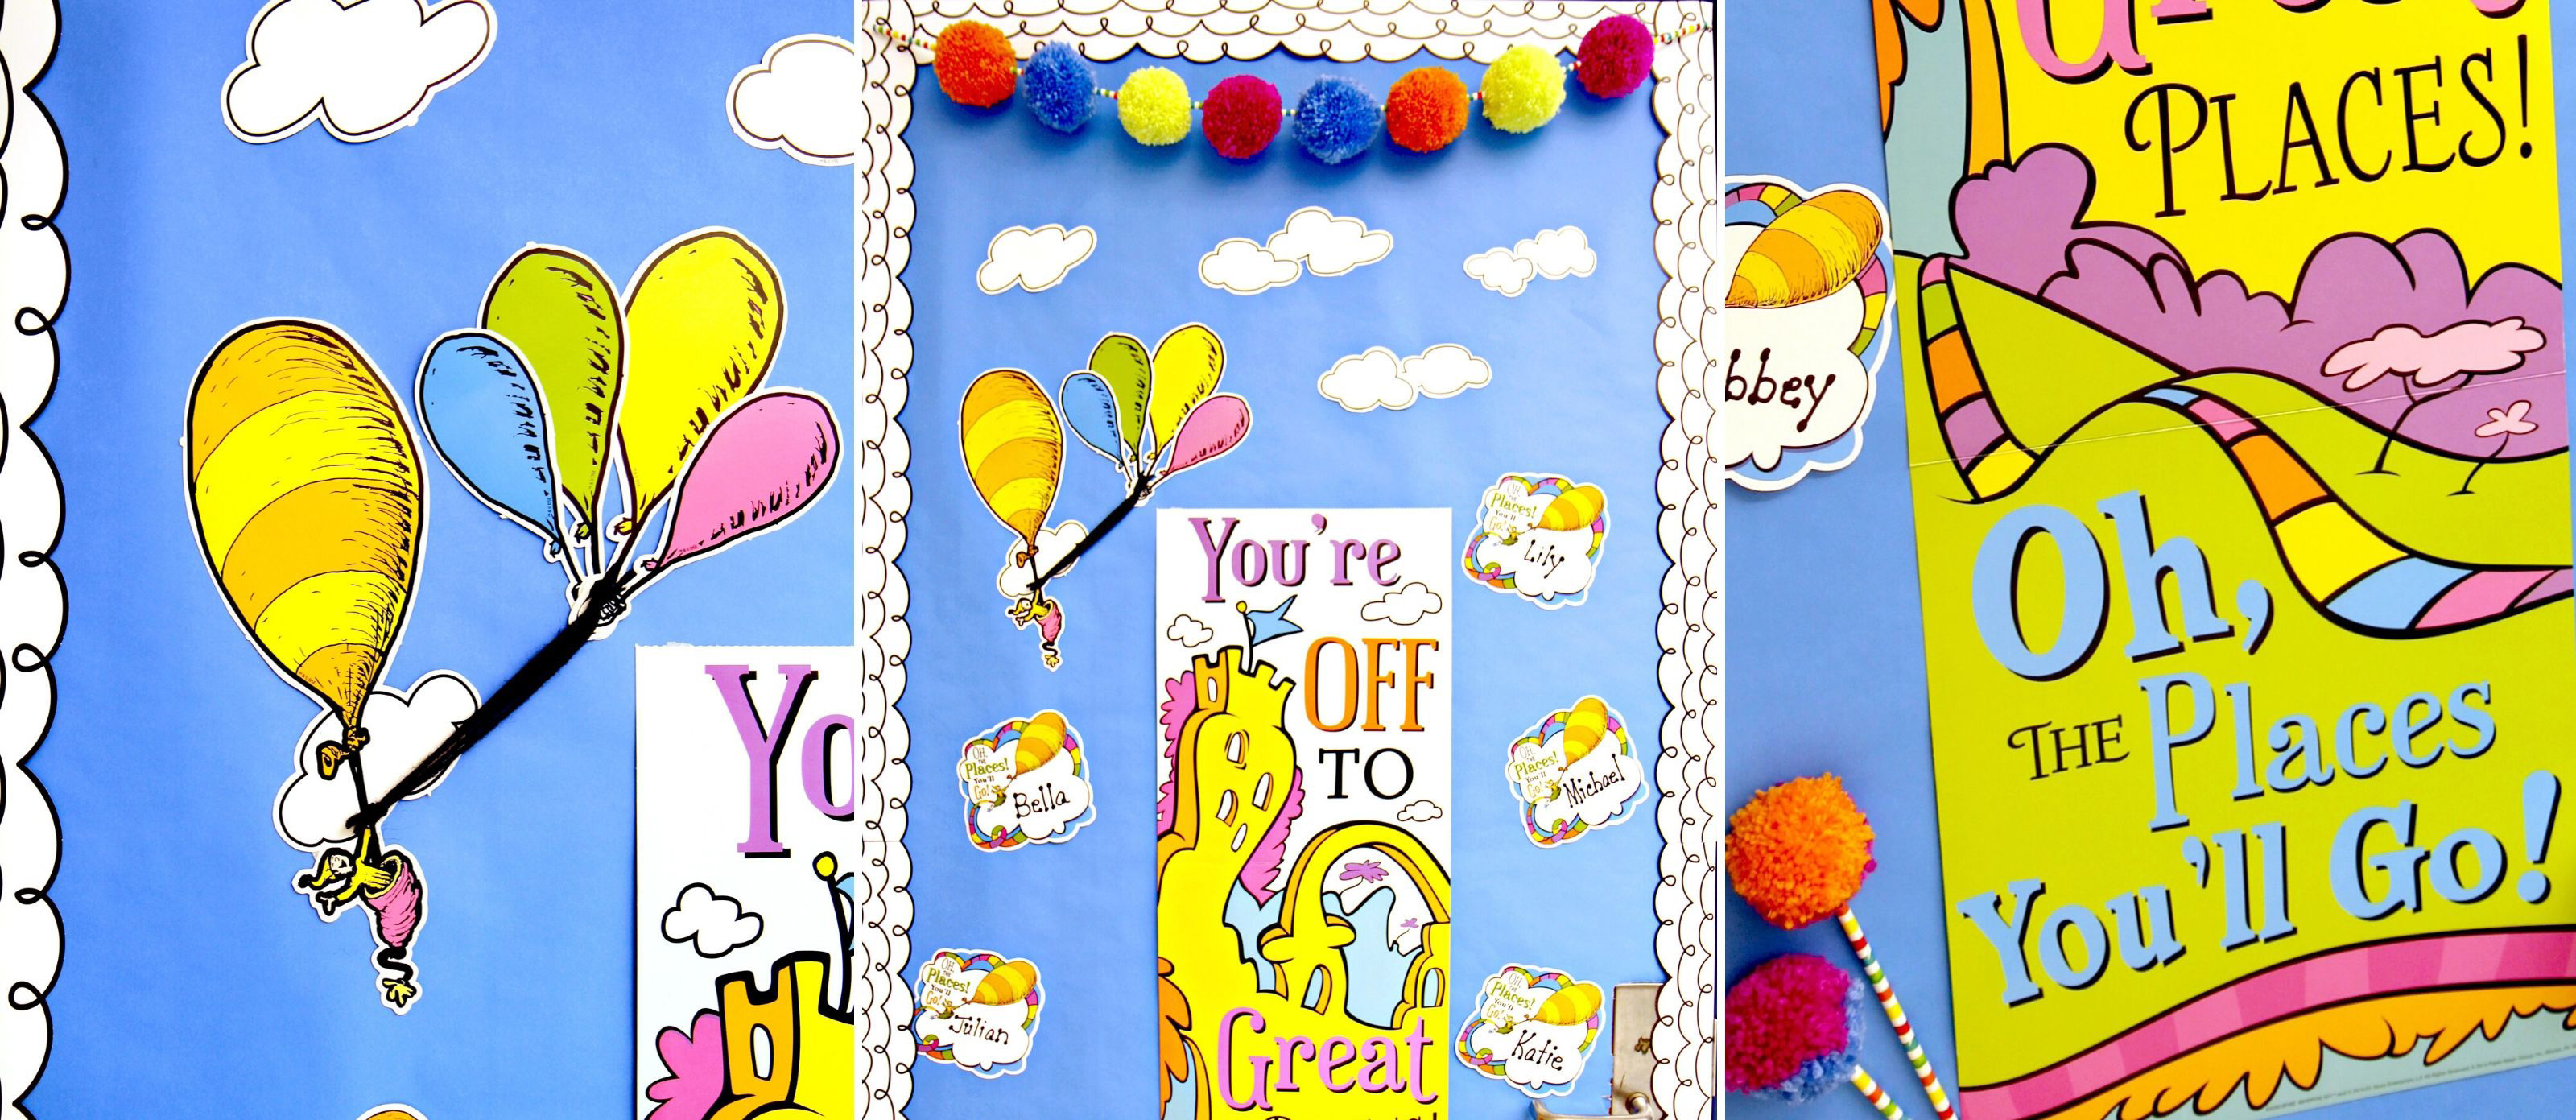
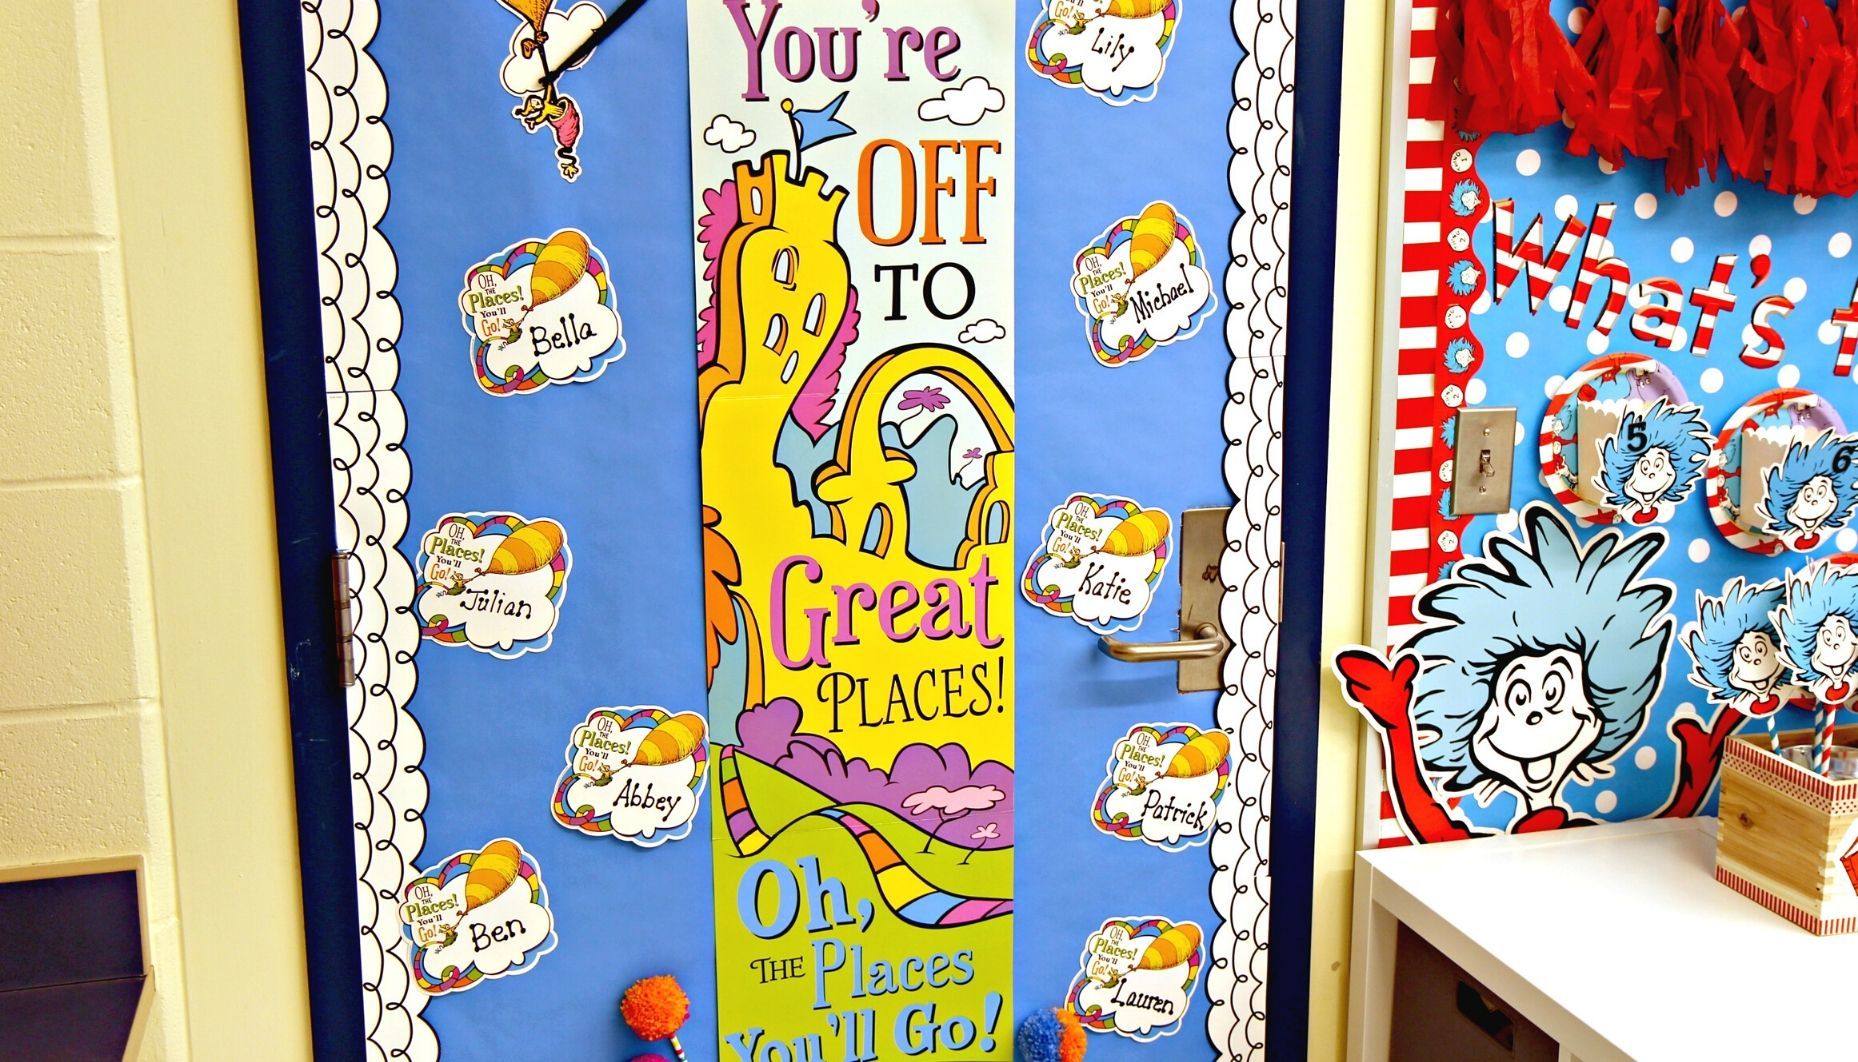
The joy of crafting your door decoration based on Dr. Seuss’s beloved book “Oh, the Places You’ll Go!” is an experience filled with creativity, nostalgia, and warmth. As someone who cherishes the whimsical charm of this literary masterpiece, I’ve found that decorating my door with its themes sparks a sense of adventure and exploration in both kids and adults alike. In this article, we’ll explore a variety of door decoration ideas, share personal experiences, and provide you with practical tips to make your door a true reflection of the journey ahead.
Understanding the Theme of “Oh the Places You’ll Go”
Before we dive into the decoration ideas, let’s take a moment to unpack the underlying message of Dr. Seuss’s work. At its core, “Oh, the Places You’ll Go!” is about the journey of life, with all its ups and downs. The book encourages readers to embrace change, welcome challenges, and pursue dreams fervently. This theme of adventure makes it a perfect inspiration for door decorations, especially in educational settings or for personal use.
Essential Materials for Door Decoration
Before embarking on your door decorating journey, gather a few essential materials. Here’s a list to help you get started:
- Colored cardstock or paper
- Markers and crayons
- Scissors and glue
- Crafting tape or double-sided tape
- String lights (optional)
- Vinyl decals or stickers
- Fabric or felt (for texture)
Creative Door Decoration Ideas
1. Balloon Adventure
One of the most iconic images associated with the book is the hot air balloon. Use colorful balloons cut from cardstock to create a vibrant 3D effect on your door. Attach them with crafting tape and add string to mimic balloon strings leading upwards.
2. Pathway to Adventure
Create a winding pathway using brown paper or fabric that leads up to a big sign that says “Oh, the Places You’ll Go!” You can personalize your pathway with footprints or small illustrations representing different places.
3. Inspirational Quotes
Incorporate quotes from the book around your decoration. Use eye-catching typography and colors that reflect the book’s playful nature. You can write them on colorful banners and hang them from the top of your door.

4. A World Map Collage
Design a world map collage that showcases various places featured in the book. Use magazine cutouts, travel brochures, or print images from the internet to make this collage visually appealing and educational.
5. Interactive Elements
Make your door decoration interactive by adding elements that people can rearrange or touch. For example, use velcro for characters or places, allowing kids to put them in different positions as they imagine their own adventures.

Step-by-Step Guide to Creating Your Door Decoration
Step 1: Planning Your Design
Begin by sketching your ideas. What elements resonate with you the most? Consider the space and how each component will fit together.
Step 2: Gather Your Materials
Ensure you have all your materials ready. This will streamline your creative process and keep you from scrambling for supplies mid-project.

Step 3: Create Your Base
Decide on a base color or fabric for your door. A solid color background can make your decorations pop!
Step 4: Cut and Assemble
Start cutting out your shapes and assembling them according to your design. Take your time with this step to ensure everything is neat and visually pleasing.

Step 5: Add Interactive Features
If you’re incorporating interactive elements, make sure they are securely placed but easily movable. This enhances engagement, especially for kids.
Step 6: Final Touches
Go back through your decoration and add any final touches, such as additional colors, textures, or lights. Make sure everything is securely attached and ready for display!

Case Study: Personal Experience with Door Decorations
A few years ago, I decided to decorate my classroom door with the “Oh the Places You’ll Go” theme. The students were instantly drawn to the colorful balloons and inspiring quotes, and it sparked conversations about their own dreams and aspirations.
One memorable interaction was when a shy student shared her dream of becoming a veterinarian after seeing the little animal stickers I had included. This experience reinforced my belief in the power of creative decorations to inspire and motivate.
Tips for Maintaining Your Door Decoration
1. Seasonal Updates
Consider updating your door decoration with the seasons or during special events to keep it fresh and engaging. This can also align with educational themes throughout the school year.

2. Protect Your Decoration
If your door is exposed to the elements, consider using a sealant or protective covering to preserve your hard work.
3. Encourage Participation
Invite friends or family members to add their own touch to the decoration. This not only creates a collaborative environment but can also make the decoration more personal.
Pros and Cons of DIY Door Decorations
| Pros | Cons |
|---|---|
| Highly customizable to your taste and theme | Time-consuming to create |
| Encourages creativity and art skills | Requires a certain level of crafting skill |
| Can be a fun group activity | Materials can get expensive |
| Promotes positive messages and themes | May require upkeep if placed outdoors |
Frequently Asked Questions (FAQs)
What materials do I need for a door decoration?
Essential materials include cardstock, markers, scissors, glue, fabric, and any decorative items like stickers or lights.
Can I involve kids in making the door decoration?
Absolutely! Involving kids can make the process more fun and helps them connect with the theme personally.
How often should I change my door decoration?
It’s a good idea to update your decor seasonally or for special events to keep it engaging for visitors.
Where can I find inspiration for designs?
Look online for Pinterest boards, craft blogs, and even social media platforms. Many educators and decorators share their creative projects!
Is it better to buy decorations or make my own?
Making your own allows for personalization and creativity, but purchasing can save time and ensure a polished look.