As the leaves turn and the air gets crisp, the time for Halloween decorations approaches. Among the many ways to celebrate, calabazas decoradas originales—or original decorated pumpkins—hold a special place in our hearts. This article will take you on a journey through the art of pumpkin decoration, sharing my personal experiences, tips, and creative ideas to inspire your own festive designs.
What Are Calabazas Decoradas Originales?
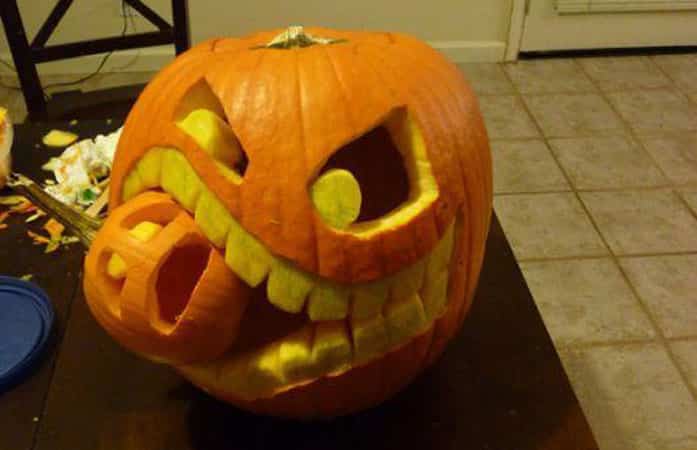
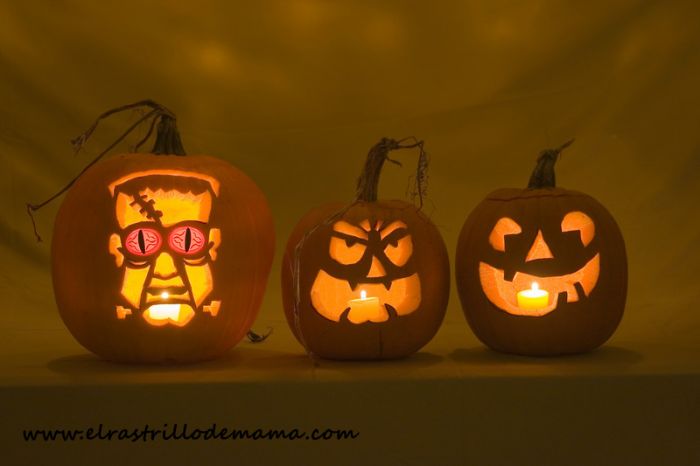
Calabazas decoradas originales refers to uniquely decorated pumpkins that go beyond the traditional jack-o’-lanterns. They can feature intricate designs, vibrant colors, and various crafting techniques that showcase creativity and personal style. Whether you’re looking to impress your guests or simply have fun with your family, these original pumpkins add a special touch to your Halloween celebrations.
The History of Pumpkin Decoration
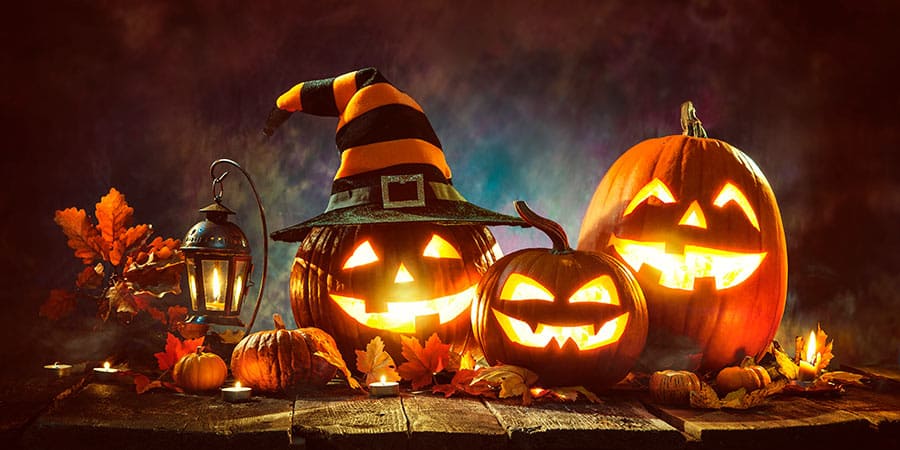
Pumpkins have been associated with Halloween for centuries, originating from ancient Celtic harvest traditions. The practice of carving pumpkins likely gained popularity in the United States in the 19th century. Today, it’s evolved into a creative and expressive art form.
Why Choose Original Decorated Pumpkins?
Opting for original decorated pumpkins allows for endless creativity. They can be personalized to fit your style, represent themes, or even tell a story. Plus, crafting these pumpkins can be a fun activity for families, fostering teamwork and imagination.
Creative Ideas for Calabazas Decoradas Originales
Here are some unique ideas to get your creativity flowing:

1. Painted Pumpkins
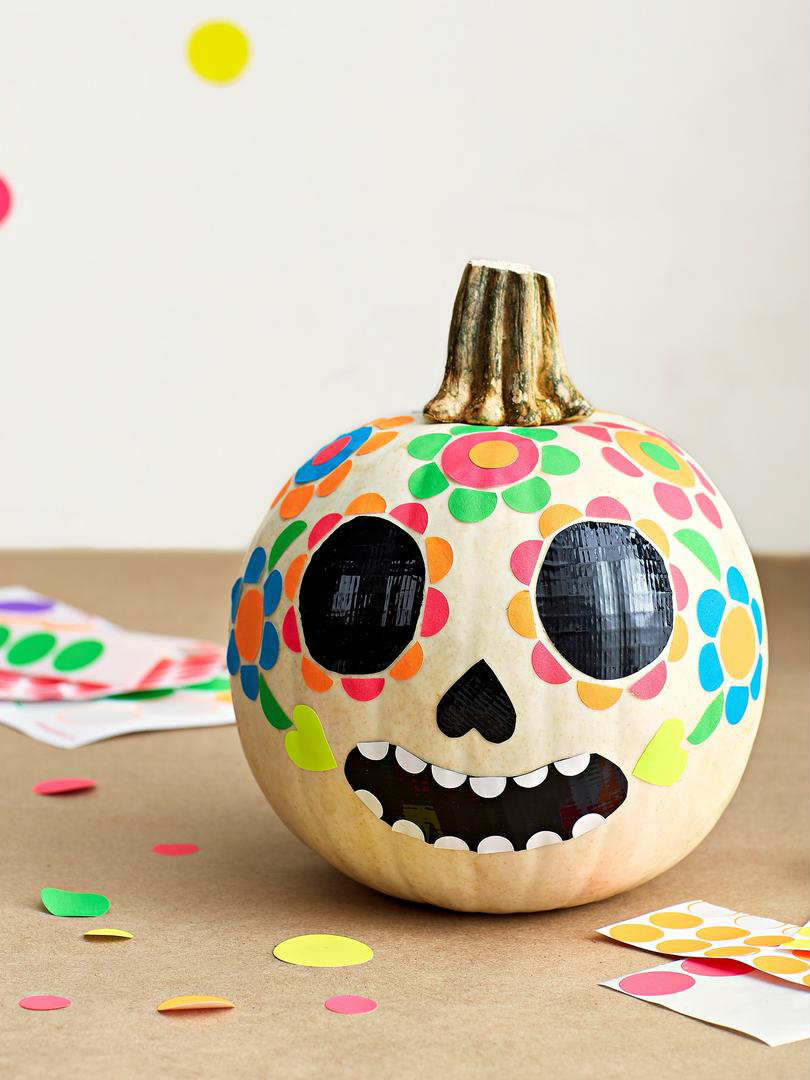
Instead of carving, try painting your pumpkins. Acrylic paints work great for this. You can create patterns, characters, or even abstract designs.
2. Glitter and Glam
Add some sparkle to your pumpkins with glitter. Apply a layer of Mod Podge and sprinkle glitter over it for a shimmering effect.

3. Fabric Pumpkins
Wrap pumpkins in fabric to give them a cozy, textured look. Use fall colors or patterns that match your home decor.
4. Nature-Inspired Designs
Use natural materials like leaves, twigs, and flowers to create themed decorations. For instance, a woodland creature design can be realized using a combination of pumpkins, moss, and small branches.

Tools and Materials Needed for Decorating Pumpkins
Before you start, make sure you have the right tools and materials. Here’s a comprehensive list:
- Pumpkins (various sizes)
- Acrylic paints
- Paintbrushes and sponges
- Mod Podge
- Glitter
- Fabric scraps
- Hot glue gun and glue sticks
- Scissors
- Nail polish or markers for small details
- Natural items (leaves, twigs, etc.)

Step-by-Step Guide to Decorating Your Pumpkins
Step 1: Choose Your Pumpkins
Start with picking the right pumpkins. Look for ones that are sturdy with a smooth surface—perfect for decorating.

Step 2: Prepare Your Workspace
Set up a clean and well-lit workspace. Cover surfaces to protect from paint and glue spills.
Step 3: Design Your Idea
Sketch your design on paper before applying it to the pumpkin. Planning helps avoid mistakes and ensures you’re happy with the final look.

Step 4: Start Decorating
Choose your preferred method—painting, gluing, or wrapping—and start bringing your design to life. Be patient, and allow glue or paint to dry between steps.
Step 5: Display Your Creations
Once your pumpkins are decorated and dry, find a perfect spot to showcase them. Consider using hay bales, porch steps, or even tables for a festive display.

Tips for Successful Pumpkin Decoration
- Test paint colors on a small area first to see how they look once dry.
- Use painter’s tape for clean lines when painting.
- Keep your workspace organized to avoid accidents.
- Don’t be afraid to experiment with colors and materials!
Comparison Table: Pumpkin Decorating Methods
| Method | Pros | Cons |
|---|---|---|
| Painting | Endless design possibilities, vibrant colors | Can be time-consuming, drying time |
| Carving | Classic Halloween look, fun for all ages | Messy, pumpkins spoil faster |
| Glitter/Decoupage | Eye-catching finishes, customizable | Can be messy, glitter may fall off |
| Fabric wrapping | Unique texture, easy to change styles | May not withstand outdoor elements |
Pros and Cons of Using Real vs. Artificial Pumpkins
Real Pumpkins
- Pros: Natural look, traditional appeal, compostable.
- Cons: Spoils quickly, attracts pests, requires carving tools.
Artificial Pumpkins
- Pros: Reusable, no mess, can be stored for future use.
- Cons: Less authentic appearance, can be more expensive upfront.
Frequently Asked Questions (FAQs)
What are some easy designs for decorated pumpkins?
Simple designs like polka dots, stripes, or even a classic smiley face can be great for beginners. You can also use stickers or stencils to create shapes and patterns easily.
Can I decorate pumpkins without carving them?
Absolutely! There are many ways to decorate pumpkins without carving, such as painting, wrapping, or using natural materials for embellishments.
How long do decorated pumpkins last?
Decorated pumpkins can last a few weeks, but factors like weather conditions and the materials used will affect their lifespan. Keeping them in a cool, dry place will help prolong their life.
What is the best way to preserve a carved pumpkin?
To extend the life of a carved pumpkin, you can coat the cut areas with petroleum jelly or a bleach solution to prevent mold and decay. Storing it in a cool place also helps.
Conclusion: Unleash Your Creativity with Calabazas Decoradas Originales
Creating original decorated pumpkins is not just an activity—it’s an opportunity to express yourself and bring joy to your home during the Halloween season. I’ve shared my personal experiences, tips, and creative ideas, but now it’s your turn to get crafting. Embrace your creativity, gather your materials, and dive into the fun world of calabazas decoradas originales!
Happy decorating!