As Halloween approaches, many of us jump into the spirit of the season by decorating our homes. One of my personal favorite mediums for Halloween décor is plywood. Its sturdiness and versatility offer endless possibilities for creativity. In this article, we’ll dive into the world of plywood Halloween decorations, share some of my experiences, and provide you with a wealth of ideas to make your October 31st truly spook-tacular!
Why Choose Plywood for Halloween Decorations?
Plywood is an exceptional material for creating Halloween decorations for several reasons:
- Durability: Plywood can withstand the elements, making it ideal for both indoor and outdoor decorations.
- Versatility: It can be easily cut, painted, and shaped to suit your Halloween themes.
- Cost-effective: Compared to other materials, plywood is often more affordable, especially when purchasing in larger sheets.
Personal Experience: My First Plywood Project

Back in 2015, I decided to craft my first set of Halloween decorations from plywood. I was inspired by a friend who had created these delightful ghost cutouts. After a weekend filled with creativity, I produced a set of spooky figures that garnered compliments from my neighbors. This experience not only boosted my DIY confidence but also made me realize how much joy these handmade decorations can bring to the community.
Popular Plywood Halloween Decoration Ideas

1. Spooky Silhouettes
Spooky silhouettes are a classic choice for Halloween décor. They can be easily created from plywood and positioned in windows or yards.
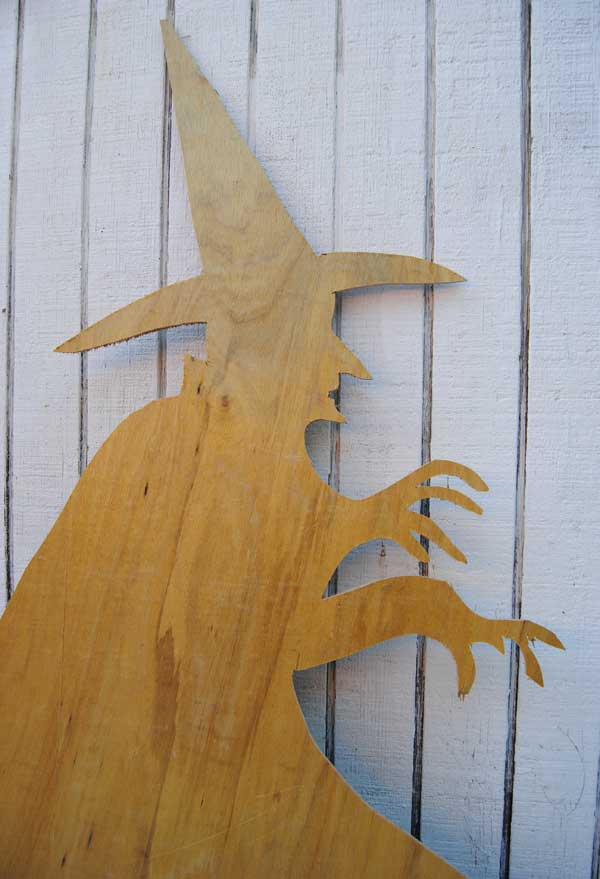
How to Create Spooky Silhouettes
- Draw or print a silhouette design.
- Transfer the design onto the plywood.
- Cut out the shape using a jigsaw.
- Paint the cutout black for an eerie effect.

2. Jack-o’-Lanterns
Take a step away from the traditional pumpkin and create plywood jack-o’-lanterns. These can last longer and can be customized year after year!

Steps to Craft a Plywood Jack-o’-Lantern
- Cut a pumpkin shape from the plywood.
- Paint the pumpkin orange and add a green top.
- Use a black marker to create a spooky face.
- Optional: Add LED lights inside for a glowing effect at night.

3. Halloween Themed Signs
Get creative with thematic signs to guide trick-or-treaters or set the mood.
Popular Sign Ideas:
- “Welcome to the Haunted House”
- “Beware of Ghosts”
- “Enter if You Dare”
Pro Tips for Making Signs
For added impact, use a weather-resistant sealant to protect your signs if they’ll be placed outdoors.
Essential Tools and Materials for Plywood Decorations
Tools You’ll Need
- Jigsaw or scroll saw
- Sander or sanding paper
- Paintbrushes and rollers
- Paint (acrylic or outdoor paint)
- Wood glue (if assembling multiple pieces)
Materials Required
When choosing plywood, opt for 1/4″ to 1/2″ thickness. Here’s a comparison table for different types of plywood:
| Type of Plywood | Thickness | Best For | Price (per sheet) |
|---|---|---|---|
| Softwood Plywood | 1/4″ | Indoor decorations | $15 |
| Hardwood Plywood | 1/2″ | Outdoor decorations | $30 |
| Marine Plywood | 1/2″ | Waterproof outdoor use | $50 |
Painting and Finishing Your Plywood Decorations
Once you’ve cut your plywood shapes, it’s time to unleash your inner artist. Here are some tips for painting and finishing your decorations:
Choosing the Right Paint
- Acrylic Paint: Great for quick drying and vibrant colors.
- Outdoor Paint: Best for decorations that will be exposed to the elements.
Sealing Your Decorations
After painting, consider applying a sealant to protect your work from weather and wear. A water-based polyurethane is an excellent option, as it dries clear and offers protection without altering the paint color.
Pros and Cons of Plywood Halloween Decorations
Pros
- Affordable and accessible material
- Customizable to fit your theme
- Can be reused for years with proper care
Cons
- Requires basic woodworking skills
- Needs time and effort to create
- Risk of splintering if not cut carefully
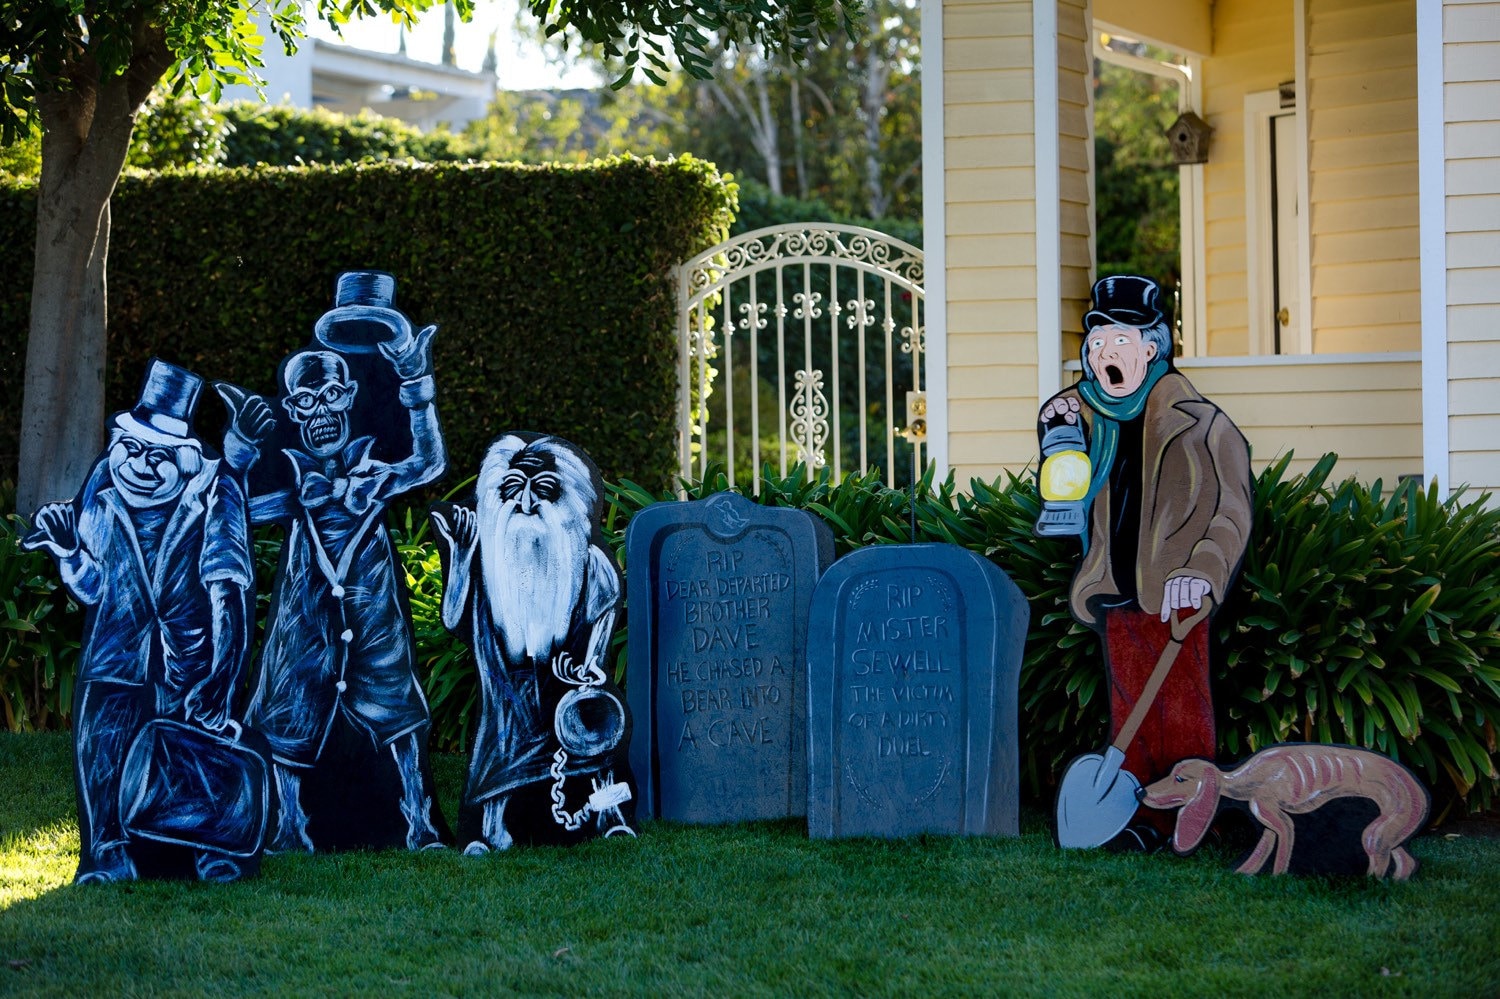
Tips for Displaying Your Plywood Decorations
Once your plywood projects are complete, consider how you’ll display them:
- Lighting: Incorporate lighting effects to enhance the spookiness.
- Height Variation: Use pedestals or stake your decorations into the ground to create a visually appealing layout.
- Group Themes: Display similar themes together, like a haunted graveyard or a spooky forest scene.
Frequently Asked Questions
What type of plywood is best for outdoor Halloween decorations?
Marine plywood is excellent for outdoor decorations due to its waterproof qualities, but if you’re looking for economy, 1/2″ hardwood plywood also works well with proper sealing.
Can I leave plywood decorations outside in rain or snow?
While plywood can be treated for outdoor use, it’s essential to seal it with a waterproof sealant or paint to prevent damage from moisture.
Are there any specific safety tips for cutting plywood?
Always wear safety glasses and a dust mask when cutting plywood. Ensure you’re using a sharp blade to reduce the risk of splintering.
Conclusion: Unleash Your Creativity This Halloween!
Whether you’re a seasoned DIYer or just starting, plywood Halloween decorations can add a unique touch to your festivities. With creativity and a bit of effort, you can craft pieces that not only enhance your home’s curb appeal but also create lasting memories. So grab your tools, gather your supplies, and let’s make this Halloween the spookiest yet!