As the crisp autumn air settles in and the days grow shorter, it’s time to embrace one of the most beloved symbols of the season: the pumpkin. Whether for Halloween, Thanksgiving, or simply to celebrate the beauty of autumn, pumpkin face decorations have become a creative outlet for people of all ages. This article dives deep into the world of pumpkin face decorations, offering a professional guide infused with personal experiences, tips, and tricks to create your own festive masterpieces.
Table of Contents
- A Brief History of Pumpkin Decorations
- Getting Started with Pumpkin Decorations
- Types of Pumpkin Face Decorations
- Essential Tools and Materials
- Techniques for Designing Pumpkin Faces
- Safety Tips for Pumpkin Carving
- Caring for Your Pumpkin Creations
- Comparison of Pumpkin Decorating Methods
- Pros and Cons of Different Techniques
- My Personal Pumpkin Carving Journey
- Frequently Asked Questions (FAQs)
A Brief History of Pumpkin Decorations
Pumpkin decorations date back centuries, rooted in ancient Celtic traditions. The custom of carving faces into vegetables to ward off evil spirits has evolved into the beloved practice we know today. What started with turnips in Ireland transformed into pumpkins when the Irish immigrants brought the tradition to America, where pumpkins were far more accessible and easier to carve.
Getting Started with Pumpkin Decorations
Starting your pumpkin decoration journey can be exciting yet overwhelming. Don’t worry! With a few simple steps, you can dive right into the fun.
Choosing the Right Pumpkin
The first step is selecting the perfect pumpkin. Look for one that is firm, with a sturdy stem and a smooth surface. Consider the size and shape based on how you plan to decorate it; larger pumpkins provide more space for intricate designs, while smaller ones are perfect for cute, simplistic faces.

Setting Up Your Workspace
Before diving into decoration, set up a well-lit workspace. Cover your table with newspaper or a plastic tablecloth for easy cleanup. Gather your tools and materials to create an inviting environment.
Types of Pumpkin Face Decorations
There are countless ways to decorate pumpkins, and each method has its unique charm. Here are some popular types of pumpkin face decorations:

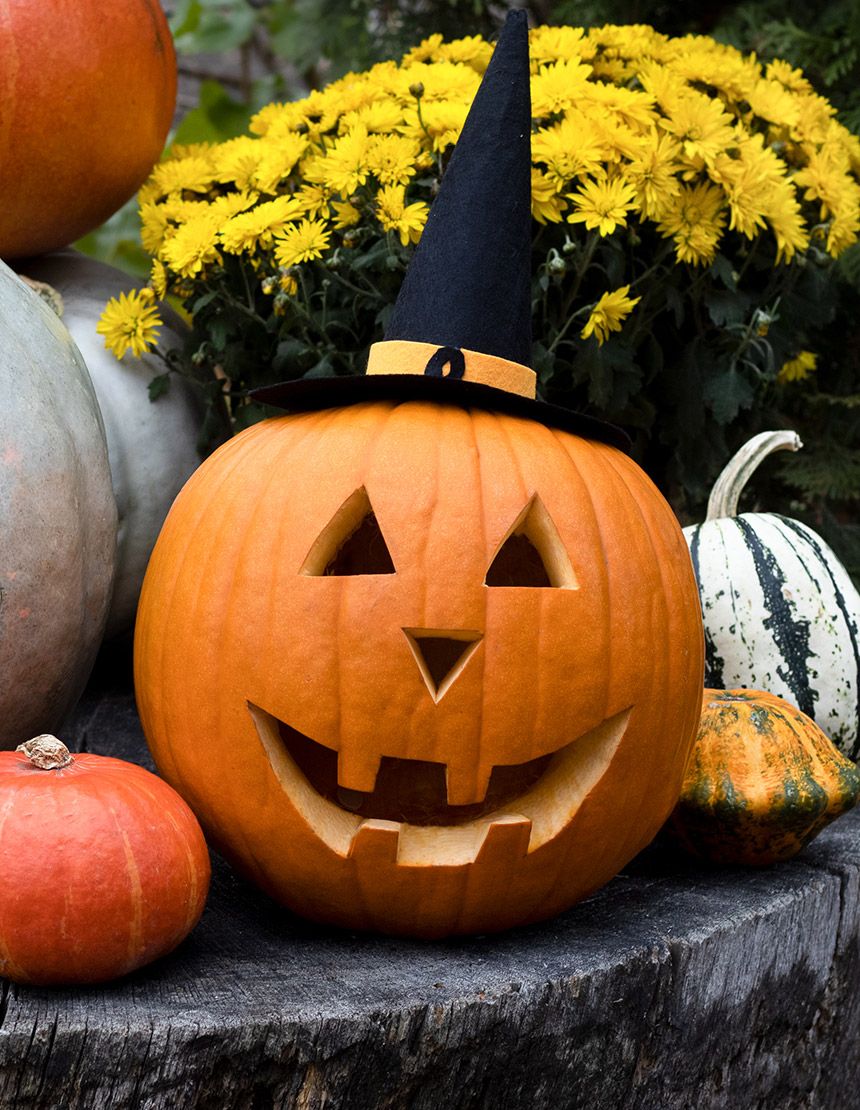
Carved Pumpkin Faces
Carved pumpkins, or “jack-o’-lanterns,” are perhaps the most recognized form of decoration. This involves hollowing out the pumpkin and carving a face into it, often illuminated from within.
Painted Pumpkin Faces
If you prefer to skip the mess of carving, painting is a great alternative. You can use acrylic paints to create colorful and whimsical faces.

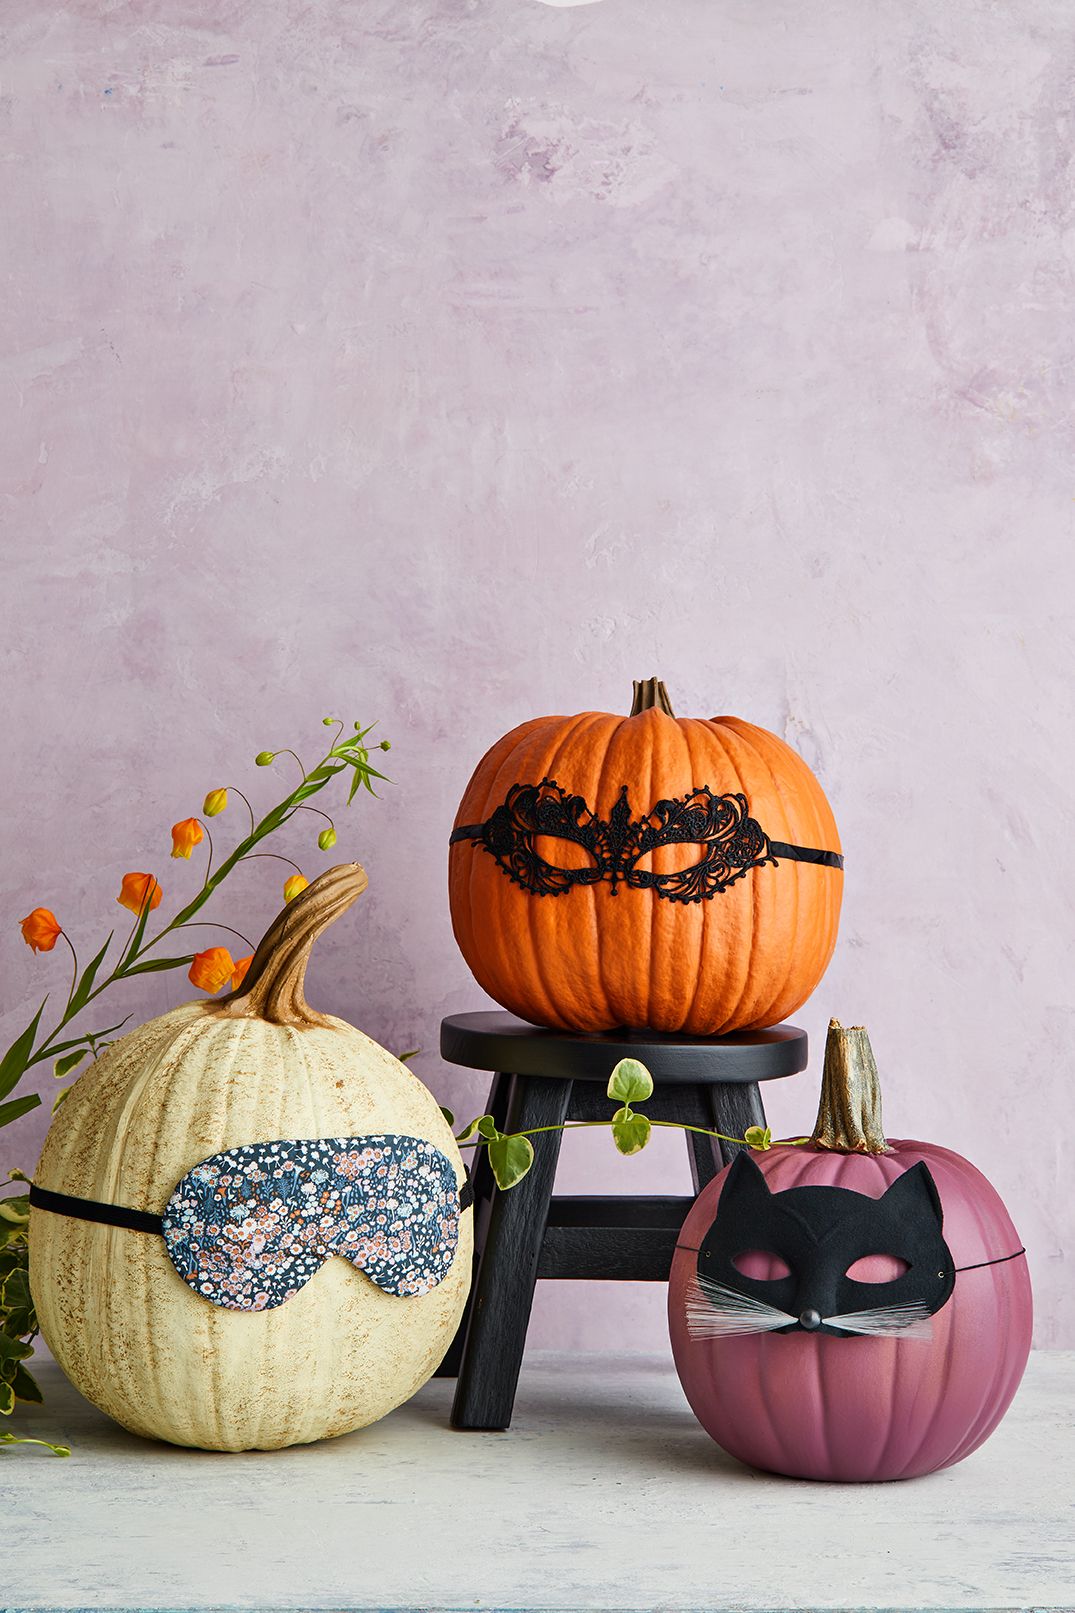
Decorated Pumpkin Faces
Instead of carving or painting, consider gluing decorations like googly eyes, sequins, and felt to create a unique look. This method is popular for younger children, who can express their creativity without the risk of sharp tools.
Essential Tools and Materials
To effectively create pumpkin face decorations, having the right tools at hand can make a significant difference:

- Carving Tools: Pumpkin carving kits are widely available and include specialty knives, scoops, and drill bits.
- Acrylic Paints: An essential if you choose to paint your pumpkins; look for weather-resistant options.
- Adhesive Supplies: Craft glue and glue guns are great for attaching decorations.
- Stencils: Pumpkin carving stencils can help guide your designs, especially for intricate patterns.
Techniques for Designing Pumpkin Faces
Once you’ve gathered your tools, it’s time to explore different techniques for designing those cheeky or spooky faces.

Freehand Carving
If you’re feeling bold, freehand carving allows for creativity without restrictions. Use a sharp knife to outline your design first, then carve it out section by section.
Using Stencils
For those who prefer precision, stencils are a fantastic option. Tape a stencil to your pumpkin, then use a poking tool to outline the design before carving.

Safety Tips for Pumpkin Carving
Safety should always come first, especially when using sharp tools. Here are some tips to ensure a safe pumpkin carving experience:
- Always cut away from yourself when using knives.
- Ensure younger kids are supervised and use kid-friendly carving tools.
- Wash your hands after handling the pumpkin to avoid potential bacteria.
Caring for Your Pumpkin Creations
To prolong the life of your pumpkin decorations, following a few care tips can help keep them looking fresh:
- Store them in a cool, dry place, away from direct sunlight.
- Consider spraying a diluted bleach solution inside the pumpkin to deter mold.
- For painted pumpkins, keep them indoors to avoid weather damage.
Comparison of Pumpkin Decorating Methods
| Method | Materials Needed | Time Required | Skill Level |
|---|---|---|---|
| Carving | Carving kit, scoop | 1-2 hours | Intermediate |
| Painting | Acrylic paints, brushes | 30 minutes – 1 hour | Beginner |
| Decorating | Craft materials, glue | 1 hour | Beginner |
Pros and Cons of Different Techniques
Carved Pumpkins
- Pros: Classic look, can create intricate designs, illuminated effect.
- Cons: Can be messy, requires more skill, has a shorter lifespan.
Painted Pumpkins
- Pros: No mess from carving, longer lasting, suitable for all ages.
- Cons: May not achieve the same effect as a carved pumpkin, can be time-consuming for detailed designs.
Decorated Pumpkins
- Pros: Super easy, excellent for young kids, limitless creativity.
- Cons: May lack the traditional look of a jack-o’-lantern, not as visually striking at night.
My Personal Pumpkin Carving Journey
Every year, I look forward to pumpkin season. It started as a childhood tradition with my family, where we would gather around the dining table, pumpkin guts strewn everywhere, and laughter echoing through the house. Since then, I’ve experimented with various techniques.
One year, I decided to challenge myself with a complex carving inspired by a popular horror movie. After hours of meticulous carving, I finally completed it, only to have it wilt after just a few days! It taught me a valuable lesson about caring for my pumpkins. Now, I try to balance my desire for intricate designs with methods that ensure longevity, often opting for painting when the weather gets too warm.
Frequently Asked Questions (FAQs)
What is the best way to preserve carved pumpkins?
The best way to preserve carved pumpkins is to apply a light vinegar solution inside and out. This helps keep mold at bay.
Can I decorate pumpkins without carving?
Absolutely! Painting and gluing decorations are great ways to create vibrant and fun designs without the need for carving.
What types of pumpkins are best for carving?
Look for medium to large pumpkins like the “Connecticut Field” or “Howden” varieties, known for their thick walls and sturdy stems.
Are there any pumpkin carving contests?
Yes! Many communities and online platforms host pumpkin carving contests. They can be a fun way to showcase your skills and compete for prizes!
Can I use a regular kitchen knife for carving pumpkins?
While it is possible, it is not recommended due to safety concerns. Using specialized pumpkin carving tools is safer and often more effective.
As you embark on your pumpkin decoration adventure, remember that the goal is to have fun and celebrate the rich traditions of autumn. Whether you opt for carving, painting, or decorating, let your creativity shine and enjoy the process!