
Introduction: The Sweet Magic of Royal Icing

As the holiday season approaches, the spirit of Christmas fills the air, bringing with it the excitement of decorating and baking. One of my fondest memories is decorating cookies with my family using royal icing, a versatile and beautiful medium perfect for creating stunning Christmas decorations. In this guide, we’ll explore everything from basic recipes to advanced decorating techniques, ensuring your holiday treats look as delightful as they taste!
What is Royal Icing?
Royal icing is a type of icing made from egg whites (or meringue powder), powdered sugar, and water. This icing dries hard, making it ideal for intricate decorations on cookies, cakes, and other treats. It’s commonly used during the Christmas season, as it allows you to create stunning designs that stay fresh throughout the holidays.
Why Use Royal Icing for Christmas Decorations?

There are several reasons why royal icing is the go-to choice for Christmas decorations:
- Versatility: Can be used for cookies, cakes, and even as glue for gingerbread houses.
- Durability: Dries hard and can withstand handling and stacking.
- Customizability: Easily colored and flavored to match your festive theme.
- Aesthetic Appeal: Creates beautiful, professional-looking designs.
How to Make Royal Icing: A Step-by-Step Guide
Ingredients You’ll Need
- 2 large egg whites or 2 teaspoons meringue powder
- 4 cups powdered sugar
- 1-2 tablespoons water
- Optional: food coloring extract for coloring
Equipment Required
- Mixing bowl
- Electric mixer or whisk
- Spoon or spatula
- Piping bags and tips
- Food color gels
Instructions
- In a mixing bowl, combine egg whites or meringue powder with powdered sugar.
- Add water gradually and mix until you achieve a smooth and glossy consistency.
- Beat on medium speed until the icing forms stiff peaks (about 5-7 minutes).
- If desired, add food coloring to create various shades.
- Transfer the icing into piping bags for decorating.
Notes on Consistency
The consistency of your royal icing is crucial for successful decorating. For outlining, aim for a thick consistency (similar to toothpaste). For flooding (filling in designs), you’ll want a thinner consistency (like honey). Adjust with water as needed.
Decorating Techniques Using Royal Icing
Basic Techniques
- Outlining: Use a small piping tip to outline your design first, allowing for precision.
- Flooding: After outlining, flood the center of the design with thinned icing, using a toothpick to spread it evenly.
- Wet-on-Wet: Add additional designs while the icing is still wet for blending effects.
Advanced Techniques
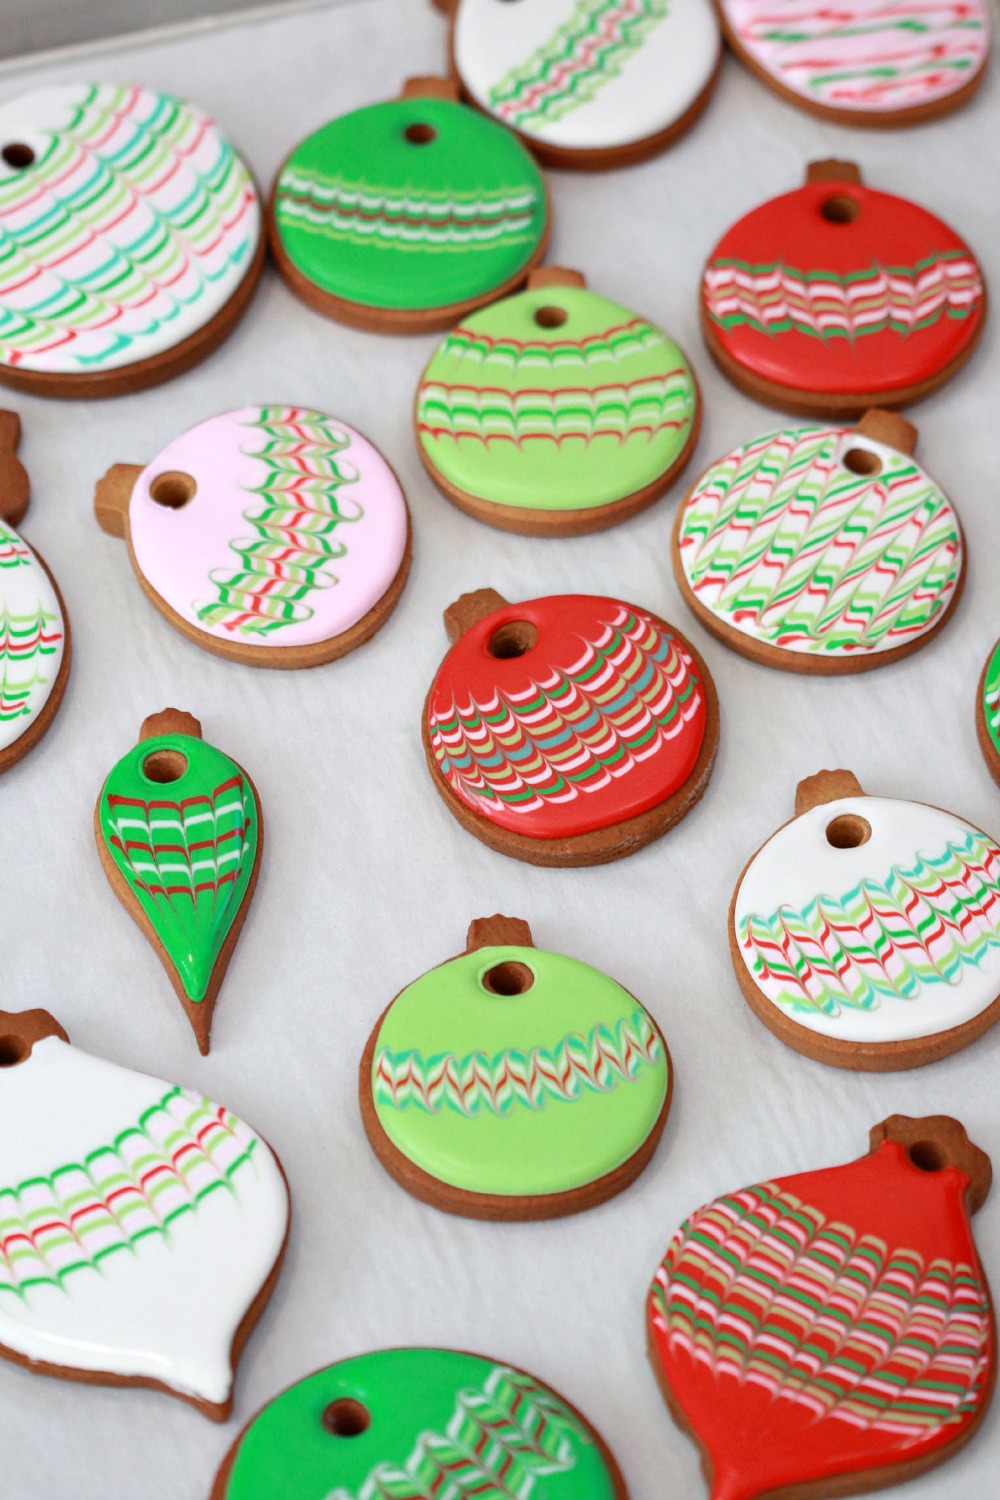
- Marbling: Create beautiful marble effects by swirling two colors of icing together.
- Stenciling: Use stencils to create intricate patterns on cookies.
- Texture Techniques: Explore textures by adding different icing consistencies to create depth.
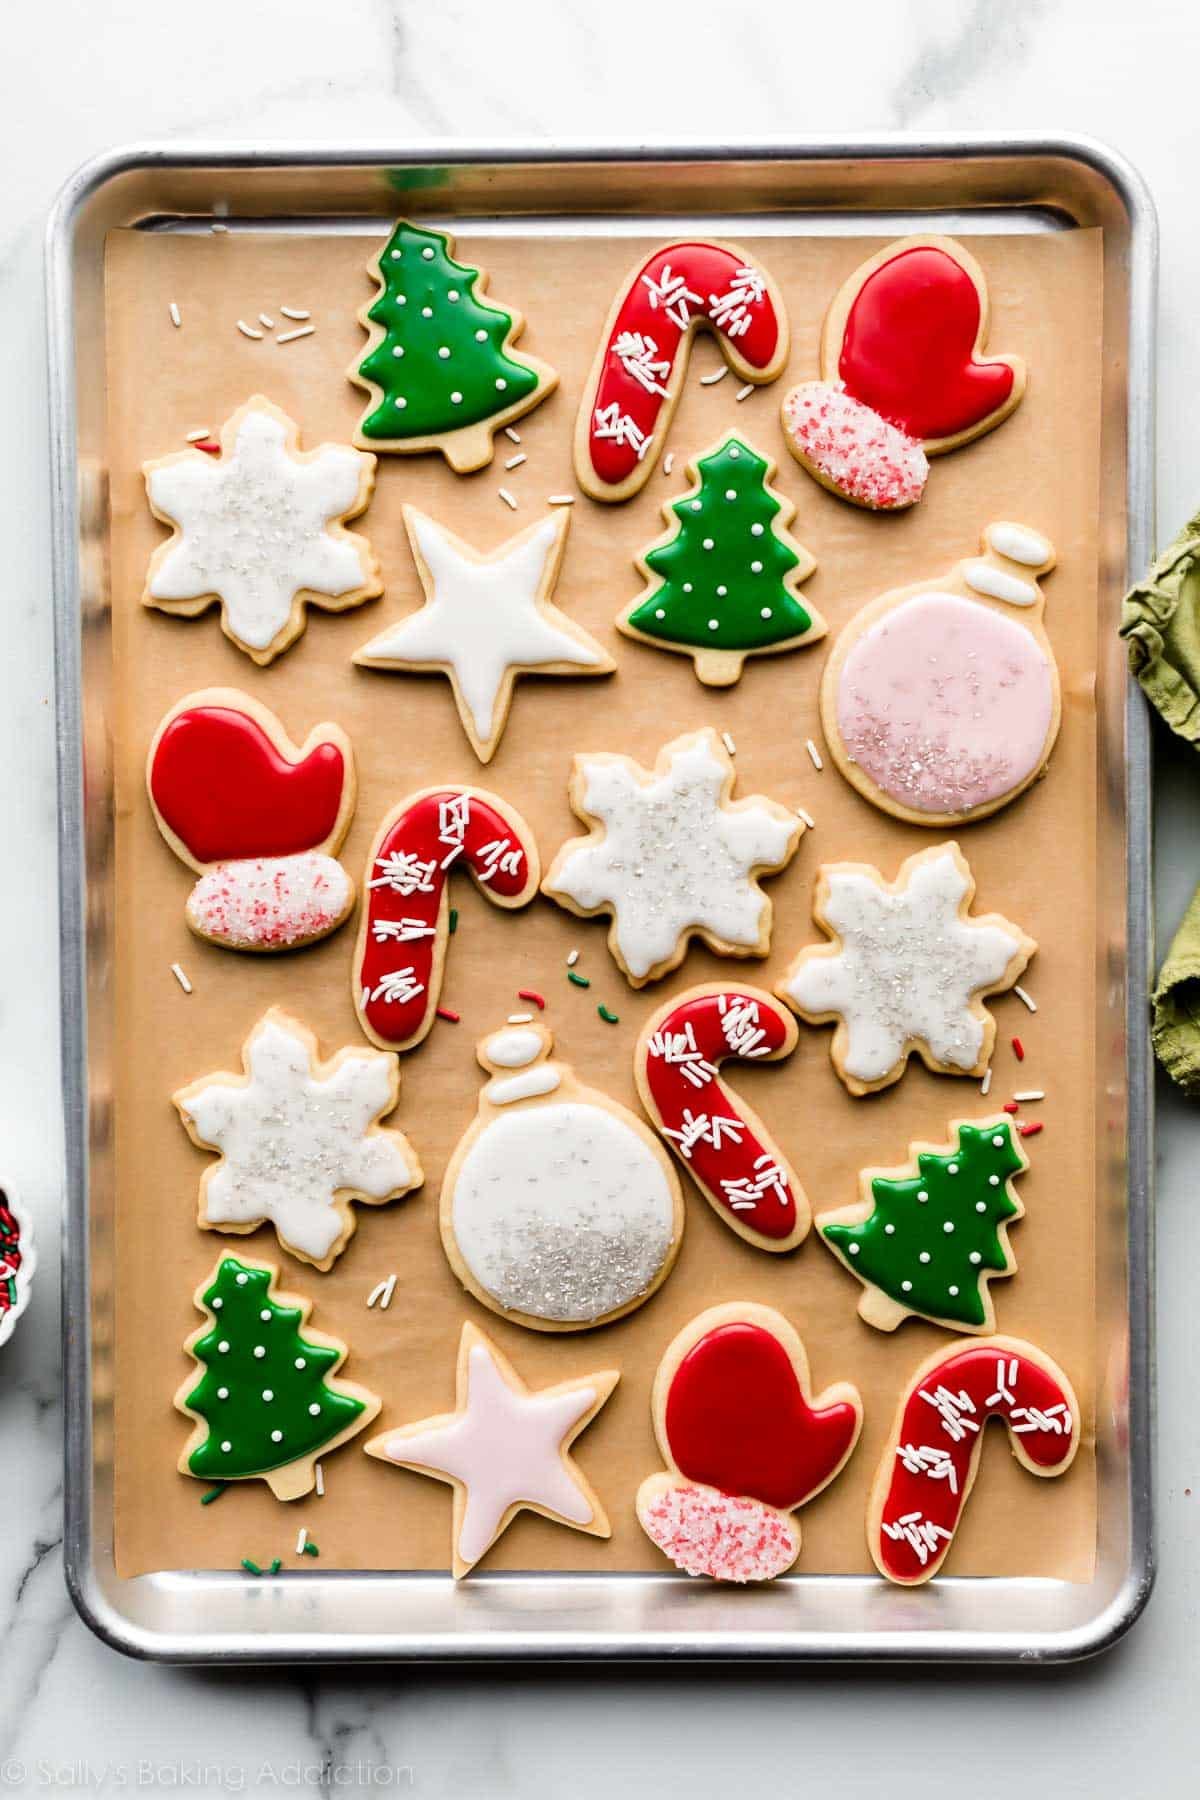
Creative Ideas for Royal Icing Christmas Decorations
1. Gingerbread Houses
Gingerbread houses decorated with royal icing can be a family project that brings joy and creativity. Use royal icing as the “glue” to hold the house pieces together, then decorate with fun designs and colorful candies.
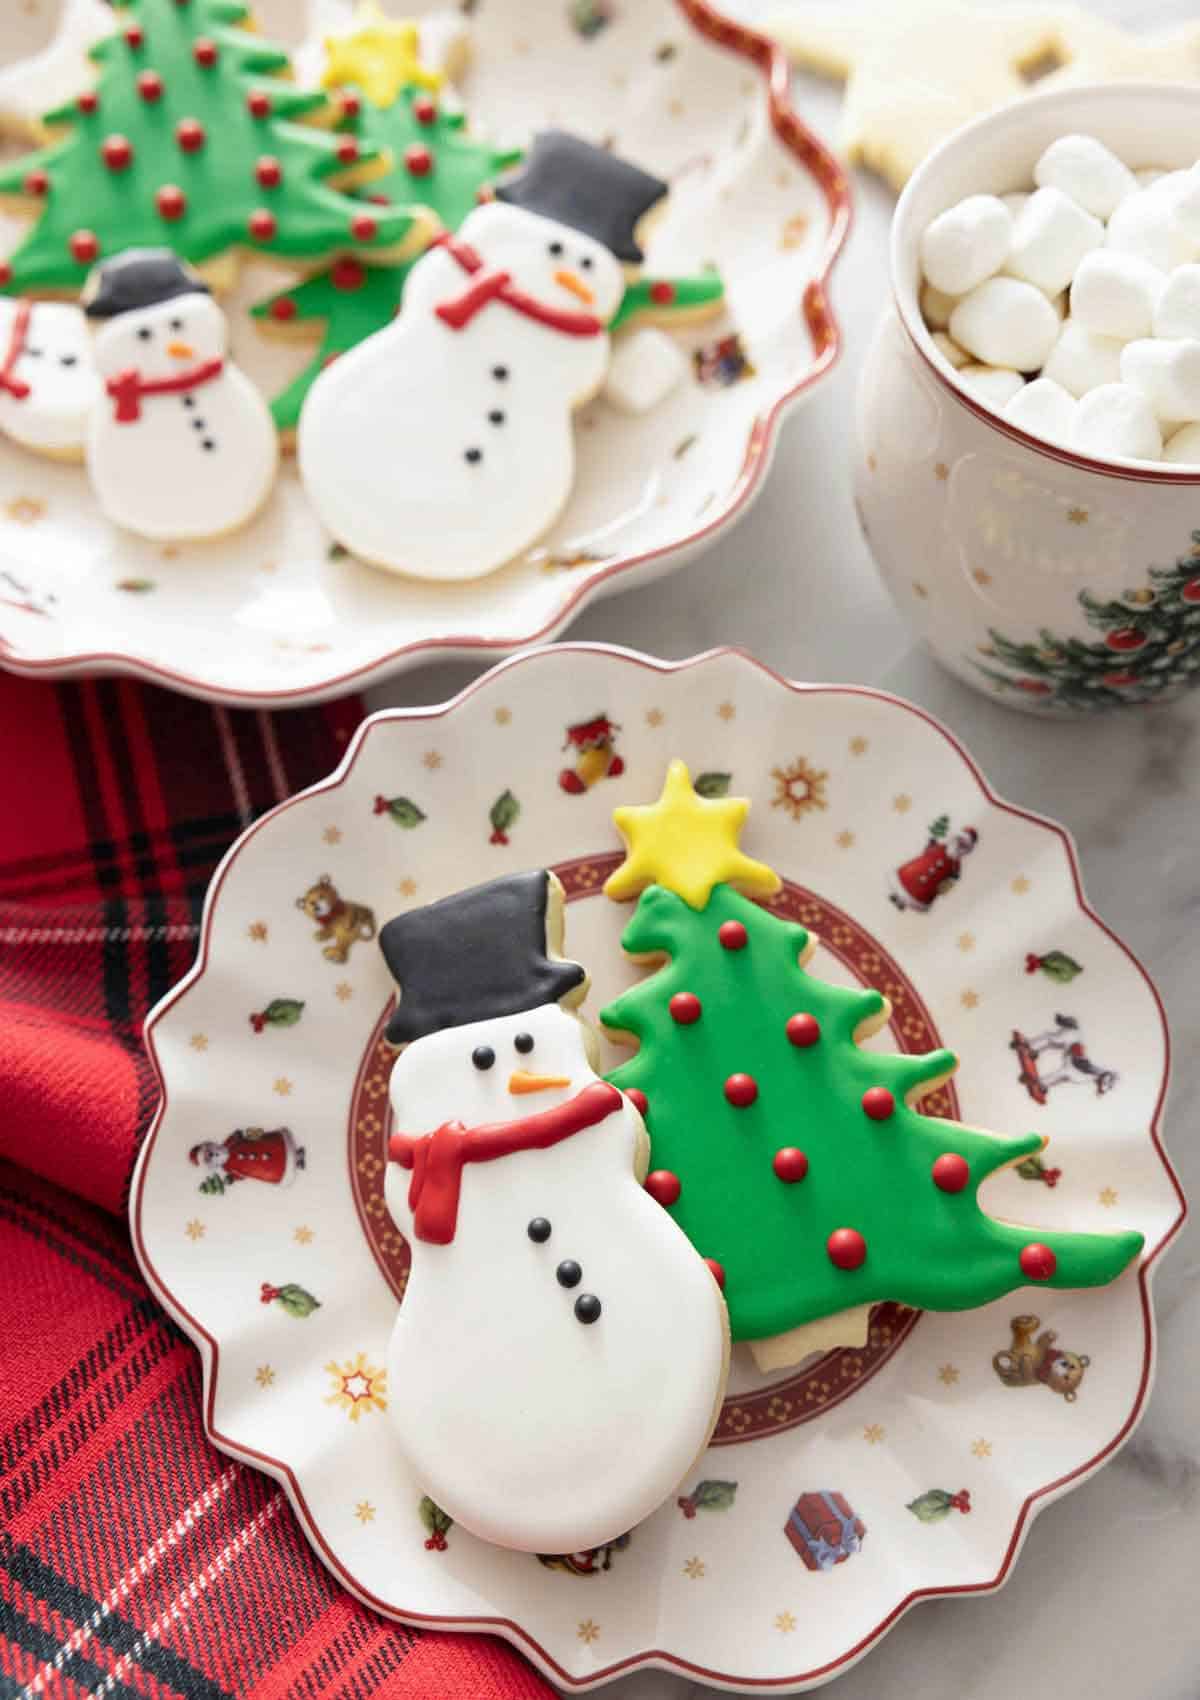
2. Festive Sugar Cookies
Classic sugar cookies decorated with royal icing can be customized for any holiday theme. Consider using cookie cutters in festive shapes like Christmas trees, snowflakes, and ornaments!
3. Edible Ornaments
Create beautiful edible ornaments by decorating cookies and hanging them from your tree. This adds a personal touch to your holiday decorations!
4. Cookie Bouquets
Arrange decorated cookies in a bouquet for a unique holiday gift. Use royal icing to create vibrant designs that will impress anyone.
Comparison of Royal Icing Recipes
| Recipe Type | Egg Whites | Meringue Powder | Texture | Ease of Use |
|---|---|---|---|---|
| Traditional | ✔️ | ❌ | Sturdier | Moderate |
| Quick | ❌ | ✔️ | More flexible | Easy |
| Vegan | ❌ | ✔️ | Similar to traditional | Moderate |
Pros and Cons of Using Royal Icing
Pros
- Long shelf life due to hardening.
- Highly customizable with colors and flavors.
- Enables detailed and intricate designs.
- Great for various holiday treats.
Cons
- Can be difficult to master for beginners.
- Requires practice to perfect your technique.
- Humidity can affect drying times and consistency.
FAQs about Royal Icing Christmas Decorations
What is the best way to store royal icing decorated cookies?
Store decorated cookies in an airtight container at room temperature. Avoid stacking them until they are fully dry to prevent smudging.
Can I use royal icing for other holidays?
Absolutely! Royal icing can be used for any holiday or celebration, including birthdays, Halloween, and Easter. Just adjust your colors and designs to fit the theme!
How long does royal icing take to dry?
Royal icing generally takes 6-8 hours to dry completely. For more intricate designs, allow up to 24 hours for full hardening.
Can I flavor royal icing?
Yes! You can add flavoring extracts to your royal icing to enhance the taste. Just keep in mind that it may slightly affect the consistency.
Final Thoughts: Your Royal Icing Adventure Awaits!
Whether you’re a seasoned baker or a curious beginner, decorating with royal icing can be a delightful and rewarding experience. Embrace the festive spirit, experiment with new designs, and most importantly, enjoy spending time with loved ones. With the tips and techniques shared in this guide, your holiday decorations will surely impress and spread joy to all!