The holiday season is all about joy, warmth, and delicious treats. Among the myriad of festive goodies, Santa decorated cookies hold a special place in every baking enthusiast’s heart. With their charming designs and sweet flavors, these cookies not only serve as delightful desserts but also make for perfect gifts and decorations. In this ultimate guide, we’ll delve deep into the world of Santa decorated cookies, sharing tips, recipes, and personal experiences to help you create your own batch of holiday cheer!
What Are Santa Decorated Cookies?
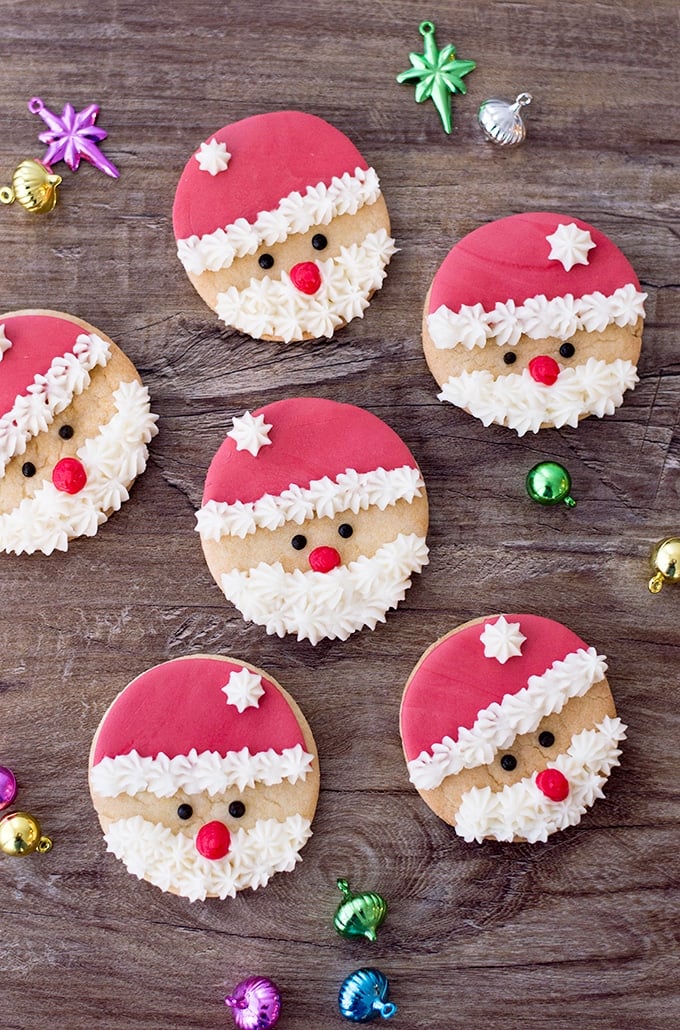
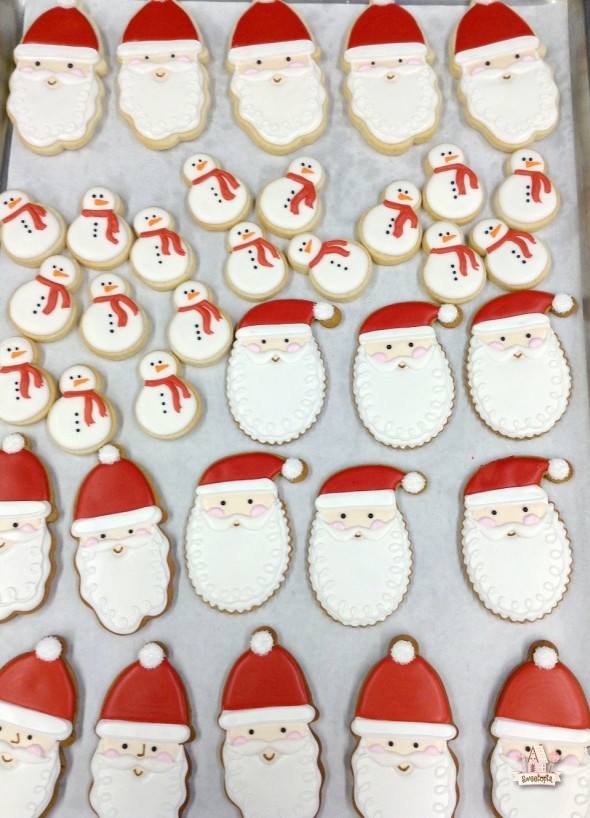
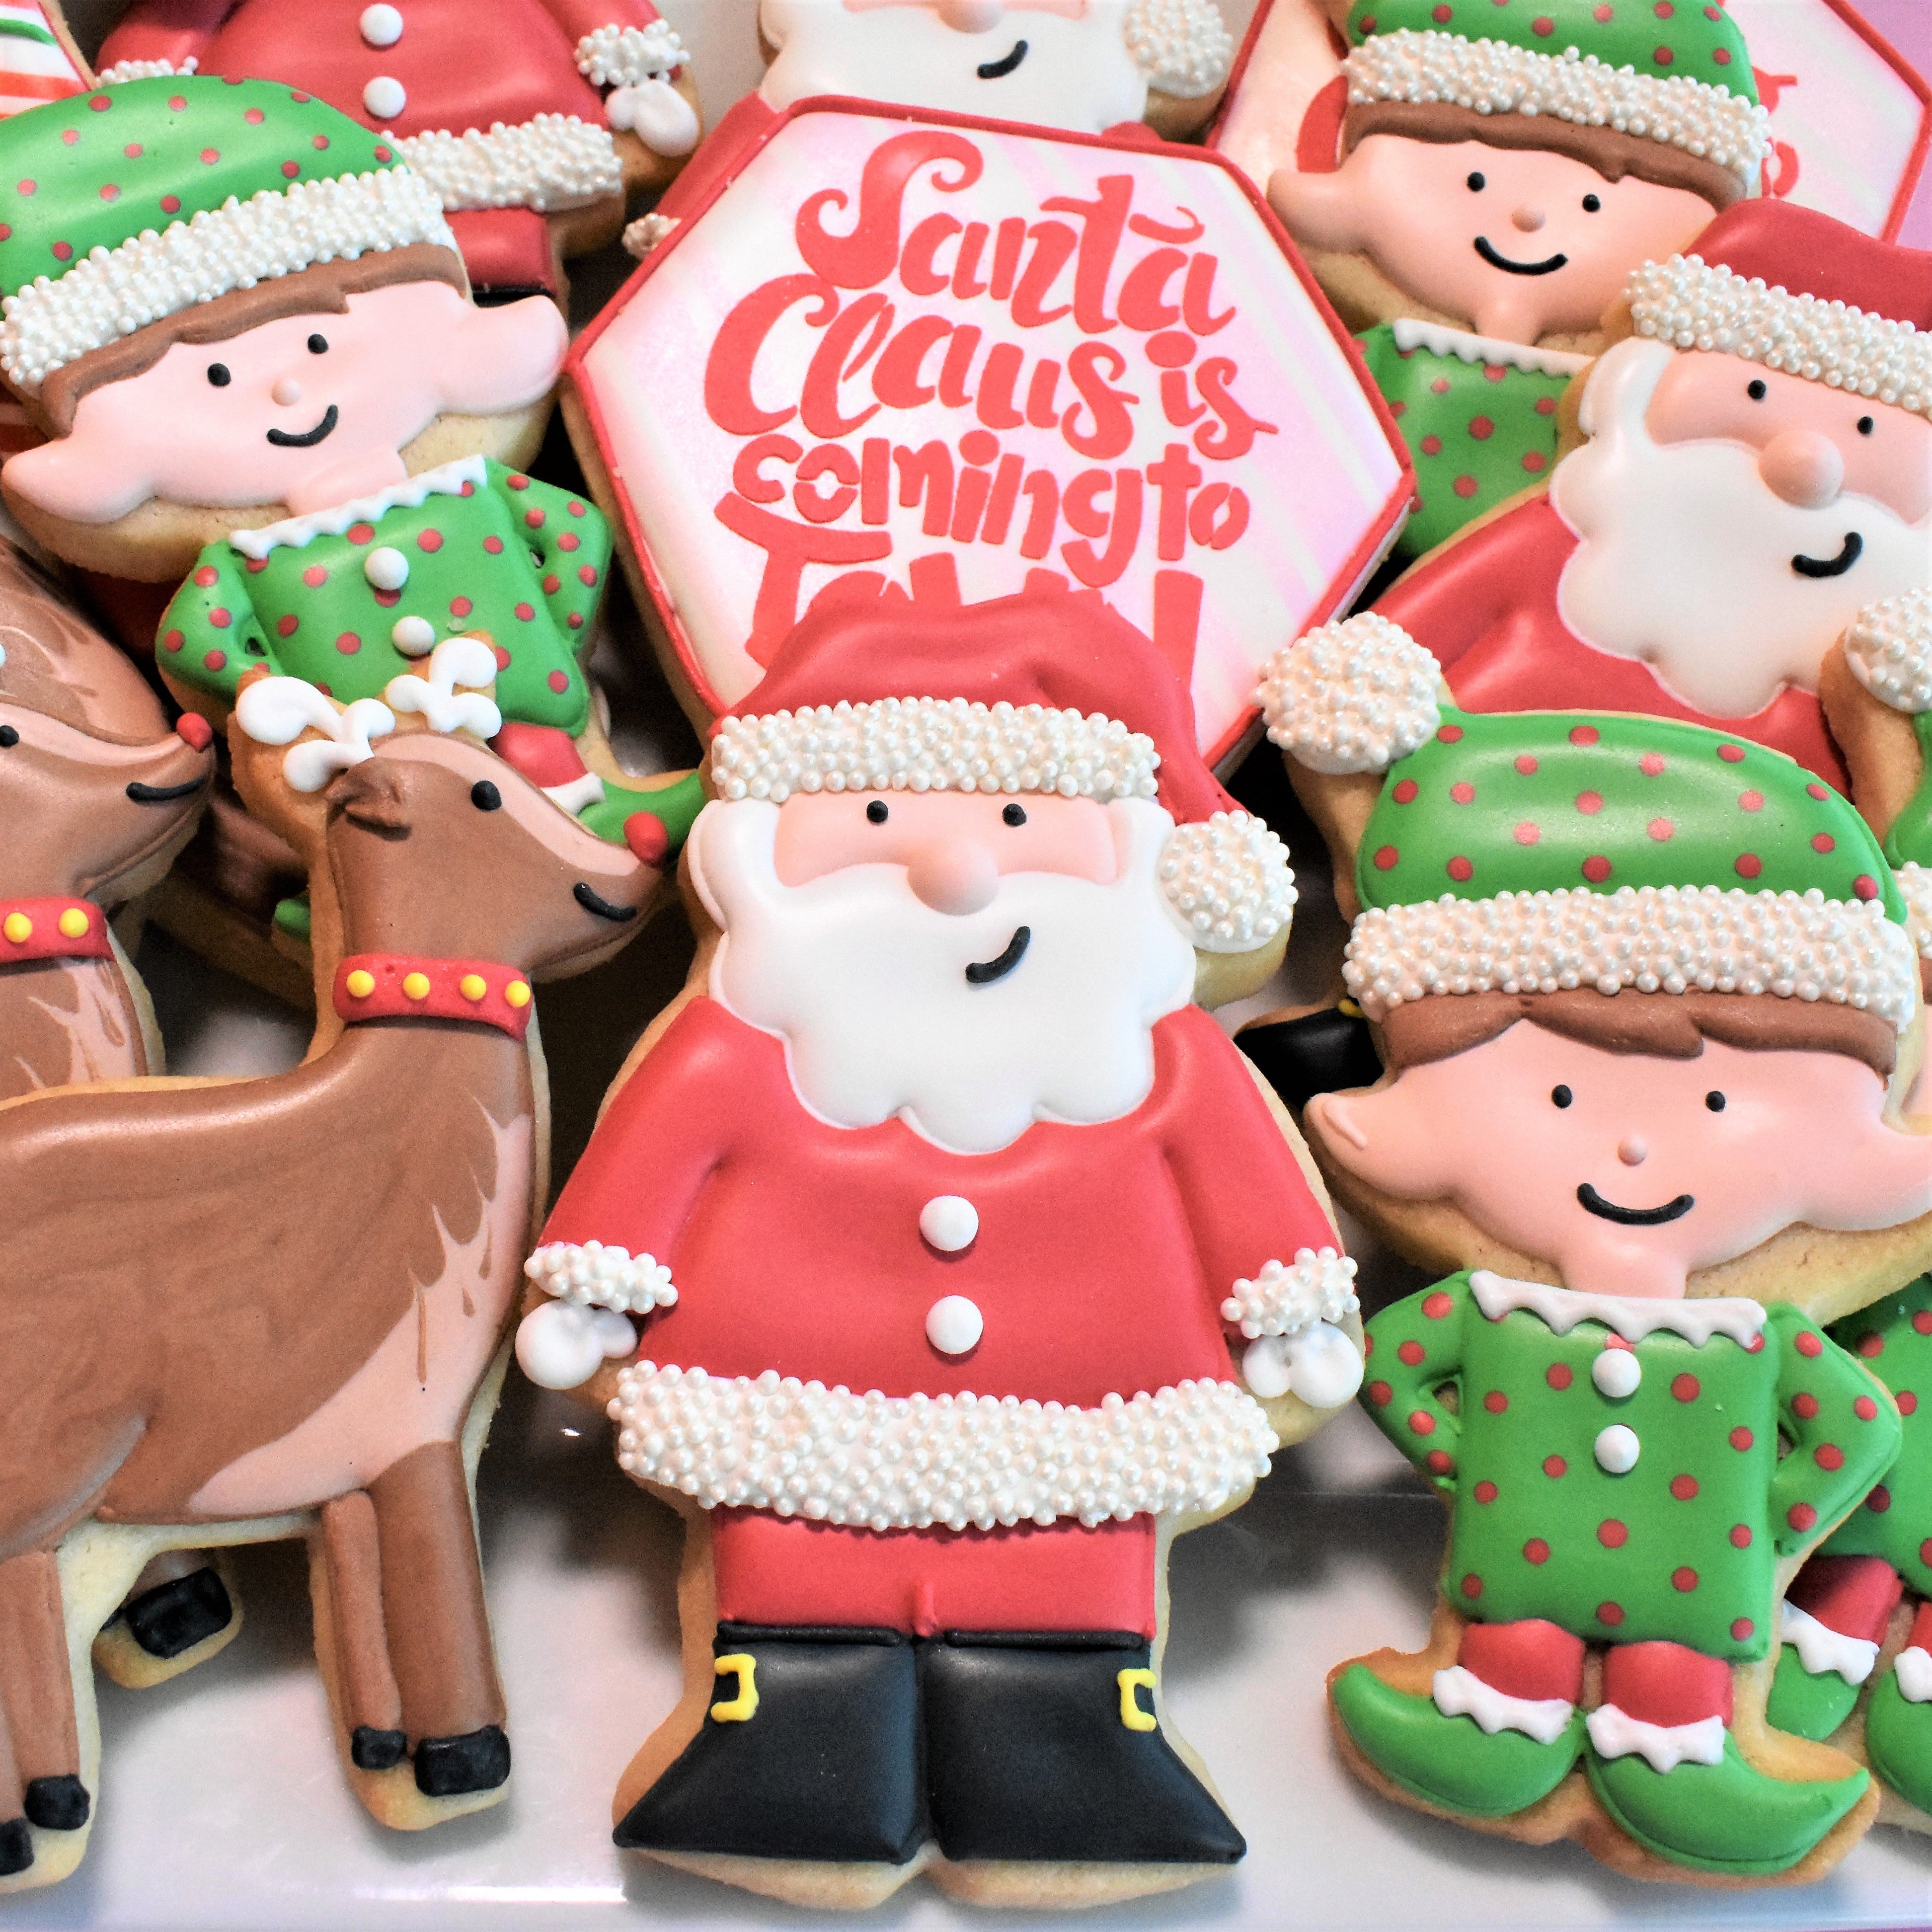
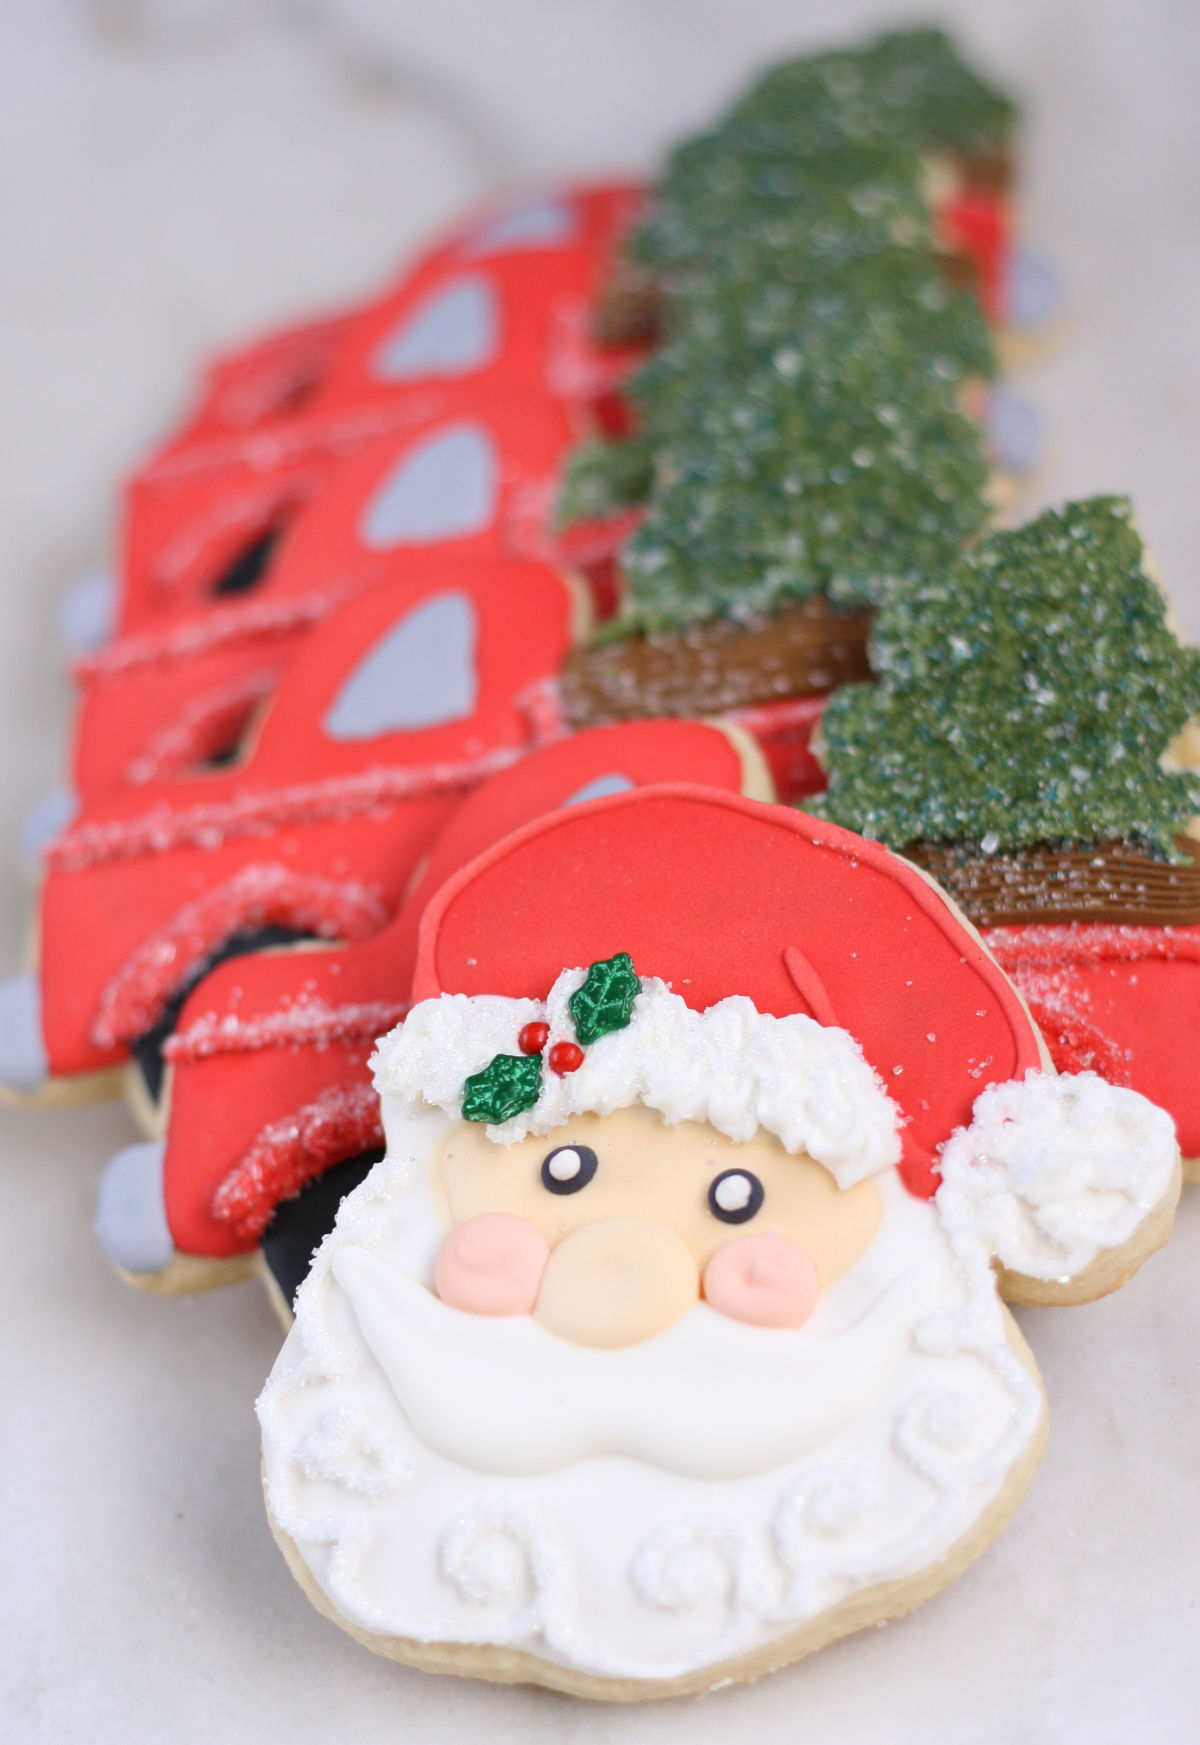
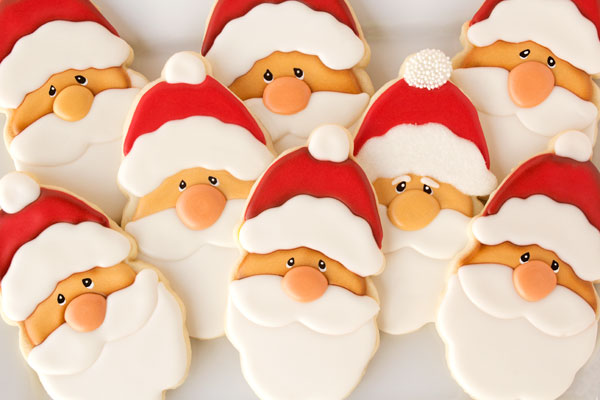
Santa decorated cookies are essentially sugar cookies adorned with icing and decorations that resemble Santa Claus. They are typically made during the holiday season and are popular among families for cookie decorating parties, as well as for sharing with friends and neighbors. The cookies can be made in various shapes, but the classic Santa face design is often the most loved.
Why Bake Santa Decorated Cookies?
- Family Bonding: Baking cookies together is a wonderful way to spend time with loved ones during the holiday season.
- Creative Expression: Decorating cookies allows you to unleash your creativity and have fun with different icing techniques.
- Tradition: Making Santa cookies can become a cherished family tradition, passed down through generations.
- Delicious Gifts: Homemade cookies make for heartfelt gifts that friends and family will appreciate.
Ingredients for Santa Decorated Cookies
The Basic Ingredients
Creating the perfect Santa decorated cookies starts with the right ingredients. Here’s what you’ll need:
| Ingredient | Measurement | Purpose |
|---|---|---|
| All-purpose flour | 2 3/4 cups | Base of the cookie |
| Baking soda | 1 tsp | Leavening agent |
| Salt | 1/2 tsp | Enhances flavor |
| Unsalted butter | 1 cup (softened) | For richness and texture |
| Sugar | 1 1/2 cups | Sweetness |
| Eggs | 2 large | Binds ingredients |
| Vanilla extract | 2 tsp | Flavor |
| Royal icing | To decorate | For detailing |
| Food coloring | Optional | To add color to icing |
Special Ingredients for Decoration
In addition to the basic cookie ingredients, you’ll need some special items to bring your Santa cookies to life:

| Decoration Item | Use |
|---|---|
| Red and white sprinkles | To decorate Santa’s hat |
| Chocolate chips | For eyes or buttons |
| Candy canes | For added decoration |
| Edible glitter | For a festive touch |
Step-by-Step Guide to Making Santa Decorated Cookies
Step 1: Prepare the Dough
To begin, follow these steps:
- In a bowl, whisk together the flour, baking soda, and salt, then set aside.
- In a large mixing bowl, cream together the softened butter and sugar until light and fluffy.
- Add the eggs, one at a time, beating well after each addition. Mix in the vanilla extract.
- Gradually add the flour mixture to the wet ingredients until just combined.
- Chill the dough in the refrigerator for at least 1 hour to make it easier to handle.
Step 2: Roll and Cut the Dough
Once your dough is chilled:
- Preheat your oven to 350°F (175°C).
- On a lightly floured surface, roll out the dough to about 1/4 inch thickness.
- Use a cookie cutter to cut out your Santa shapes. Place them on a lined baking sheet.
- Bake for 8-10 minutes or until the edges are lightly golden. Allow to cool completely.

Step 3: Decorate Your Cookies
Now comes the fun part – decorating!
- Prepare your royal icing according to package instructions, adding food coloring as desired.
- Using a piping bag, outline the cookie shapes with icing. Let the outlines dry for a few minutes.
- Fill in the outlines with more icing, using a toothpick to spread the icing evenly.
- Add decorations like sprinkles, chocolate chips, or candy canes before the icing dries.
- Let the decorated cookies dry completely before serving or storing.
Tips and Tricks for Perfect Santa Cookies
Achieving the Ideal Texture
To ensure your cookies are soft but not cake-like, avoid overmixing the dough. Always measure your flour accurately — too much can lead to dry cookies!
Creative Decoration Ideas
Here are some creative ideas to make your Santa cookies stand out:
- Use different shades of red for Santa’s hat and suit.
- Incorporate edible glitter for a festive sparkle.
- Add personalized messages on some cookies.
Common Mistakes to Avoid
Every baker has their slip-ups. Here are a few common mistakes and how to avoid them:
| Mistake | Solution |
|---|---|
| Too much flour | Use a kitchen scale for accurate measurements. |
| Icing too runny | Gradually add powdered sugar to achieve desired consistency. |
| Cookies spreading too much | Chill the dough thoroughly before baking. |
Storing and Stacking Cookies
Once your cookies are decorated, it’s important to store them properly to maintain freshness. Here are some tips:
How to Store Cookies
- Place cooled cookies in an airtight container.
- If stacked, separate layers with parchment paper to prevent sticking.
- Store at room temperature for up to a week, or in the freezer for up to three months.
Freezing Cookies: Pros and Cons
| Pros | Cons |
|---|---|
| Longer shelf life. | May affect texture if not stored properly. |
| Can be made ahead of time. | Flavor may diminish if stored too long. |
Personal Experience: A Heartwarming Tradition
Personally, baking Santa decorated cookies has become a cherished tradition in my family. Each year, we gather around the kitchen with flour on our faces and laughter filling the air. It’s amazing to see how my children’s decorating skills have improved over the years, and I hold dear those moments spent creating joy through cookies. These cookies have not only brought our family together but have also been a hit at our neighborhood holiday party!
FAQs About Santa Decorated Cookies
What type of icing is best for decorated cookies?
Royal icing is considered the best for decorated cookies because it dries hard and creates a smooth finish, allowing for detailed designs.
Can I make Santa cookies in advance?
Absolutely! You can prepare the cookie dough and freeze it or bake and decorate the cookies a week ahead of your holiday events.
Are there alternatives to traditional sugar cookies?
Yes! You can use gingerbread or oatmeal cookies as a base for decorating if you want to switch things up.
What’s the best way to transport decorated cookies?
Use a sturdy container and separate layers with parchment paper to prevent the cookies from sticking or getting damaged during transport.
Conclusion
Creating Santa decorated cookies is more than just baking; it’s about crafting memories, sharing joy, and embracing the spirit of the holiday season. Whether you’re a seasoned baker or just starting out, this festive activity can bring warmth and happiness into your home. So gather your ingredients, invite your loved ones, and let’s get baking!
Happy Holidays and Merry Baking!