Welcome to the ultimate guide for DIY Halloween car decorations! As the spooky season approaches, it’s time to unleash your creativity and give your vehicle a frightfully festive makeover. Whether you’re planning to drive through a haunted neighborhood or attending a Halloween party, these DIY ideas will ensure your car stands out. Let’s dive in!
Why Decorate Your Car for Halloween?
Decorating your car for Halloween can be a fun and engaging way to spread the festive spirit. Here are a few reasons why you should consider it:
- Community Engagement: Join in the Halloween spirit and connect with neighbors and fellow enthusiasts.
- Fun for All Ages: Decorating your car can be a family activity that brings everyone together.
- Creative Expression: Showcase your personal style and creativity through unique decorations.
Getting Started: What You Need for DIY Car Decorations
Before you begin decorating, gather the following supplies:
- Craft paper or fabric in Halloween colors (orange, black, purple)
- Scissors and craft knife
- Double-sided tape or glue
- Window markers or washable paint
- Decorative items (spiders, ghosts, bats, etc.)
- LED string lights (optional)
- Magnetic sheets (if applicable)
Step-by-Step DIY Halloween Car Decoration Ideas
1. Spider Webbing
Transform your car with a spooky spider web effect. This decoration is easy to create and instantly gives a haunted vibe.
Materials Needed:
- Black or white yarn
- Plastic spiders
Instructions:
- Begin by attaching one end of the yarn to the car and stretch it to create a web pattern.
- Secure the yarn with tape or glue as needed.
- Adorn your web with plastic spiders for a creepy touch.
Pros: Easy to make; inexpensive. Cons: Might blow away if not secured properly.
2. Halloween Window Paint
Use window markers to create a masterpiece on your car’s windows. This method allows you to express your creativity freely.
Materials Needed:
- Window markers or washable paint
- Stencils (optional)
Instructions:
- Choose a theme (ghosts, pumpkins, witches) and sketch your design.
- Use stencils for added precision.
- Let the paint dry before driving.
Pros: Customizable; easy to remove. Cons: Needs to be reapplied annually; may wash off in rain.

3. DIY Car Banners
Turn your car into a moving Halloween parade by adding festive banners!
Materials Needed:
- Black or orange fabric or paper
- String or twine
- Marker
Instructions:
- Cut out triangular flags from the fabric or paper.
- Decorate the flags with spooky designs or words like “Boo!” and “Happy Halloween!”
- Attach them to string and hang them from your side mirrors.
Pros: Eye-catching design; reusable. Cons: Requires sewing or advanced crafting skills.
4. Ghostly Detailing
Add some ghostly figures to your vehicle for a fun and spooky look.
Materials Needed:
- White fabric
- Black tape or fabric for eyes
- Wire (for structure)
Instructions:
- Create a ghost shape using white fabric over a wire frame.
- Add black tape or fabric for eyes.
- Attach to your car’s antennas or windows securely.
Pros: Unique and fun; great for a family project. Cons: May require time and effort to create.

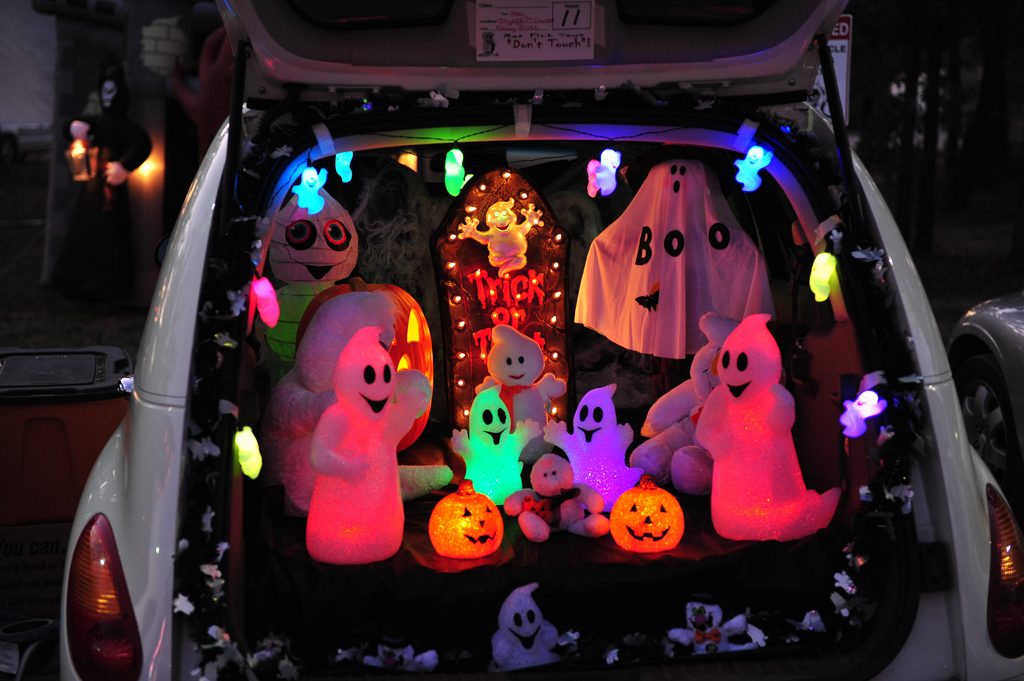
5. LED Lights for Extra Spookiness
Add a touch of magic with LED lights to make your car shine at night.
Materials Needed:
- Waterproof LED string lights
- Battery pack (if not using car’s power source)
Instructions:
- Wrap the LED lights around your mirrors, bumper, or windows.
- Make sure to securely attach the battery pack if needed.
Pros: Light up your car; great for night driving. Cons: Requires a power source; may draw attention.
Safety Tips for Decorating Your Car
While having fun is crucial, safety must come first. Here are a few tips to keep in mind:
- Ensure all decorations are securely attached and do not obstruct your view.
- Avoid using items that could become projectiles while driving.
- Regularly check if your decorations are intact and safe while on the road.
Comparison Table of Popular DIY Car Decorations
| Decoration Type | Materials Needed | Time to Create | Cost Estimate |
|---|---|---|---|
| Spider Webbing | Yarn, plastic spiders | 30 minutes | $10 |
| Window Paint | Window markers, stencils | 1 hour | $20 |
| Car Banners | Fabric, string | 1.5 hours | $15 |
| Ghost Detailing | White fabric, wire | 2 hours | $25 |
| LED Lights | LED lights, battery pack | 1 hour | $30 |

Frequently Asked Questions (FAQs)
What materials are safe for car decorations?
Using lightweight, non-destructive materials like fabric, paper, and removable adhesives is recommended to avoid damaging your car.
How do I remove decorations after Halloween?
Most decorations can be removed easily by peeling off tape or gently washing window paint with soap and water. For other items, carefully detach them to prevent damage.
Can I use store-bought decorations on my car?
Yes, store-bought decorations can enhance your DIY creations. Just make sure they are appropriate for outdoor use and won’t damage your vehicle.

Is it legal to decorate my car for Halloween?
Generally, it’s legal to decorate your car, but ensure that your decorations do not obstruct your view or violate local ordinances.