Introduction to Halloween Cake Decorations
Halloween is not just about trick-or-treating and spooky costumes; it’s also a celebration of creativity—especially when it comes to cakes! Over the years, I’ve explored countless ways to decorate cakes for this spooky season, blending fun, fright, and flavor. In this article, I’ll guide you through some exciting Halloween cake decoration ideas and techniques that will make your cakes stand out. Whether you’re baking for a party, your kids, or just for fun, let’s dive in!
Essential Supplies for Halloween Cake Decorations
Before we jump into the decorations themselves, let’s gather the essential supplies you’ll need:
- Cake(s) of your choice: Chocolate, vanilla, or red velvet are popular options.
- Frosting: Buttercream, fondant, or cream cheese frosting works best.
- Food coloring: Orange, black, purple, and green are perfect for Halloween.
- Cake tools: Piping bags, spatulas, and knife for decorating.
- Sprinkles and edible decorations: Look for Halloween-themed sprinkles!
- Candy: Gummy worms, eyeballs, and chocolate spiders can add a fun twist.
Creative Halloween Cake Themes
Choosing a theme can guide your decoration choices. Here are some fun Halloween cake themes to consider:
1. Spooky Pumpkin Cake
Nothing says Halloween like pumpkins! Create a pumpkin cake using orange frosting, fondant leaves, and even a “carved” face if you’re feeling ambitious.
2. Haunted House Cake
A haunted house cake is a perfect centerpiece for any Halloween party. Use chocolate to create a dark abode and decorate with candy ghosts, edible glitter, and gummy bats for an eerie effect.
3. Monsters and Creatures Cake
Let your imagination run wild! Use various colors of frosting to create fun but spooky monsters. Edible eyes and candy fangs can add whimsical yet creepy details.
4. Ghostly Delights Cake
Create a cake that looks like it’s floating! Use white frosting and add ghost figures made from marshmallows or royal icing to give a ghostly appearance.
5. Witch’s Brew Cake
Make a bubbling cauldron cake! Use black frosting and green accents to mimic a witch’s potion. Add some candy “ingredients” for a fun touch.
Step-by-Step Guide to Decorating Your Halloween Cake
Step 1: Bake Your Cake
Start with a basic cake recipe. Allow it to cool completely before decorating. Trust me, trying to frost a warm cake is a recipe for disaster!
Step 2: Level and Frost
Use a serrated knife to level your cake, ensuring even layers. Apply a crumb coat (a thin layer of frosting to seal in crumbs) and chill the cake for 30 minutes.

Step 3: Apply the Base Frosting
Choose your base color. For example, if you’re going for a pumpkin theme, an orange base works great. Apply with a spatula or piping bag.
Step 4: Add Decorations
This is where the fun begins! Use your creativity to add elements like candy, sprinkles, or edible glitter. Don’t forget about textures—piping different designs can give depth to your cake.

Step 5: Final Touches
Finish off with some themed touches—think of using ghosts, cobwebs, or mini pumpkins. Don’t worry if it’s not perfect; the charm is in the imperfections!
Comparison of Decoration Techniques
| Technique | Pros | Cons |
|---|---|---|
| Buttercream Frosting | Easy to work with, versatile, and delicious. | Can melt in warm temperatures. |
| Fondant Decoration | Smooth finish, can create intricate designs. | Less flavor, requires practice. |
| Chocolate Ganache | Rich flavor and glossy finish. | Can be tricky to get the right consistency. |
| Edible Decorations | Fun and colorful additions. | Can be expensive and sometimes hard to find. |

Pros and Cons of Decorating Cakes for Halloween
Pros
- Allows for creativity and personal expression.
- Brings joy to family and friends.
- Can be a fun bonding activity.
- Perfect opportunity to experiment with flavors.
Cons
- Can be time-consuming, especially for intricate designs.
- Requires some baking and decorating skills.
- Potential mess in the kitchen!

Personal Stories: My Halloween Cake Adventures
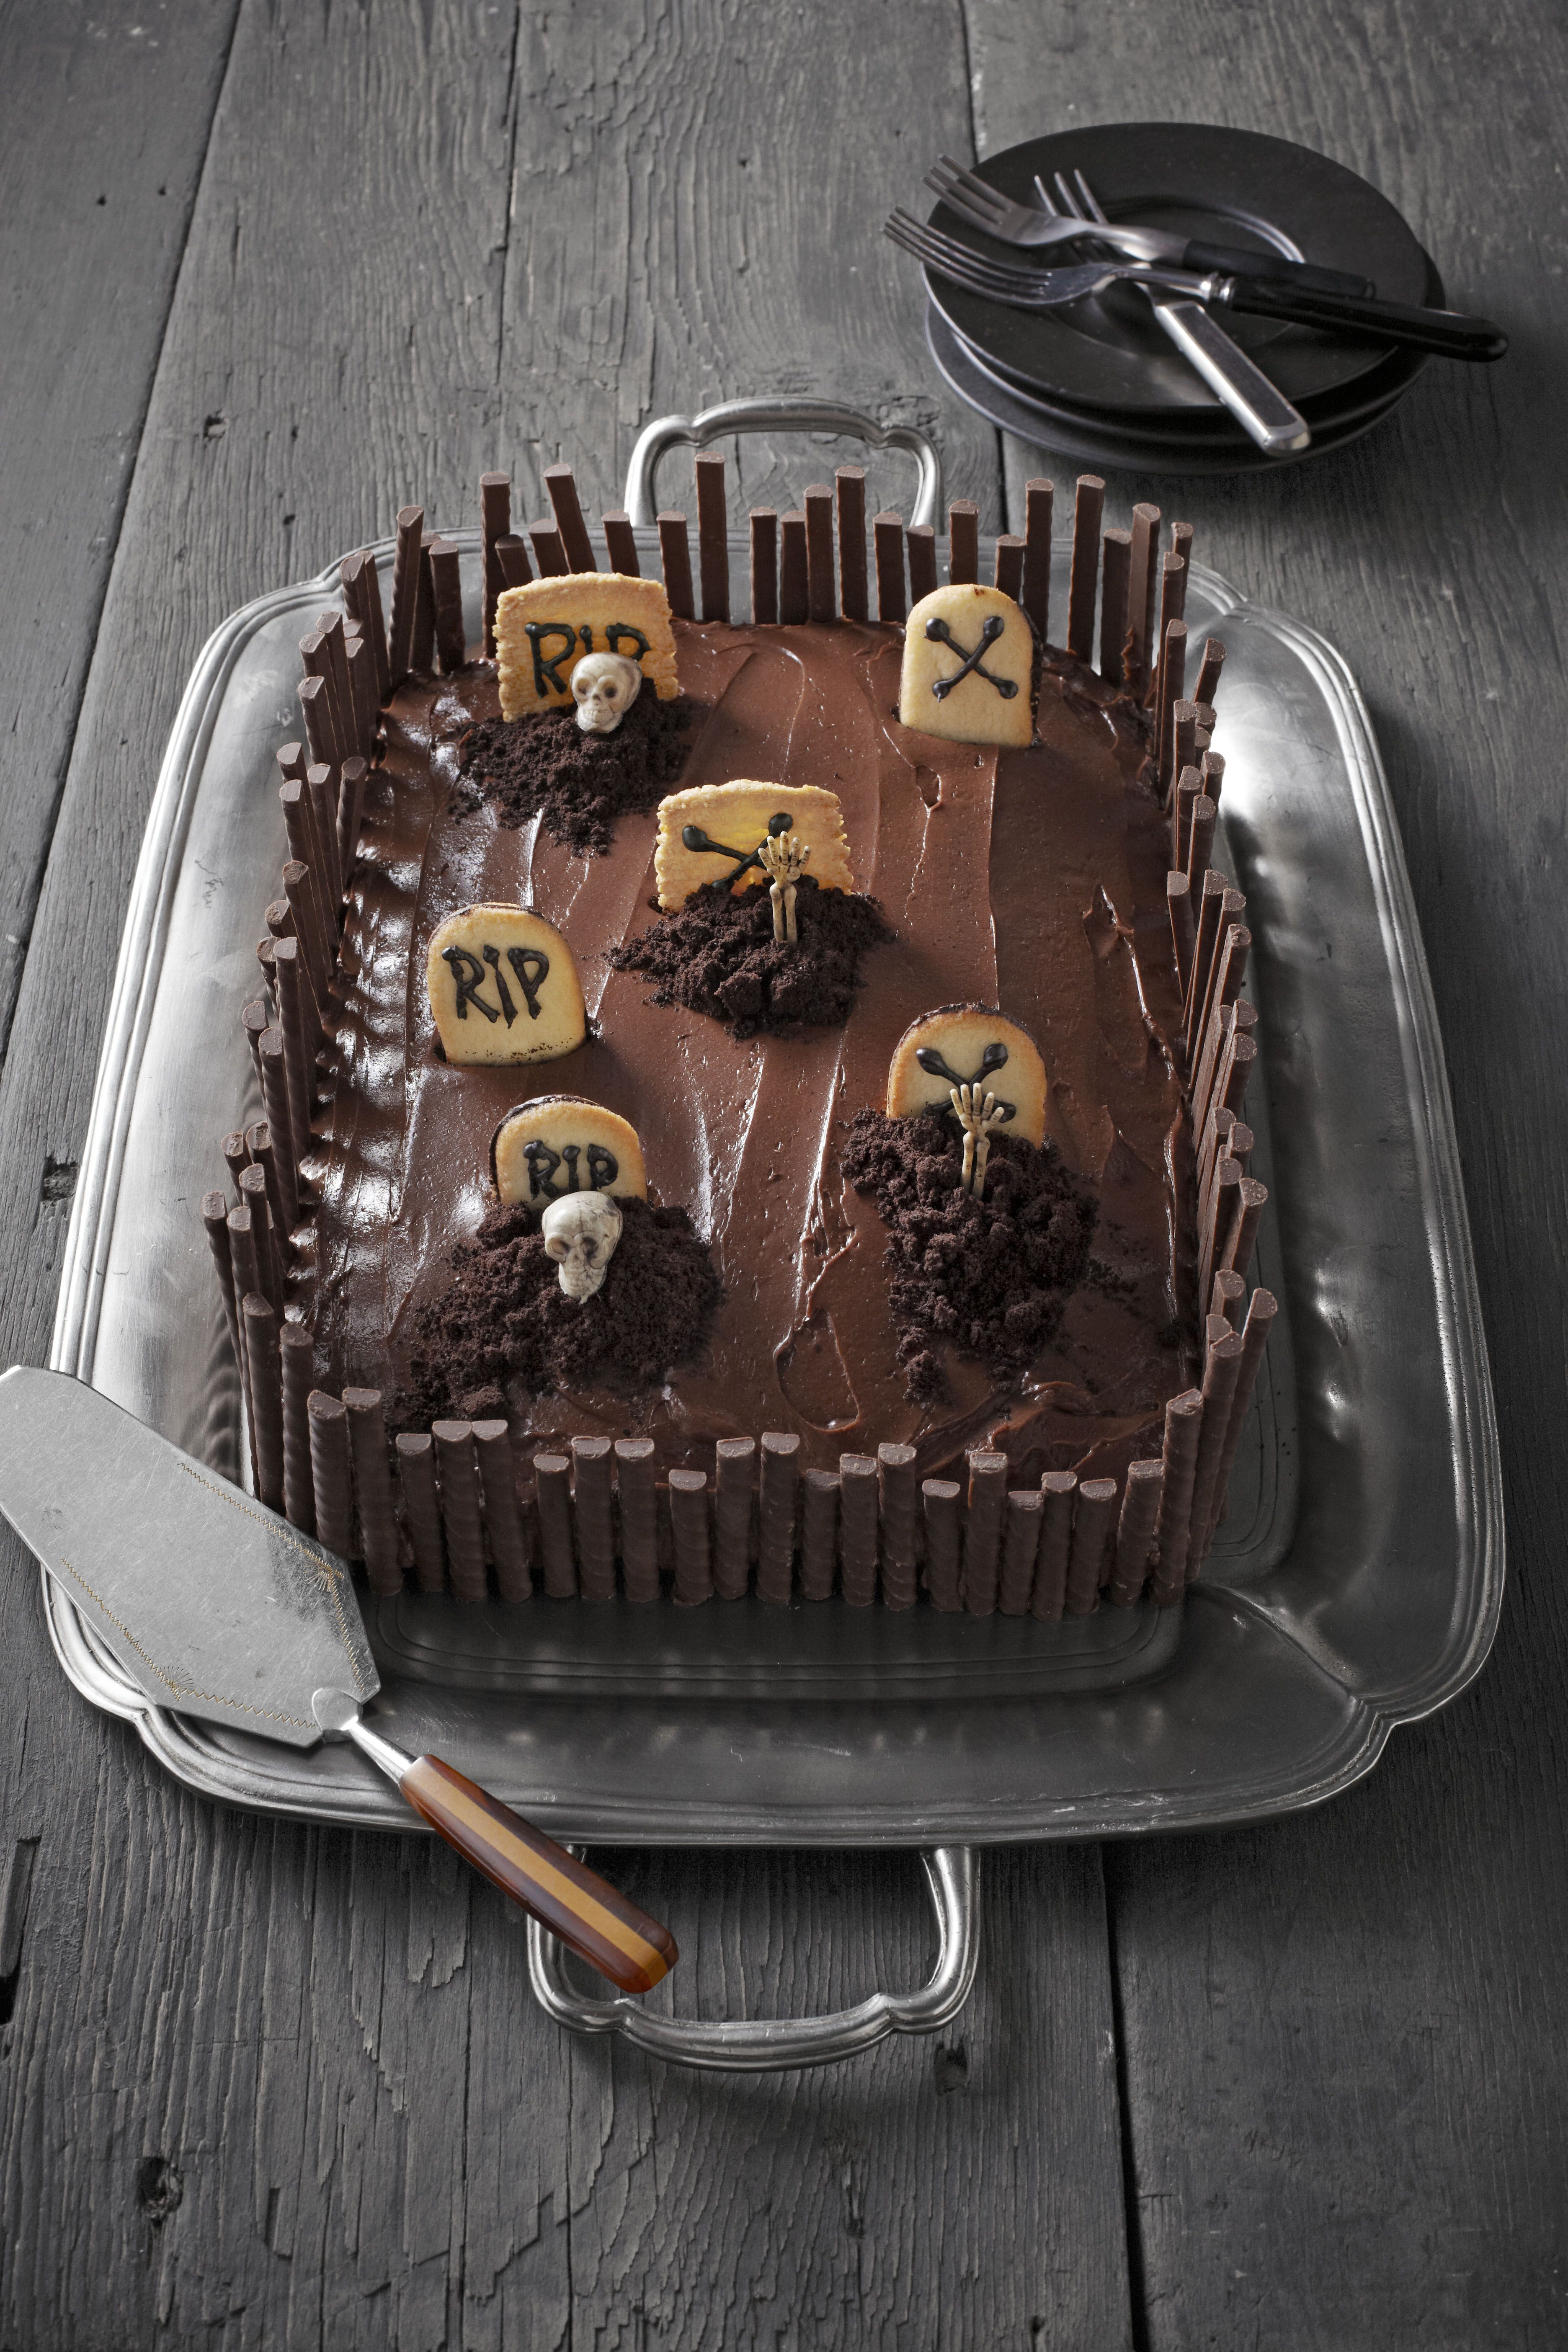
Over the years, I’ve had my share of Halloween cake successes and failures. One year, I decided to make a multi-layer haunted house cake for a school party. I spent hours making the cake and decorations. However, my cake decided to collapse under its own weight just before I was set to leave. After a brief moment of panic, I transformed it into a “graveyard” cake, complete with crushed chocolate cookies for dirt and gummy worms crawling on top. It turned out to be a hit!
Another year, I had a friend who baked but never decorated. I invited her over, and together we created a beautiful pumpkin cake. It was such a fulfilling experience to bond over frosting and laughter. The best part was seeing her delight in being able to create something so festive!

Frequently Asked Questions (FAQs)
What type of cake is best for Halloween decorations?
Chocolate and vanilla cakes are classic choices, but red velvet and spice cakes can add a special twist to your Halloween treats!
How can I make my cake decorations last longer?
If you’re using fondant or royal icing for decorations, they tend to hold up better and can even last for weeks if stored correctly. Avoid adding fresh fruits or whipped cream if you need the cake to last longer.

Can I use store-bought decorations?
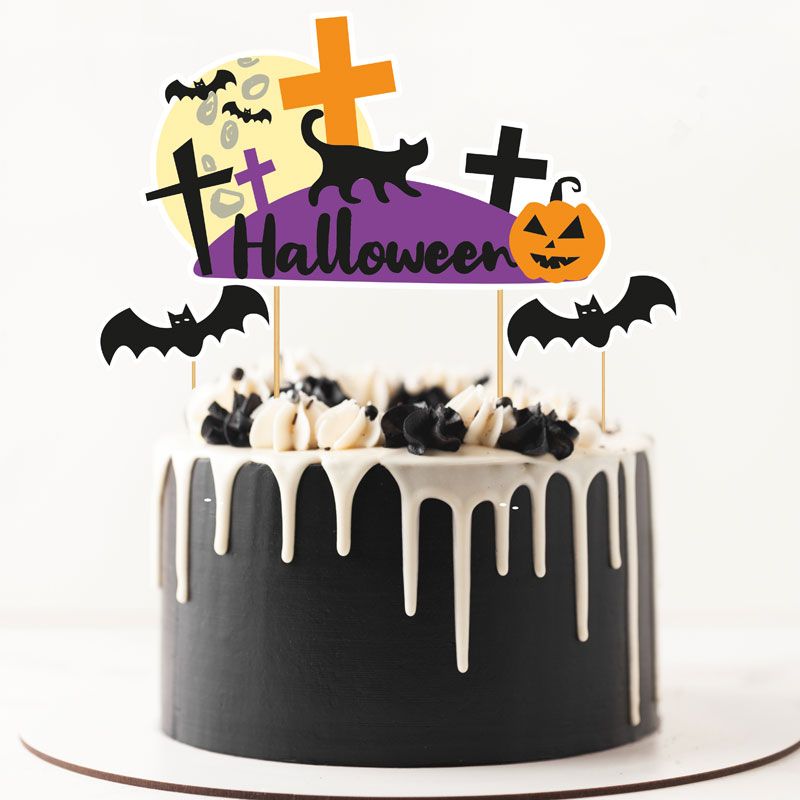
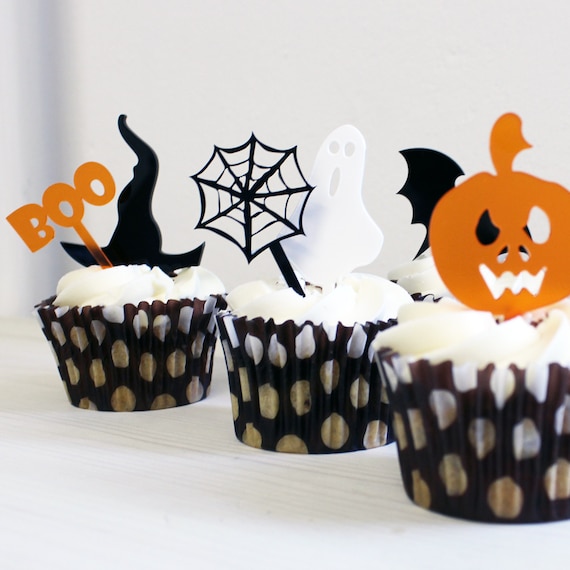
Absolutely! Store-bought decorations can save you time and still look great. Just make sure they fit your theme!
How early can I decorate my Halloween cake?
You can decorate your cake a day in advance. Just keep it in a cool place, and cover it to avoid any dust or moisture!
Do I need special tools for decorating a Halloween cake?
While you can get by with basic tools, investing in a few piping bags, a spatula, and cake decorating tips can elevate your cake designs significantly.