As the autumn leaves begin to fall and the air turns crisp, it’s time to embrace the festive spirit of Halloween! One of my favorite activities during this season is creating pumpkin spider decorations. Not only do they add a fun, spooky touch to your home, but they also become a delightful project to share with family and friends. In this comprehensive guide, we’ll delve deeper into everything pumpkin spider, from crafting techniques to inspiring ideas. Let’s get started!
What Are Pumpkin Spider Decorations?
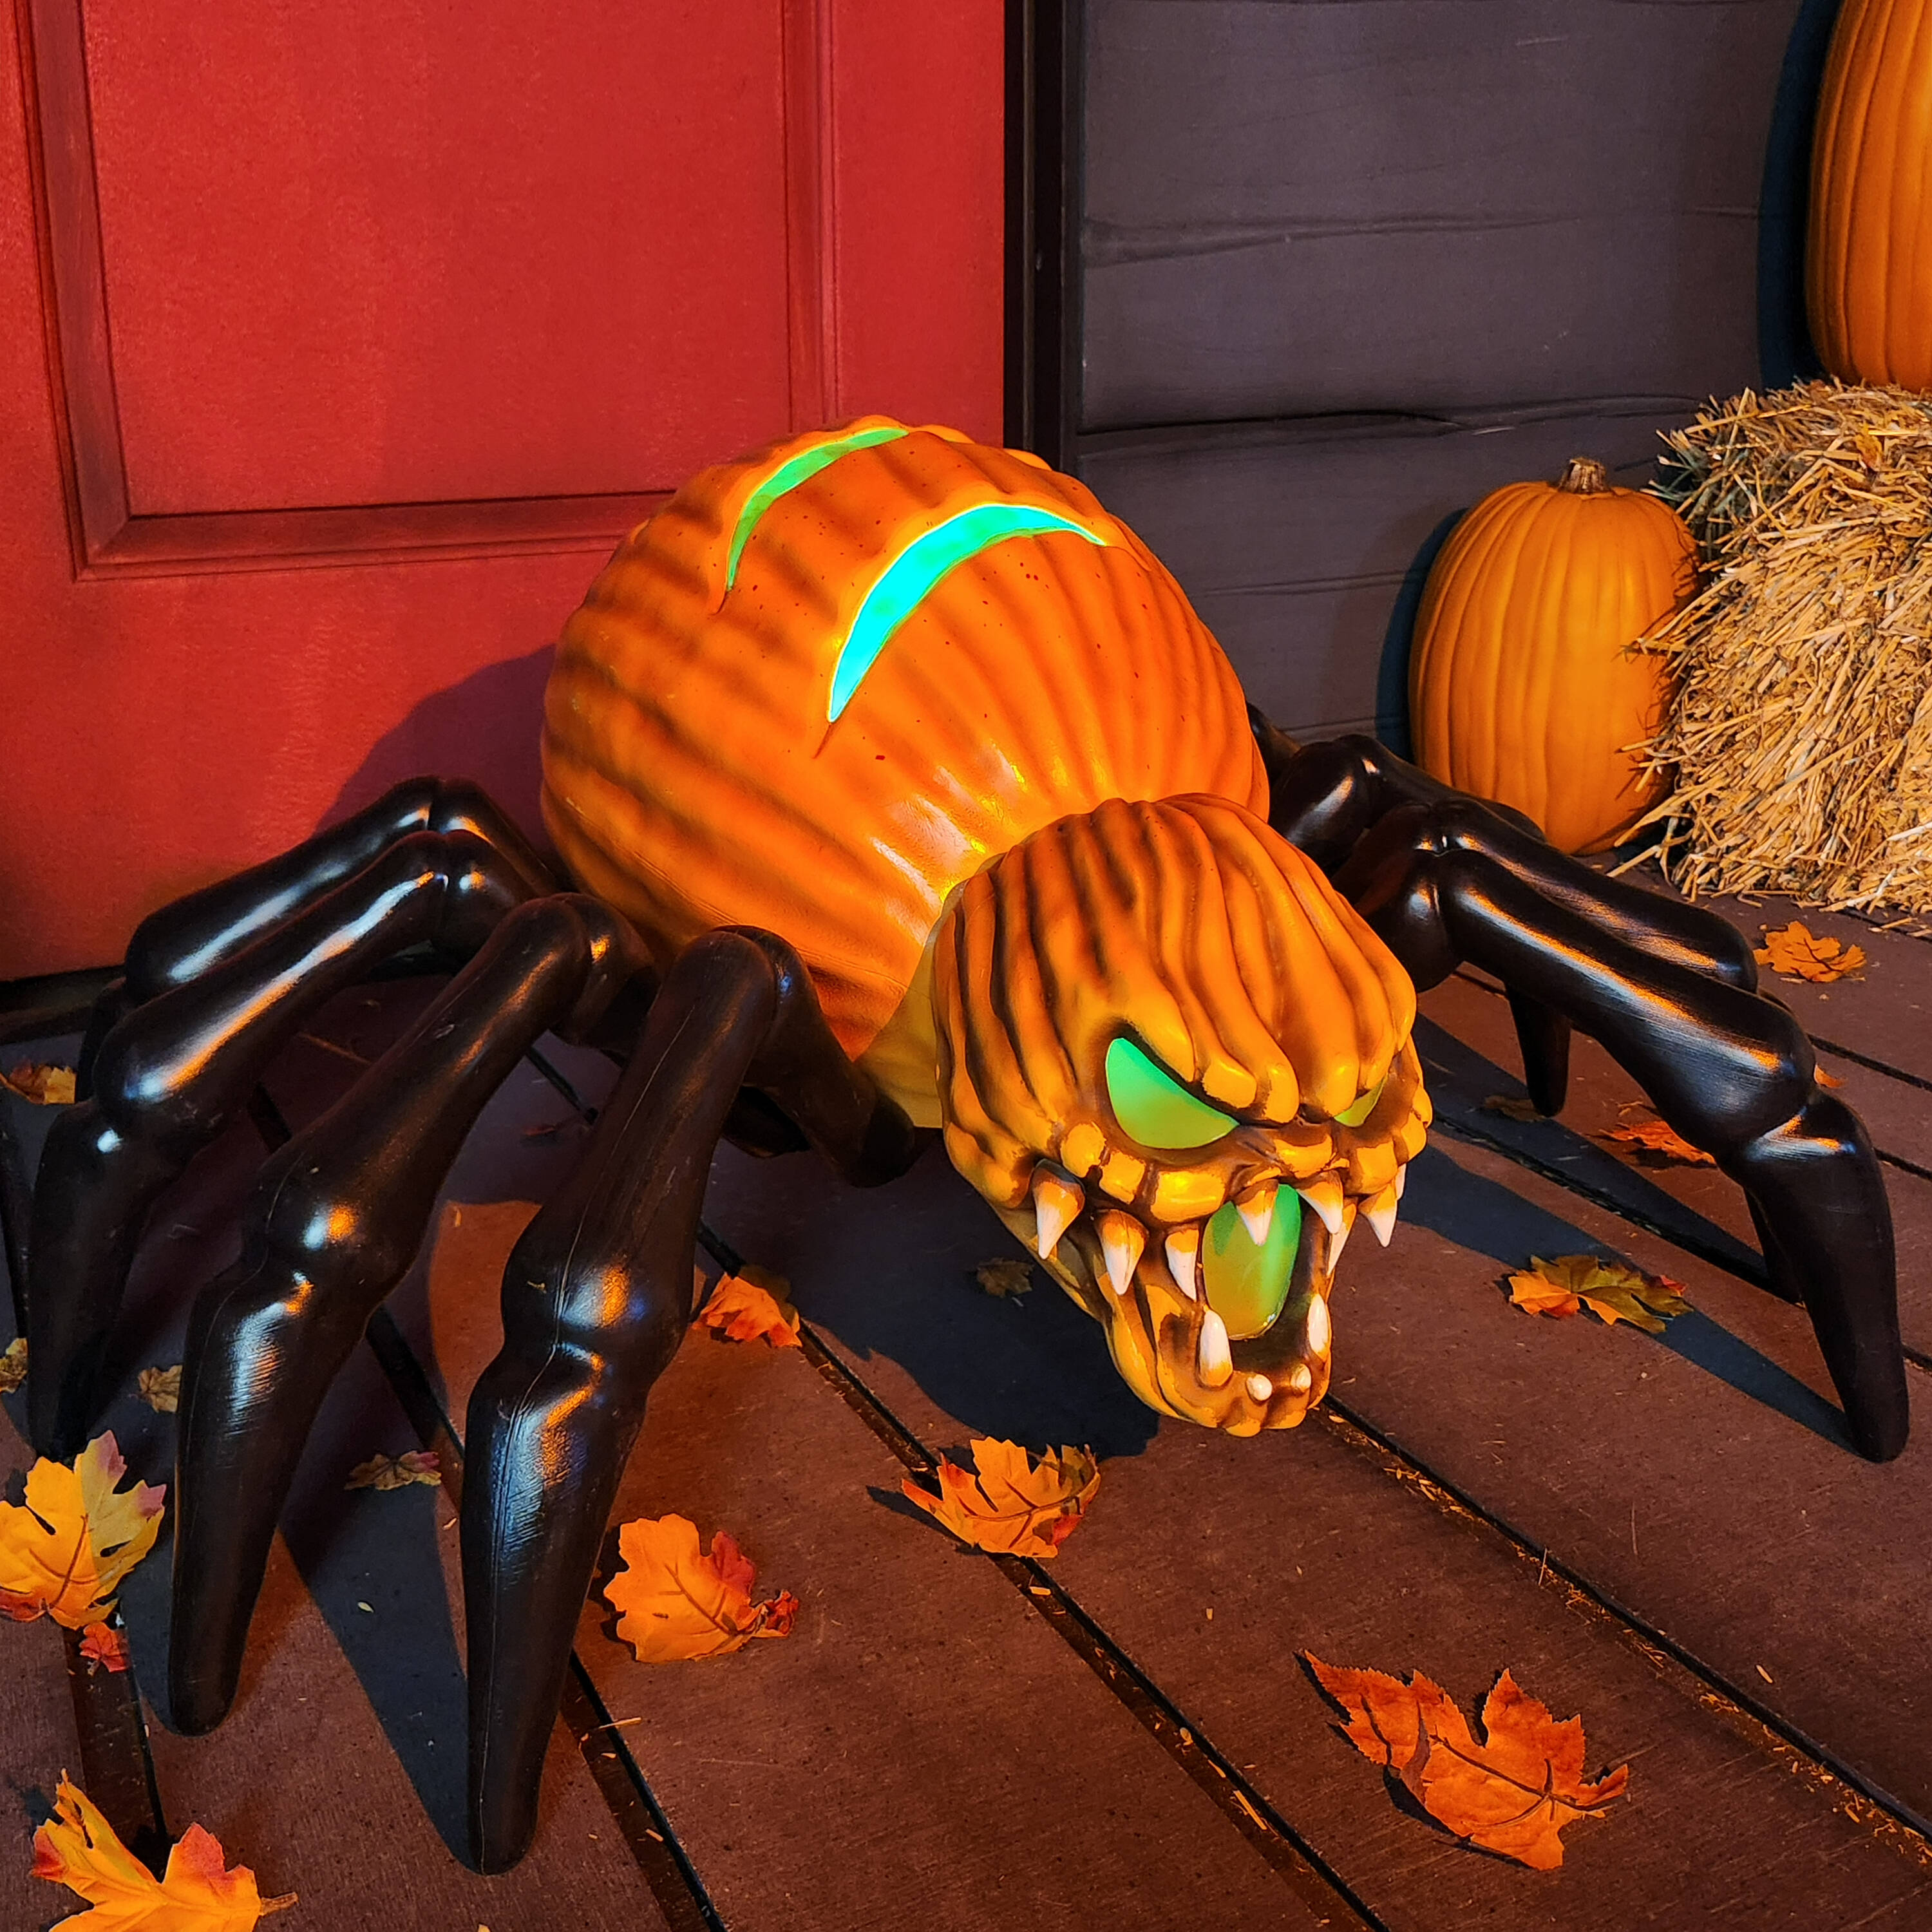
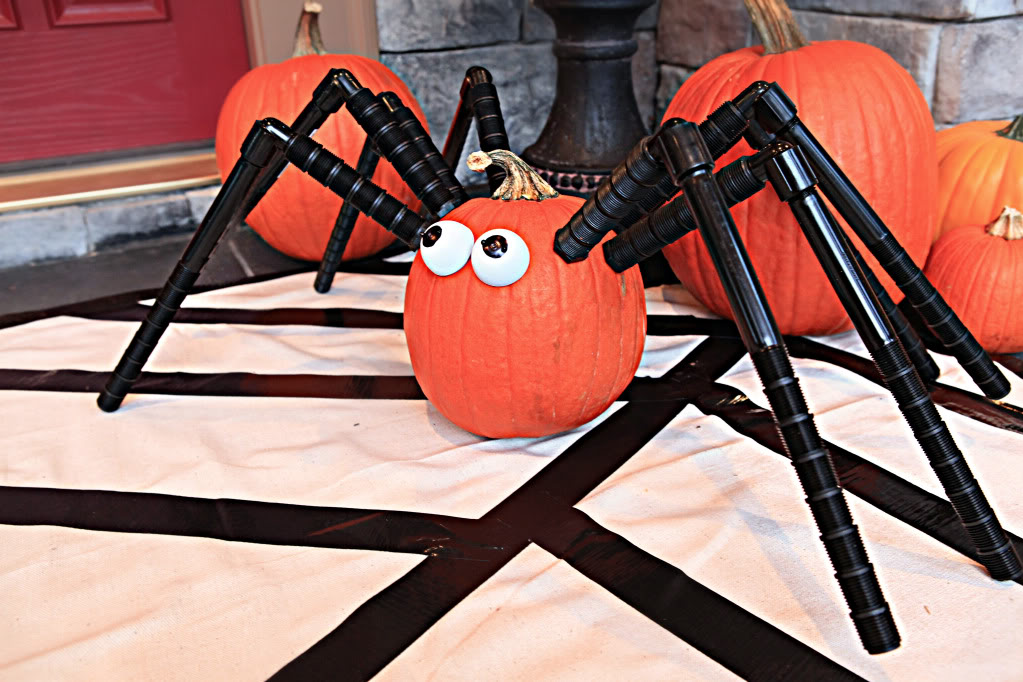
Pumpkin spider decorations are a creative blend of traditional pumpkin carving with a spooky twist—adding spider elements! Whether you’re using real pumpkins or crafting them from foam or other materials, these decorations can be both cute and frightful, making them perfect for Halloween.
Why Choose Pumpkin Spider Decorations?
The Charm of Halloween Crafts
Creating pumpkin spiders can reignite the joy of crafting that many of us experienced as children. It’s a fantastic way to spend quality time with loved ones, and the end result is always satisfying.
Endless Customization Options
From choosing the size and color of your pumpkins to selecting the type of spiders you’d like to use (realistic, cartoonish, etc.), the possibilities are endless. This customization allows you to express your creativity and personal style.
Eco-Friendly Options
If you’re concerned about sustainability, you can choose to make your pumpkin spider decorations using recycled materials. This keeps the spirit of Halloween alive without damaging the environment.

Essential Materials for Pumpkin Spider Decorations
Traditional Pumpkin Selection
- Size: Choose medium to large pumpkins for bigger spider bodies.
- Color: Classic orange is traditional, but white or green can add a unique flair.
Tools for Carving
- Carving knife (or pumpkin carving kits)
- Scooper (for removing seeds and pulp)
- Stencil (optional, for intricate designs)

Spider Elements
- Realistic plastic or foam spiders
- Black pipe cleaners or craft foam for spider legs
- Glow-in-the-dark paint for a spooky effect
Step-by-Step Guide to Creating Pumpkin Spider Decorations
Step 1: Gather Your Supplies
Before starting, ensure you have all the necessary materials at hand to avoid interruptions when the creative juices start flowing.

Step 2: Prepare Your Pumpkin
Carefully carve the top off your pumpkin and scoop out the insides. You might want to save the seeds for roasting later! This is a great time to let kids get involved by helping with the scooping (under supervision).
Step 3: Design the Spider
Using a pencil, lightly sketch where you want to place the spider legs and body on the pumpkin. Get creative—your spider can be as realistic or as cartoonish as you want!

Step 4: Add the Spider Legs
If you’re using pipe cleaners, cut them into equal lengths for the legs and poke them into the pumpkin. If using foam, you can glue or stick them accordingly.
Step 5: Attach the Spider
Place your plastic or foam spider on top. You can use a hot glue gun for a secure fit, or simply create a web around it to hold it in place!

Step 6: Final Touches
Add any additional decorations, such as glitter, paint, or even other spooky elements like mini ghosts or bats.
Fun Variations on Pumpkin Spider Decorations
Spider Web Pumpkin Decoration
For these decorations, instead of just a spider on a pumpkin, you can create a complete scene by adding a spider web using cotton or string. Hang your web from nearby trees or a porch for extra effect!

Glowing Pumpkin Spider Display
Using LED lights or glow-in-the-dark paint can amplify the spooky effect of your pumpkin spiders at night. Simply place a light inside the pumpkin or paint the spider with glow-in-the-dark paint.
Comparison Table: Real vs. Artificial Pumpkin Spiders
| Feature | Real Pumpkin Spiders | Artificial Pumpkin Spiders |
|---|---|---|
| Durability | Lasts for a few days to a week | Can last for years |
| Cost | Typically low (depends on size) | Can be higher initially, but reusable |
| Environmental Impact | Biodegradable | Not biodegradable but can be recycled |
| Crafting Experience | Hands-on and traditional | No carving required, easier setup |
Pros and Cons of Pumpkin Spider Decorations
Pros
- Fun family activity
- Highly customizable
- Great for indoor and outdoor decorating
Cons
- Real pumpkins can decay quickly
- Requires some crafting skills
Where to Display Your Pumpkin Spider Decorations
Front Porch
Your front porch is the first thing guests will see. Creating a pumpkin spider display here sets a fun and spooky tone for your visitors.
Window Sills
Place smaller pumpkins with spider decorations on your window sills to enjoy the view from inside as well as outside.
Backyard or Garden
Enhance your backyard or garden area with a creepy Halloween theme. Set up a pumpkin spider family among the flowers and shrubs.
FAQs About Pumpkin Spider Decorations
Q: What is the best way to preserve carved pumpkins?
A: To prolong the life of your carved pumpkins, apply a layer of petroleum jelly to the cut edges and store them in a cool, dry place at night.
Q: Can I use fake spiders for my decorations?
A: Absolutely! Fake spiders can add a fun touch without the worry of them crawling away!
Q: How can I incorporate pumpkin spider decorations into a Halloween party theme?
A: Use them as centerpieces, create a spooky photo booth with pumpkin spider backdrops, or even organize games based on pumpkin decorating!
Q: Are pumpkin spider decorations safe for pets?
A: Yes, as long as you use non-toxic materials. Keep an eye on any small objects that can be swallowed.
Conclusion: Get Crafting This Halloween!
Pumpkin spider decorations are a wonderful way to celebrate the Halloween season. Not only do they allow for creativity and family bonding, but they also contribute to the festive atmosphere. So gather your supplies, invite your loved ones, and start crafting your very own pumpkin spider decorations today. Here’s to a spooktacular Halloween!
If you enjoyed this guide, please feel free to share your own pumpkin spider creations or any tips and tricks in the comments below. Happy Halloween!