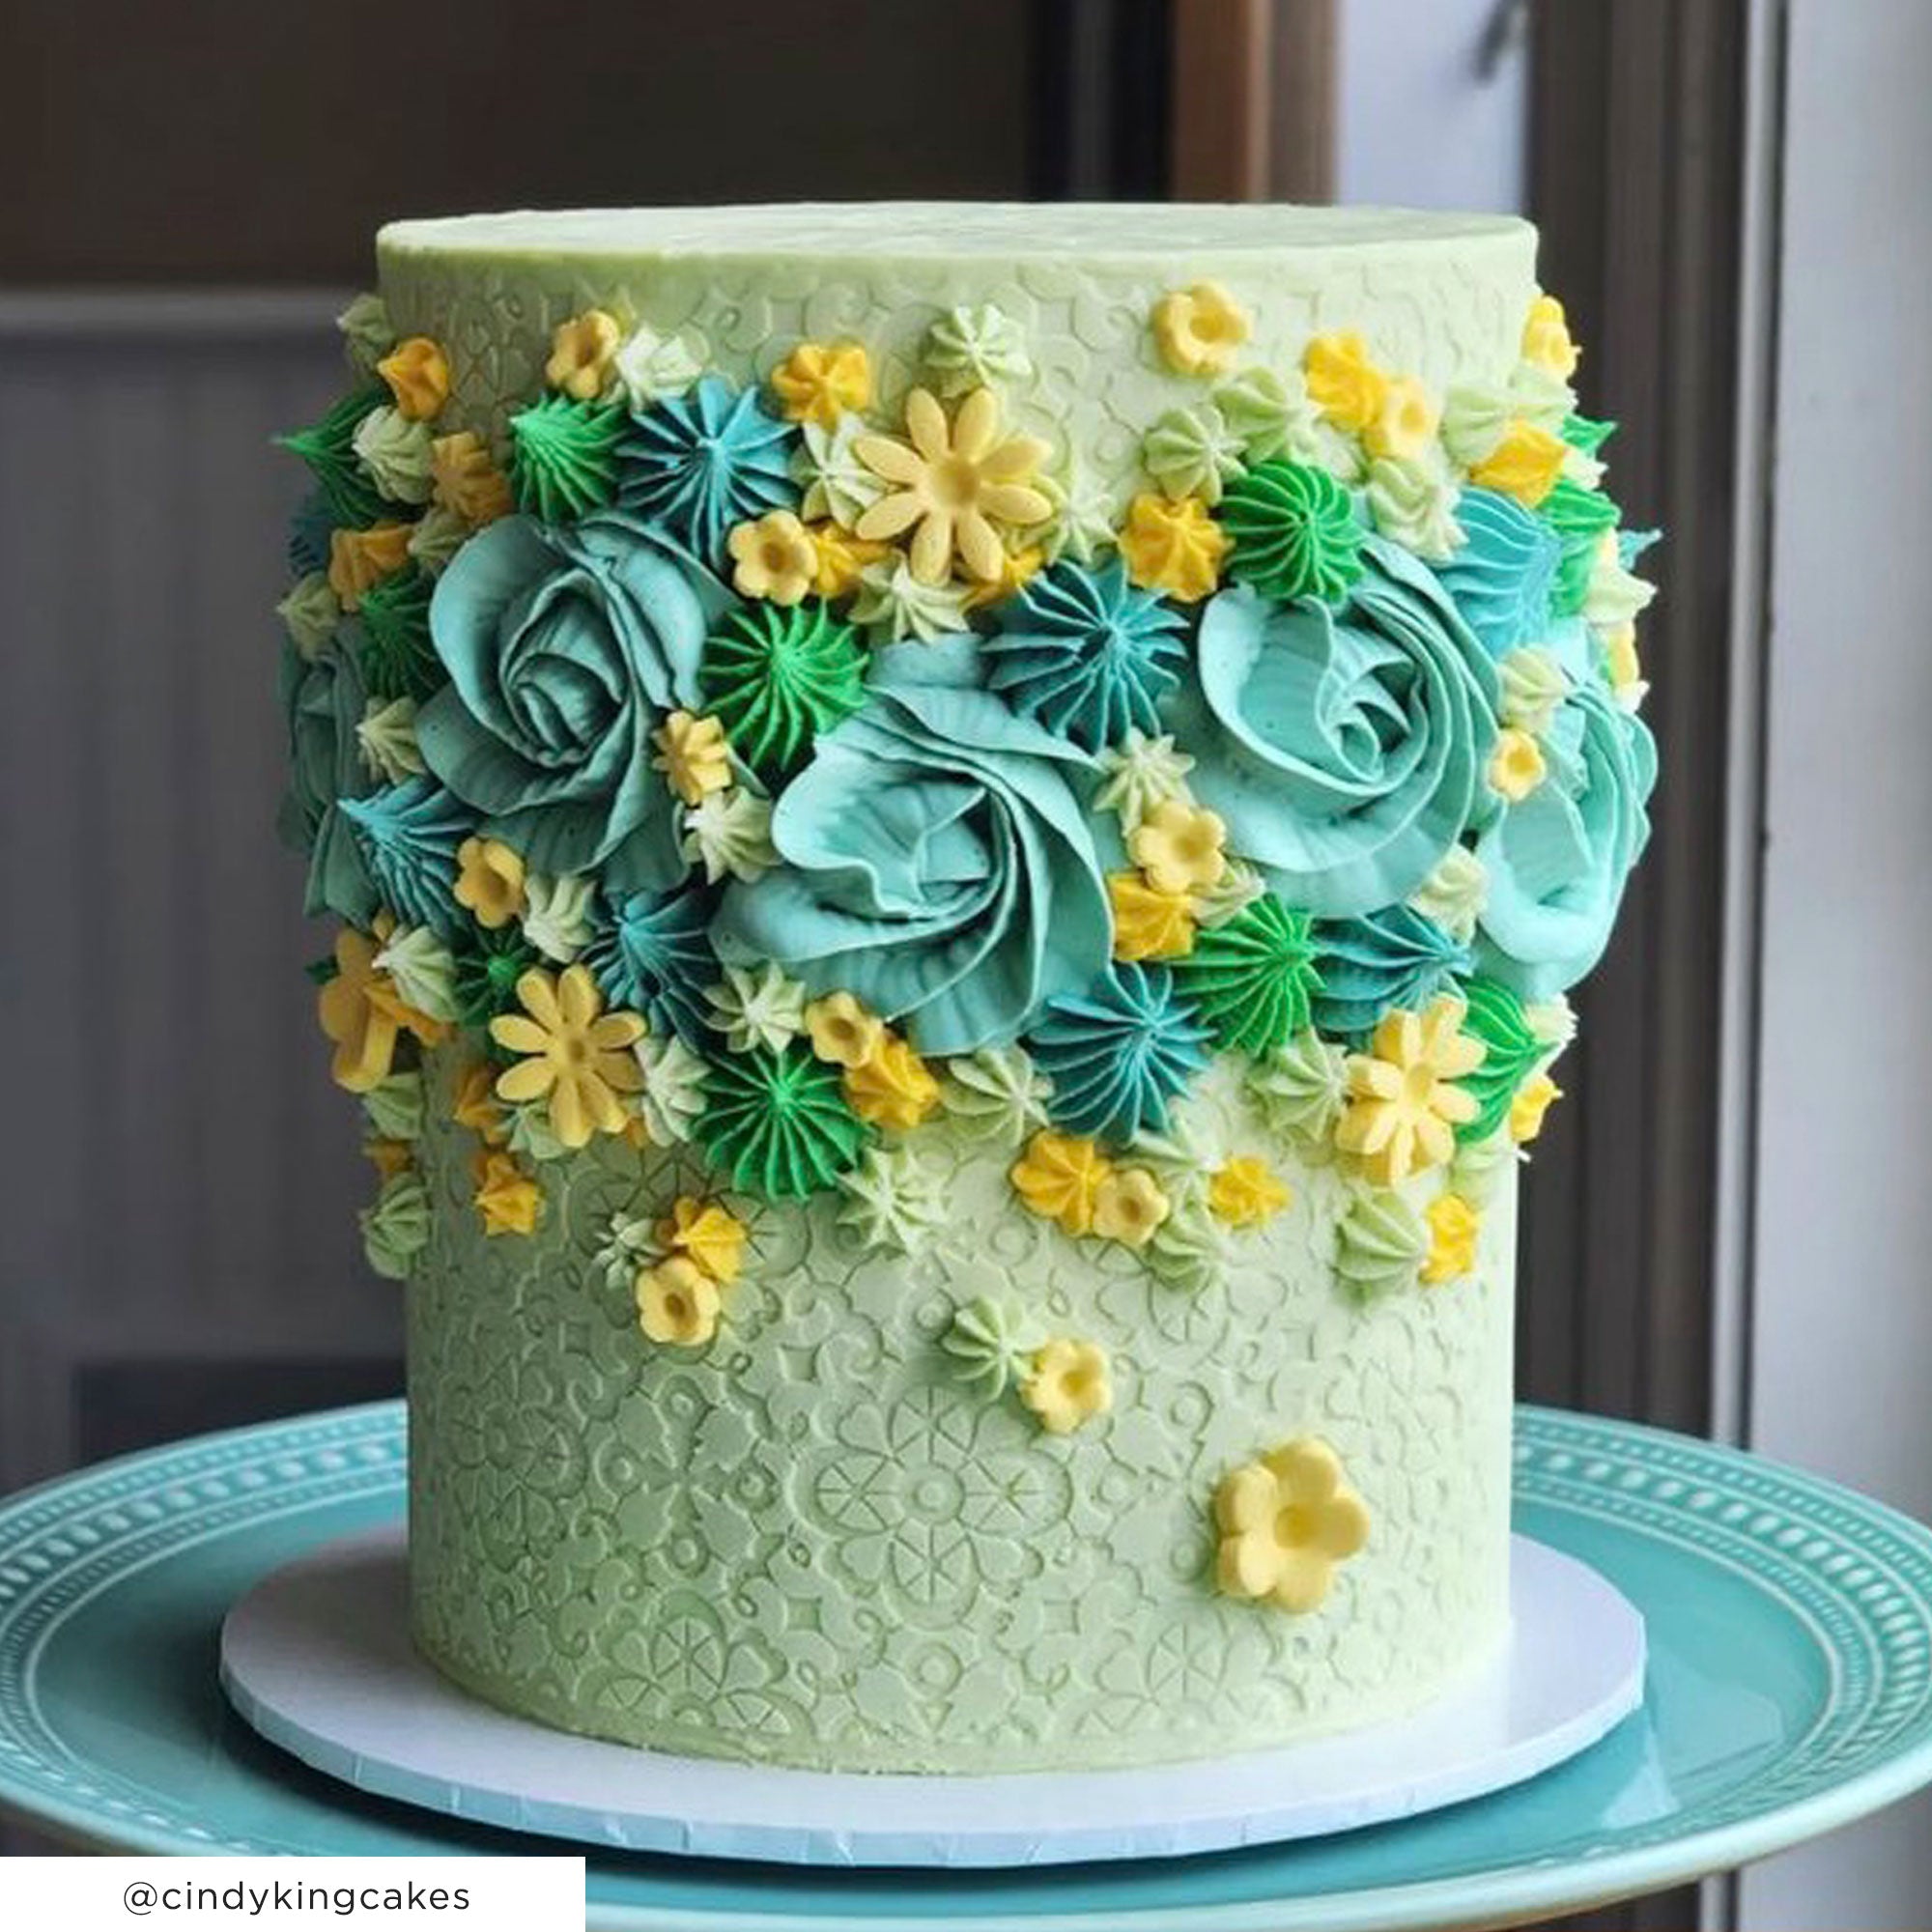
Baking and decorating cakes is not just a hobby; it’s an art form that allows for creativity and personal expression. One of the most delightful techniques that has taken the cake decorating world by storm is stencil decoration. In this guide, we will explore everything you need to know about stencil decoration for cakes—from basic techniques to advanced tips, giving you the confidence to elevate your baking skills.
What Is Stencil Decoration for Cakes?
Stencil decoration involves using a template to create a design or pattern on the surface of baked goods, particularly cakes. It allows you to achieve intricate designs without the need for advanced piping skills. In my own cake-decorating adventures, stencil techniques have helped me create stunning cakes that have wowed my family and friends.
Why Choose Stencil Decoration?
There are several reasons to incorporate stencil decoration into your cake decorating repertoire:
- Ease of Use: Stencils simplify the decorating process, making it accessible to beginners.
- Versatility: Stencils can be used on various cake surfaces, including fondant, buttercream, and ganache.
- Precision: Achieve clean, precise designs that are challenging to replicate by hand.
- Time-Saving: Stencils can significantly reduce decorating time, allowing for quick yet impressive results.
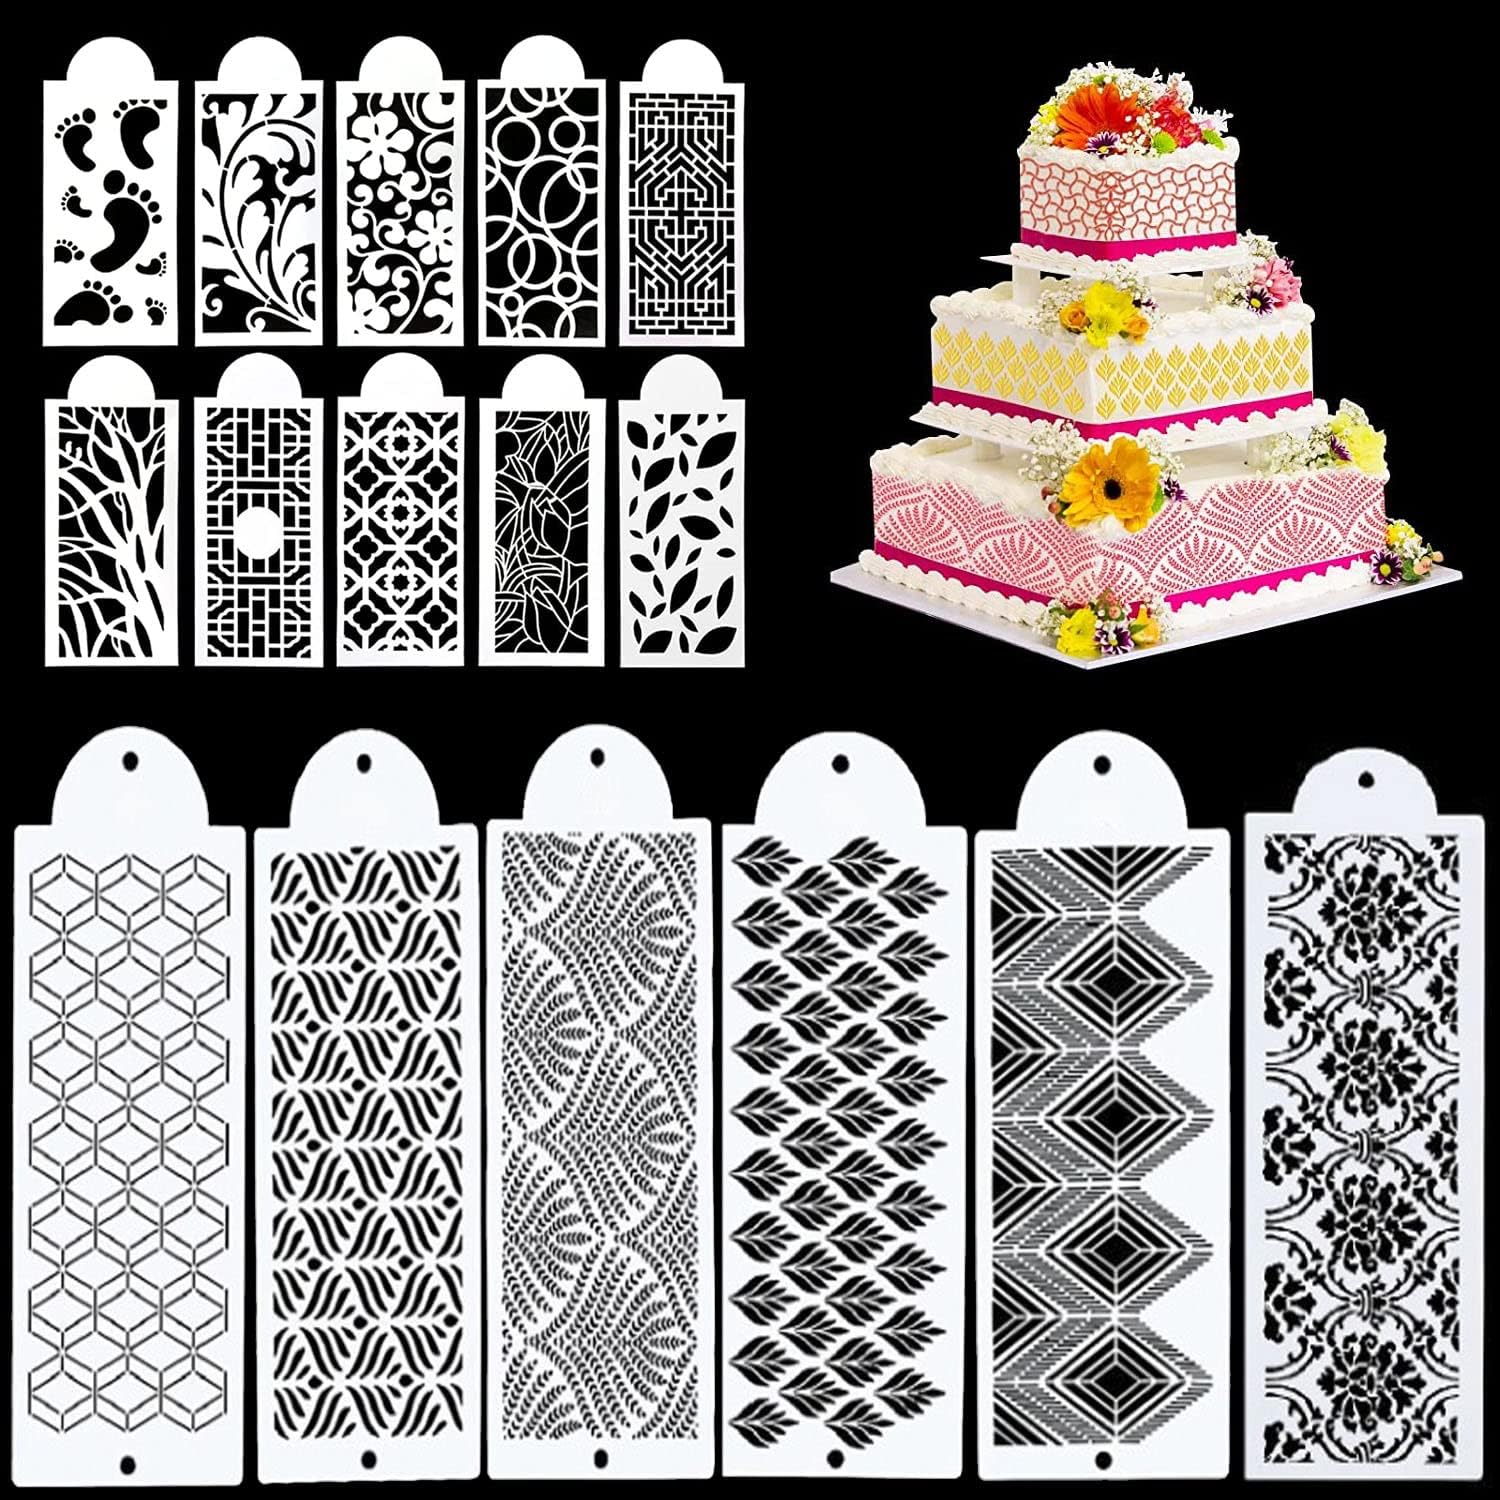
Types of Stencils for Cake Decoration
Understanding the different types of stencils available will help you choose the right one for your project. Here are the main types:
1. Plastic Stencils
Plastic stencils are durable and reusable. They come in various designs and are easy to clean.
2. Paper Stencils
Paper stencils are typically less expensive but can only be used a few times before they wear out.
3. Metal Stencils
Metal stencils provide durability and can be used for heavy-duty applications. They are particularly great for airbrushing.

4. Custom Stencils
If you can’t find a design that fits your vision, consider getting custom stencils made.
Materials Needed for Stencil Decoration
Here’s a list of essential materials you’ll need for stencil decoration:
- Stencils (plastic, metal, or paper)
- Cake (already baked and cooled)
- Frosting or fondant
- Offset spatula or palette knife
- Powdered sugar, cocoa powder, or edible color dust
- Stenciling brushes or a sifter (for powder application)

Step-by-Step Guide to Stencil Decoration
Step 1: Prepare Your Cake
Ensure your cake is completely cooled and frosted evenly. If you’re using fondant, roll it out to a thickness of about 1/8 inch.
Step 2: Select Your Stencil
Choose a stencil design that complements the theme of your cake. Make sure it’s the right size for your cake’s surface.

Step 3: Position the Stencil
Carefully place the stencil onto the cake, ensuring it’s flat and secure. You can use tape to hold it in place if needed.
Step 4: Apply the Medium
Using a sifter, brush, or spatula, apply your medium (powdered sugar, cocoa powder, or edible color) over the stencil. Use gentle tapping motions to avoid getting too much product beneath the stencil.
Step 5: Remove the Stencil
Slowly lift the stencil off the cake to reveal your design. Avoid smudging by pulling it off straight up.
Step 6: Final Touches
If desired, add additional decorations around the stenciled design for added flair.

Tips for Successful Stencil Decoration
Here are some helpful tips I’ve learned over the years:
- Practice First: Always practice on a piece of parchment paper to refine your technique.
- Use the Right Consistency: Ensure your frosting or fondant is the right consistency—too soft can smear, while too stiff may not stick.
- Be Patient: Take your time when applying the medium to avoid mistakes.
Common Mistakes to Avoid
Here are some pitfalls to watch out for when using stencils:
- Poor Cake Preparation: Always ensure your cake is smooth. Uneven surfaces can distort your stencil design.
- Overloading the Stencil: Applying too much medium can cause it to seep underneath, ruining the design.
- Quick Removal: Don’t rush the removal process; take your time to avoid smudging.
Pros and Cons of Stencil Decoration
| Pros | Cons |
|---|---|
| Accessible for beginners | Can require practice to perfect |
| Creates intricate designs quickly | May not suit all cake styles |
| Reusable and versatile | Some designs can be expensive |
Creative Stencil Decoration Ideas
Unleash your creativity with these stencil decoration ideas:
1. Floral Patterns
Use floral stencils to create beautiful garden-themed cakes.

2. Geometric Designs
For a modern touch, go for geometric stencils that add a contemporary feel.
3. Seasonal Themes
Celebrate holidays with festive stencil designs tailored to each season.
4. Customized Messages
Create personalized cakes by using stencils for names or special messages.
Frequently Asked Questions (FAQs)
1. What types of frosting work best with stencils?
Buttercream, royal icing, and ganache are excellent choices as they hold their shape well.
2. Can I use stencils on fondant cakes?
Yes! Fondant provides a smooth surface ideal for stenciling.
3. How do I clean and store my stencils?
Wash plastic and metal stencils with warm, soapy water. Allow them to dry completely before storing them flat in a cool, dry place.
4. Are there specific cakes that stencil decoration works best for?
Stencil decoration can be used on any cake, but it works best on smooth surfaces like fondant or well-frosted buttercream cakes.
Conclusion
Stencil decoration for cakes is a fantastic way to explore your creative side while producing stunning, professional-looking results. Whether you’re a novice baker or a seasoned pro, incorporating stencils into your decorating toolkit can elevate your cake artistry to new heights. Remember, practice makes perfect, so don’t hesitate to experiment with different designs and materials. Happy decorating!