The holiday season is a time of joy, creativity, and connection. One trend that has taken Christmas décor by storm is the use of natural elements, particularly hanging pine cone decorations. In this comprehensive article, we will explore everything you need to know about creating beautiful hanging pine cone Christmas décor, infused with my personal experiences and tips.
What Makes Pine Cones Perfect for Christmas Decor?
Pine cones are nature’s little treasures, providing both texture and charm to your holiday decorating. Here’s why they stand out:
- Natural Aesthetic: Pine cones add an organic touch to your holiday décor.
- Versatility: They can be used in various designs, from simple to elaborate.
- Sustainability: Using natural materials promotes an eco-friendly holiday spirit.
Types of Pine Cone Decorations
Hanging pine cone decorations come in various forms. Let’s look at some popular types:
1. Simple Pine Cone Ornaments
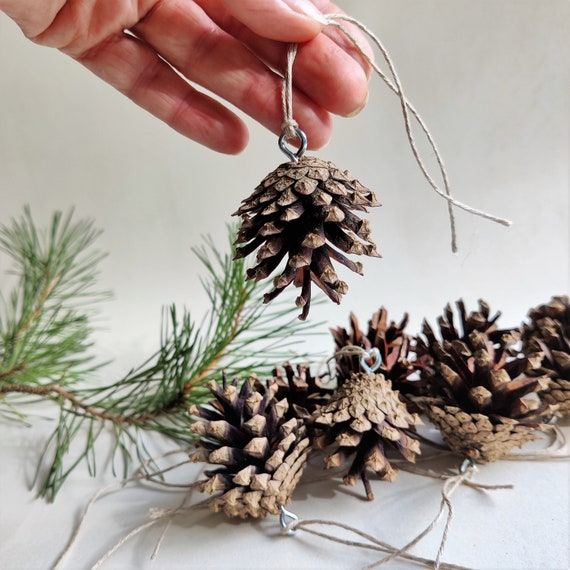
These are the most straightforward decorations. Simply attach a hoop or string to the top of the pine cone and hang it. They can be left natural or painted for a different look.
2. Pine Cone Garland
A charming garland made of pine cones adds warmth to any space. You can string them together with twine, ribbon, or wire, creating a whimsical display.
3. Pine Cone Snowflakes
By gluing several pine cones together, you can craft beautiful snowflake shapes that can be hung in windows or from the ceiling.

4. Decorated Pine Cone Arrangements
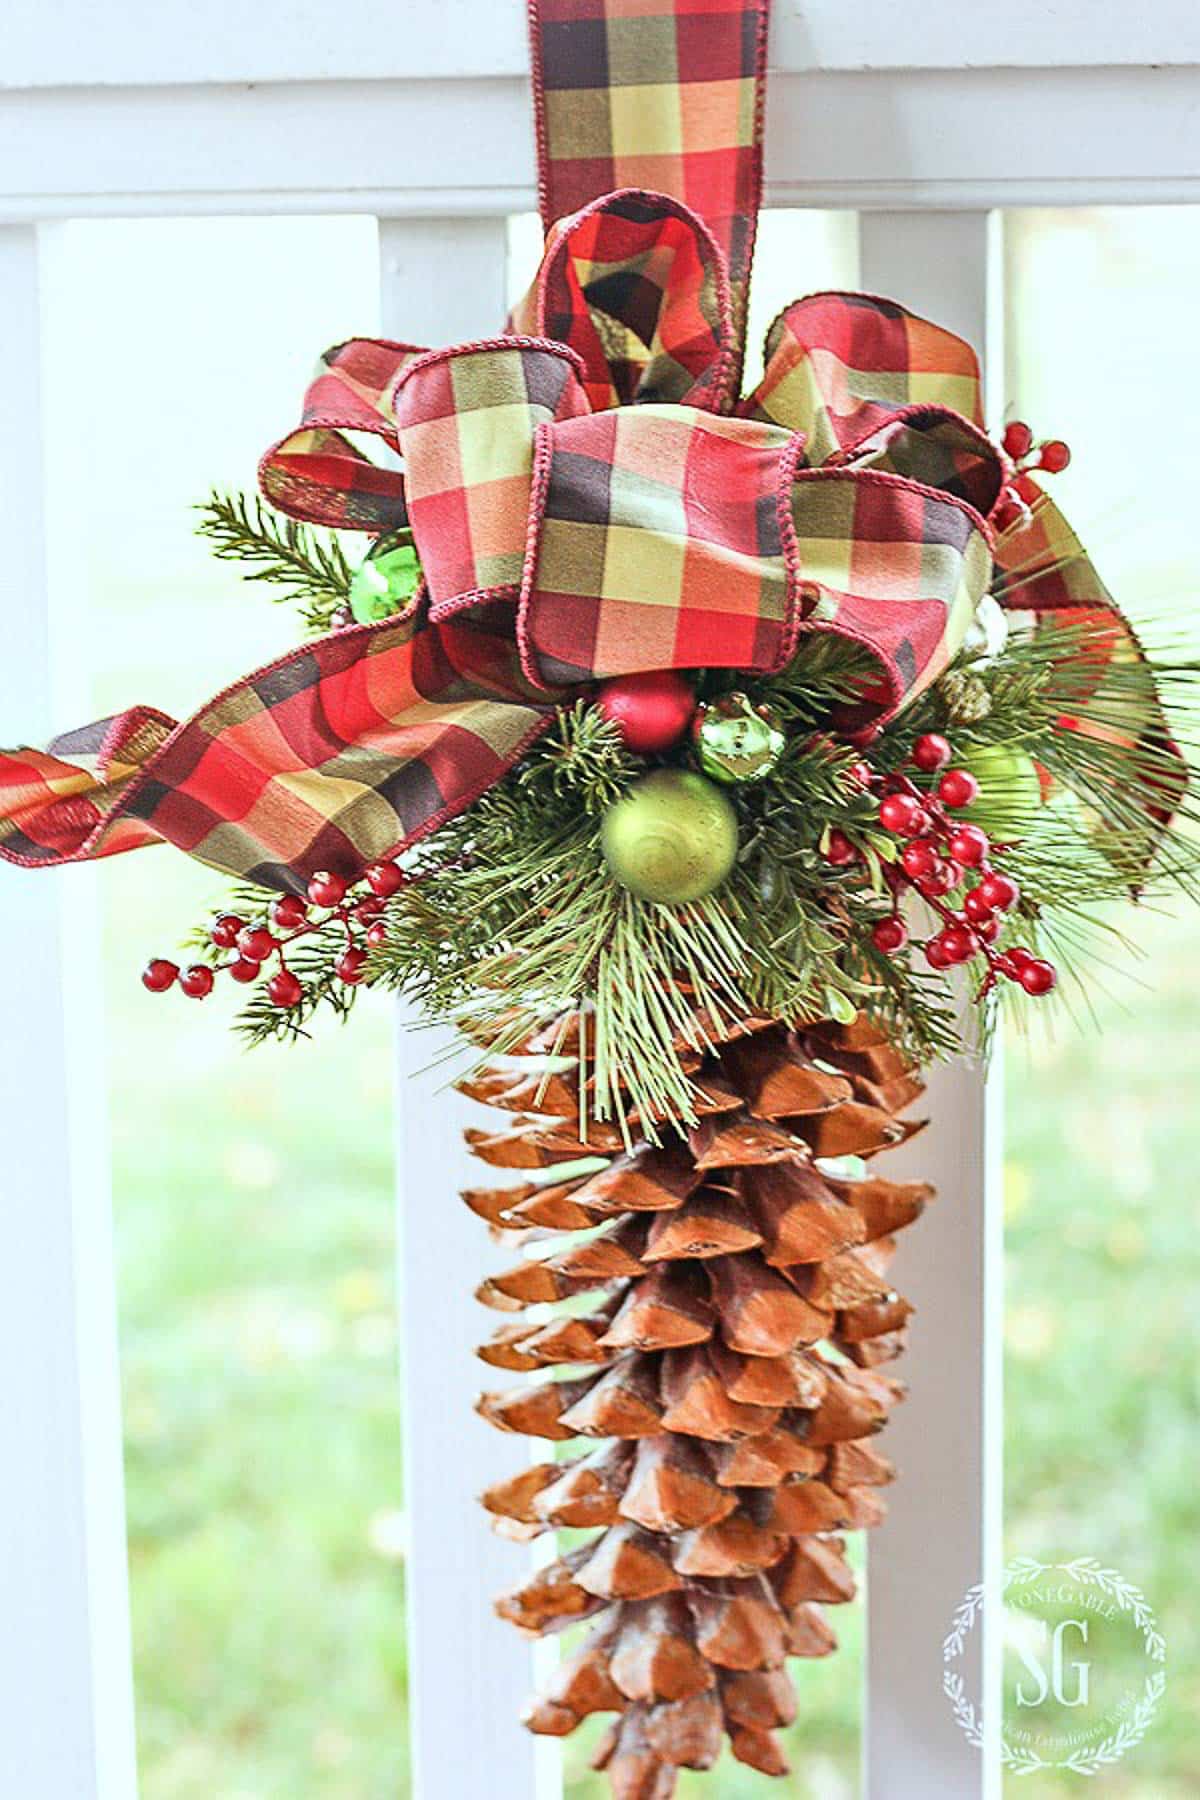
For a more festive touch, pine cones can be adorned with glitter, paint, or even faux snow for a wintery effect.
How to Create Hanging Pine Cone Christmas Decor: Step-by-Step Guide
Let’s dive into the DIY process of creating your hanging pine cone decorations!

Materials Needed
- Pine cones (fresh or dried)
- String or twine
- Glue (hot glue or craft glue)
- Scissors
- Paint (optional)
- Glitter (optional)
- Decorative items (ribbons, beads, etc.)
Step 1: Collecting Pine Cones
Start by gathering pine cones. You can find them in your backyard, local parks, or craft stores. Remember to clean them properly to remove any dirt or insects.

Step 2: Preparing the Pine Cones
Before decorating, ensure the pine cones are dry. If you choose to paint them, use acrylic paint for best results. Allow the paint to dry completely before proceeding.
Step 3: Attaching the String
Cut lengths of string or twine. If you’re making ornaments, tie a loop around the top of the pine cone. For garlands, thread the string through the center of each pine cone.

Step 4: Adding Decorations
Get creative! Use glue to attach glitter, beads, or natural elements like cinnamon sticks or dried orange slices for a festive touch.
Step 5: Hang and Enjoy!
Once everything is dry and ready, hang your creations from your tree, mantel, or ceilings. Enjoy the rustic charm they bring!

Pros and Cons of Hanging Pine Cone Decor
| Pros | Cons |
|---|---|
| Eco-friendly and sustainable | Can attract pests if not properly treated |
| Customizable to fit any decor style | Some people may find it too rustic |
| Inexpensive materials | Requires some DIY skills |
Tips for Maintaining Your Pine Cone Decor
To ensure your hanging pine cone decorations last through the season, consider these maintenance tips:
- Avoid placing them in overly humid environments.
- Regularly check for signs of pests.
- Store them in a cool, dry place after the season ends.

Incorporating Pine Cones into Other Holiday Decor
Pine cones aren’t just for hanging decorations! Here are some other ways to incorporate them into your holiday décor:
1. Centerpieces
Create stunning table centerpieces by arranging pine cones with candles, evergreen branches, and ornaments.
2. Wreaths
Adorn a grapevine wreath with pine cones, berries, and ribbon for a beautiful front door display.
3. Holiday Gift Wrap
Use small pine cones as unique gift toppers to add a personal touch to your presents.
Pine Cone Decor Inspiration: Personal Experience
Last Christmas, I decided to create a hanging pine cone garland for my living room. It not only brought the outdoors inside but also became a focal point for discussions with guests. People loved the personalized touch and the story behind each pine cone I had gathered! This DIY project turned into a cherished holiday tradition, making every pine cone hold a special memory.
Frequently Asked Questions (FAQs)
1. How do I clean pine cones before decorating?
To clean pine cones, soak them in a mixture of water and vinegar for about 30 minutes, then rinse and dry them in the sun.
2. Can I use artificial pine cones for décor?
Absolutely! Artificial pine cones can be just as beautiful and durable as natural ones, making them a great alternative.
3. Where can I buy pine cones?
Pine cones can be collected from nature or purchased from craft stores or online retailers. Look for ones that are open and dry.
4. How can I prevent my pine cones from attracting pests?
Ensure your pine cones are thoroughly dried and consider treating them with a mixture of water and essential oils or lacquer before decorating.
5. What colors should I use when decorating pine cones?
You can use any color that complements your holiday theme. Traditional colors like red, green, and gold work wonderfully, but don’t hesitate to experiment!
Conclusion
Hanging pine cone Christmas decor is a delightful way to add a rustic charm to your holiday celebrations. The process of creating these decorations can be a wonderful bonding activity for families and friends. With a little creativity, your home can reflect the beauty of nature while celebrating the spirit of the season.
So, gather your pine cones, unleash your creativity, and enjoy the magic of holiday decorating!